Simple Ways to Make Air Dry Clay Waterproof
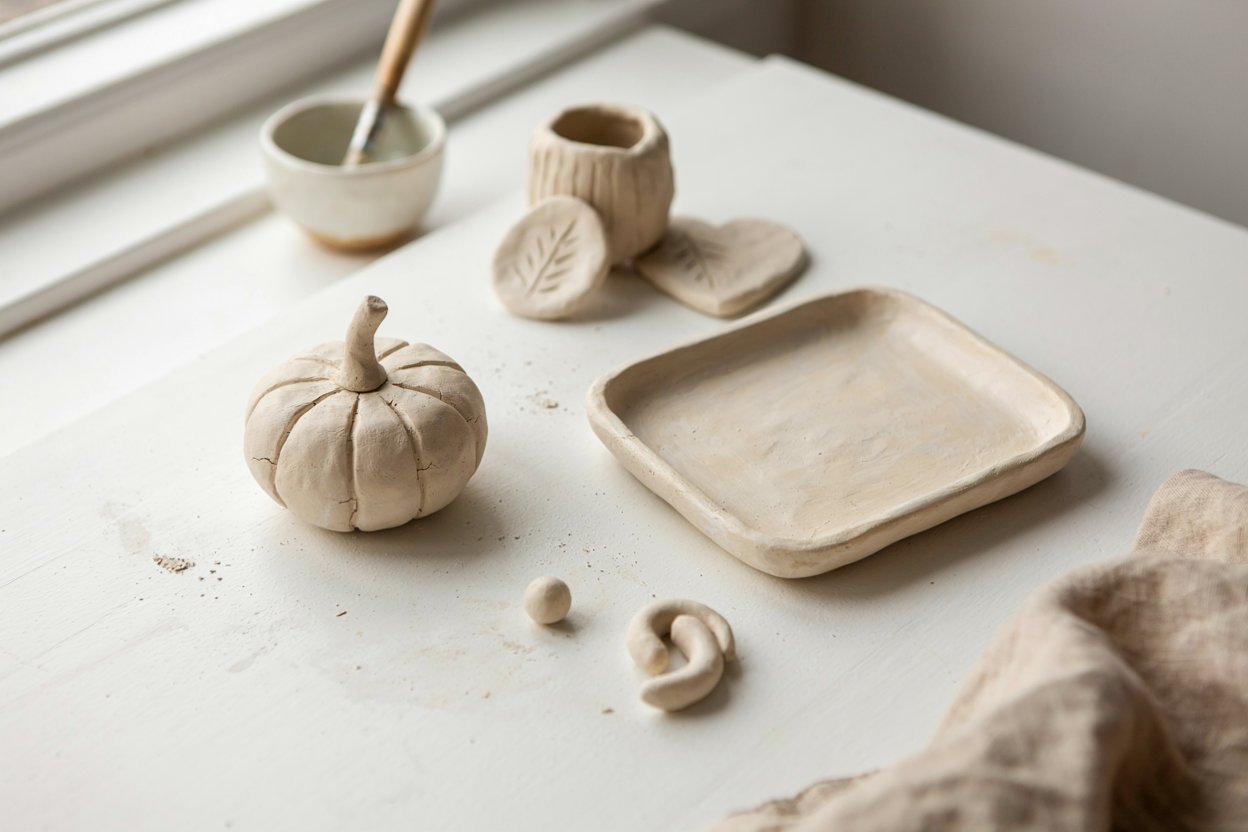
Air dry clay is one of my favorite materials for simple DIY projects because it is affordable, easy to shape, and does not require a kiln.
I have used it for small decorative pieces, trays, ornaments, and other handmade projects, and one thing I have learned is that the finished clay needs protection if you want it to handle moisture.
Air dry clay naturally remains porous after it dries, so water can soften the surface, stain it, or eventually cause cracks and damage.
The good news is that waterproofing it does not have to be complicated. With the right sealant and a little preparation, you can give your project a much more durable finish while keeping its handmade look.
In this guide, I will show you the methods I use, how to prepare the clay before sealing, which finishes work well, mistakes worth avoiding, and how to choose the right waterproofing method for your particular project.
Can You Make Air Dry Clay Waterproof?
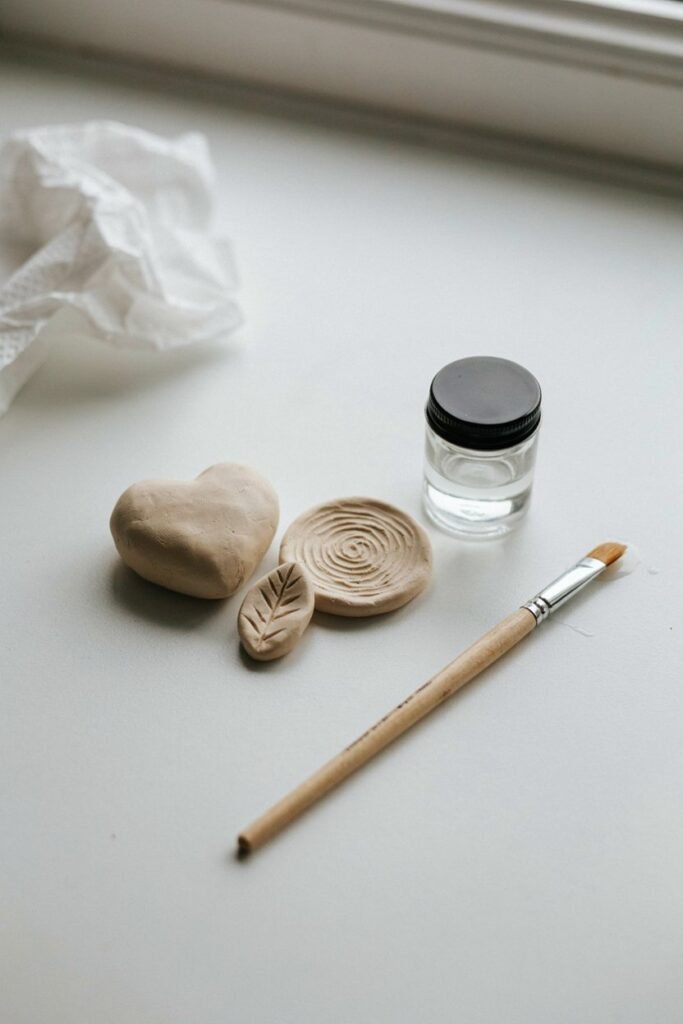
Yes, you can make air dry clay much more resistant to water by sealing it properly, but there is an important difference between water resistant and completely waterproof.
Air dry clay is porous by nature. Even after it feels completely hard, moisture can still penetrate the material. A good sealant creates a protective layer over the surface and helps prevent water from reaching the clay underneath.
For decorative pieces that may occasionally come into contact with water, a quality sealer can provide plenty of protection. Projects that will constantly sit in water, hold water, or stay outdoors in heavy rain need more careful consideration because the clay itself is still vulnerable if moisture gets underneath the coating.
When I am working with air dry clay, I always think about where the finished piece will be used before choosing the sealant. A small decorative ornament does not need the same level of protection as a planter, bathroom decoration, or outdoor project.
What You Need Before Waterproofing Air Dry Clay

You do not need a huge collection of supplies to seal air dry clay.
Fully Dried Air Dry Clay
The clay needs to be completely dry before you apply any waterproofing product.
This is one step I never rush. A piece can feel dry on the outside while still holding moisture inside, especially when it is thick.
If you seal the surface too early, you can trap moisture underneath the coating. That can interfere with drying and may contribute to cracking or other problems later.
Fine Sandpaper
Fine grit sandpaper can help smooth rough areas before sealing.
I usually use a light touch because air dry clay can be surprisingly easy to wear down. The goal is not to reshape the project. You simply want to remove small bumps, rough edges, or imperfections that will become more noticeable once the finish is applied.
Clean Soft Brush
A soft brush is useful for removing clay dust after sanding.
You want the surface to be clean before applying your sealant. Dust left behind can become trapped in the finish and create a rough or uneven appearance.
Waterproof Sealant
This is the most important supply.
There are several types of sealers that can work with air dry clay, including acrylic sealers, varnishes, polyurethane products, and certain craft-specific sealants.
The finish you choose depends on the look and durability you want.
1. Use a Clear Acrylic Sealer
A clear acrylic sealer is one of the simplest options for protecting air dry clay.
It can be applied as a spray or with a brush, depending on the product. I like this option for decorative projects because it can add protection without dramatically changing the appearance of the clay.
Clear acrylic sealers are available in different finishes, including matte, satin, and gloss.
A matte finish keeps the clay looking softer and more natural.
A satin finish gives the piece a subtle amount of shine without making it look highly polished.
A gloss finish creates a much shinier surface and can make painted colors appear more vibrant.
Before covering the entire project, I recommend testing the sealer on a small hidden area or a leftover piece of clay. Different sealers can slightly change the color or texture of paint.
2. Apply Varnish for a Protective Finish
Varnish is another useful option for air dry clay projects.
It works particularly well when you want to add a protective layer while maintaining the decorative appearance of the finished piece.
For painted clay projects, I prefer applying several thin coats instead of trying to create one thick layer.
Allow each coat to dry according to the manufacturer’s instructions before adding another.
This gives you better control over the finish and helps reduce problems such as drips, cloudy areas, or uneven coverage.
One thing I have learned with clay projects is that patience makes a noticeable difference. Applying too much product at once can make an otherwise clean project look messy.
3. Try Polyurethane for More Durability
Polyurethane can provide a tougher protective coating than some basic craft sealers.
This can be useful for pieces that will receive more handling or occasional exposure to moisture.
However, I would not automatically use polyurethane on every clay project. The product needs to be compatible with the clay and any paint you have applied.
Always check the manufacturer’s instructions before using it, particularly if your project will be handled frequently or used around moisture.
For a simple decorative piece, a craft sealer may be all you need. For a project that needs a harder protective surface, polyurethane may be worth considering.
4. Seal Every Exposed Area
One of the easiest mistakes to make is focusing only on the visible top of the project.
Water can reach unsealed areas from the sides or underneath.
When I seal an air dry clay piece, I make sure the coating reaches the edges and underside as well. This is especially important for objects such as trays, ornaments, coasters, and small containers.
Turn the piece over after the top has dried and inspect the entire surface.
A waterproofing layer is only useful where it has actually been applied.
5. Build Up Thin Coats
I have found that thin coats are much easier to control than one heavy application.
Start with an even layer and allow it to dry completely. Then inspect the surface under good lighting.
If the clay still looks exposed or the finish feels too thin, apply another coat.
Multiple thin layers can give you more consistent coverage while reducing the chance of visible brush marks, puddles, and drips.
This approach also gives you more control over the final appearance. You can stop once you reach the level of protection and shine you want instead of committing to a heavy finish immediately.
6. Protect Painted Air Dry Clay
If you have painted your clay before sealing it, make sure the paint is completely dry.
This is particularly important when using acrylic paint because the sealer can affect paint that has not fully cured.
I like to inspect the painted surface carefully before sealing. Look for areas where the paint feels tacky, uneven, or easily disturbed.
Once everything is properly dry, apply your chosen sealant in thin, even coats.
The result should be a smoother and more protected surface without hiding the details you worked hard to create.
More Ways to Waterproof Air Dry Clay
7. Use Mod Podge Carefully
Mod Podge can be useful for sealing decorative air dry clay projects, especially when the finished piece will mainly be used indoors.
I have used it when I want a simple protective layer without making the project feel overly complicated. It can also work well over painted clay and is available in different finishes.
Apply a thin, even coat with a clean brush and allow it to dry completely before deciding whether another coat is needed.
Keep in mind that not every Mod Podge formula is designed to make a project completely waterproof. For pieces that will have regular or prolonged contact with water, choose a product specifically labeled for the level of water resistance you need.
8. Consider Epoxy Resin for a Hard Protective Surface
Epoxy resin can create a thick, glossy protective layer over air dry clay.
This method can be useful for decorative trays, jewelry pieces, ornaments, and other projects where you want a smooth, durable surface.
The biggest difference is the appearance. Resin usually gives the project a much glossier finish than matte or satin sealers.
It also requires more care during application because you need to mix the components correctly and work in a suitable, well ventilated area.
I would not reach for resin automatically. For a small decorative project, a regular clay sealer can be much simpler. I save resin for projects where I specifically want that hard, glass like finish.
9. Make Sure the Clay Is Completely Dry
This sounds simple, but it is one of the most important steps in the entire process.
Air dry clay needs enough time to dry throughout its entire thickness.
Thin pieces may dry relatively quickly, while thick pieces can take considerably longer.
Before sealing, check the piece carefully. It should feel hard and dry rather than cool, soft, or slightly damp.
If I am working on a thicker project, I prefer giving it additional drying time rather than trying to speed up the process. Sealing too early can trap moisture inside the clay.
This is especially important if you are planning to use several coats of sealant.
10. Smooth the Surface Before Sealing
The final finish will usually make surface imperfections more noticeable, so I like to prepare the clay before applying anything.
Once the piece is completely dry, lightly sand rough areas with fine grit sandpaper.
Do not press too hard. Air dry clay is much softer than fired ceramic, so aggressive sanding can remove details or create unwanted dips.
After sanding, remove all the dust with a soft dry brush.
Take a few minutes to inspect the entire project before sealing. It is much easier to fix an imperfection at this stage than after several coats of sealer have been applied.
11. Choose the Finish Based on How You Will Use the Project
The best waterproofing method depends heavily on what you are making.
For a wall ornament or decorative sculpture, a basic clear acrylic sealer may be enough.
For a painted decorative tray that may occasionally be wiped with a damp cloth, you may want a stronger protective coating.
For a piece that will regularly encounter moisture, you need to choose a product specifically designed to provide stronger water resistance and follow its instructions carefully.
I always recommend thinking about the final use before buying the sealer. There is no reason to use a heavy duty coating on a project that will simply sit on a shelf.
12. Do Not Forget the Bottom of the Project
The underside is easy to overlook because it is not normally visible.
However, an unsealed bottom can allow moisture to reach the clay.
This matters even more when making items that sit on countertops, bathroom surfaces, windowsills, or other areas where condensation or small amounts of water may be present.
Turn the project over and apply your chosen sealer to the bottom once the rest of the piece has dried.
If the project needs to sit flat while drying, use a clean surface that will not stick to the finish.
13. Allow the Sealer to Cure Properly
Dry and cured are not always the same thing.
A sealer may feel dry to the touch while it is still becoming harder and more durable.
I avoid handling finished pieces heavily until the manufacturer’s recommended drying or curing time has passed.
This is particularly important when applying multiple coats.
Moving, stacking, washing, or exposing the project to moisture too soon can damage the finish before it has had enough time to strengthen.
Giving the project extra time is usually worth it.
Common Mistakes to Avoid
Sealing Clay Before It Is Dry
This is one of the biggest mistakes because moisture can become trapped underneath the protective coating.
Give the clay enough time to dry completely before sealing.
Applying One Extremely Thick Coat
A thick layer may seem like it will provide better protection, but it can create drips, cloudy areas, brush marks, and uneven drying.
Thin coats are easier to control.
Using the Wrong Finish for the Project
A decorative clay ornament and a project exposed to frequent moisture do not necessarily need the same type of sealant.
Think about how the finished item will actually be used.
Ignoring the Edges
The edges can absorb moisture just as easily as the front surface.
Make sure your sealer covers the entire exposed area.
Testing Directly on Your Finished Piece
I always prefer testing a new sealer on a leftover piece of clay first.
This gives you a chance to see how the product reacts with your clay, paint, and desired finish before applying it to the project you spent time making.
How I Choose a Sealer for Air Dry Clay
When I am deciding which method to use, I look at three things: how much moisture the project will encounter, what finish I want, and how durable the final piece needs to be.
For a simple indoor decoration, I usually keep the process straightforward with a suitable clear craft sealer.
For painted pieces, I pay closer attention to whether the product is compatible with the paint.
For projects that need a tougher protective surface, I consider a stronger coating and follow the manufacturer’s application and curing instructions carefully.
The goal is not simply to make the clay shiny. The goal is to create a protective barrier that suits the way the finished project will actually be used.
Finishing and Caring for Waterproofed Air Dry Clay
How Many Coats of Sealer Should You Use?
The number of coats depends on the product you choose and how much protection your project needs.
For a basic decorative piece, one properly applied coat may be enough to improve the surface. I usually prefer adding another thin coat when I want more consistent coverage.
The important thing is to let each layer dry before applying the next one.
Adding more and more sealer does not automatically make air dry clay completely waterproof. A good result comes from complete coverage, proper drying, and using a product that matches the intended use of the project.
Always follow the drying and application instructions on the specific product you are using.
How to Tell If Your Clay Has Been Properly Sealed
After the final coat has dried, inspect the entire piece carefully.
Look for areas that appear noticeably different from the rest of the surface. Check the corners, edges, bottom, and any small details that may have been difficult to reach with your brush.
The surface should have an even appearance without obvious patches of exposed clay.
If you notice an area that looks unsealed, allow the existing finish to dry before applying another thin layer.
I find that checking the project from several angles helps because small areas can be easy to miss when looking at the piece from directly above.
Can You Use Waterproofed Air Dry Clay Outdoors?
You can use sealed air dry clay outdoors for some decorative purposes, but I would still be careful about treating it as permanently waterproof.
Outdoor conditions expose clay to much more than occasional splashes of water. Rain, humidity, temperature changes, sunlight, and repeated moisture can eventually affect the clay or the protective coating.
For an outdoor project, choose a sealer specifically intended for exterior use and follow the manufacturer’s instructions.
Even with a suitable coating, I would avoid relying on air dry clay for something that needs to remain permanently exposed to harsh weather.
For decorative outdoor pieces, placing them somewhere sheltered from constant rain can help extend their lifespan.
Can Waterproofed Air Dry Clay Be Washed?
This depends on the sealer and the finished project.
A properly sealed decorative piece may tolerate occasional moisture or gentle wiping, but that does not mean it should automatically be soaked or scrubbed.
I avoid treating sealed air dry clay like ceramic unless the product and construction are specifically designed for that type of use.
For cleaning, a soft damp cloth is often a safer approach for decorative pieces.
Avoid soaking the item for long periods, especially around edges, cracks, or areas where the protective coating may have been damaged.
What If the Clay Starts Cracking After Sealing?
Small cracks can happen for several reasons.
The clay may have dried too quickly, the piece may have been too thick, the clay may have been handled before it was completely dry, or movement may have occurred underneath the protective coating.
A sealer cannot repair structural cracks in the clay.
If you notice a crack before sealing, repair it and allow the clay to dry completely before applying the finish.
If a sealed piece develops a crack later, inspect it carefully before adding more sealant. Simply covering a significant crack with another layer of sealer will not solve the underlying problem.
How to Store Waterproofed Air Dry Clay Projects
Proper storage can help keep your finished pieces looking good for longer.
I like to keep smaller clay projects in a clean, dry area where they are protected from excessive humidity and direct moisture.
Do not place finished clay pieces directly against damp surfaces.
If you are storing several pieces together, make sure they are completely cured before stacking them. Pieces with delicate details can also benefit from being wrapped individually or separated with soft material.
Keeping the pieces dry when they are not being used reduces unnecessary stress on both the clay and the protective coating.
My Simple Waterproofing Process
When I want to protect an air dry clay project, I keep the process simple.
I start by allowing the clay to dry completely. Once it is hard and ready, I lightly smooth any rough areas and remove the dust.
Next, I make sure the piece is clean before applying the chosen sealant.
I apply a thin, even coat over the entire surface, including the sides and bottom. After it has dried according to the product instructions, I inspect the piece and apply another coat if the project needs additional protection.
Once the final coat has dried and cured properly, I avoid unnecessary exposure to water.
This method works well for the decorative clay projects I make because it gives me a protective finish without making the process unnecessarily complicated.
Frequently Asked Questions
What is the best way to waterproof air dry clay?
A suitable waterproof or water resistant sealer is the most practical option. Clear acrylic sealers, appropriate varnishes, polyurethane products, and epoxy resin can all be considered depending on the project and the level of protection required.
Does Mod Podge make air dry clay waterproof?
Some Mod Podge formulas provide water resistance, but you should check the specific product rather than assuming every formula is waterproof. For projects exposed to significant moisture, use a product specifically designed for that level of protection.
Can you use clear spray sealer on air dry clay?
Yes. A compatible clear spray sealer can be used on fully dried air dry clay. Apply light, even coats and follow the manufacturer’s instructions for ventilation, drying time, and application.
Can air dry clay hold water after sealing?
I would not assume that sealed air dry clay is suitable for holding water simply because the outside has been coated. Continuous exposure can eventually allow moisture to reach the clay, particularly if the coating becomes scratched or damaged.
Can you make air dry clay waterproof without varnish?
Yes. Varnish is only one option. Depending on your project, you can consider acrylic sealers, polyurethane, epoxy resin, or another compatible protective coating.
Why does my sealed air dry clay still absorb water?
The clay may not have been completely covered, the coating may not provide enough water resistance, or the protective layer may have been damaged. Air dry clay itself remains porous, so the quality and coverage of the seal are important.
Final Thoughts
Waterproofing air dry clay is mostly about choosing the right protective coating and taking your time with the preparation.
The biggest lesson I have learned from working with clay is not to rush the finishing stage. Let the clay dry completely, smooth the surface when necessary, apply thin coats, and give the finished piece enough time to dry and cure.
Also, think about how you will actually use the project. A decorative ornament, clay tray, planter decoration, and outdoor sculpture can all require different levels of protection.
Once you understand that difference, waterproofing air dry clay becomes much easier and you can choose a finishing method that gives your handmade project the protection and appearance you want.