How to Properly Paint Polymer Clay
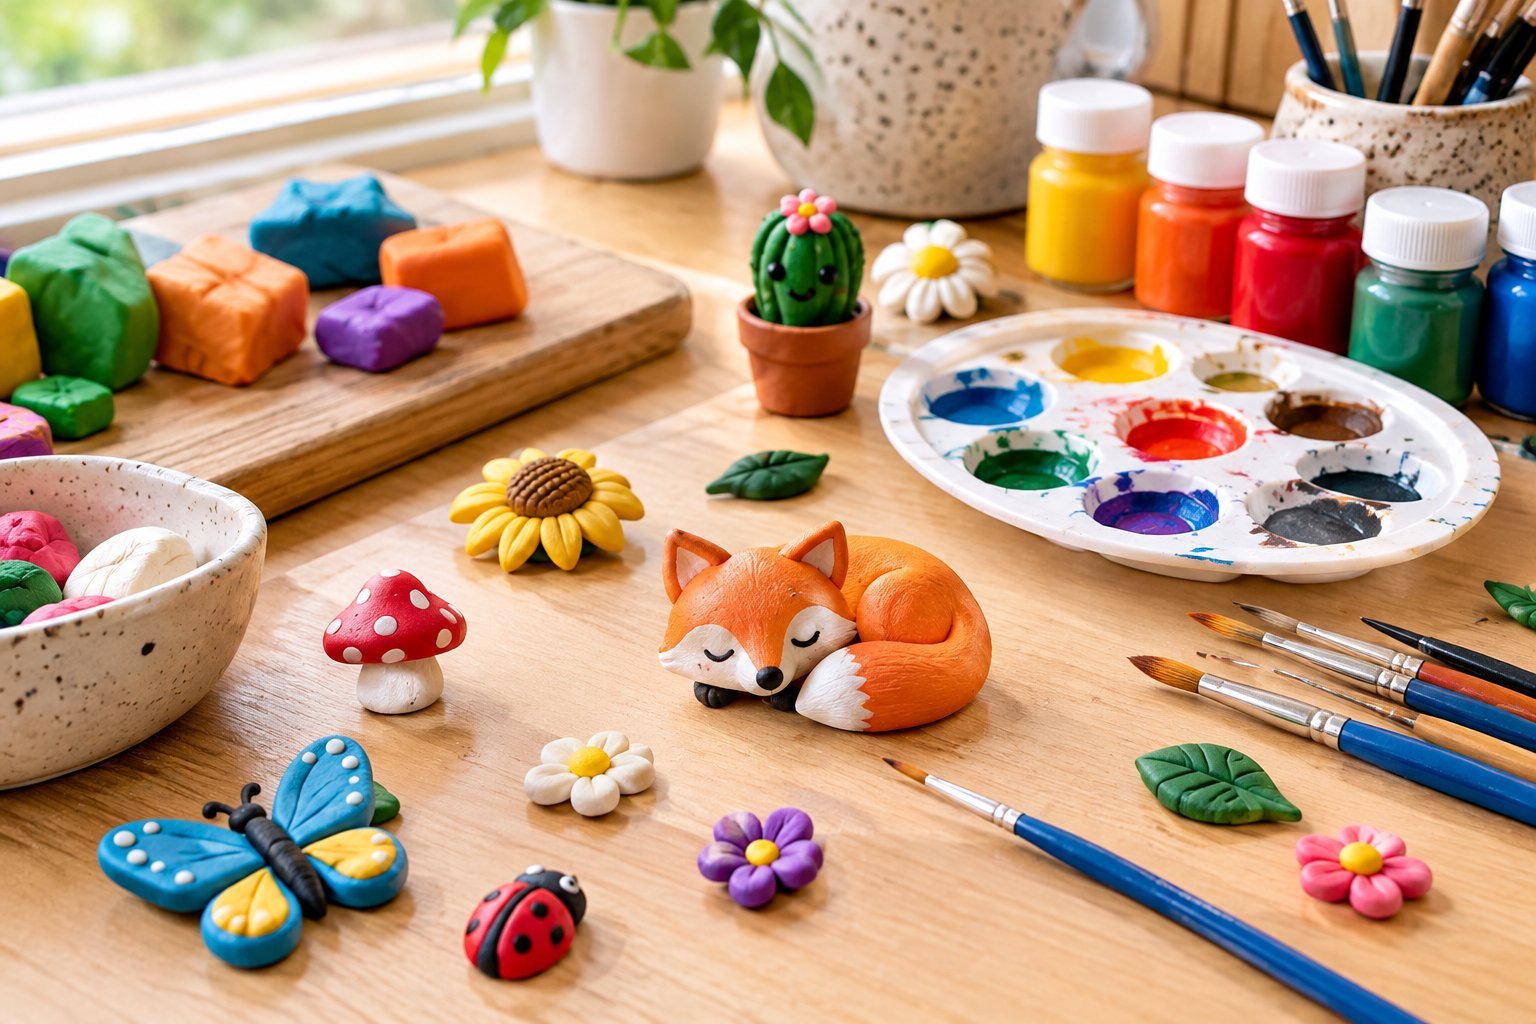
Painting polymer clay is one of my favorite ways to add more detail and personality to a clay project. Even when I like the color of the clay itself, adding paint can completely change the finished piece and give me much more control over small details.
What I have learned from working with polymer clay is that the painting itself is usually not the difficult part. Getting the surface ready and using the right amount of paint makes a much bigger difference. When I rush those steps, I can end up with visible brush marks, uneven color, or paint that does not look as smooth as I expected.
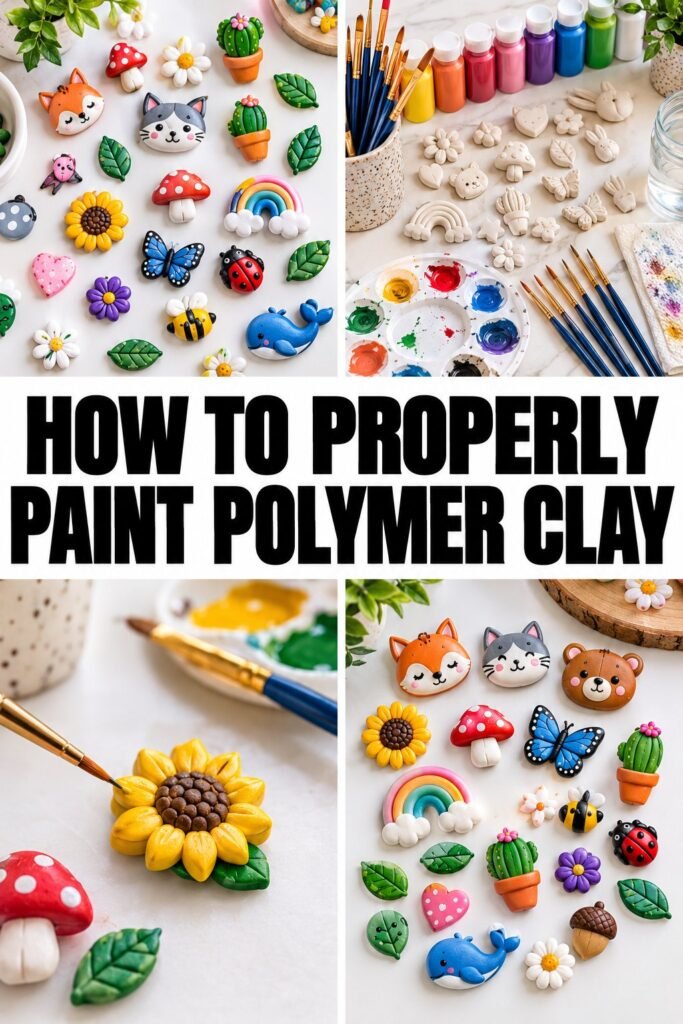
I prefer painting my polymer clay after it has been baked and completely cooled. This gives me a firm surface to work on and makes it easier to control small details. I also prefer building color gradually instead of trying to cover everything with one thick layer.
In this guide, I will walk you through how I properly paint polymer clay, what paint and brushes I use, how I prepare the surface, and the mistakes I try to avoid. I will also explain how I handle small details and what I do when I want the finished piece to have a more polished look.
What You Need to Paint Polymer Clay
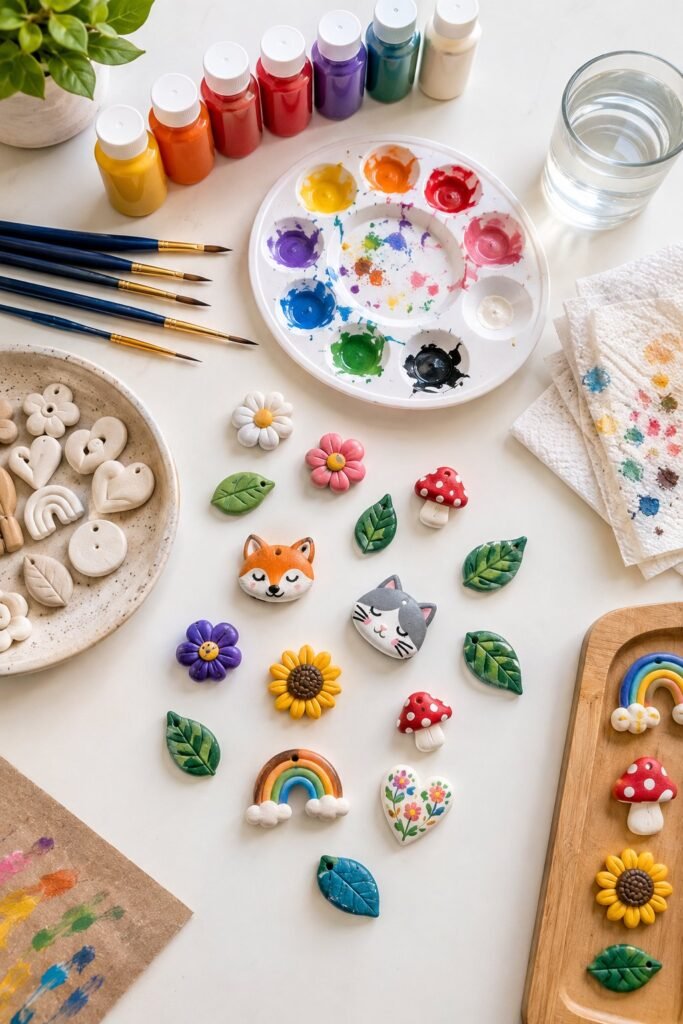
You do not need a huge collection of supplies to start painting polymer clay. I prefer keeping my setup simple because having too many products can make a small project unnecessarily complicated.
Acrylic Paint
Acrylic paint is my go to option for painting cured polymer clay. It is easy to work with, dries relatively quickly, and gives me plenty of control when I am working on small details.
I like having a few basic colors available rather than buying every shade. I can mix colors as I work, which is especially useful when I want a particular shade that I cannot find in my paint collection.
Small Paint Brushes
The size of the brush makes a big difference when painting clay. I keep a few small brushes available for detail work and a slightly larger soft brush for covering bigger areas.
For tiny designs, I prefer a fine pointed brush because it gives me better control. A brush that is too large can make it difficult to stay inside small shapes.
I also make sure my brushes are clean before starting. Old dried paint can affect the way a brush moves across the surface and can leave unwanted texture behind.
Palette
I usually use a small palette or a clean surface for mixing paint. I do not like applying paint directly from the bottle because it makes it harder to control how much I am using.
A palette also makes it easier to mix custom colors and keep the amount of paint small.
Water and Paper Towels
I keep a small amount of clean water nearby for cleaning my brushes. I also keep paper towels close because I like removing excess water from the brush before picking up paint again.
I do not want my brush soaking wet when I am painting polymer clay. Too much water can make the paint thinner than I want and can make it harder to build an even layer.
Varnish or Sealer
A sealer can be useful when I want to protect the painted surface or change the final appearance.
I do not automatically seal every piece I make. The finish I want and how the finished item will be handled determine whether I use one.
If I decide to use a sealer, I always prefer testing it on a leftover piece of clay first. This lets me see how it reacts with the paint before I put it on the finished project.
Step 1: Shape Your Polymer Clay
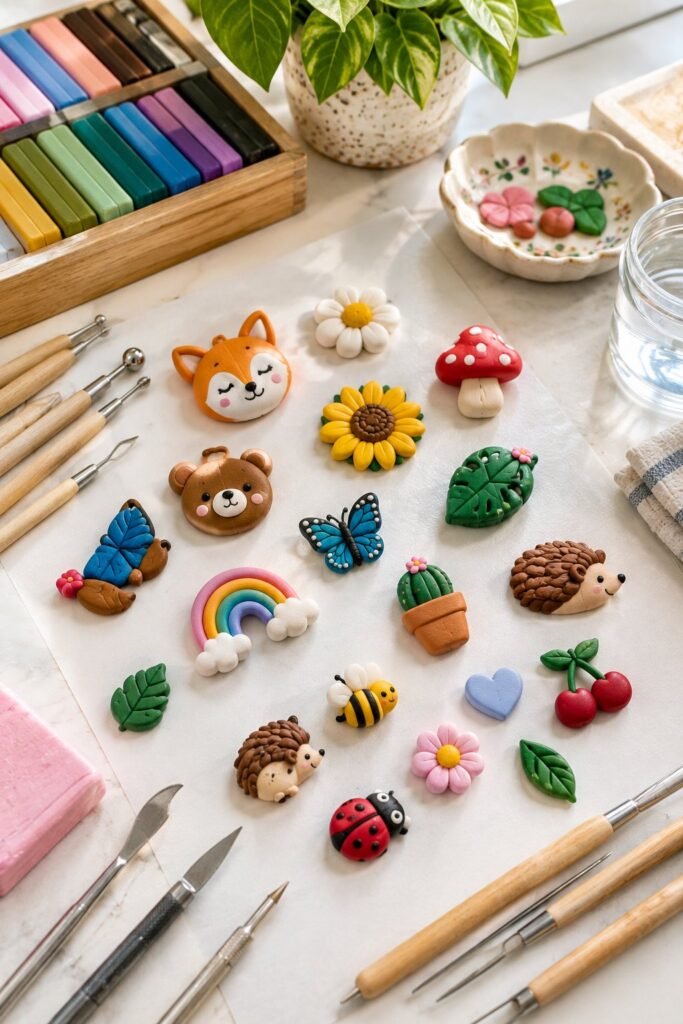
Before I think about painting, I make sure the polymer clay piece is completely finished.
This means shaping the clay, adding texture or details, and making sure I am happy with the design before baking it.
I try not to leave unnecessary fingerprints or deep marks on the surface because paint can sometimes make those imperfections more noticeable.
For detailed projects, I also check the piece from different angles before baking. It is much easier to fix the shape while the clay is still workable than after it has been cured.
Step 2: Bake the Polymer Clay
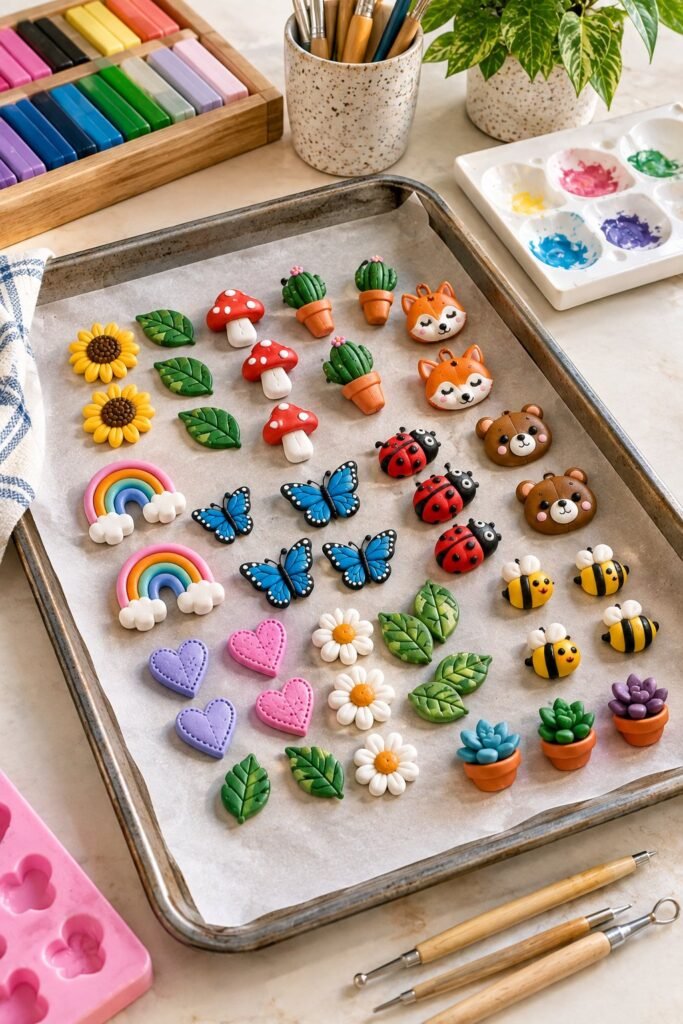
I bake the polymer clay according to the manufacturer’s instructions for the specific clay I am using.
This step matters because underbaking can leave the clay weaker than it should be, while excessive heat can damage the piece.
I always check the recommended baking temperature and time on the package instead of guessing. Different polymer clay brands and formulations can have different instructions.
Once the clay has finished baking, I allow it to cool completely before I start painting.
Step 3: Let the Clay Cool Completely
I never rush into painting while the clay is still warm.
After baking, I place the piece somewhere clean and allow it to cool naturally. Once it is completely cool, I can handle it comfortably and start preparing the surface.
This also gives me a chance to inspect the finished piece carefully. If I notice any small imperfections, I can deal with them before starting the paint.
Step 4: Clean the Surface
Before painting, I make sure the surface is clean and free from dust, loose particles, or anything that could interfere with the paint.
I handle the piece carefully because oils from my fingers can get onto the surface while I am working.
For small projects, I usually give the surface a gentle wipe and let it dry completely before painting.
I also avoid starting with a dusty brush or dirty palette. Small particles can become surprisingly noticeable once paint is applied.
Step 5: Start With Thin Layers of Paint
This is probably one of the most important things I have learned about painting polymer clay.
I would rather apply two or three thin coats than one thick coat.
A thick layer can look uneven and can hide some of the small details in the clay. Thin layers give me much more control and allow me to build the color gradually.
I start with a small amount of paint on my brush and spread it evenly across the area I am working on. I do not try to make the first coat perfectly opaque.
Instead, I let it dry and then decide whether another coat is needed.
Step 6: Let Each Coat Dry
Once I finish a coat, I give it enough time to dry before adding another.
This is another place where rushing can make the finished piece look less polished. If I paint over a layer that has not dried properly, I can accidentally move the previous coat and create an uneven surface.
I usually inspect the piece once the first coat is dry. If I can still see the clay underneath, I add another thin layer rather than trying to solve the problem with a thick application.
That gradual approach gives me much more control over the final color.
Step 7: Add the Small Details
Once the base color is completely dry, I move on to the smaller details. This is the part I usually enjoy the most because even a simple polymer clay piece can look completely different once the details are added.
For small designs, I switch to a fine tipped brush and use a small amount of paint. I find that it is much easier to add more paint than to remove it, so I work slowly and build the details little by little.
If I am painting eyes, tiny flowers, dots, lines, patterns, or other small decorations, I usually rest my hand on the table to keep it steady. This gives me much better control over the brush.
I also avoid loading the brush with too much paint. Excess paint can spread into areas that I do not want to cover, especially when working on small pieces.
Step 8: Mix Colors Carefully
I often mix colors when I want something more specific than the shades I already have.
For example, instead of buying several different versions of the same color, I can mix a small amount of paint to create the shade I need.
I always mix enough paint for the area I am working on if possible. Trying to recreate exactly the same color later can be difficult, especially when working with very small amounts.
When I find a color combination that I really like, I make a mental note of the proportions so I can get close to the same shade if I need more.
Step 9: Fix Mistakes Before the Paint Fully Sets
Mistakes happen, especially when I am working on tiny polymer clay pieces.
If I accidentally paint outside the area I intended, I do not immediately panic or cover the entire piece with another color. I let the mistake dry when necessary and then carefully correct it with the appropriate base color.
A fine brush makes this much easier.
For very small details, I also keep a clean brush nearby. Sometimes a slightly damp clean brush can help remove or soften a small amount of unwanted paint before it has fully dried.
The main thing I try to avoid is repeatedly touching the same area while the paint is wet. That usually makes the mistake worse.
Step 10: Build Up the Color Gradually
When I want a strong, solid color, I continue adding thin coats instead of applying a heavy layer.
The number of coats depends on the paint color, the clay underneath, and the finish I want.
Some colors cover more easily than others. Darker shades can sometimes become opaque quickly, while lighter colors may need additional coats to look even.
I also look at the piece from different angles between coats. What looks evenly painted from one direction may show thin areas when the light hits it differently.
How to Get a Smooth Finish
Getting a smooth finish is mostly about controlling the amount of paint I use.
I try not to overload my brush. I pick up a small amount of paint and spread it gently instead of repeatedly brushing over the same area.
I also avoid pressing the brush too hard against the clay. A light touch gives me better control and helps prevent visible brush marks.
Another thing that helps is using a good quality brush that still has its shape. A brush with damaged or separated bristles can make detail work frustrating.
If I notice visible brush marks, I usually let the coat dry completely before deciding what to do next. Trying to fix wet paint immediately can create an even rougher surface.
Should You Sand Polymer Clay Before Painting?
In most cases, I do not sand a polymer clay piece simply because I plan to paint it.
If the clay has a rough surface, unwanted marks, or imperfections that need correcting, gentle sanding can sometimes help prepare the piece. However, I prefer getting the surface as smooth as possible while working with the clay rather than relying heavily on sanding afterward.
If I do sand polymer clay, I clean the piece carefully afterward because dust left on the surface can interfere with painting.
What Paint Works Best on Polymer Clay?
Acrylic paint is the option I would recommend starting with because it is accessible, easy to apply, and works well for many polymer clay projects.
I especially like it for decorative pieces where I need to create small details or build up several layers of color.
The important thing is not only the type of paint but also how it is applied. Even good paint can look messy when it is applied too thickly or over a surface that has not been properly prepared.
I would also test unfamiliar paints on a scrap piece of cured polymer clay before using them on a finished project. This gives me a chance to see how the paint behaves and whether I like the final result.
Common Mistakes I Avoid When Painting Polymer Clay
Painting Before the Clay Is Properly Baked
I prefer painting after the clay has been properly cured unless the specific product instructions say otherwise.
Painting a fully cured piece gives me a stable surface and makes detail work much easier.
Applying Too Much Paint
Thick paint can cover the small details that make polymer clay pieces interesting.
I get a much cleaner result when I build the color slowly.
Using Too Much Water
I only use a small amount of water when cleaning my brush. I do not want my paint to become excessively thin unless I specifically need that effect.
Rushing Between Coats
I let each layer dry before adding another. This takes a little more patience, but it gives me much better control over the finished surface.
Using a Dirty Brush
Old paint trapped in the bristles can affect the new color and create unwanted texture. I clean my brushes regularly while working.
Skipping a Test Piece
Whenever I am trying a new paint, varnish, or sealer, I prefer testing it on a scrap piece of cured clay first.
That small test can save the finished project from an unpleasant surprise.
How to Seal Painted Polymer Clay
Once I am happy with the paint and everything is completely dry, I decide whether the piece actually needs a sealer.
I do not think every polymer clay project needs to be sealed. Some pieces can be left as they are, especially when the paint already has the finish I want and the item will not receive much handling.
For pieces that will be handled regularly, I may use a compatible polymer clay sealer to add another layer of protection. The finish can also change the appearance of the project, so I choose between a matte, satin, or glossy finish depending on the look I want.
I always make sure the paint is completely dry before applying any sealer. I also prefer applying a thin layer rather than trying to cover the entire piece with a heavy coat.
Most importantly, I test the sealer on a scrap piece of cured polymer clay first. Different products can behave differently, and I would rather discover a problem on a test piece than on a project that took hours to make.
How to Avoid Brush Marks
Brush marks can be one of the most noticeable problems when painting polymer clay, especially on larger smooth surfaces.
The first thing I focus on is the amount of paint on my brush. Too much paint makes it difficult to control the application and can leave thicker areas behind.
I also try to use smooth strokes and avoid repeatedly brushing over an area once the paint has started to dry.
If the first coat does not look perfect, I let it dry rather than continuing to work on it. A second thin coat usually gives me a much cleaner result.
Using the right brush also makes a difference. For larger surfaces, I prefer a soft brush that can distribute the paint evenly. For tiny details, I use a smaller pointed brush.
How to Paint Polymer Clay Without Losing the Details
One thing I pay close attention to is preserving the texture and small details of the clay.
If I have created tiny grooves, raised decorations, patterns, or other textures, I avoid covering them with thick paint.
I use a small amount of paint and let the shape of the brush do most of the work. If a particular detail needs stronger color, I can always add another thin layer.
For raised details, I may use a slightly different shade to make the texture more noticeable. This can give the piece more depth without requiring a complicated painting technique.
Can You Paint Polymer Clay Before Baking?
This depends on the specific paint and clay technique being used, so I always check the instructions for the materials involved.
For the approach I use most often, I prefer painting after the polymer clay has been baked and cooled. This gives me a stable surface and makes it easier to control the paint.
Painting after baking also means I can see the final shape of the piece before deciding exactly where the colors and details should go.
Can You Use Acrylic Paint on Polymer Clay?
Yes, acrylic paint is commonly used for decorating cured polymer clay.
It is one of the options I prefer because it is easy to work with and available in many colors. It also works well for detailed designs because I can apply thin layers and build up the color gradually.
I still recommend testing the specific paint on a scrap piece of polymer clay before using it on a finished project.
Do You Need to Seal Painted Polymer Clay?
Not always.
Whether I seal a piece depends on the type of project, the paint I used, the finish I want, and how much handling the finished item will receive.
If I want additional protection or a specific finish, I use a compatible sealer. If the piece already has the finish I want and does not need additional protection, I may leave it unsealed.
Testing the sealer beforehand is important because I want to know exactly how it will look once it dries.
How Long Should Polymer Clay Paint Dry?
Drying time depends on the type of paint, how thickly it was applied, the temperature, and the surrounding conditions.
I do not rely only on a specific number of minutes. I check the surface before adding another layer. If the paint still feels tacky or moves when touched lightly, I give it more time.
Thin coats generally make the process easier because they dry more evenly than thick applications.
My Tips for Getting a Professional Looking Finish
The biggest difference I have noticed comes from slowing down.
I make sure the clay is properly cured before painting, keep the surface clean, use the right brush for the job, and apply thin coats instead of trying to finish everything in one application.
I also try not to overwork the piece. Once a coat looks good, I leave it alone and allow it to dry. Constantly going back over wet paint is one of the easiest ways to create an uneven finish.
For detailed designs, I work from the larger areas toward the smaller details. This gives me a cleaner base and makes it easier to correct mistakes.
I also keep a scrap piece of cured polymer clay nearby whenever I am testing a new color combination or finishing product. It is a simple habit, but it has saved me from making changes directly on a finished piece.
Final Thoughts
Painting polymer clay becomes much easier once I stopped treating it as a race to get the color onto the piece. The preparation, thin layers, drying time, and small details all have an effect on the final result.
I prefer working with acrylic paint because it gives me plenty of control and makes it easy to build up color gradually. I also find that using the right brush and keeping the amount of paint small makes detailed work much less frustrating.
The biggest tip I can give is to take your time. Let the clay cure properly, clean the surface before painting, use thin coats, allow each layer to dry, and test unfamiliar products before putting them on your finished project.
That extra bit of patience can make the difference between a piece that simply has paint on it and one that looks carefully finished.