How to Make Coffee Clay at Home
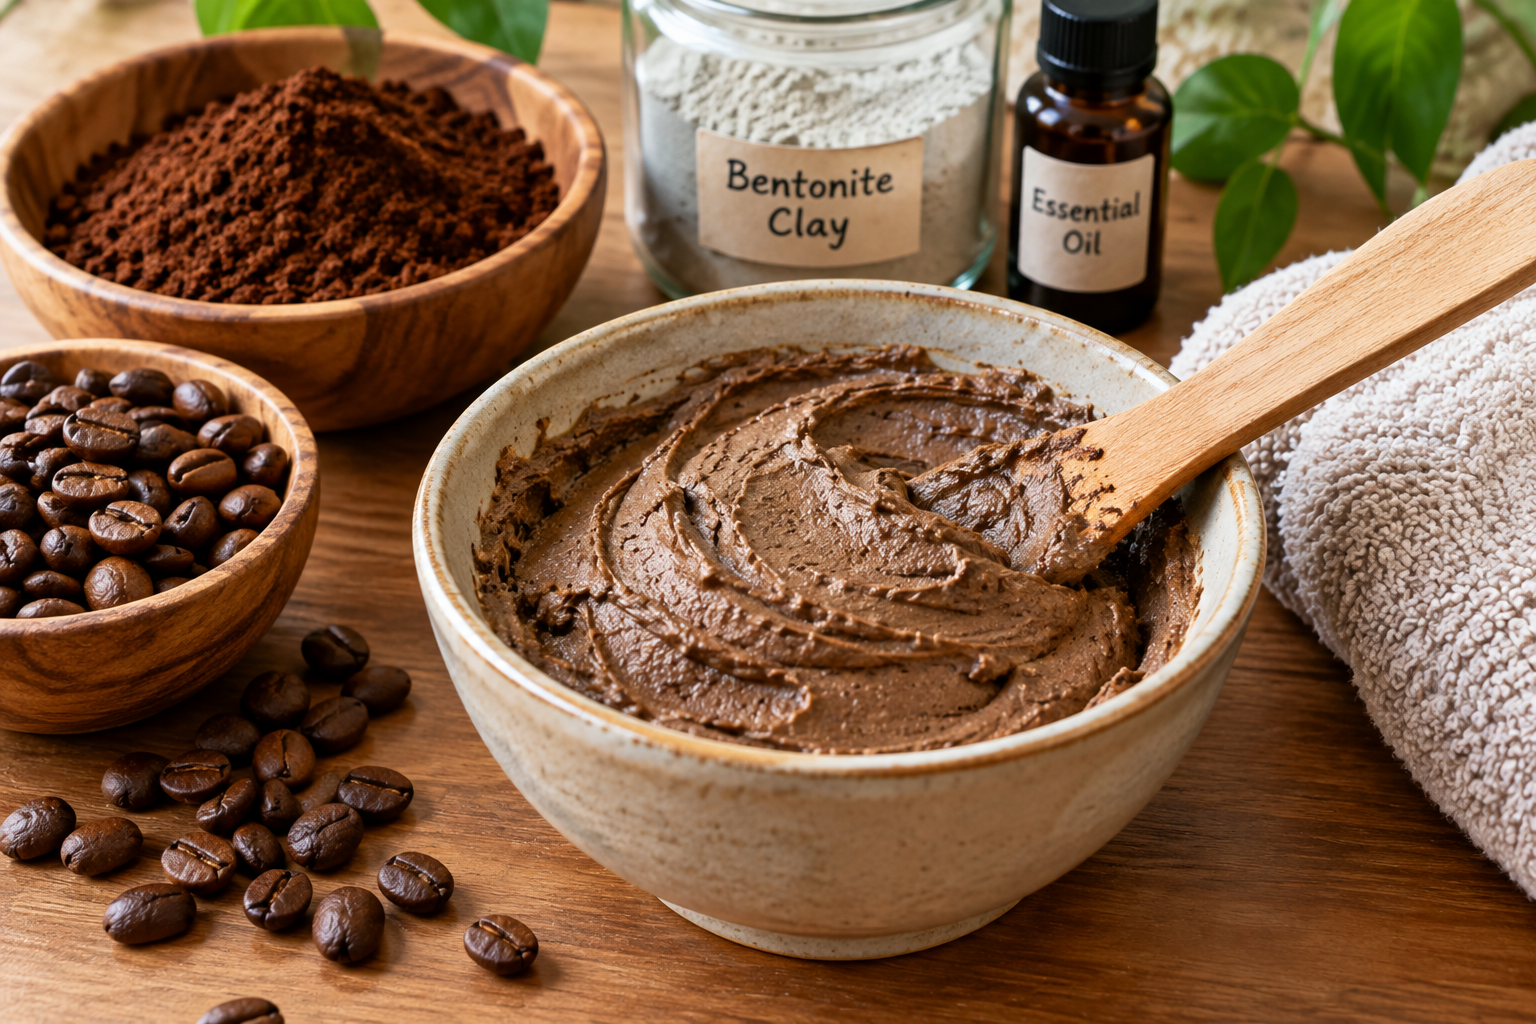
If you love coffee and love crafting, coffee clay might just be your new favorite weekend project. Made by combining used coffee grounds with a simple binding agent, this eco-friendly, air-dry clay has a warm, earthy brown tone that plain homemade clay just can’t match — and it’s a great way to give your leftover grounds a second life instead of tossing them.
It’s part of a whole world of low-cost, high-charm crafting: if you’ve ever tried DIY resin crafts that sell well or put together DIY clay gift ideas to make and sell, coffee clay fits right into that same handmade, sellable-goods mindset.

Once you’ve got the hang of shaping it, the possibilities open up fast — from rustic home décor to wearable pieces like the ones in our complete beginner’s guide to easy DIY clay earrings, or even small-batch pieces styled after our DIY polymer clay crafts that sell on Etsy.
In this guide, we’ll walk through exactly what you need, how to mix and knead the clay to the right consistency, and a few creative ideas for what to make once it’s ready.
What Is Coffee Clay and What You Need
Coffee clay is such a fun material to make when you want to create something with a warm, natural, earthy look without buying specialty craft clay. I especially like it for small handmade projects because the finished pieces have a soft coffee colored appearance that can look beautiful with simple details.
Making the clay at home also gives you control over the texture, thickness, and color, so you can adjust the mixture depending on what you plan to create.
The ingredients are inexpensive and easy to find, and the process is simple enough to do in a regular kitchen. In this guide, I’ll show you how I make coffee clay at home, how to get the consistency right, how to shape it without making a mess, and how to dry the finished pieces properly.
I’ll also share a few practical tips that make the process easier, especially when you are working with small decorations, ornaments, tags, or other handmade crafts.
What Is Coffee Clay?

Coffee clay is a homemade craft material made with coffee and a few simple ingredients to create a moldable dough with a naturally brown appearance.
The coffee gives the clay its distinctive color and can also add a subtle textured appearance, depending on how finely the coffee is ground.
I like using coffee clay for decorative projects where I want something that looks rustic, handmade, and slightly different from traditional craft clay.
The finished color can vary depending on the type and amount of coffee you use. A stronger coffee mixture generally produces a deeper brown shade, while lighter coffee creates a softer tan color.
Why Make Coffee Clay at Home?
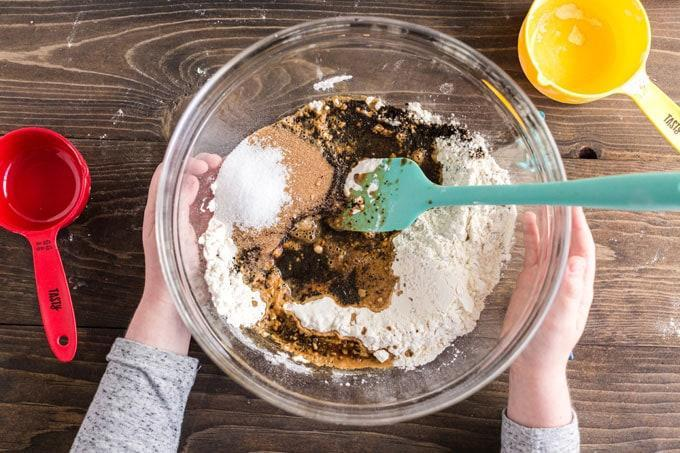
Making your own clay is a simple way to experiment with homemade crafts without purchasing specialty materials.
Coffee clay is particularly nice for projects where you want an earthy finish. It can also be a fun activity when you want to make handmade decorations using ingredients already available in the kitchen.
Another reason I like this recipe is that the texture can be adjusted quite easily. If the dough feels too sticky, you can add a little more dry ingredient. If it feels too crumbly, you can gradually add more liquid.
That flexibility makes it much easier to get a workable consistency.
What You Need to Make Coffee Clay
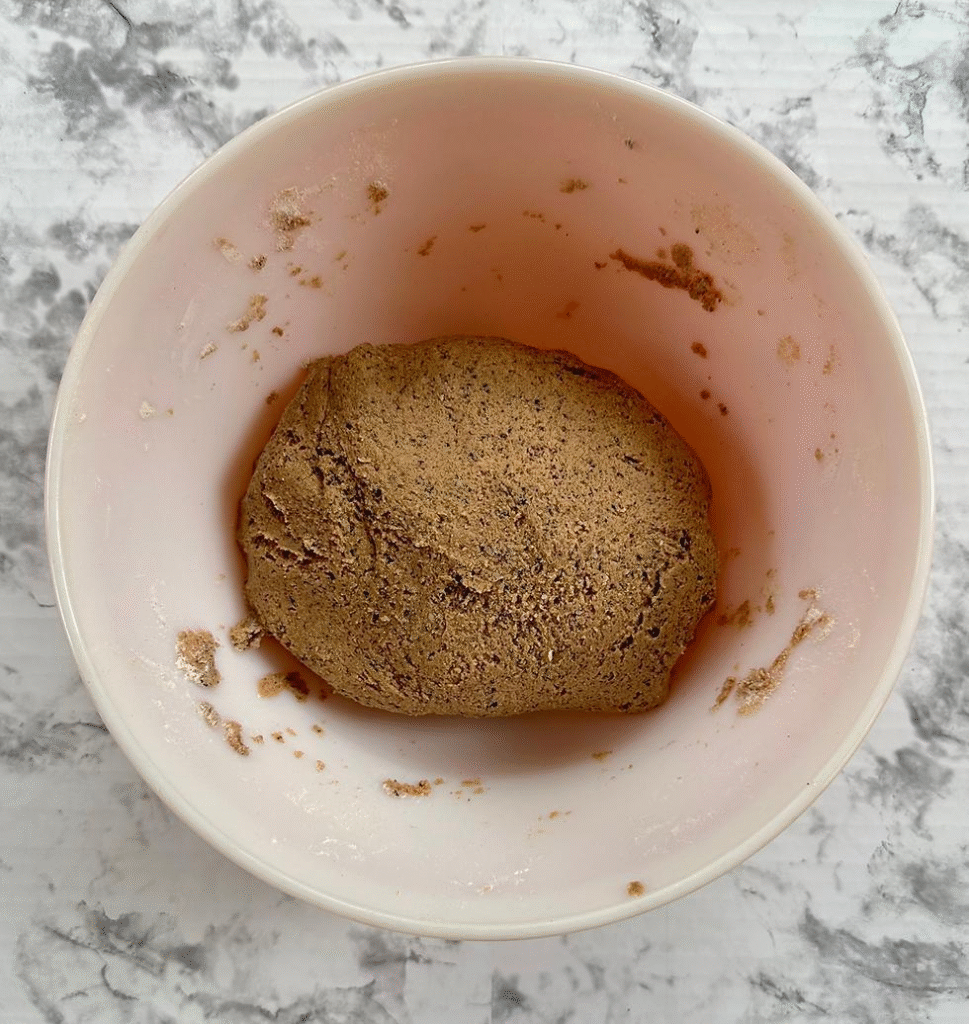
For a simple homemade coffee clay recipe, you will need:
Flour
Flour forms the main structure of the clay and helps create the dough-like consistency needed for shaping.
Salt
Salt helps create a firmer craft dough and is commonly used in homemade clay and salt dough recipes.
Coffee
Coffee provides the characteristic brown color and earthy appearance.
You can use finely ground coffee or prepared coffee depending on the exact look and texture you want.
Water
Water brings the dry ingredients together and allows you to create a workable dough.
Add it gradually rather than pouring everything in at once. This makes it much easier to control the final consistency.
Equipment You Will Need

You do not need a lot of equipment for this project.
I recommend having:
- Mixing bowl
- Measuring cups and spoons
- Spoon or spatula
- Rolling pin
- Parchment paper
- Cookie cutters or small craft cutters
- Baking tray if drying in the oven
- Straw or skewer for making holes
- Cooling rack
Keep a little extra flour nearby as you work. The exact moisture level can vary, so having extra dry ingredients available makes it easier to adjust the dough.
How to Make Coffee Clay
Start by combining your dry ingredients in a mixing bowl.
Mix the flour and salt thoroughly so the ingredients are evenly distributed.
Add your coffee and stir everything together.
Begin adding water gradually while mixing. I recommend adding small amounts rather than all at once because the dough can quickly become too wet.
Continue mixing until the ingredients begin to form a dough.
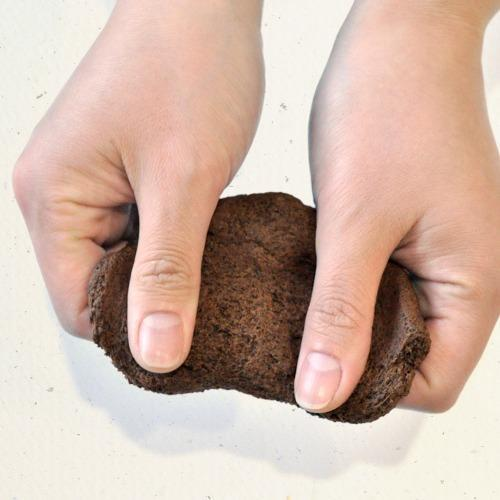
Once the mixture starts holding together, transfer it to a clean work surface and knead it gently.
You are looking for a dough that feels smooth enough to shape without sticking heavily to your hands or work surface.
If it is too sticky, add a small amount of flour.
If it is too dry or cracks immediately when you knead it, add a tiny amount of water and continue working it.
The Texture You Are Looking For
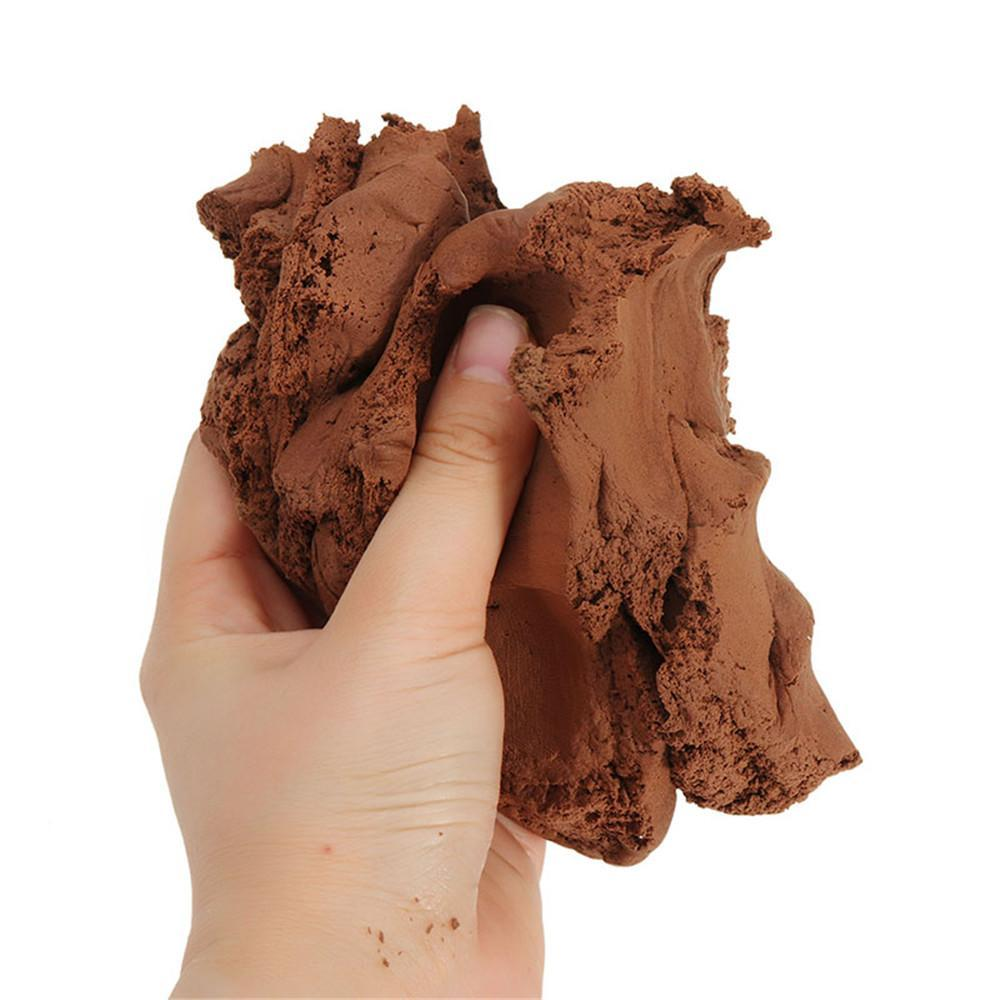
The ideal coffee clay should feel similar to a soft modeling dough.
It should hold its shape when you press or roll it, but it should not stick excessively to your fingers.
This is one part of the recipe where I prefer to trust the texture rather than relying entirely on a measurement.
Humidity, flour type, coffee moisture, and the amount of liquid used can all affect the dough.
Take your time adding liquid and adjust the mixture gradually until it feels easy to work with.
Shape, Texture and Dry Your Coffee Clay
Once the coffee clay reaches the right consistency, the fun part begins. This is where you can turn the homemade dough into ornaments, tags, small decorations, little shapes, or whatever project you have in mind.
I like working with the clay in smaller portions because it is easier to control the thickness and keep the rest of the dough from drying out while I work. The most important thing is not to rush the shaping process.
A few small adjustments while the clay is still soft can make a noticeable difference in how the finished pieces look.
6. Roll Out the Coffee Clay
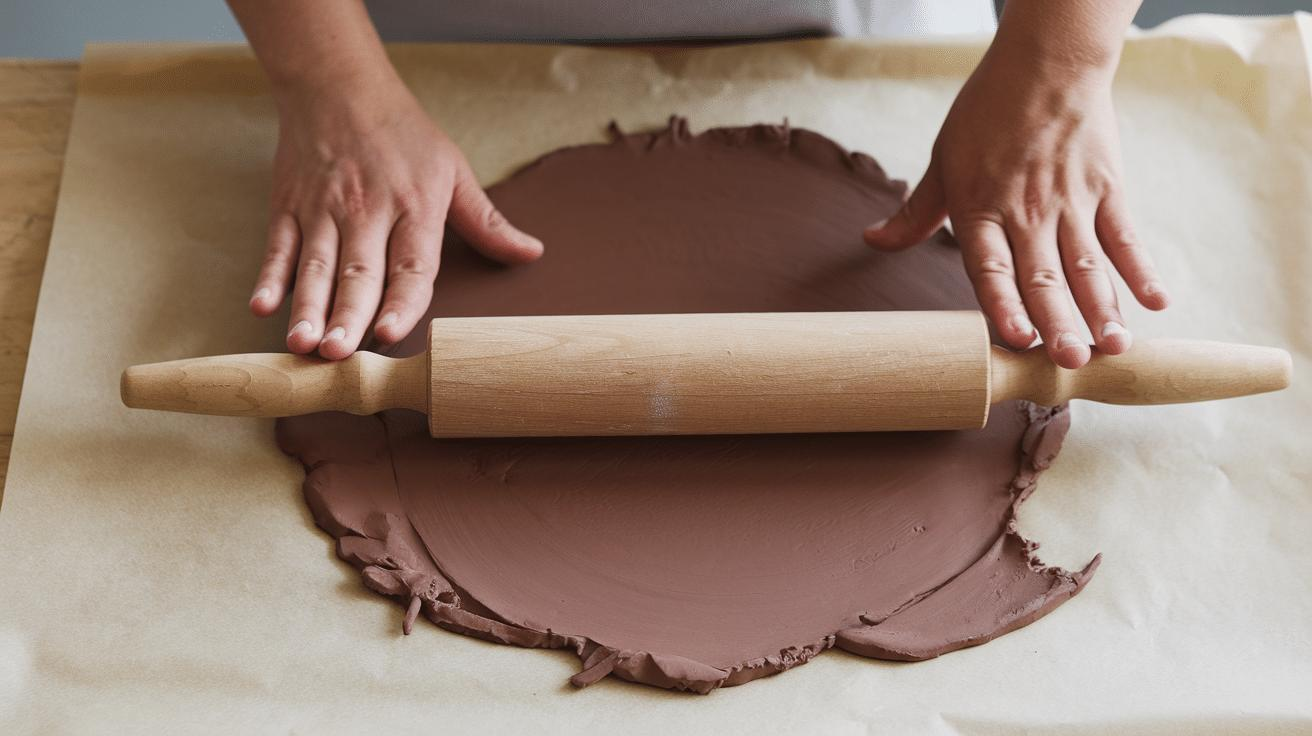
Place a sheet of parchment paper on your work surface and put a portion of the coffee clay on top.
Use a rolling pin to gently flatten the dough.
Try to keep the thickness as even as possible. Pieces that are much thicker in the center can take longer to dry and may be more likely to develop cracks.
For small decorations and ornaments, I prefer a moderate, even thickness rather than rolling the clay extremely thin.
If the dough sticks to the rolling pin, lightly dust the surface with flour and continue rolling.
Do not add too much flour, though. Excess flour can change the texture and make the finished surface look less smooth.
7. Cut Your Shapes
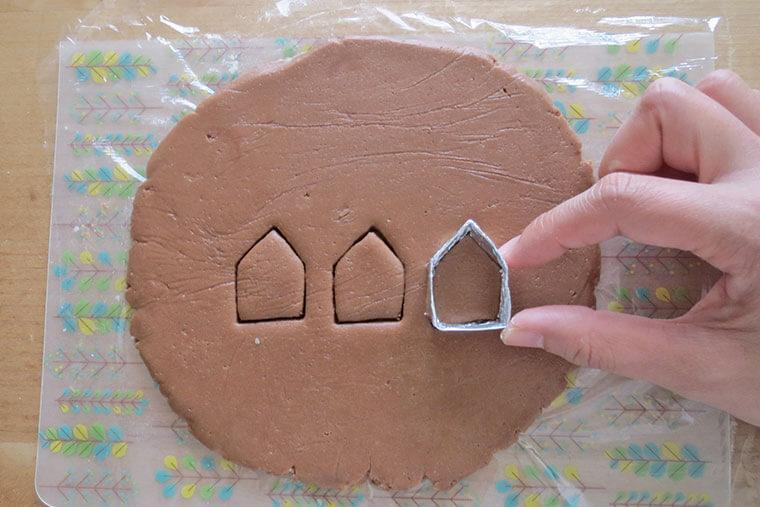
Once the clay is rolled out, use cookie cutters or small craft cutters to create your shapes.
Press the cutter firmly into the dough and lift it straight up to keep the edges clean.
You can make simple circles, stars, hearts, flowers, leaves, or seasonal shapes.
Remove the excess clay around each piece and gently lift the finished shapes onto a parchment lined tray.
If you notice rough edges, smooth them carefully with your fingertip while the clay is still soft.
This is much easier to do now than trying to fix rough edges after the pieces have dried.
8. Add Texture and Details
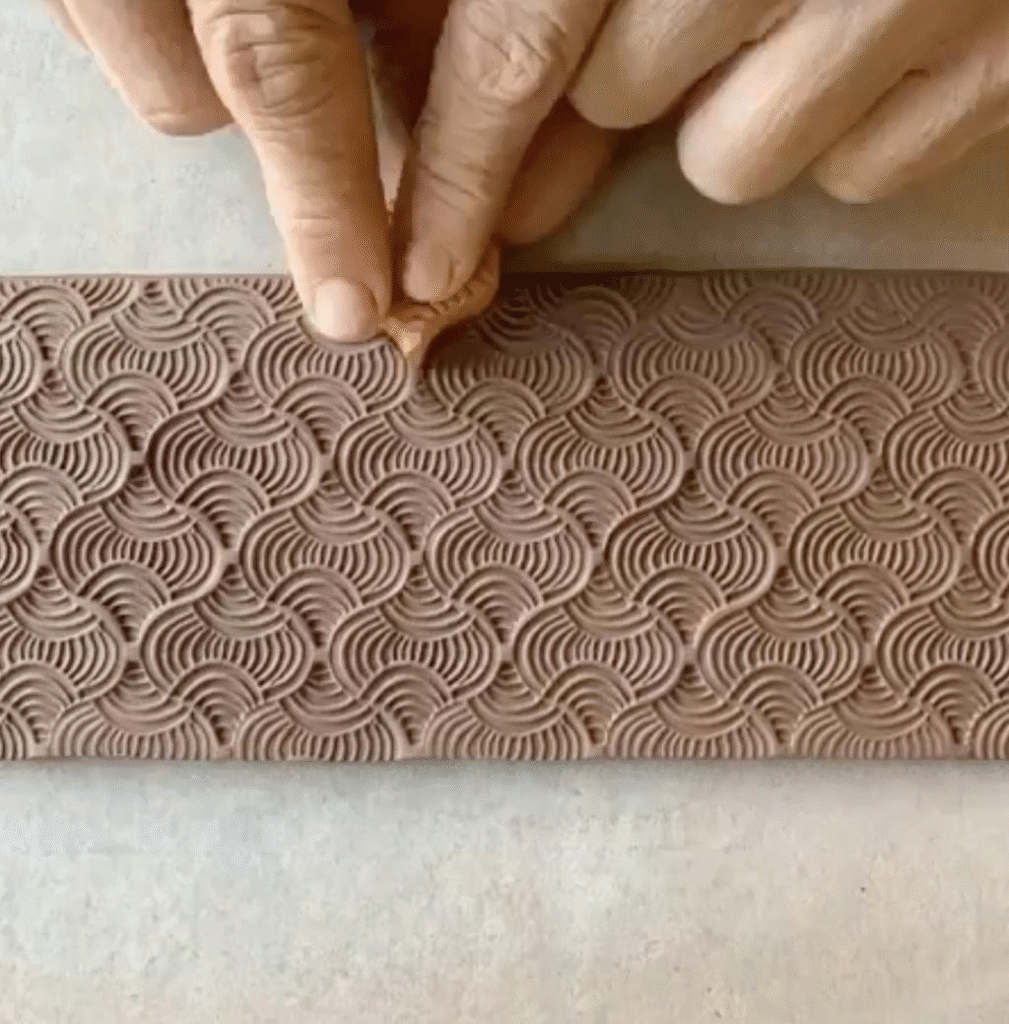
Coffee clay looks beautiful with simple textures.
You can press a leaf, lace, fabric, stamp, fork, or other textured object gently into the surface to create an impression.
I like keeping the details fairly simple because the natural brown color already gives the clay an earthy appearance.
You can also use a toothpick or skewer to add small lines, dots, initials, or other decorative details.
Test your texture on a small leftover piece of clay before using it on your finished shapes. Some objects create much deeper impressions than expected.
9. Make Holes Before Drying
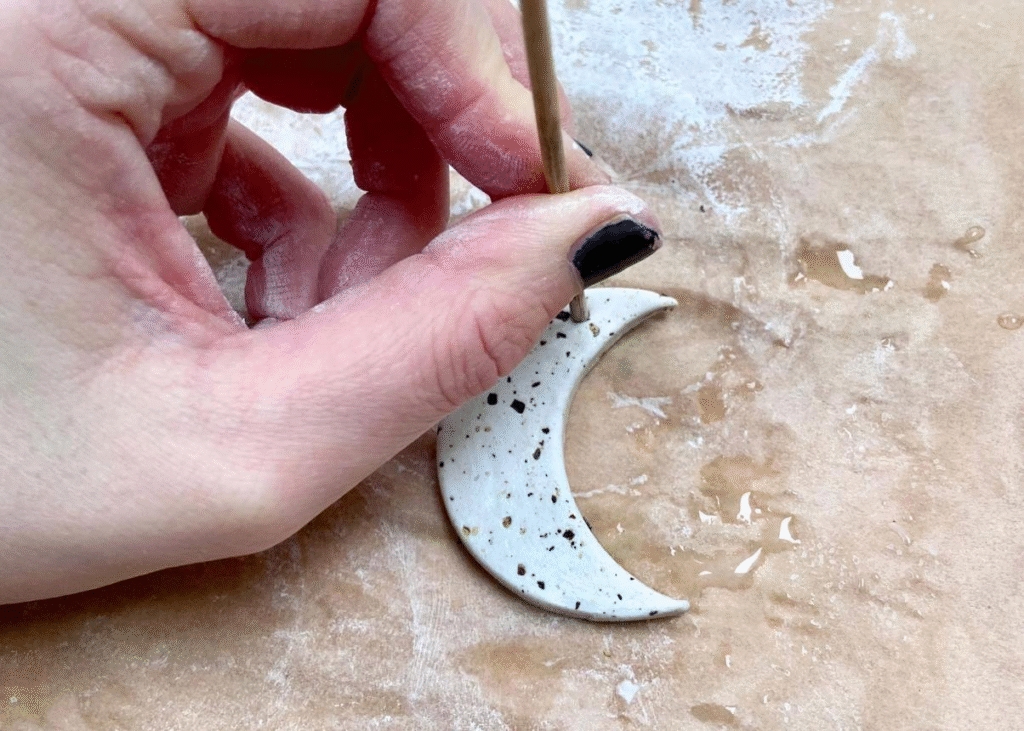
If you are making ornaments or tags that need to be hung, make the hole while the clay is still soft.
A drinking straw works well for larger holes, while a skewer or similar tool can create a smaller opening.
Make sure the hole is not too close to the edge because the clay can become weaker around the opening.
I prefer checking every piece before drying rather than realizing afterward that I forgot to make a hole.
10. Smooth the Edges

Take a moment to inspect each piece before drying.
Run your fingertip gently around the edges and smooth away small cracks or rough areas.
If the surface has developed a small crack, gently press the surrounding clay together and smooth it with a slightly damp fingertip.
Avoid adding too much water because this can make the surface sticky and difficult to work with.
The smoother the pieces are before drying, the less finishing work you will need later.
11. Dry the Coffee Clay
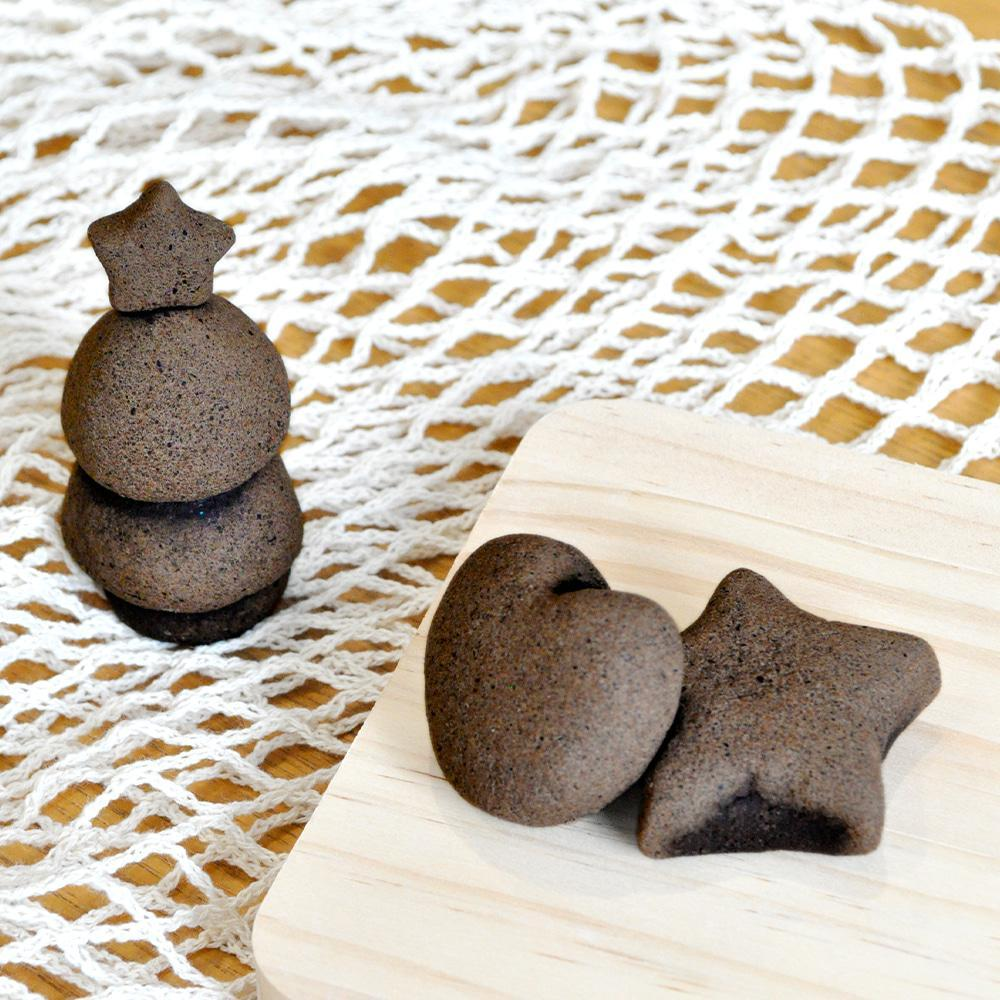
There are a couple of ways to dry your coffee clay, depending on the recipe and project.
Air Drying
Place the finished pieces on parchment paper or a suitable drying surface and allow them to dry naturally.
Turn the pieces occasionally so that both sides can dry evenly.
Thicker pieces will naturally take longer than thin pieces, so avoid judging the drying time only by the outside appearance.
Oven Drying
If you want to speed up the process, you can use a low oven temperature suitable for homemade salt dough style crafts.
Place the pieces on a parchment lined baking tray and dry them gently rather than using high heat.
The exact drying time depends on the thickness and moisture content of the clay, so check the pieces periodically.
The goal is to dry them thoroughly without browning or scorching the surface.
12. Let the Pieces Cool Completely
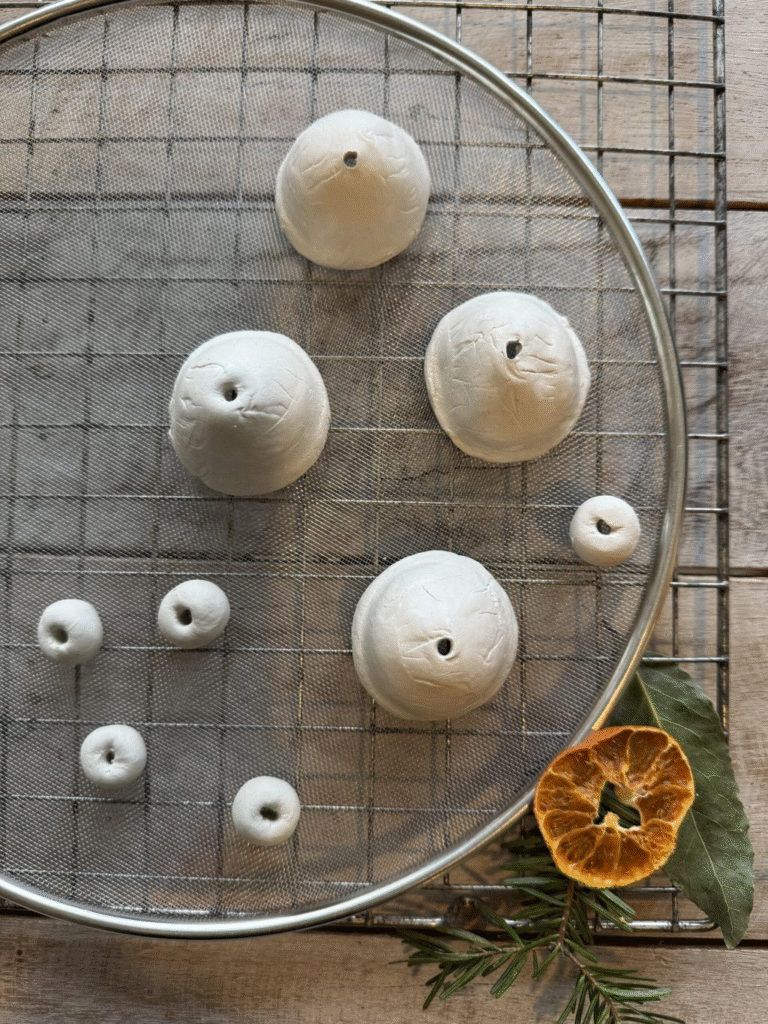
Once the pieces are dry, allow them to cool completely before decorating or sealing them.
Freshly dried pieces can feel harder on the outside while still retaining a little moisture inside, particularly if they are thick.
Give them enough time to cool and finish drying naturally.
Once completely dry, inspect each piece again for cracks, rough edges, or areas that need a little sanding.
13. Lightly Sand Rough Areas
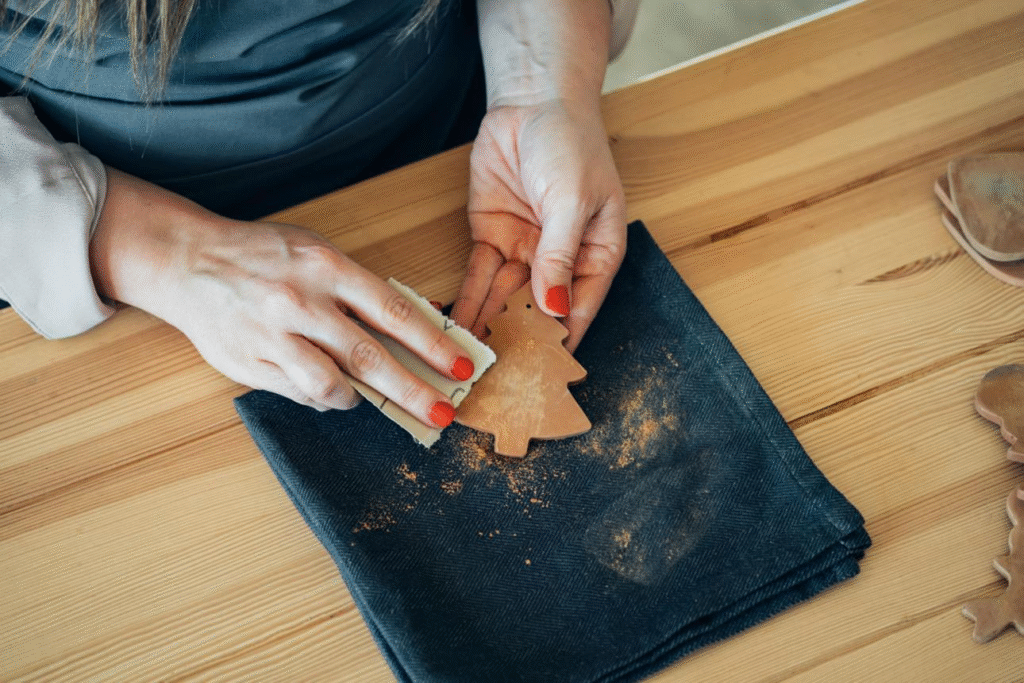
If the edges are slightly rough after drying, fine grit sandpaper can help smooth them.
Use gentle pressure and work slowly.
You do not need to sand the entire surface unless your project requires an especially smooth finish.
For rustic coffee clay decorations, I actually like leaving a little natural texture because it adds to the handmade appearance.
Common Mistake to Avoid: Making the Clay Too Wet
One of the biggest problems when making homemade clay is adding too much water.
Very wet dough can become sticky and difficult to shape. It can also take much longer to dry and may be more prone to cracking or warping.
Add liquid gradually and give the dough time to come together before deciding that it needs more.
If the mixture becomes too wet, add a little more of the dry ingredients and knead it until the consistency improves.
Finish, Decorate and Use Your Coffee Clay
Once the pieces are completely dry, you can leave them with their natural coffee colored finish or add your own decorative touches. This is my favorite stage because the simple brown clay can be changed into so many different styles without requiring complicated supplies.
I usually keep the decoration fairly simple and let the natural color and texture of the coffee clay do most of the work. Before decorating, make sure every piece is completely dry and free from loose dust. This helps paint and sealers adhere more evenly and gives the finished project a cleaner appearance.
14. Leave the Clay Natural

You do not have to paint coffee clay at all.
The natural brown color already gives the finished pieces a warm, rustic appearance.
For simple decorations, I actually like leaving the clay completely natural and adding only a piece of twine or ribbon.
This works particularly well for ornaments, gift tags, rustic decorations, and small seasonal crafts.
If you added texture before drying, leaving the surface natural also allows those details to remain the focus.
15. Paint Your Coffee Clay
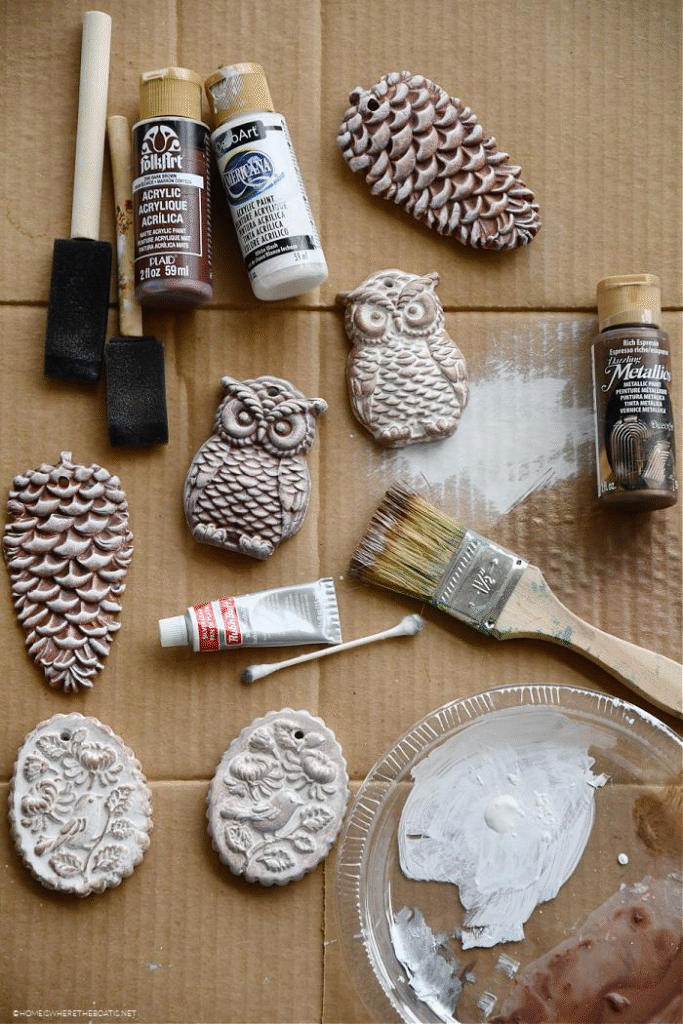
If you want more color, acrylic craft paint can be used on completely dry pieces.
White, cream, black, green, and muted red can work nicely against the coffee colored background.
You can paint the entire piece or use paint only for small details.
I prefer thin layers rather than applying a heavy amount of paint at once. Allow each layer to dry before adding another.
You can also use a small brush to highlight raised textures without covering the entire surface.
16. Add Twine, Ribbon or Other Details

For ornaments and hanging decorations, thread twine, ribbon, or cord through the hole you made earlier.
Natural materials work especially well with the earthy color of coffee clay.
You can also add small decorative elements once the clay is completely dry.
Keep heavier embellishments to a minimum because the clay pieces can become fragile if too much weight is attached to them.
17. Seal the Finished Pieces
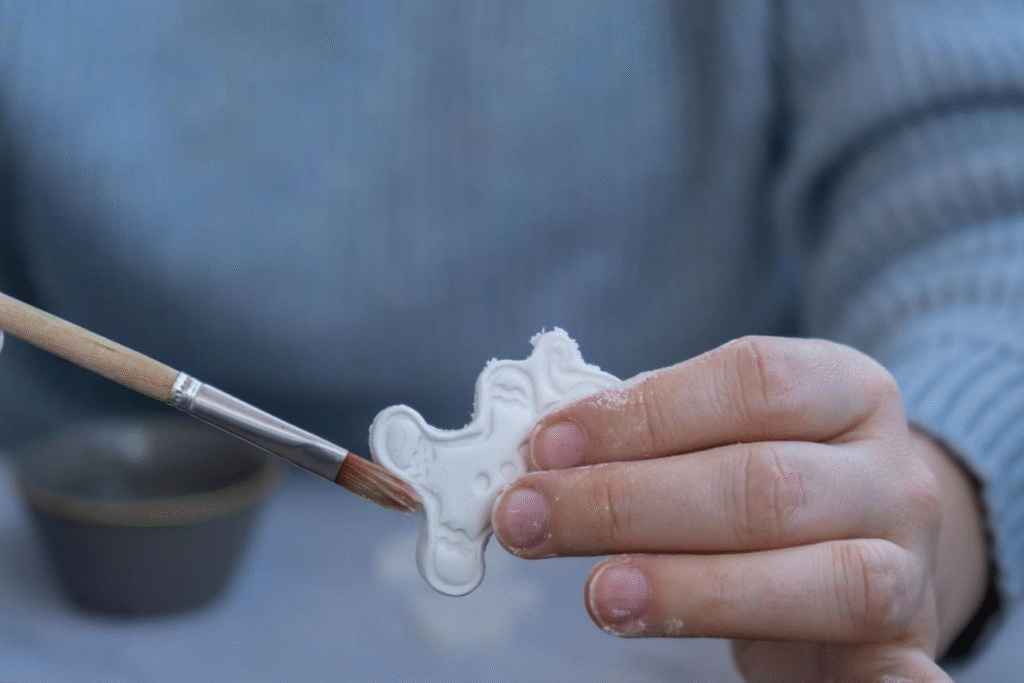
If you want to protect the surface, you can apply a suitable clear craft sealer once the clay and any paint are completely dry.
A matte finish keeps the rustic appearance, while a glossy finish gives the pieces a shinier look.
Apply the sealer in thin coats and allow each coat to dry according to the product instructions.
For pieces intended purely as decorations, sealing can help protect the surface from normal handling and moisture.
Keep in mind that homemade flour and salt based clay is a decorative craft material, not food safe clay, so finished pieces should not be used for serving or storing food.
18. Coffee Clay Project Ideas
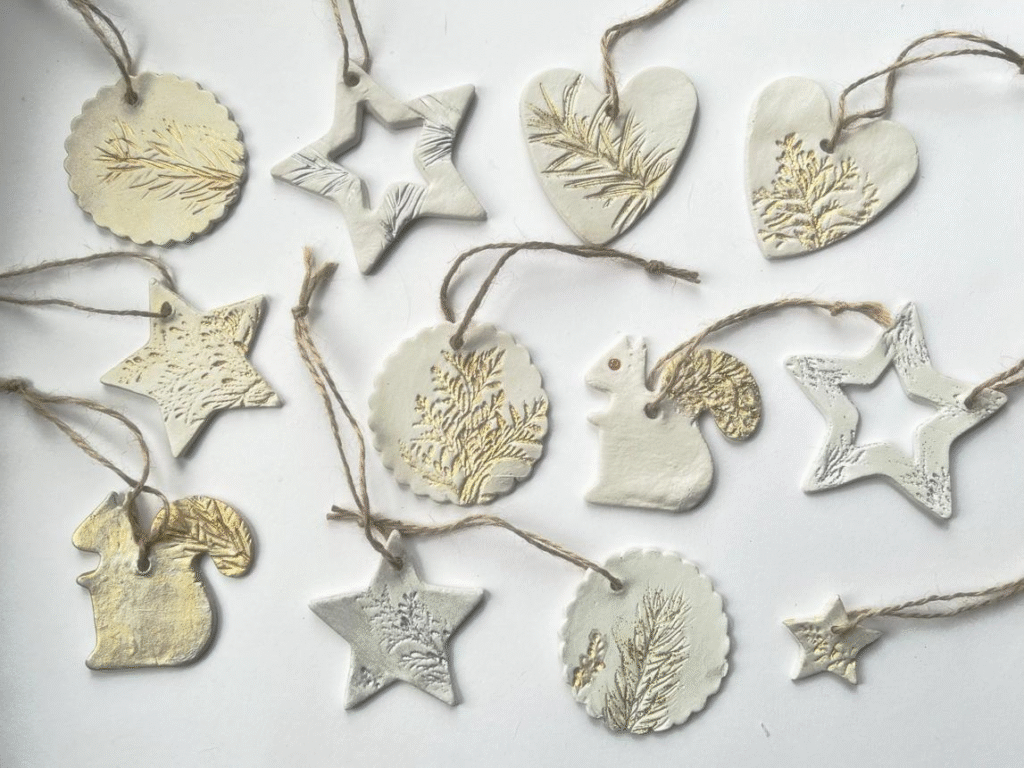
Once you have the basic recipe working, there are plenty of projects you can try.
Some of my favorites include:
- Christmas ornaments
- Gift tags
- Rustic hanging decorations
- Small wall decorations
- Seasonal shapes
- Handmade garlands
- Decorative labels
- Miniature craft pieces
- Nature inspired ornaments
- Personalized keepsakes
You can change the shape, texture, color, and finish depending on the project.
19. How to Store Leftover Coffee Clay
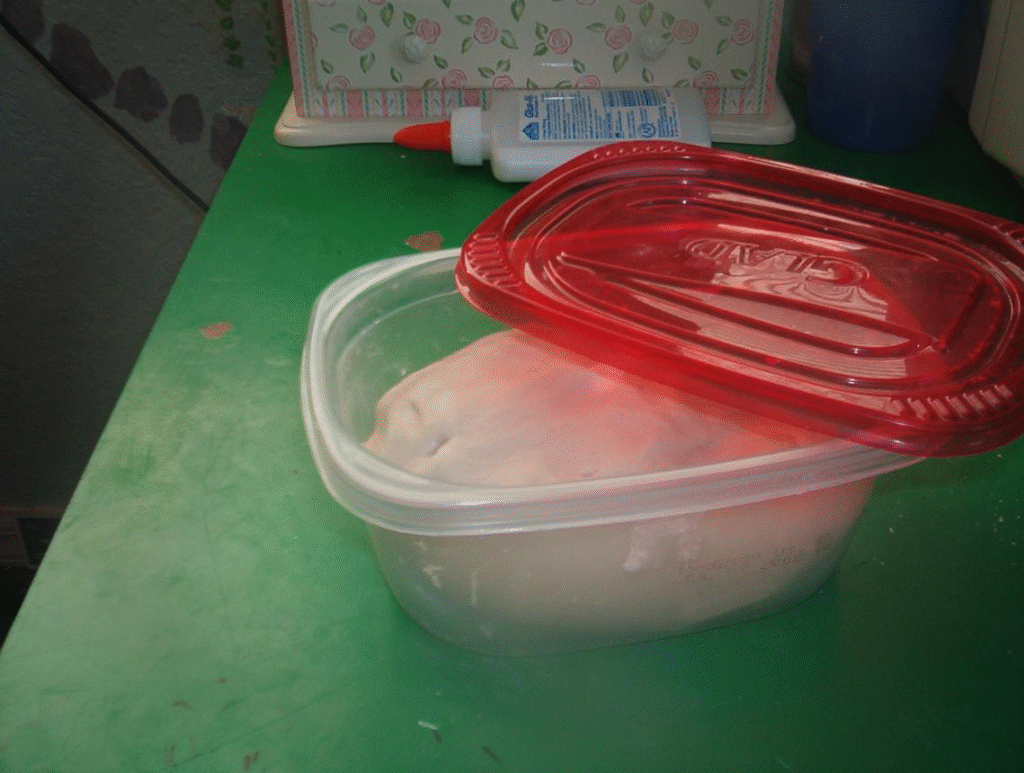
If you have leftover uncured dough, keep it sealed tightly so it does not dry out.
Wrap it well and place it inside an airtight container or sealed bag.
Because this is a homemade dough containing food ingredients, I would not keep it indefinitely. Make a fresh batch when you notice changes in smell, texture, or appearance.
For the best results, I prefer making only as much as I expect to use for the project.
20. Troubleshooting Coffee Clay
Why Is My Coffee Clay Sticky?
The mixture probably contains too much liquid. Add a small amount of flour and knead until the dough becomes easier to handle.
Why Is My Clay Crumbling?
The dough may be too dry. Add a very small amount of water and knead it again.
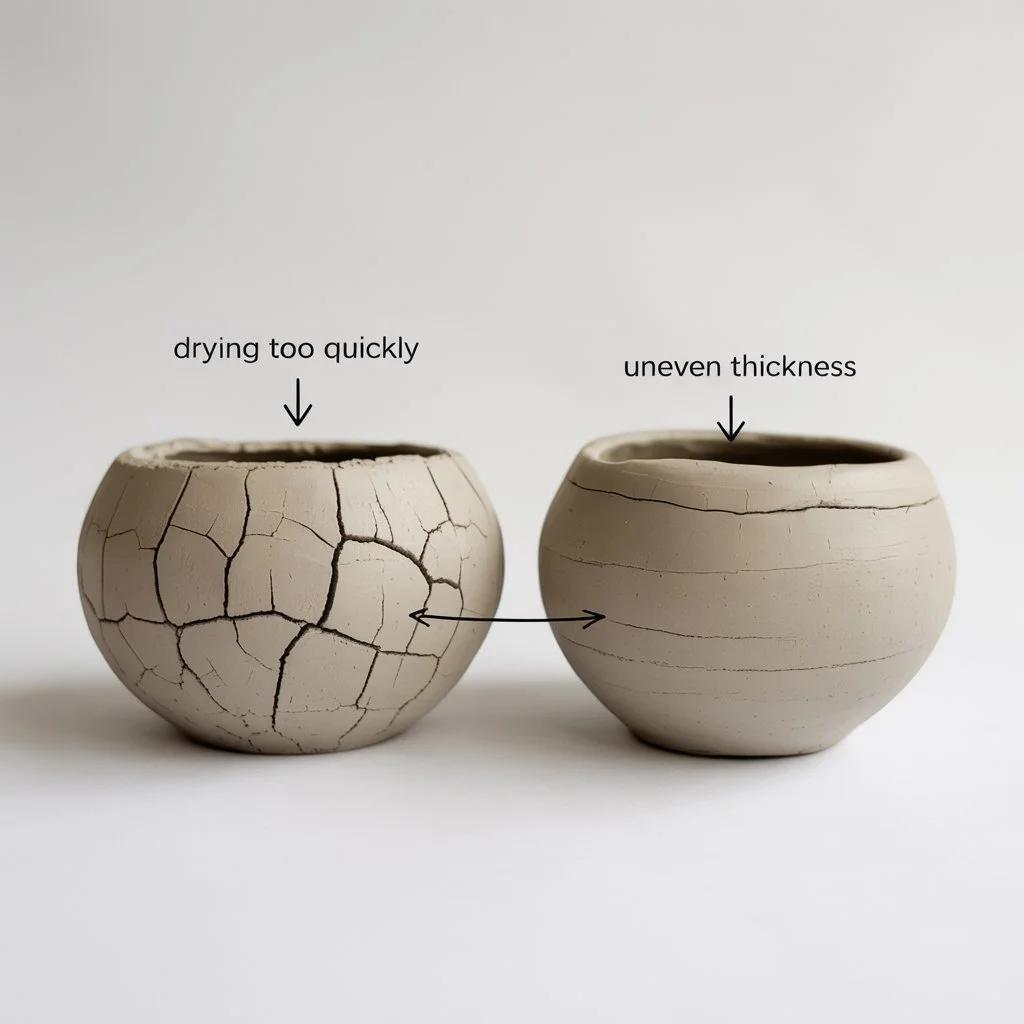
Why Did My Clay Crack While Drying?
Cracking can happen when pieces are too thick, the dough is too dry, or the pieces dry too quickly.
Try keeping the thickness consistent and allowing the pieces to dry gradually.
Why Did My Shapes Warp?
Uneven thickness and excessive moisture can contribute to warping. Roll the dough evenly and handle the shapes gently before and during drying.
Can I Make Coffee Clay Without Coffee Grounds?
Yes. You can use prepared coffee to add color without adding coarse grounds. If you want visible coffee texture, finely ground coffee can give the clay a more rustic appearance.
21. Expert Tips for Better Coffee Clay

A few small adjustments can make the process much easier.
Add liquid slowly. It is easier to add more moisture than to correct dough that has become excessively wet.
Keep your pieces evenly thick. This helps them dry more consistently.
Work on parchment paper. It makes transferring the shapes and cleaning up much easier.
Do your decorating before the clay dries only when the technique requires it. Texture impressions and holes are much easier to make while the clay is soft.
Allow plenty of drying time. Rushing the drying process can lead to cracks and uneven results.
Make a small test piece. This lets you check the color, texture, and drying behavior before committing your entire batch.
22. How to Make Your Coffee Clay Last Longer
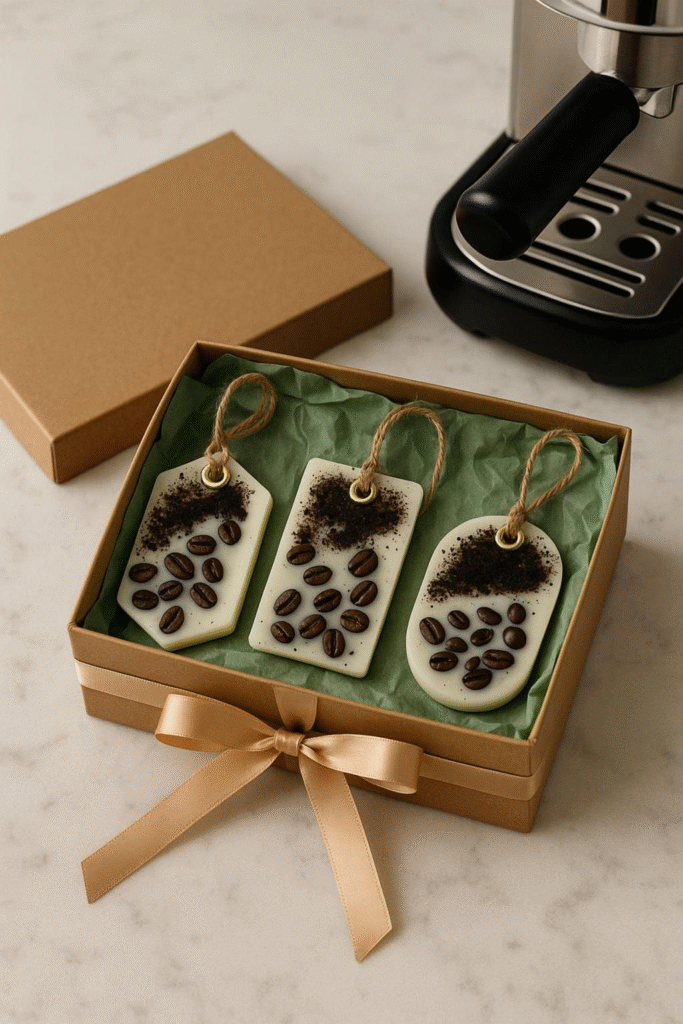
Keep finished coffee clay pieces somewhere dry and away from prolonged exposure to moisture.
A properly dried and sealed decorative piece can last much longer than an unsealed piece, but homemade clay is still more delicate than commercially produced craft materials.
Handle thin pieces carefully, especially around holes, narrow edges, and small decorative details.
For pieces you want to keep as keepsakes, store them somewhere dry where they will not be crushed or repeatedly handled.
Final Thoughts
Making coffee clay at home is one of those simple DIY projects that gives you plenty of room to experiment. The basic mixture is easy to work with, and you can change the shapes, textures, colors, and finishes to suit whatever craft you have planned.
I especially like the natural brown color because it gives even simple shapes a warm handmade appearance without requiring much decoration.
The key is to pay attention to the consistency of the dough, keep your pieces evenly shaped, and give them enough time to dry completely. Once you have the basic process down, you can start experimenting with different cutters, pressed textures, painted details, and seasonal designs.
A small batch can turn into ornaments, gift tags, decorations, and keepsakes with very little equipment, making coffee clay a fun project to keep in your DIY craft ideas rotation.