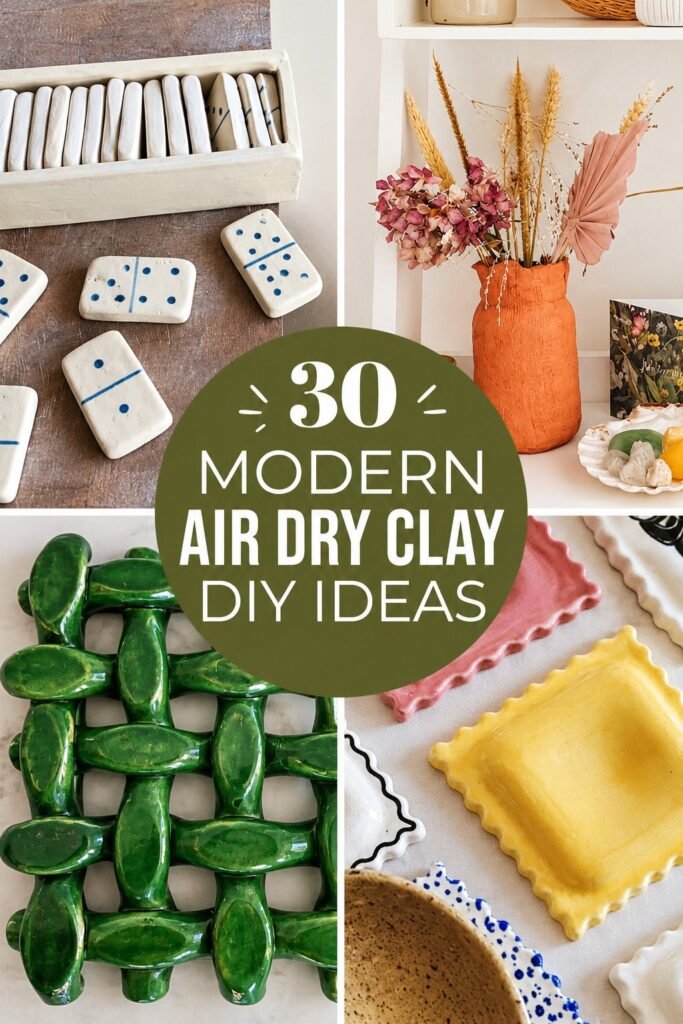
30 Modern Air Dry Clay DIY Ideas
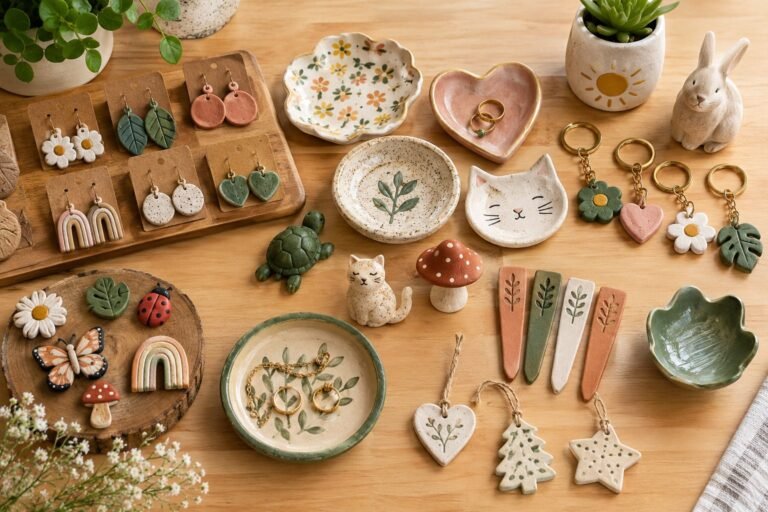
Air dry clay is one of those craft materials that can turn a simple afternoon project into something that actually looks beautiful in your home.
I like working with it because I can shape, smooth, texture, and paint it without needing a kiln or complicated equipment. With the right finishing touches, even a very simple clay project can have that clean, modern look that works with almost any decorating style.
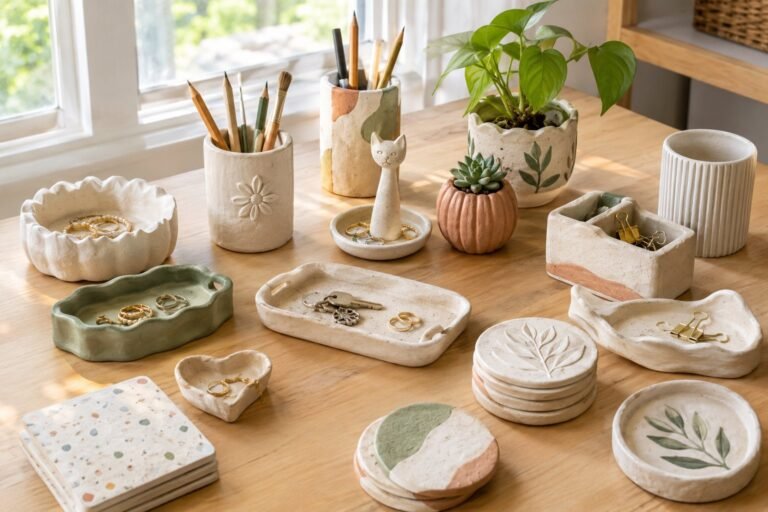
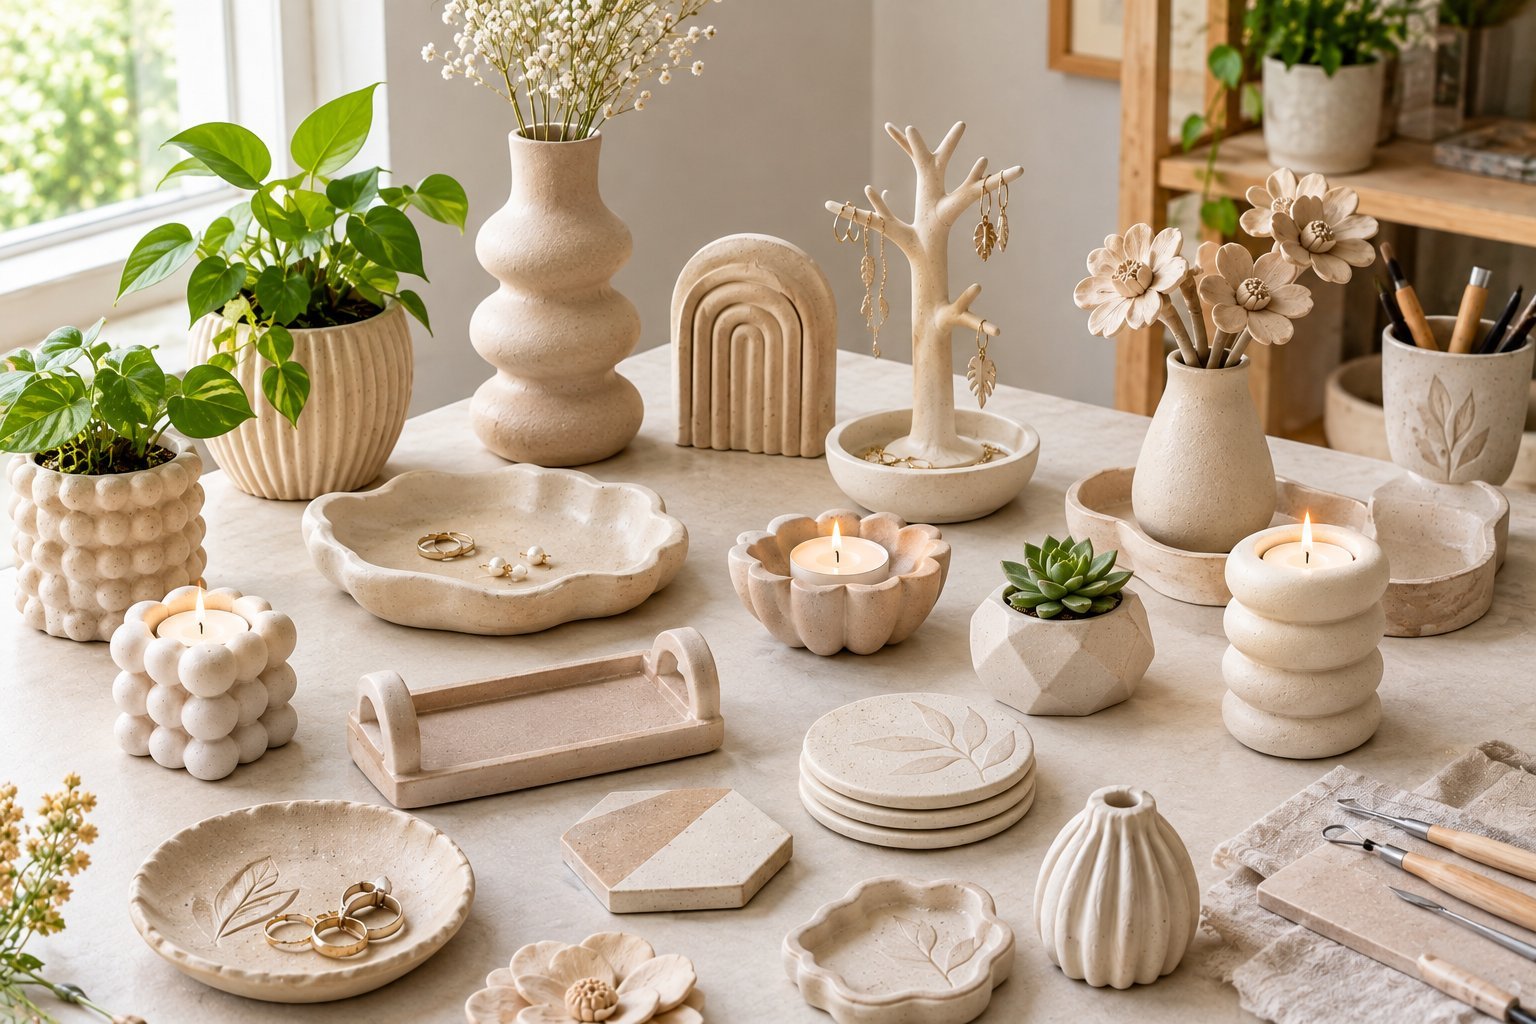
The projects in this guide are focused on pieces that are useful, decorative, or easy to personalize. I have included ideas for trays, ornaments, planters, jewelry holders, wall decor, and small handmade accents that can be made with basic supplies.
When I work with air dry clay, I pay close attention to the thickness and edges because those little details make a big difference once the clay dries.
Whether you are looking for an easy weekend craft or a handmade piece for your home, these modern air dry clay DIY ideas give you plenty of projects to try.
1. Minimalist Clay Trinket Dish
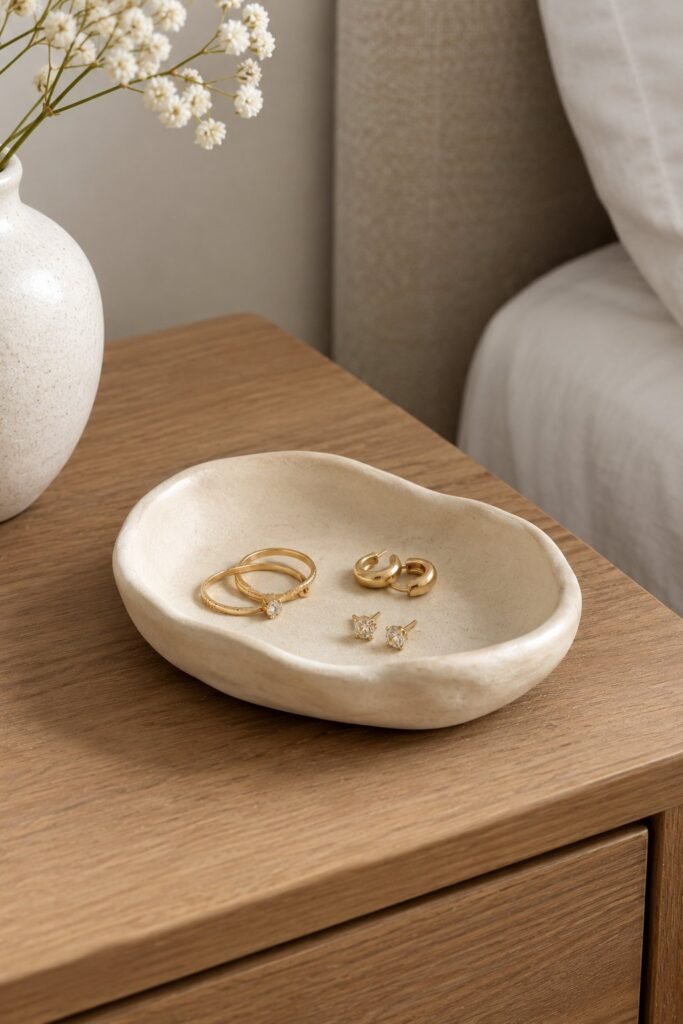
A small trinket dish is one of the easiest air dry clay projects to start with, but it can look surprisingly expensive when you keep the shape simple.
Roll your clay evenly and cut it into a round, oval, or organic shape. Gently lift the edges to create a shallow dish, then smooth the surface and sides with slightly damp fingers.
I prefer an imperfect organic shape for this type of project because it gives the finished piece a handmade appearance without looking messy. Once completely dry, you can leave it natural, paint it white, or add a soft neutral color.
Use the finished dish for rings, earrings, keys, hair clips, or other small items that usually end up scattered around a bedroom or entryway.
2. Modern Clay Candle Holder
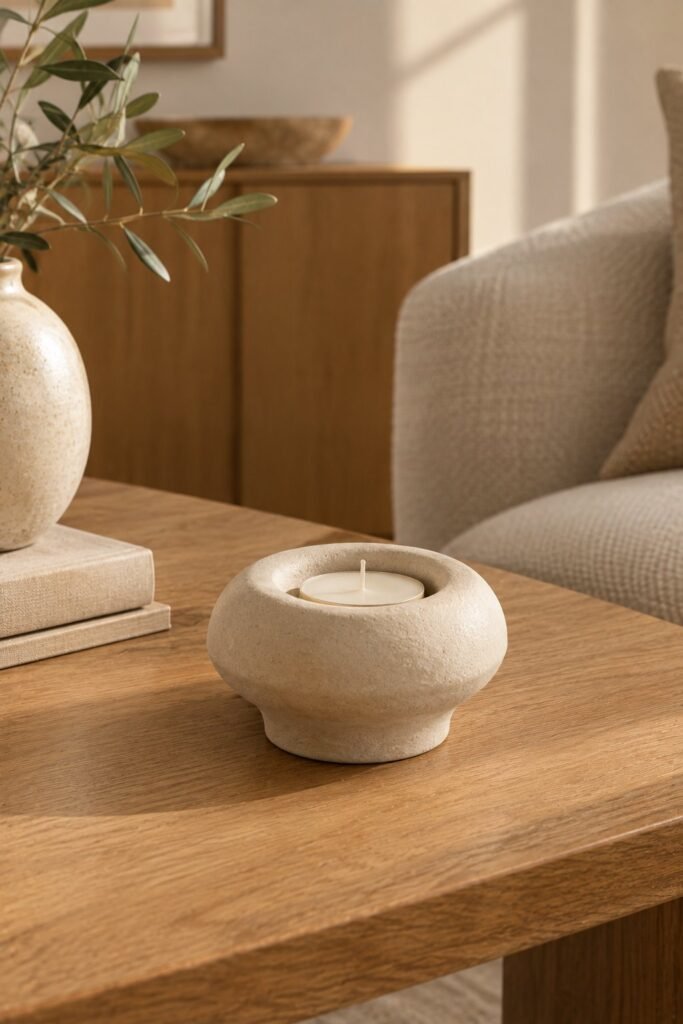
A handmade candle holder can add a warm decorative touch to a shelf, coffee table, or bedside table.
Shape the clay into a small rounded base and create an opening in the center that is large enough for the type of candle you plan to use. Keep the walls thick enough to remain sturdy after drying.
For a modern appearance, I like simple geometric shapes rather than complicated decorations. A matte white, cream, beige, or soft gray finish works particularly well.
Make sure the finished clay piece is completely dry before using it, and choose a candle setup that does not allow the flame to come into direct contact with the clay.
3. Sculptural Clay Vase
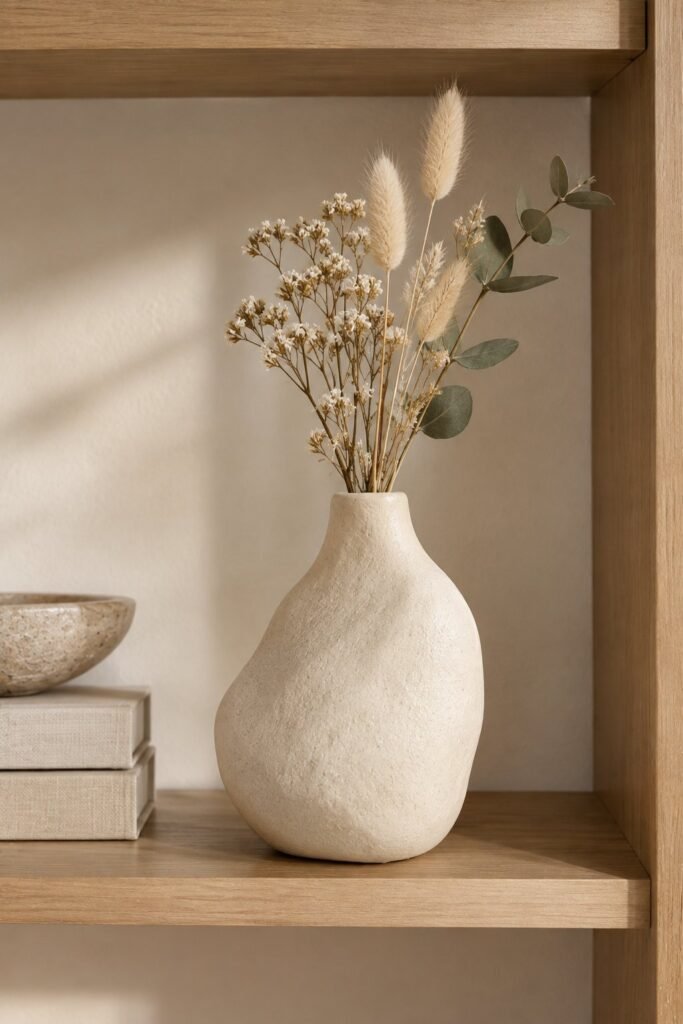
Air dry clay can be used to create decorative vases with unusual shapes that are difficult to find in ordinary stores.
You can build one around a small container or shape the clay itself into a hollow vessel. Smooth the outside carefully and experiment with a narrow neck, rounded body, or slightly uneven organic silhouette.
I like leaving sculptural pieces relatively simple because excessive decoration can take away from the shape. Once dry, a neutral finish can make the vase look like a contemporary ceramic piece.
Use dried flowers, artificial stems, or decorative branches rather than water unless your clay product and finishing method specifically make the vessel watertight.
4. Air Dry Clay Jewelry Holder
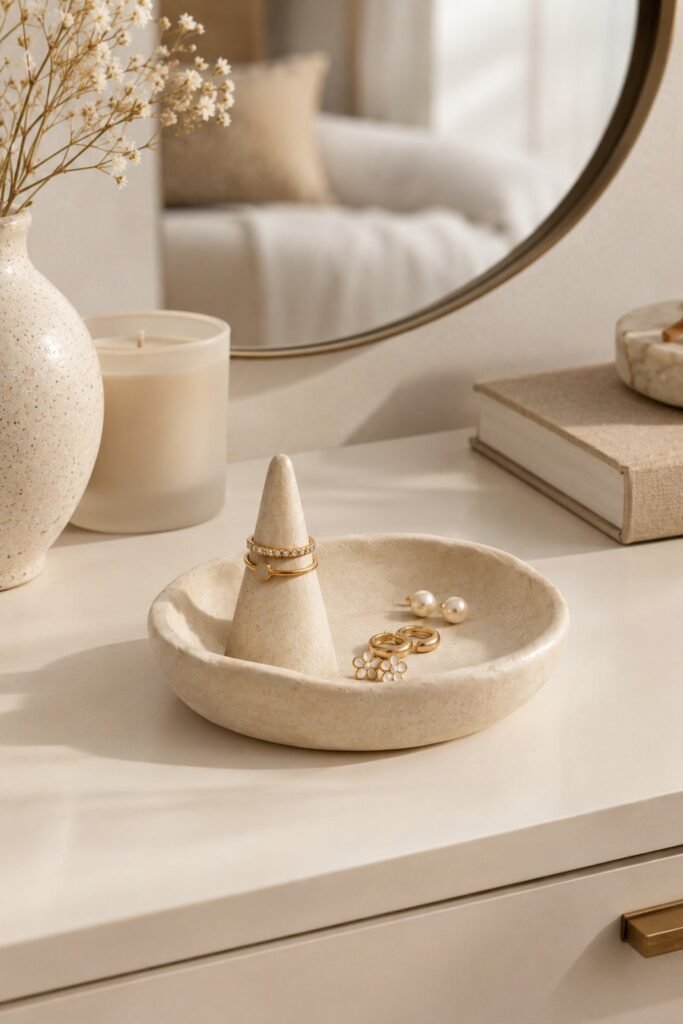
A small jewelry holder is both attractive and practical, which makes it one of my favorite types of clay projects.
Create a shallow base and add several small upright sections, depending on how you want to organize your jewelry. You can make separate areas for rings, bracelets, earrings, or necklaces.
Another simple option is a small sculpted hand or branch shape that holds rings and bracelets.
Keep the design minimal and concentrate on smooth edges. A neutral color makes the holder easy to incorporate into a bedroom or dressing area.
5. Modern Clay Wall Hanging
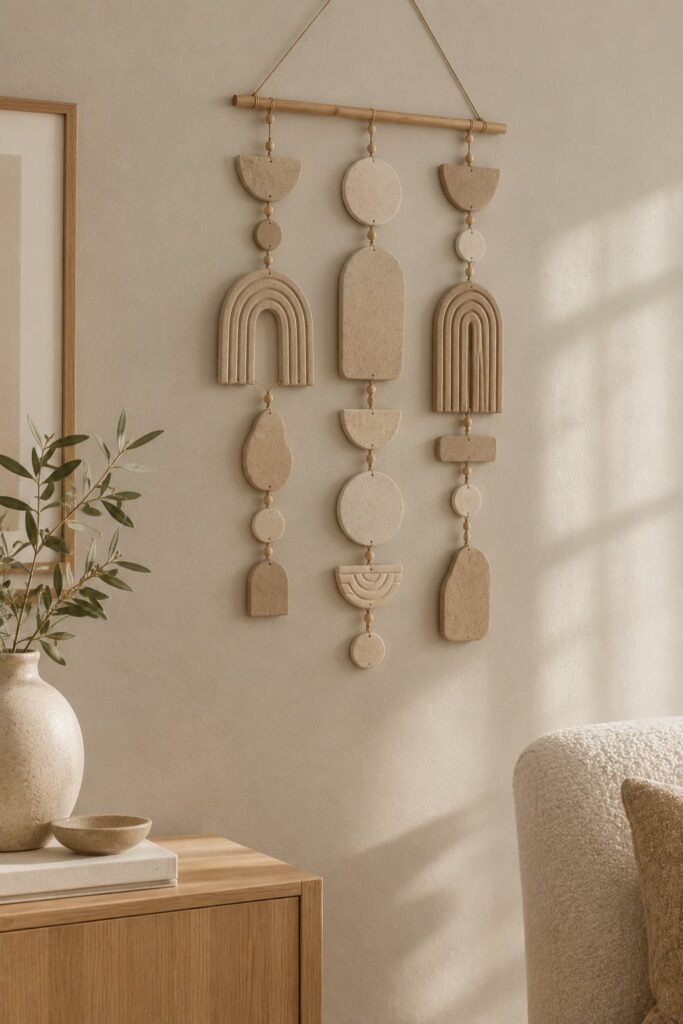
Air dry clay can also be turned into simple wall decor.
Create several flat clay shapes such as circles, arches, leaves, or abstract forms. Make small holes near the top of each piece before the clay dries so you can attach string or cord later.
You can hang several pieces together at different lengths to create a simple modern arrangement.
I like using a limited color palette for wall pieces because it makes the finished decoration feel more intentional. Natural clay, cream, white, and muted earthy shades work particularly well together.
6. Clay Incense Holder
An incense holder is a small project that gives you plenty of room to experiment with shapes.
Start with a small piece of clay and flatten it into a compact base. Create a hole through one end that will hold the incense stick securely.
You can keep the shape completely flat or create a slightly raised design. Small arches, moons, leaves, and simple geometric forms can make the holder more decorative without requiring advanced sculpting skills.
Allow the clay to dry completely before using it and keep burning incense on a stable, heat safe surface away from anything flammable.
7. Air Dry Clay Ring Cone
Ring cones are incredibly simple to sculpt and make a lovely addition to a vanity or bedside table.
Take a small amount of clay and form it into a cone with a stable base. Smooth the surface with your fingers or a soft tool, then allow it to dry thoroughly.
You can leave the cone plain or add a subtle painted tip. Several cones in different heights can also create an attractive little jewelry display.
This is one of those projects where clean shaping matters more than decoration. Spending a few extra minutes smoothing the surface can make the finished piece look much more polished.
8. Modern Clay Planter
A small decorative planter can give air dry clay a more functional purpose.
For an easy version, shape the clay around a small existing plant pot and allow it to dry before removing the inner container. This gives you a handmade outer planter without requiring the clay itself to hold soil and water.
I recommend using a separate waterproof pot inside the clay piece because ordinary air dry clay is not naturally waterproof.
Simple cylindrical, oval, and slightly irregular shapes all work beautifully with small houseplants.
9. Clay Abstract Sculpture
You do not need a complicated design to create modern clay decor.
Try combining simple arches, curves, spheres, and geometric shapes into a small abstract sculpture. Build each part separately if that makes shaping easier, then join the pieces carefully while the clay is workable.
I find that abstract projects are particularly enjoyable because there is no pressure to make everything perfectly symmetrical.
Place the finished sculpture on a bookshelf, console table, desk, or open shelf where its shape can stand out.
10. Air Dry Clay Coasters
Clay coasters are another practical project that can be customized in countless ways.
Roll the clay to an even thickness and cut several matching shapes. Round, square, oval, and organic shapes all work well.
You can press leaves, fabric, lace, stamps, or textured objects into the surface before the clay dries to create a subtle pattern.
For a modern finish, keep the design understated and use a neutral paint color. If you plan to use the coasters for drinks, seal them with a suitable protective finish and follow the manufacturer’s instructions for the clay and sealer.
11. Clay Photo Holder
A small photo holder is an easy way to turn air dry clay into personalized desk decor.
Shape a small block, sphere, arch, or other sturdy form and create a narrow slit across the top while the clay is still soft. Once dry, the slit can hold a photograph, note, small artwork, or place card.
You can make several holders in different shapes while keeping the same color palette.
I particularly like this idea for a home office because it adds personality without taking up much space.
12. Modern Clay Incense Tray
Instead of making a traditional incense holder, create a small tray with a raised edge and a simple central opening.
The tray catches ash while also functioning as a decorative object when it is not being used.
You can add a subtle texture to the surface or keep it completely smooth. A soft stone inspired color can give it a particularly modern appearance.
As with any incense project, use it on a stable heat safe surface and never leave burning incense unattended.
13. Air Dry Clay Soap Dish
A handmade soap dish is a simple way to add a custom detail to a bathroom or kitchen sink.
Roll your clay into an oval or rectangular shape and gently press the center down to create a shallow basin. Add a slightly raised rim around the outside so the soap stays in place.
One detail I always pay attention to with clay dishes is drainage. Add several small holes or shallow channels across the bottom so moisture does not sit underneath the soap.
A soft neutral finish works beautifully for a modern bathroom. You can also leave small imperfections in the clay for a more handmade appearance.
14. Modern Clay Catchall Tray
A catchall tray is useful anywhere you need a place for small everyday items.
Shape a larger piece of clay into a shallow tray and gently curve the edges upward. You can make the sides completely straight for a structured appearance or create an irregular organic shape.
I like using these trays near the front door because they give keys, sunglasses, coins, and other small items a designated place.
For a modern look, keep the surface smooth and choose one simple color rather than adding too many decorative details.
15. Clay Leaf Dish
Leaves make beautiful impressions in air dry clay and can create a natural decorative piece without requiring advanced sculpting.
Press a real leaf into a flattened piece of clay and gently remove it to reveal the veins. Shape the clay into a shallow dish while the impression is still visible.
You can leave the leaf texture natural or highlight the raised details with a slightly darker paint.
This project is particularly nice for holding jewelry, small crystals, paper clips, or other tiny objects.
16. Air Dry Clay Bead Garland
Clay beads can be turned into a simple decorative garland for shelves, trays, baskets, or coffee tables.
Roll small pieces of clay into balls, ovals, or other shapes. Pierce each bead carefully with a skewer or similar tool before the clay becomes too firm.
Once completely dry, string the beads onto sturdy cord.
I like mixing different bead sizes because it gives the finished garland more visual interest. You can also alternate natural clay beads with painted ones to create a more contemporary color palette.
17. Modern Clay Wall Hooks
Small decorative hooks can add character to an entryway, bedroom, or workspace.
Create a flat clay backing and form a small curved section that extends outward to act as the hook. The shape needs to be sturdy enough for whatever you intend to hang from it.
For heavier items, I would use the clay as a decorative component rather than relying on air dry clay alone to support significant weight.
Simple arches, half circles, and rounded shapes can make these look more like modern wall decor than ordinary hooks.
18. Clay Pencil Holder
A handmade pencil holder is an easy project for a desk or craft room.
Build the clay around a small cylindrical object or create the shape by joining slabs of clay. Keep the walls reasonably even so the holder dries without becoming unnecessarily heavy.
You can make it completely smooth or add subtle vertical grooves around the outside.
I prefer a simple matte finish for desk accessories because it keeps the handmade piece looking clean and modern rather than overly decorative.
19. Air Dry Clay Moon Decor
A moon shaped clay decoration can work as a small shelf accent, wall hanging, or decorative addition to a gallery wall.
Cut or sculpt a crescent moon shape and smooth the edges carefully. Before it dries, create a small hole if you want to hang it.
You can make several moons in different sizes and arrange them together.
A natural clay finish looks beautiful for this project, but soft white, beige, muted blue, and earthy tones can also work well depending on the room.
20. Clay Ring Dish With Initial
Personalizing a clay dish with an initial is an easy way to turn a simple craft into a thoughtful handmade gift.
Start with a basic shallow dish and press an initial into the surface while the clay is still soft. You can use a letter stamp or carefully create the shape with a sculpting tool.
Keep the rest of the dish simple so the initial remains the main feature.
These make lovely handmade gifts for birthdays, weddings, housewarmings, or holidays because they are inexpensive to customize and useful once finished.
21. Modern Clay Flower
Air dry clay flowers can be used individually as decorations or grouped into a larger arrangement.
Roll small pieces of clay into petals and shape each one gently between your fingers. Arrange the petals around a small center and allow the flower to dry thoroughly.
You can make the petals perfectly symmetrical or create a more natural shape by varying their sizes slightly.
Paint the flowers afterward or leave them in their natural clay color. Several simple flowers arranged together can create a beautiful decorative display without needing fresh flowers.
22. Air Dry Clay Plant Markers
Plant markers are a practical project for anyone who grows herbs, flowers, or vegetables.
Roll the clay flat and cut it into small rectangular, oval, or pointed shapes. Add the plant names while the clay is still workable.
You can use letter stamps for an even appearance or handwrite each name for a more personal finish.
Attach each marker to a wooden stick or another suitable support after the clay has dried completely.
I like keeping these simple because the purpose is easy identification. A clean black or white label against a natural clay background can look especially modern.
23. Modern Clay Arch Decor
Arch shapes have a simple, contemporary appearance and are easy to create with air dry clay.
Roll the clay into an even slab and cut out an arch shape using a template or carefully draw the shape directly onto the clay. Smooth the edges before leaving the piece to dry.
You can make a single large arch for a shelf or create several smaller arches to arrange together.
I like keeping these pieces in neutral colors because the shape itself becomes the decoration. They work particularly well on bookshelves, desks, nightstands, and small display areas.
24. Air Dry Clay Jewelry Dish With Texture
A textured jewelry dish gives you an opportunity to experiment with materials you already have around the house.
Flatten the clay and press a piece of lace, woven fabric, textured paper, or another interesting surface into it. Remove the material carefully before shaping the clay into a shallow dish.
The texture becomes a subtle pattern once the clay dries.
For a modern appearance, avoid combining too many patterns. One strong texture paired with a simple shape usually looks much more polished.
25. Clay Wall Pocket
A small wall pocket can be used as decorative storage for dried flowers, notes, or lightweight items.
Create a flat backing piece and a curved front section, then carefully join the two pieces while the clay is still workable.
Make sure the clay is thick enough to support its own shape without becoming unnecessarily heavy.
Once dry, attach it securely to the wall using an appropriate hanging method for the finished weight.
A simple half moon or curved pocket shape can give the project a modern handmade appearance.
26. Modern Clay Bookends
Air dry clay can also be used to create decorative bookends for shelves.
For this project, make the pieces substantial enough to support books. Geometric blocks, arches, rounded forms, and abstract shapes can all work.
I recommend creating two matching pieces rather than trying to make each bookend completely different. Matching shapes give the shelf a more intentional appearance.
Because bookends need to handle weight, consider adding a sturdy internal support or using the clay as an outer decorative layer around a stronger base.
27. Air Dry Clay Plant Stand Accent
A small clay accent can make an ordinary plant display look more personalized.
Instead of making the entire stand from clay, create decorative sculptural pieces that sit around the base of a plant pot or attach to a suitable existing stand.
Try simple geometric forms, small arches, or rounded shapes.
This approach also makes the project easier because the clay is being used for decoration rather than carrying the full weight of the plant.
28. Clay Picture Frame Details
You can use air dry clay to decorate an ordinary picture frame and give it a completely different appearance.
Create small flowers, leaves, arches, geometric shapes, or abstract pieces and allow them to firm up slightly before attaching them to the frame.
Keep the decorations concentrated around the corners or along one section instead of covering the entire frame.
Once everything has dried, paint the frame and clay pieces together for a more cohesive finish.
This is a great way to turn a basic frame into personalized home decor without needing complicated sculpting skills.
29. Modern Clay Door Sign
A handmade door sign can be customized for a bedroom, office, craft room, or entryway.
Create a flat clay shape and add a simple word, name, or decorative symbol while the clay is still soft.
Keep the lettering clean and avoid making the sign too thick. A rounded rectangle, arch, or organic shape can give it a more contemporary appearance.
Once dry, paint the lettering in a contrasting shade or keep the entire sign one color for a minimalist finish.
30. Air Dry Clay Decorative Bowls
Finish your collection of modern clay projects with a larger decorative bowl.
Create a shallow bowl by shaping the clay over an upside down mold or building the form gradually by hand. Smooth the inside and outside as much as possible before leaving it to dry.
You can keep the bowl completely plain or add a subtle texture around the outside.
I like using handmade bowls as decorative storage for blankets, artificial fruit, small craft supplies, or other lightweight items. Avoid using an untreated air dry clay bowl for food unless the specific clay and finish are certified for that purpose.
Tips for Getting Better Results With Air Dry Clay
The finished appearance of an air dry clay project depends heavily on how you prepare and handle the clay.
Keep the Thickness Even
Uneven sections can dry at different rates and may be more likely to crack. Try to keep slabs and walls relatively consistent in thickness.
Smooth the Edges
Rough edges can make an otherwise beautiful project look unfinished. I usually spend extra time smoothing the edges with my fingers or a suitable clay tool before leaving the piece to dry.
Avoid Excess Water
A little moisture can help smooth the surface, but too much water can make the clay difficult to work with and may affect the drying process.
Let Pieces Dry Completely
Do not rush the drying stage. Larger or thicker projects need more time than small pieces.
Turning a piece carefully during drying can also help expose different surfaces to air.
Work on a Flat Surface
A smooth work surface makes it easier to create even slabs and clean shapes. Parchment paper or another suitable nonstick surface can also make cleanup easier.
Sand Carefully After Drying
Once the clay is completely dry, fine sandpaper can help smooth rough areas and imperfections. Work gently so you do not accidentally weaken thin sections.
Choose Paint Carefully
Acrylic paint is a convenient option for many decorative air dry clay projects. Apply thin coats and allow each layer to dry before adding another.
Seal Decorative Pieces When Appropriate
A suitable sealer can protect the surface and change the final appearance from matte to satin or glossy.
Always check that the sealer is compatible with your particular clay and intended use.
Common Mistakes to Avoid
One of the biggest mistakes with air dry clay is making pieces too thin. Thin clay can become fragile as it dries, especially around narrow edges and small decorative sections.
Another mistake is joining pieces without properly blending the clay. When building sculptures or combining multiple sections, score and moisten the joining surfaces according to the clay manufacturer’s instructions so they have a better connection.
Do not handle projects constantly while they are drying. Moving them too much can distort their shape or cause small cracks.
It is also easy to add too much decoration. Modern clay projects often look better when the shape, texture, or color is allowed to be the main feature.
Finally, remember that air dry clay is not automatically waterproof or food safe. Choose your project and finishing products according to how the finished piece will actually be used.
Final Thoughts
These 30 modern air dry clay DIY ideas show how versatile this simple material can be. You can make useful organizers, personalized gifts, decorative pieces, jewelry holders, plant accessories, and home decor without needing a kiln or an extensive collection of equipment.
I especially enjoy projects where the final piece has a purpose because they give handmade crafting a practical place in everyday life. Start with a simple shape, take your time smoothing the surface, and let the clay dry properly before moving on to painting or decorating.
The beauty of air dry clay is that you can keep experimenting. Change the shape, try a different texture, adjust the color, or combine two ideas to create something that feels completely your own.