
A few years ago, I bought an expensive scented candle that promised to fill my home with a beautiful fragrance.
It looked stunning on the shelf, but after lighting it several times, the scent was barely noticeable.
That experience sparked my curiosity about candle making, and before long, I found myself melting wax, testing fragrances, and creating candles that smelled even better than many store-bought options.
What surprised me most was how relaxing the entire process felt.
Taking a few simple ingredients and turning them into something beautiful, useful, and uniquely personal became a creative escape from busy daily routines.
Whether I was making a calming lavender candle for my bedroom or a fresh citrus candle for the kitchen, each project felt rewarding from start to finish.
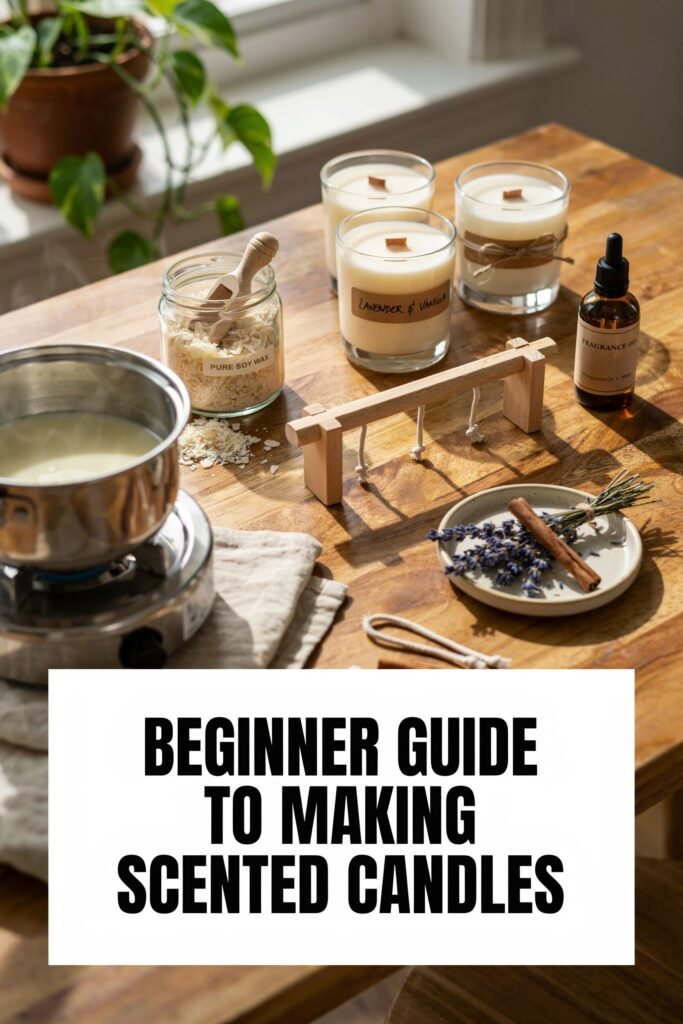
If you’ve ever admired handmade candles at craft fairs, gifted candles to loved ones, or dreamed of creating a cozy atmosphere in your home, you’re in the right place.
Learning how to make scented candles is much easier than most beginners expect, and you don’t need special skills or expensive equipment to get started.
In this beginner-friendly guide, I’ll walk you through everything I’ve learned, from choosing the right supplies and fragrances to melting wax, pouring candles, and avoiding common mistakes.
By the end, you’ll have the confidence to create beautiful homemade scented candles that look professional, smell amazing, and bring a warm, inviting touch to any space.
Why Make Scented Candles at Home?
Homemade scented candles offer several advantages that make them worth trying:
- Control the ingredients used in every candle.
- Choose your favorite fragrances and scent combinations.
- Create custom gifts for family and friends.
- Save money compared to premium store-bought candles.
- Enjoy a relaxing and creative hobby.
- Experiment with colors, containers, and decorative styles.
- Learn a skill that can become a small business opportunity.
Many beginners are surprised by how simple the process becomes after making their first candle.
Ingredients and Supplies You’ll Need
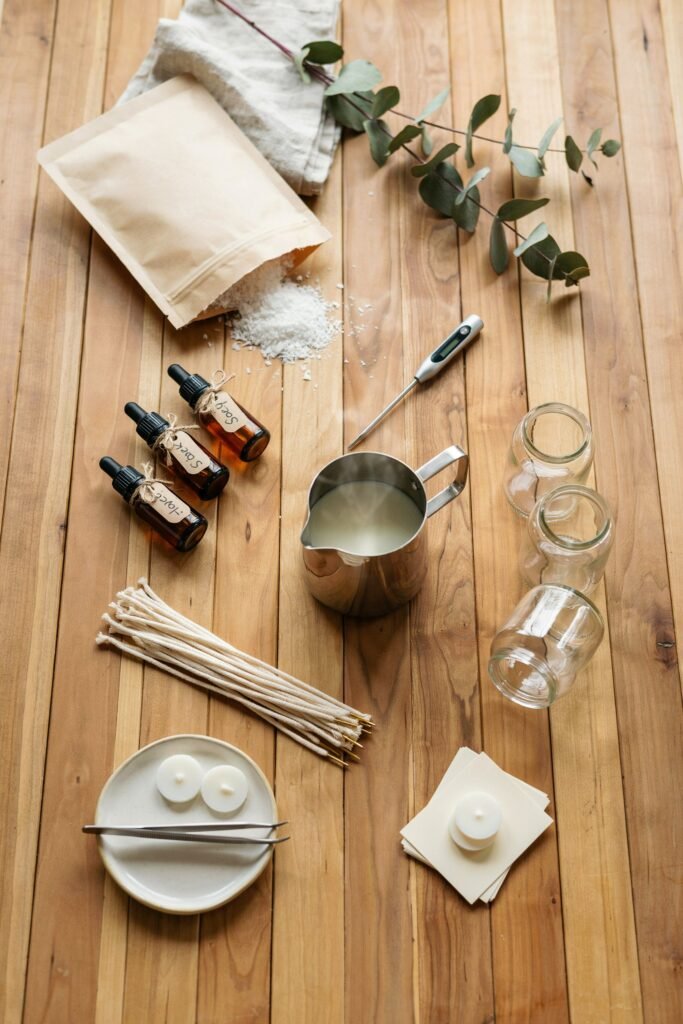
Soy Wax
My favorite choice for beginners because it melts smoothly, burns cleanly, and holds fragrance exceptionally well.
Candle Wick
A properly sized wick creates an even flame and helps wax burn consistently.
Fragrance Oil
Personalized scents transform simple candles into relaxing home fragrances everyone enjoys.
Candle Jar
Heat-resistant containers safely hold melted wax while creating attractive finished candles.
Wick Stickers
Small adhesive tabs keep wicks centered securely during the candle-making process.
Wick Centering Tool
Helpful tool that prevents wick movement while wax cools and hardens.
Pouring Pitcher
Makes melting and pouring wax easier while reducing spills and messes.
Thermometer
Accurate temperature readings improve fragrance retention and overall candle quality.
Stirring Spoon
Used for blending fragrance oils evenly throughout melted candle wax.
Optional Candle Dye
Adds beautiful color while allowing endless customization for unique candles.
Choosing the Right Wax for Beginners
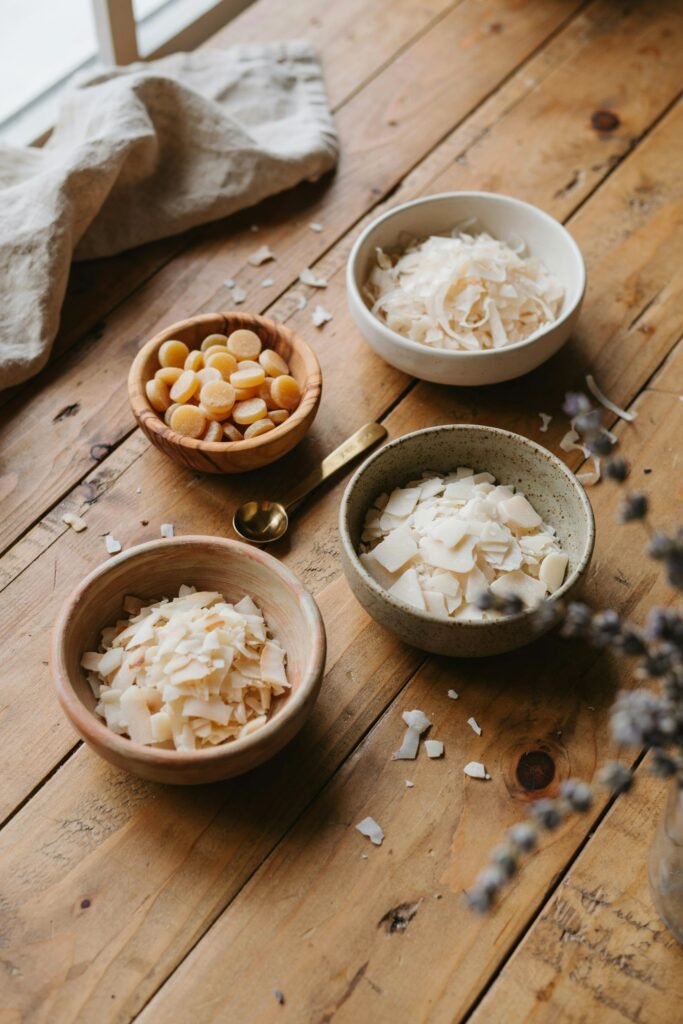
Before making your first candle, understanding wax options can make a huge difference in your results.
Soy Wax
Soy wax remains one of the most beginner-friendly choices available today.
It is made from soybean oil and is known for its clean burn and excellent scent throw.
Soy wax is easy to work with and widely available online and in craft stores.
Benefits:
- Easy to melt
- Burns cleaner
- Renewable resource
- Excellent fragrance retention
- Beginner friendly
Beeswax
Beeswax candles have a natural honey scent and burn longer than many other waxes.
However, they can be more expensive and slightly harder to scent.
Benefits:
- Long burn time
- Natural appearance
- Clean burning
- Premium feel
Paraffin Wax
Paraffin wax is commonly used in commercial candle production.
It offers strong scent throw and vibrant colors but may not appeal to those looking for natural ingredients.
Benefits:
- Affordable
- Strong fragrance performance
- Easy to color
Coconut Wax
Coconut wax is becoming increasingly popular because of its luxurious appearance and excellent scent performance.
Benefits:
- Smooth finish
- Strong scent throw
- Slow burn rate
For most beginners, soy wax remains the easiest and most forgiving option.
How to Choose the Best Fragrance Oil

The scent is often the most exciting part of candle making.
When selecting fragrance oils, start with scents you already enjoy in your home. Some beginner-friendly options include:
- Vanilla
- Lavender
- Rose
- Lemon
- Coconut
- Sandalwood
- Cinnamon
- Eucalyptus
- Jasmine
- Fresh Linen
Many candle makers eventually begin blending fragrances to create custom scent combinations.
Popular beginner blends include:
Lavender Vanilla
Creates a relaxing atmosphere perfect for bedrooms and evening relaxation.
Lemon Vanilla
Offers a fresh and clean scent with a sweet finish.
Coconut Lime
Provides a tropical fragrance that feels bright and refreshing.
Rose Sandalwood
Combines floral and woody notes for a sophisticated aroma.
Avoid mixing too many scents at first. Two fragrances are usually enough for beginners.
Step-by-Step Guide to Making Scented Candles
Step 1: Prepare Your Workspace
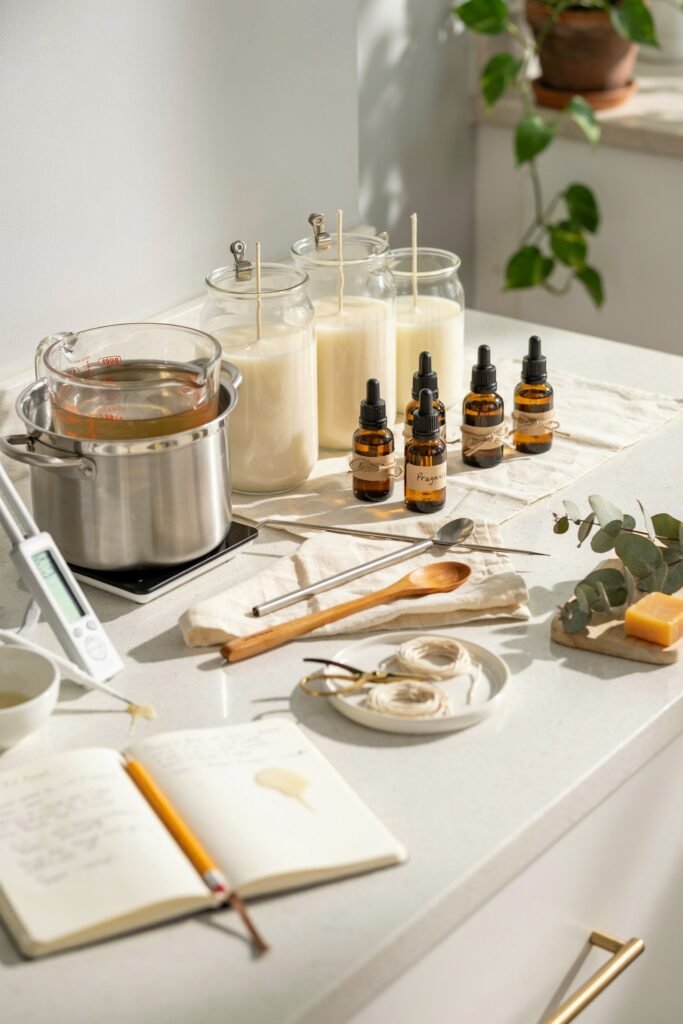
Before melting wax, prepare a clean and organized workspace.
I like to cover my work surface with newspaper or parchment paper because small wax spills are common, especially when learning.
Gather all supplies before starting:
- Wax
- Wick
- Jar
- Fragrance oil
- Thermometer
- Pouring pitcher
- Stirring spoon
- Wick centering tool
Having everything within reach makes the process smoother and less stressful.
Step 2: Secure the Wick
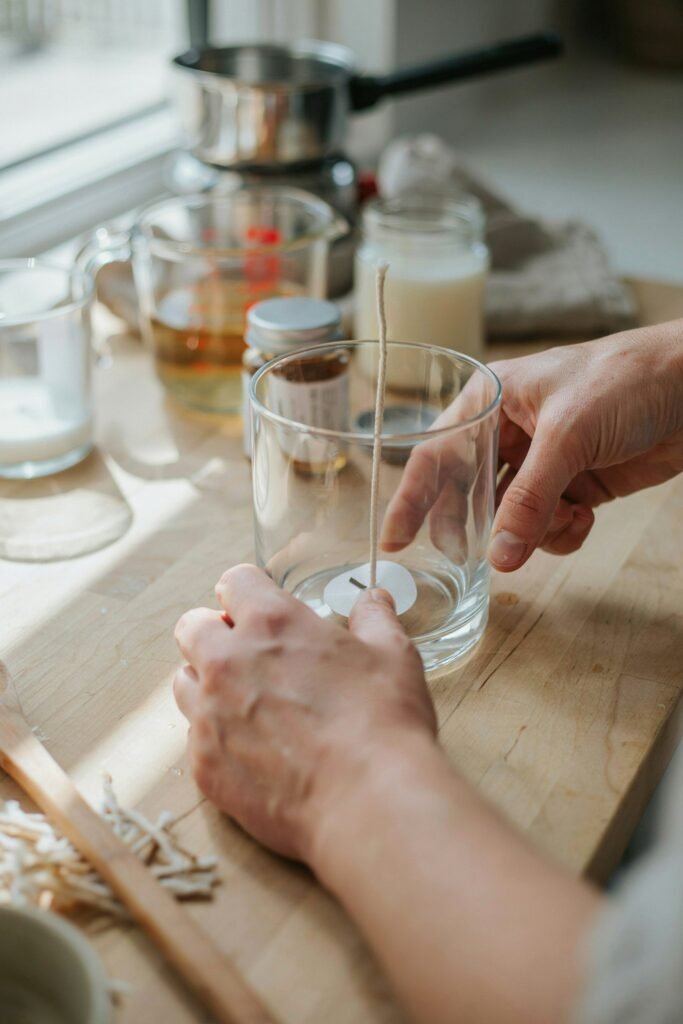
Place a wick sticker on the metal tab at the bottom of your wick.
Press the wick firmly into the center of the candle jar.
Taking time to center the wick properly is important because an off-center wick can cause uneven burning later.
Once attached, use a wick centering tool or clothespin across the jar opening to keep the wick upright.
Step 3: Measure the Wax
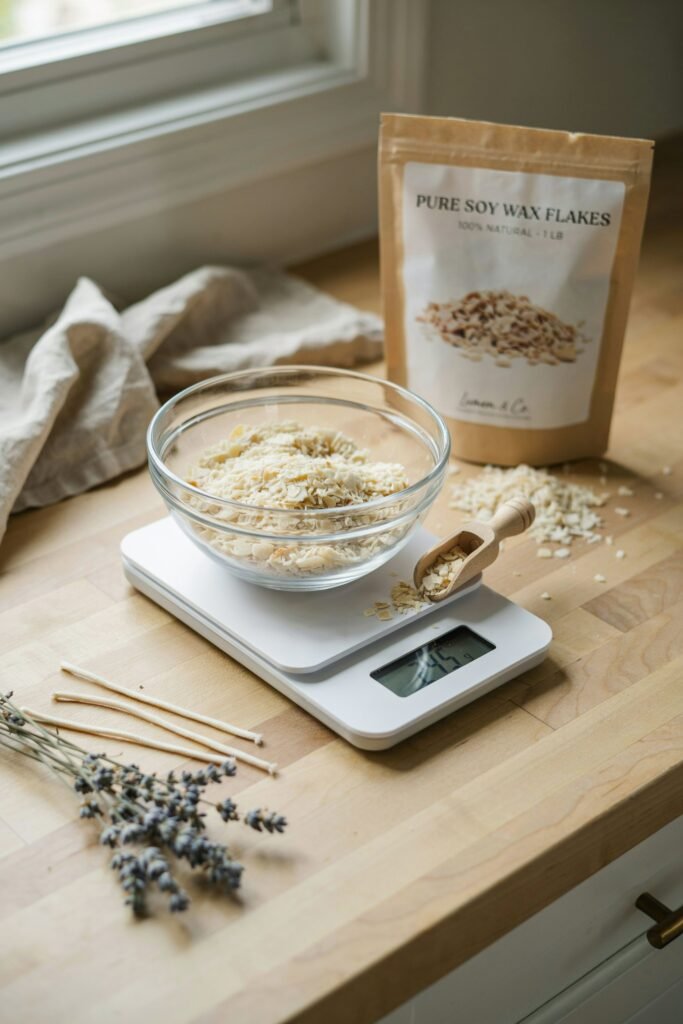
One mistake many beginners make is melting too little wax.
A simple trick I use is filling the candle container with wax flakes before melting.
Then I pour those flakes into the melting pitcher.
Since wax shrinks during melting, add a little extra to ensure enough melted wax for the jar.
Proper measuring helps prevent having to melt additional wax later.
Step 4: Melt the Wax
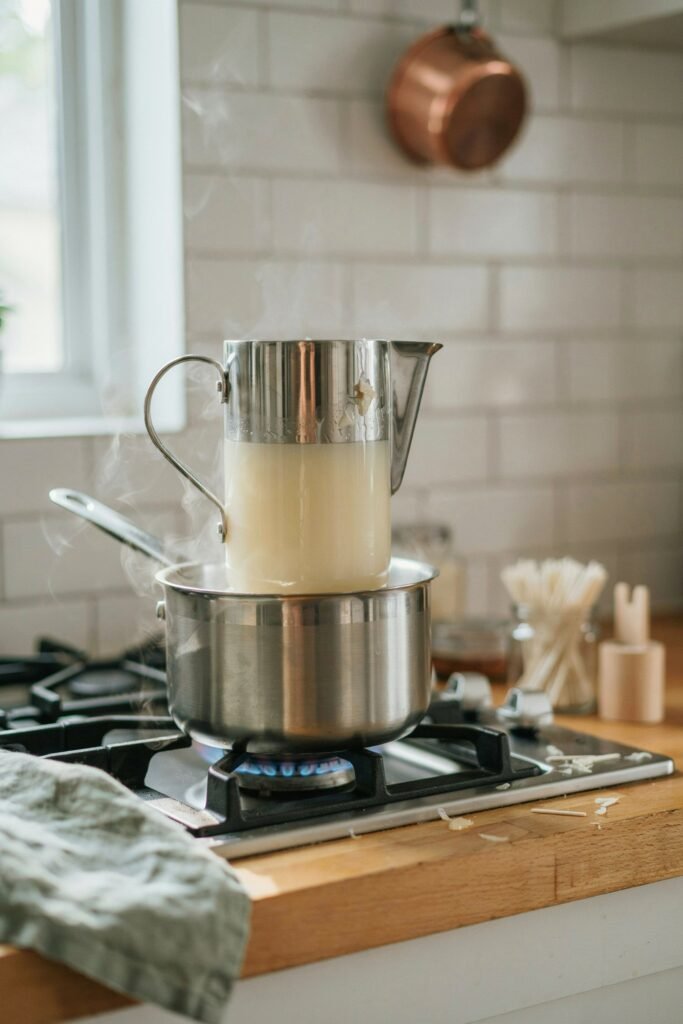
Place your wax into a pouring pitcher and use a double boiler method.
Fill a saucepan with a few inches of water and place it on medium heat.
Set the pouring pitcher inside the saucepan and allow the wax to melt slowly.
Avoid direct heat because it can scorch the wax and affect candle quality.
Stir occasionally while monitoring the temperature with a thermometer.
Most soy wax melts between 120°F and 185°F depending on the specific product being used.
Patience during this stage helps produce smoother candles.
Step 5: Monitor the Temperature Carefully
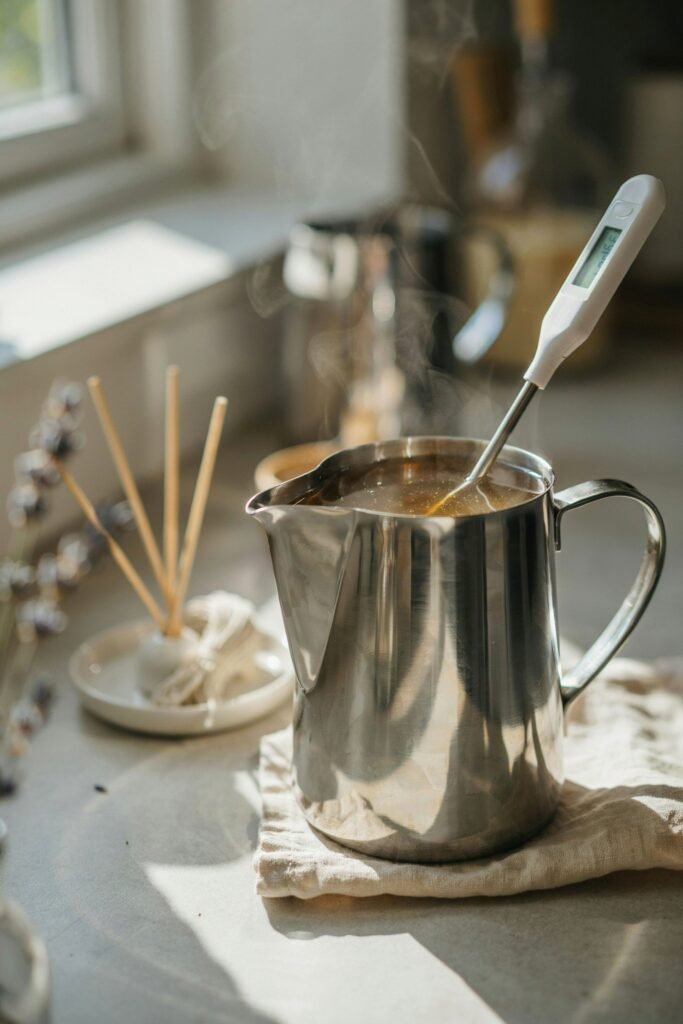
Temperature plays a major role in candle success.
Many beginners focus only on melting wax and forget that fragrance performance often depends on proper temperatures.
Check your wax manufacturer’s recommendations for:
- Melting temperature
- Fragrance addition temperature
- Pouring temperature
These numbers vary slightly between wax brands.
Following recommended temperatures helps maximize scent throw and reduce imperfections in the finished candle.
Step 6: Add the Fragrance Oil
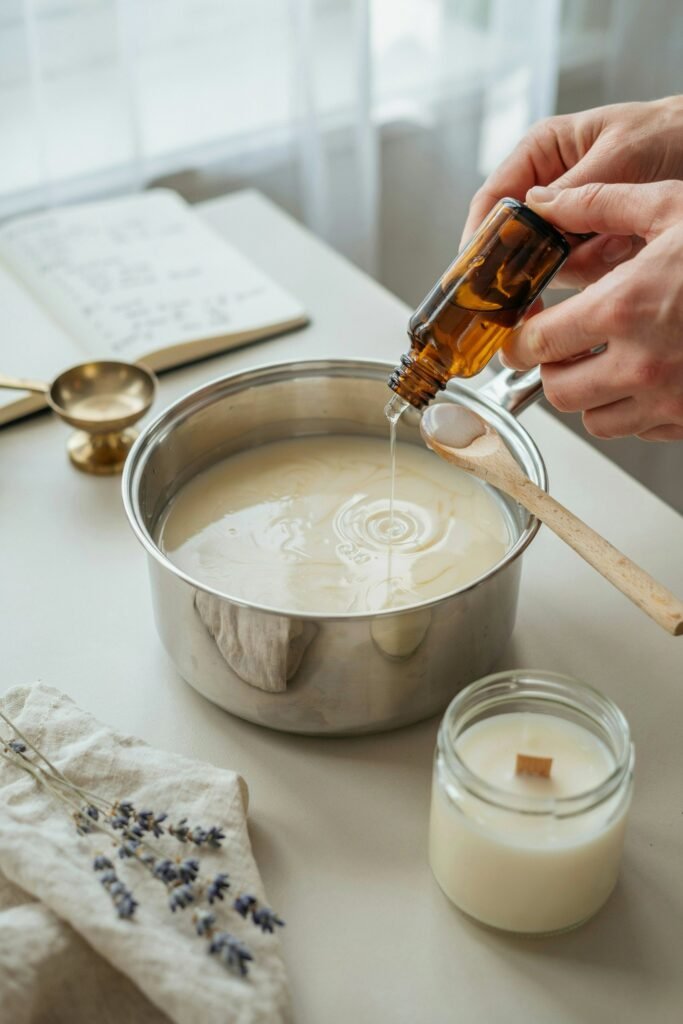
Once the wax reaches the recommended fragrance temperature, slowly add the fragrance oil.
This is one of my favorite parts because the scent instantly fills the room.
Stir gently but thoroughly for about two minutes.
Proper mixing helps distribute fragrance evenly throughout the candle.
Rushing this step can lead to weaker scent performance.
A common fragrance load for beginners ranges between 6% and 10%, depending on the wax type and manufacturer recommendations.
Step 7: Prepare for Pouring
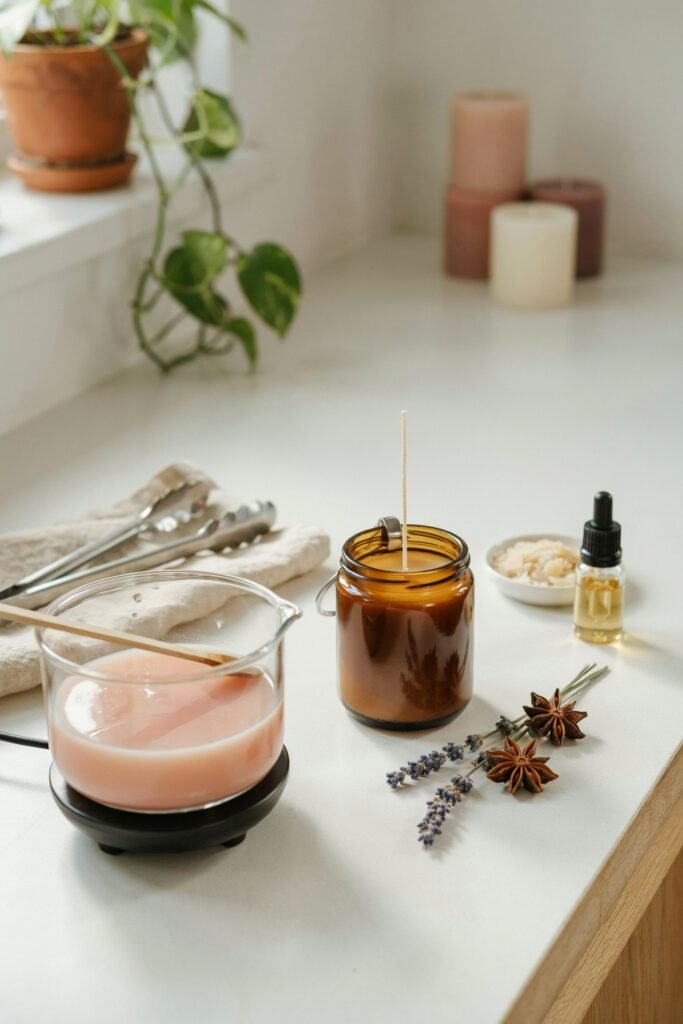
Before pouring, make sure:
- Wick remains centered.
- Container is clean.
- Fragrance is fully mixed.
- Wax temperature is within the recommended pouring range.
This final check helps avoid mistakes that can affect the appearance and performance of your candle.
Step 8: Pour the Wax into the Container
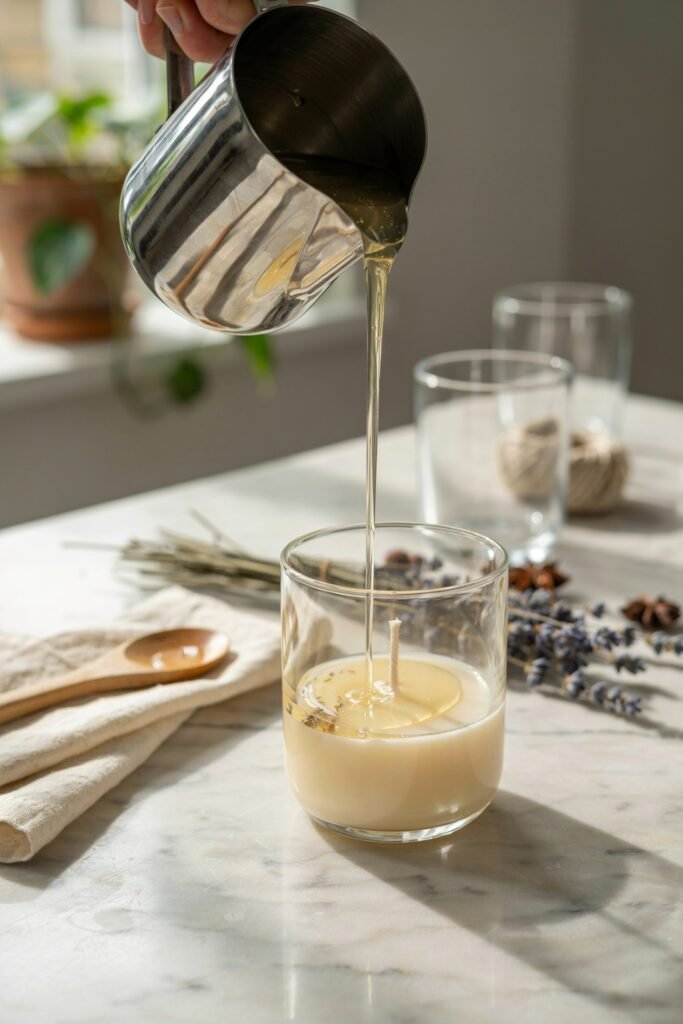
Once the wax reaches the recommended pouring temperature, slowly pour it into the prepared candle jar.
I learned early on that pouring too quickly can introduce air bubbles and create an uneven surface.
A slow, steady pour helps produce a smoother-looking candle.
Leave about half an inch of space at the top of the container.
This creates a cleaner appearance and provides room when lighting the candle later.
After pouring, double-check that the wick remains centered.
Step 9: Allow the Candle to Cool
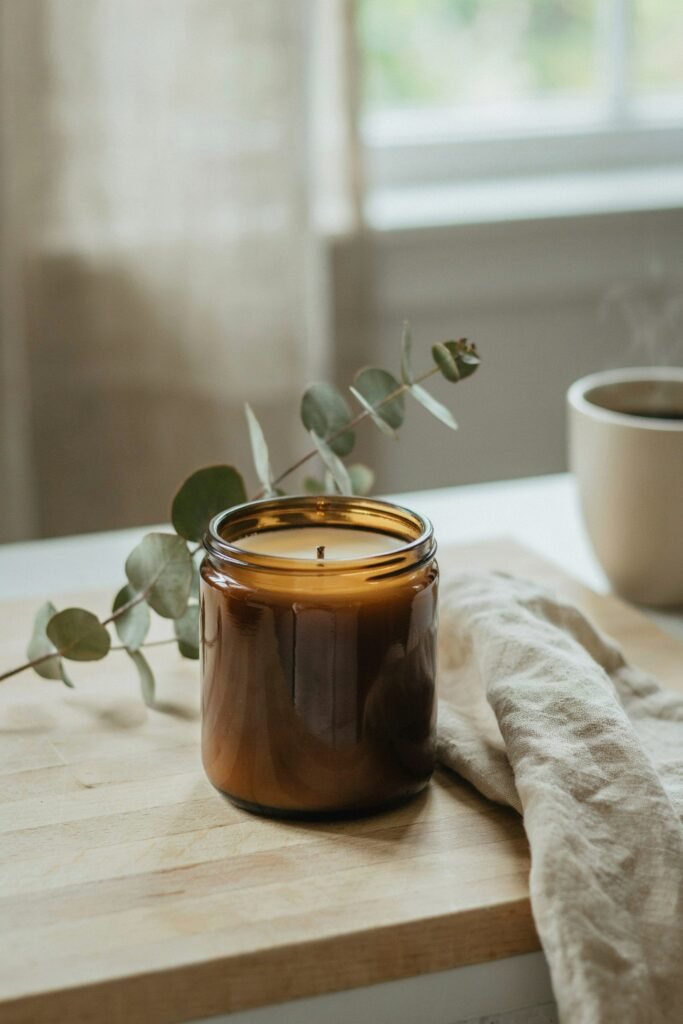
Cooling is one of the most overlooked parts of candle making.
The first few times I made candles, I constantly checked them while they cooled, hoping they would harden faster.
Unfortunately, moving or disturbing the candle can create imperfections.
Place the candle on a flat surface away from fans, open windows, and air conditioning vents.
Allow the wax to cool naturally.
Depending on the container size and room temperature, cooling can take several hours.
Avoid placing candles in the refrigerator or freezer. Rapid cooling often causes:
- Surface cracks
- Sinkholes
- Uneven tops
- Frosting
Slow cooling generally produces better results.
Step 10: Fix Surface Imperfections if Needed
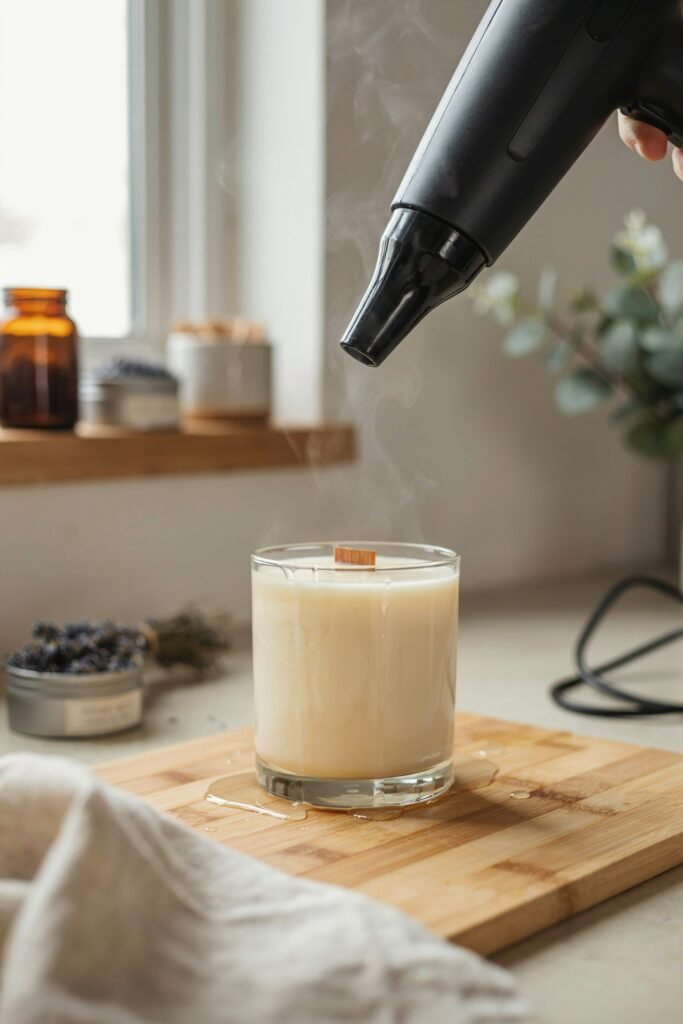
Even experienced candle makers occasionally encounter uneven tops.
If the candle develops small sinkholes or rough spots, don’t worry.
A simple solution is to gently heat the top using a heat gun until the surface smooths out.
If you don’t have a heat gun, a hair dryer on low heat may help.
Minor imperfections are completely normal for beginners and rarely affect how the candle burns.
Step 11: Trim the Wick
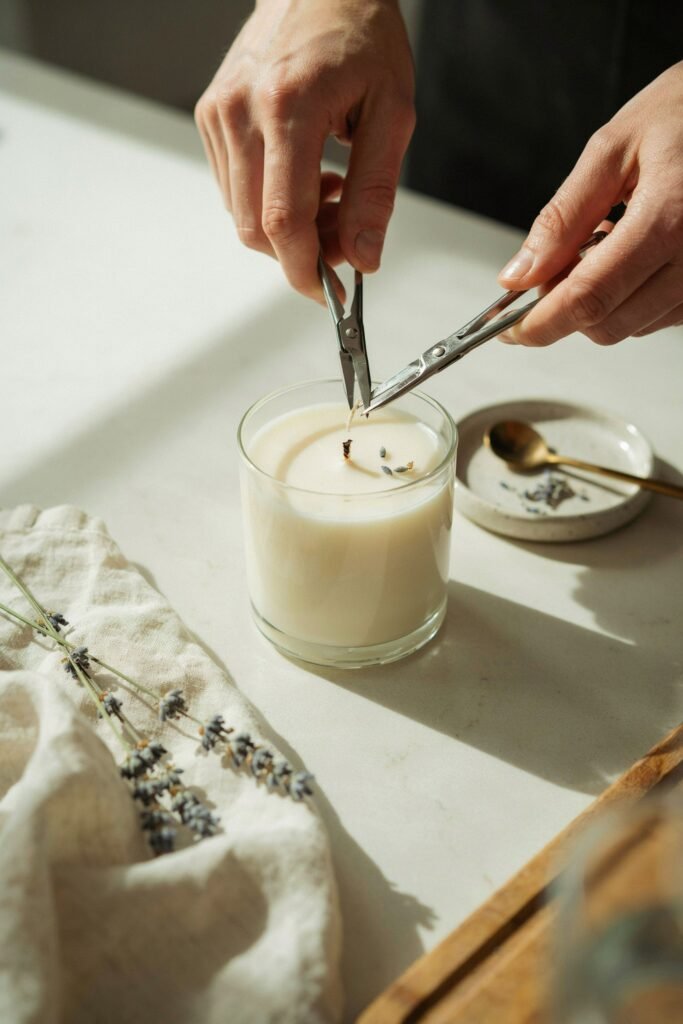
After the candle has fully hardened, trim the wick.
I typically leave about ¼ inch above the wax surface.
A properly trimmed wick helps:
- Reduce soot
- Prevent excessive flames
- Improve burn quality
- Extend candle life
Many candle problems can be traced back to improper wick length.
Keeping the wick trimmed before every burn is one of the easiest ways to improve candle performance.
Step 12: Cure the Candle
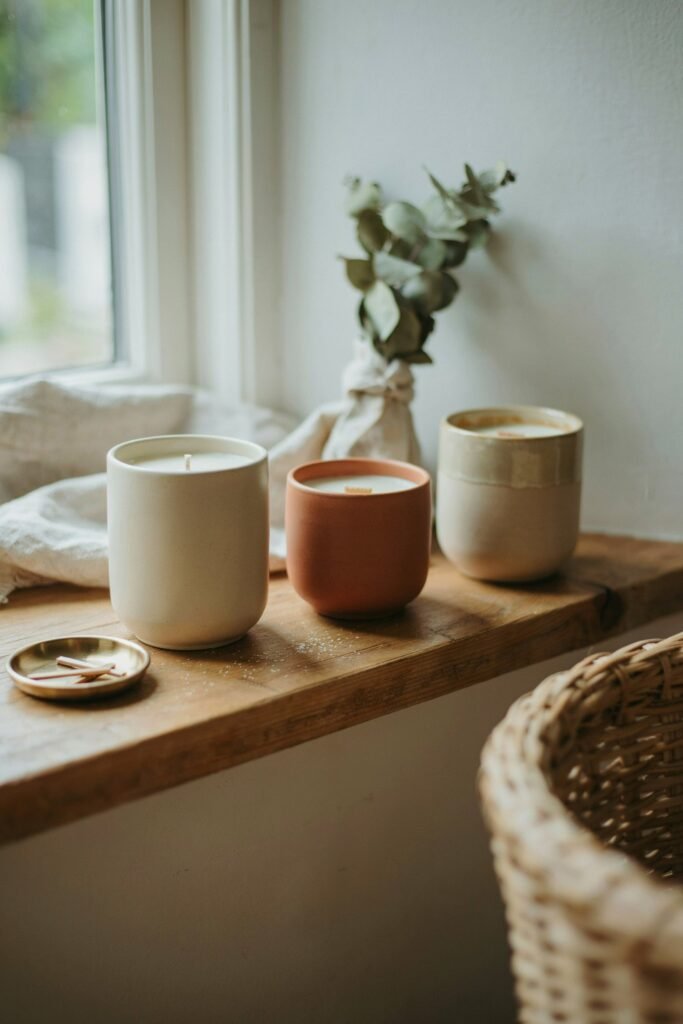
This step requires patience but makes a noticeable difference.
Freshly made candles may smell wonderful immediately, but the fragrance continues bonding with the wax over time.
For soy candles, I usually recommend curing for:
- Minimum: 48 hours
- Better results: 1 week
- Best results: 2 weeks
The longer cure period often produces a stronger scent throw when the candle is burned.
Many beginners skip this stage and wonder why their candles smell weaker than expected.
Allowing adequate curing time can dramatically improve fragrance performance.
Common Candle Making Mistakes Beginners Should Avoid
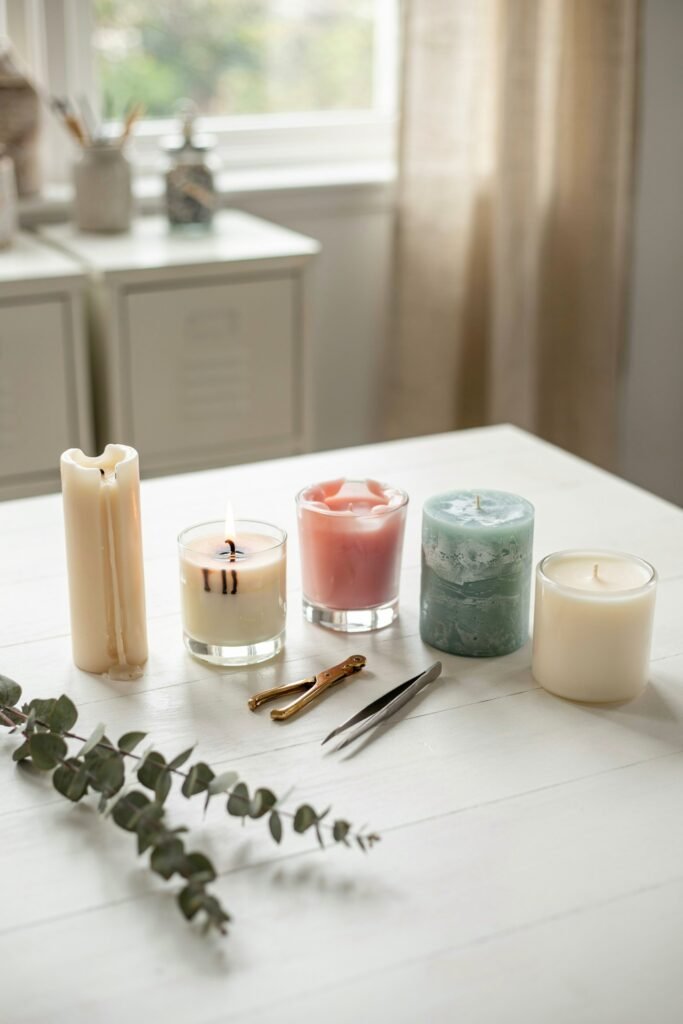
Making mistakes is part of learning, but knowing the most common issues can save time and supplies.
Using Too Much Fragrance Oil
Adding extra fragrance doesn’t always create a stronger candle.
Excess oil can actually cause:
- Poor burning
- Sweating
- Weak scent throw
- Wax separation
Always follow the recommended fragrance load for your wax.
Ignoring Temperature Guidelines
Temperature affects nearly every stage of candle making.
Pouring too hot or too cold may result in:
- Rough surfaces
- Cracks
- Poor scent retention
- Frosting
A thermometer quickly becomes one of the most valuable candle-making tools.
Choosing the Wrong Wick Size
A wick that’s too small may tunnel.
A wick that’s too large may burn too hot.
Signs of incorrect wick sizing include:
- Small flame
- Large flame
- Excess soot
- Uneven melt pool
- Wax left around container edges
Testing different wick sizes helps determine the best match for your candle.
Burning the Candle Too Soon
Patience pays off.
Allowing proper cure time often leads to:
- Better fragrance performance
- More consistent burning
- Improved hot throw
Waiting a few extra days can significantly improve results.
Pouring Wax Too Fast
Slow pouring reduces air bubbles and helps create smoother candle surfaces.
I always notice cleaner results when I take my time during this stage.
How to Make Candles Smell Stronger
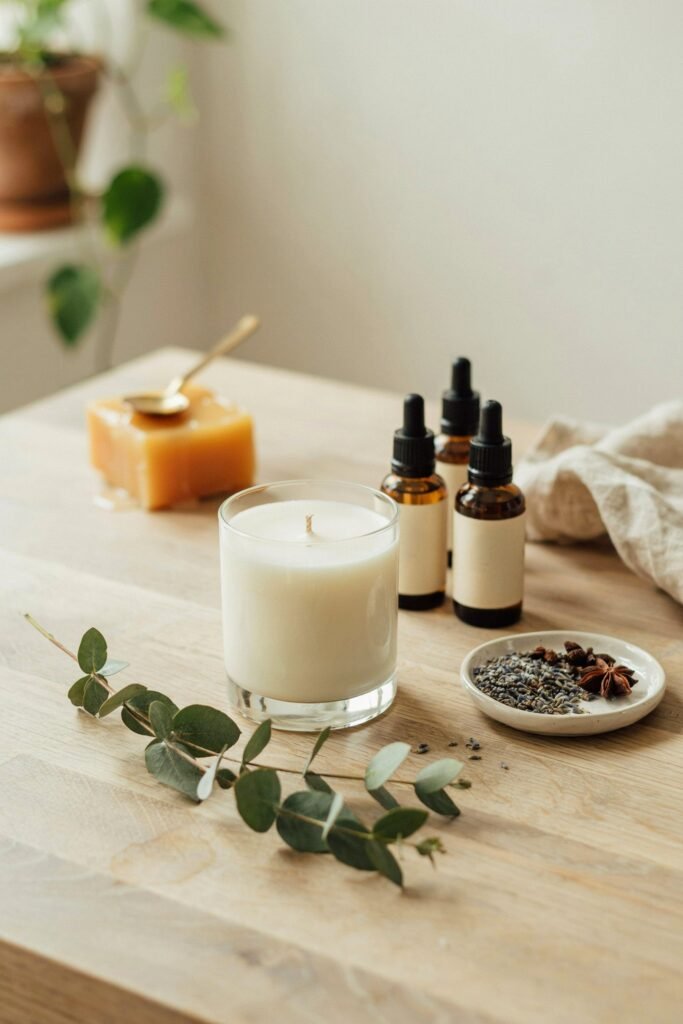
One of the most common questions beginners ask is how to create stronger-smelling candles.
Several factors influence scent performance.
Use High-Quality Fragrance Oils
Premium fragrance oils typically perform better than inexpensive alternatives.
Quality oils often provide:
- Better scent retention
- Stronger hot throw
- More realistic fragrance profiles
Follow Recommended Fragrance Loads
Most wax manufacturers provide fragrance load recommendations.
Adding too little fragrance may weaken scent performance.
Adding too much can create problems.
Finding the proper balance is important.
Mix Thoroughly
Fragrance oil should be stirred evenly throughout the wax.
I usually stir gently for at least two minutes.
This helps ensure the scent distributes consistently throughout the finished candle.
Allow Proper Cure Time
Curing remains one of the easiest ways to improve scent throw.
Many candles become noticeably stronger after one to two weeks.
Choose the Right Container
Container size affects scent strength.
Smaller rooms often require less fragrance than larger open spaces.
Testing different container sizes helps determine what works best for your home.
Popular Scent Combinations for Beginners
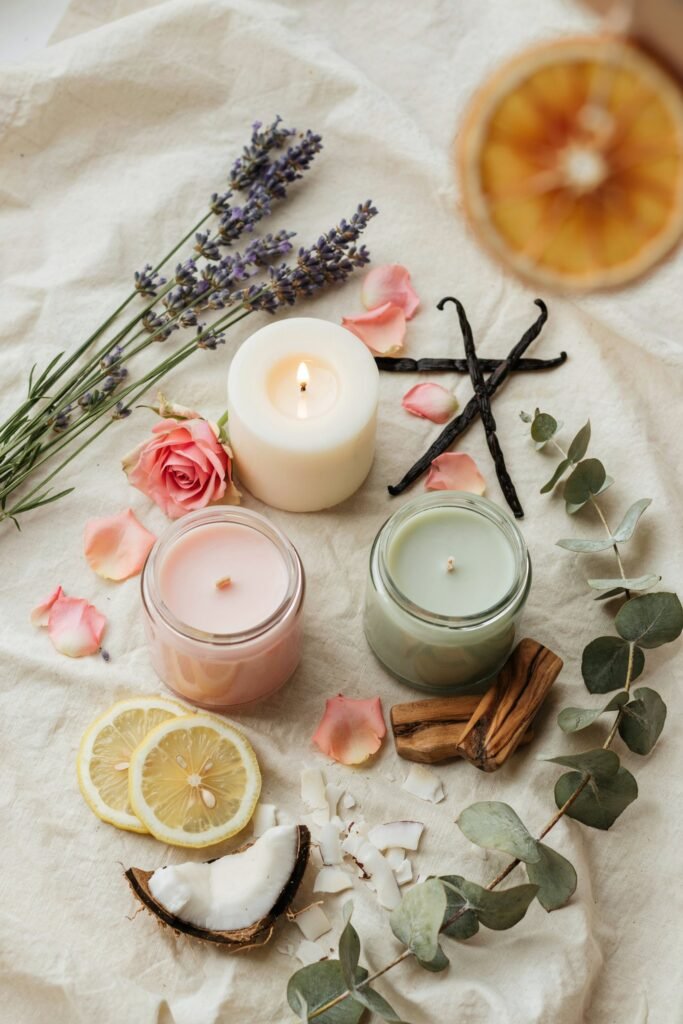
If you’re unsure where to start, these combinations are easy to love.
Lavender Vanilla
A calming blend perfect for bedrooms and evening relaxation.
Lemon Lavender
Fresh, clean, and uplifting.
Coconut Lime
Bright tropical fragrance with a refreshing finish.
Rose Vanilla
Soft floral scent balanced by sweet creamy notes.
Cinnamon Vanilla
Warm and comforting during colder months.
Eucalyptus Mint
Refreshing aroma often used in spa-inspired candles.
Sandalwood Amber
Rich, cozy fragrance with a luxurious feel.
Fresh Linen Lemon
Clean scent that works well throughout the home.
Candle Safety Tips
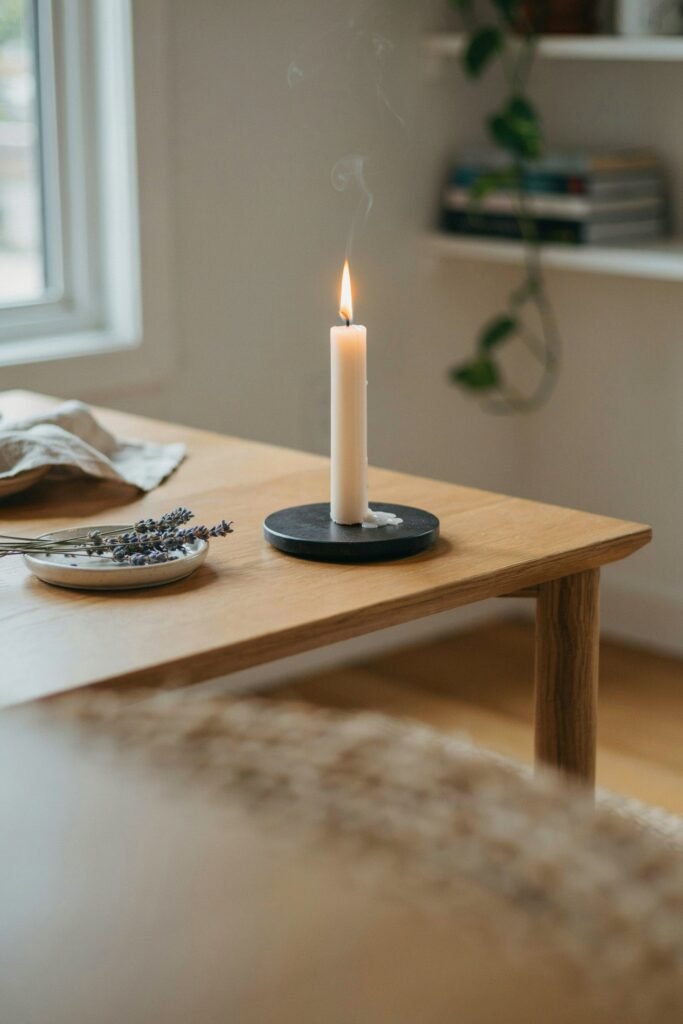
Safety should always be a priority when making and using candles.
During Candle Making
- Never leave melting wax unattended.
- Use heat-resistant containers.
- Keep children and pets away.
- Monitor temperatures carefully.
- Avoid water contamination in melted wax.
During Candle Use
- Trim wick before each burn.
- Place candle on a stable surface.
- Keep away from curtains.
- Never burn unattended.
- Extinguish before leaving a room.
- Keep away from children and pets.
Following these simple precautions helps prevent accidents.
How to Store Homemade Candles
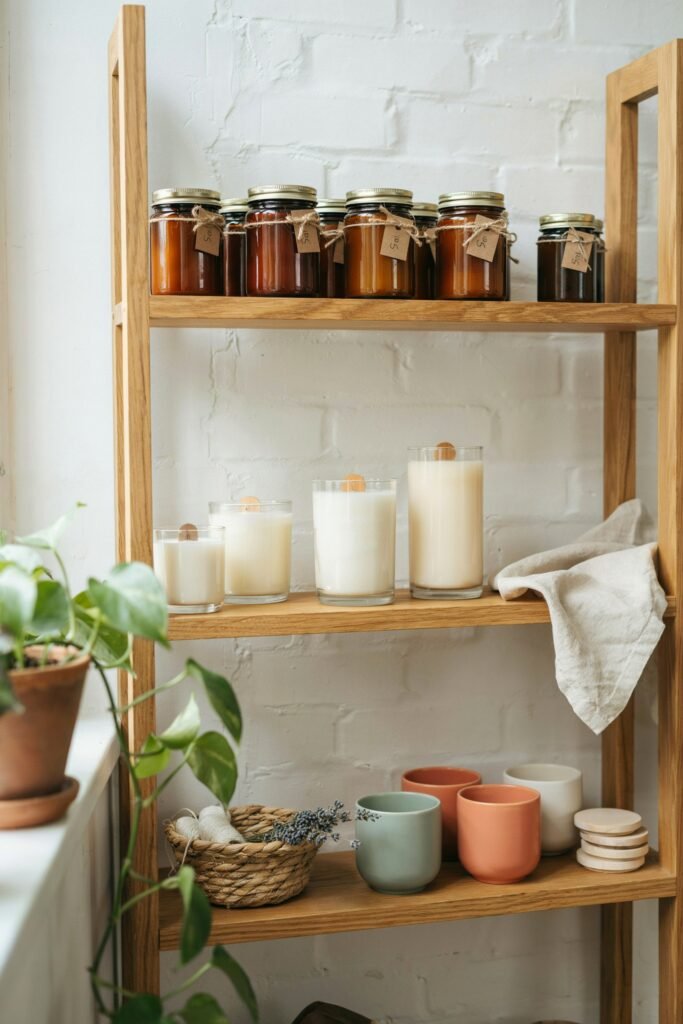
Proper storage helps preserve fragrance and appearance.
I store finished candles in a cool, dry location away from direct sunlight.
Avoid areas with:
- High humidity
- Excessive heat
- Direct sunlight
Good storage conditions help maintain scent quality for longer periods.
Dust covers or candle lids also help protect fragrance between uses.
Frequently Asked Questions
How long do homemade scented candles last?
Most homemade candles can last for months or even years when stored properly.
Can I use essential oils instead of fragrance oils?
Yes, but fragrance oils generally provide stronger scent throw and better performance.
Why does my candle tunnel?
Tunneling often occurs when the wick is too small or the candle isn’t burned long enough during the first use.
How long should I burn a candle?
Allow the melt pool to reach the edges of the container during each burn whenever possible.
Why does my candle have a rough top?
Cooling too quickly often causes surface imperfections.
Final Thoughts
Making scented candles at home is one of the most rewarding DIY projects for beginners.
Every candle teaches something new, whether it’s discovering a favorite fragrance blend, mastering wax temperatures, or finding the perfect wick size.
My first candles weren’t perfect, but each batch improved with practice. That’s part of the fun.
Candle making combines creativity, relaxation, and craftsmanship into a hobby that anyone can enjoy.
Start simple, follow the steps carefully, and don’t be afraid to experiment with different fragrances and containers.
Before long, you’ll be creating beautiful scented candles that fill your home with wonderful aromas and provide a sense of accomplishment every time you light one.