
Air dry clay is one of the easiest and most enjoyable crafting materials for beginners and experienced artists alike.
Whether you are creating handmade jewelry, decorative bowls, miniature sculptures, ornaments, or DIY home décor, learning how to paint air dry clay properly can completely transform your project from simple to stunning.
Many people spend hours shaping clay creations only to end up with dull paint, cracked surfaces, peeling color, or uneven finishes.
The good news is that painting air dry clay is not difficult once you understand the right techniques, tools, and materials.
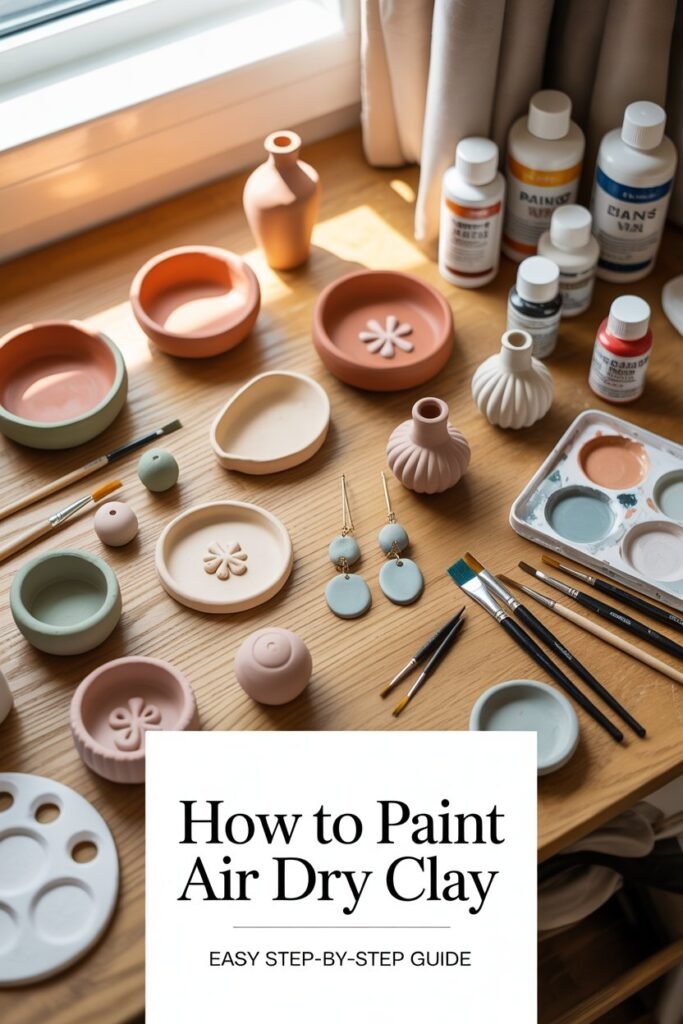
In this complete step-by-step guide, you will learn everything you need to know about painting air dry clay successfully.
From preparing the clay surface to choosing the best paints and sealing your finished piece, this guide covers all the important details that beginners often miss.
Whether you want a smooth professional finish or a creative artistic style, this tutorial will help you create beautiful painted clay projects that last.
Disclaimer: This post may contain affiliate links, which means I may earn a small commission at no extra cost to you. Always allow air dry clay to fully dry before painting and follow product instructions for the best results and long-lasting protection.
Amazon Shopping List: How to Paint Air Dry Clay
- Air Dry Clay Pack (White or Natural Clay)
- Acrylic Paint Set (Assorted Colors)
- Paint Brushes Variety Pack (Detail & Wide Brushes)
- Fine Grit Sandpaper Set (For Smoothing Surfaces)
- Clear Acrylic Sealer or Varnish (Gloss or Matte Finish)
- Paint Palette & Water Cup Set
- Silicone Craft Mat for Workspace Protection
Why Painting Air Dry Clay Matters
Painting air dry clay does more than simply add color. It protects the surface, enhances texture, highlights details, and gives your craft a polished appearance.
Without proper painting techniques, air dry clay can:
- Look chalky or unfinished
- Absorb paint unevenly
- Develop cracks or peeling
- Fade over time
- Become vulnerable to moisture
A well-painted clay project, on the other hand, can look incredibly professional and durable.
Painting also gives you endless creative freedom. You can create:
- Matte modern designs
- Rustic earthy finishes
- Glossy ceramic-style effects
- Metallic accents
- Watercolor-inspired art
- Realistic textures
- Cartoon-style decorations
The possibilities are endless once you understand the basics.
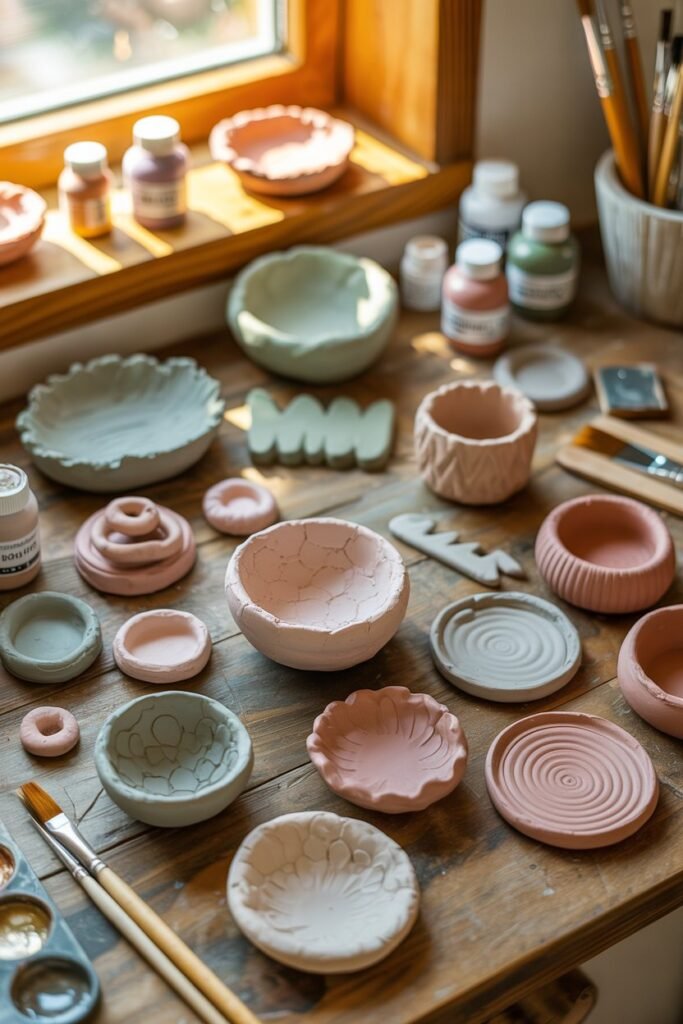
What Is Air Dry Clay?
Air dry clay is a soft modeling clay that hardens naturally when exposed to air. Unlike traditional ceramic clay, it does not require baking in a kiln.
This makes it extremely popular for:
- DIY crafts
- School projects
- Home décor
- Jewelry making
- Sculptures
- Kids’ activities
- Handmade gifts
Air dry clay is affordable, beginner-friendly, and easy to shape using simple tools.
However, because it is porous after drying, proper painting and sealing are essential for achieving the best results.
Best Types of Paint for Air Dry Clay
One of the most common questions beginners ask is:
“What paint should I use on air dry clay?”
The answer depends on the look you want to achieve.
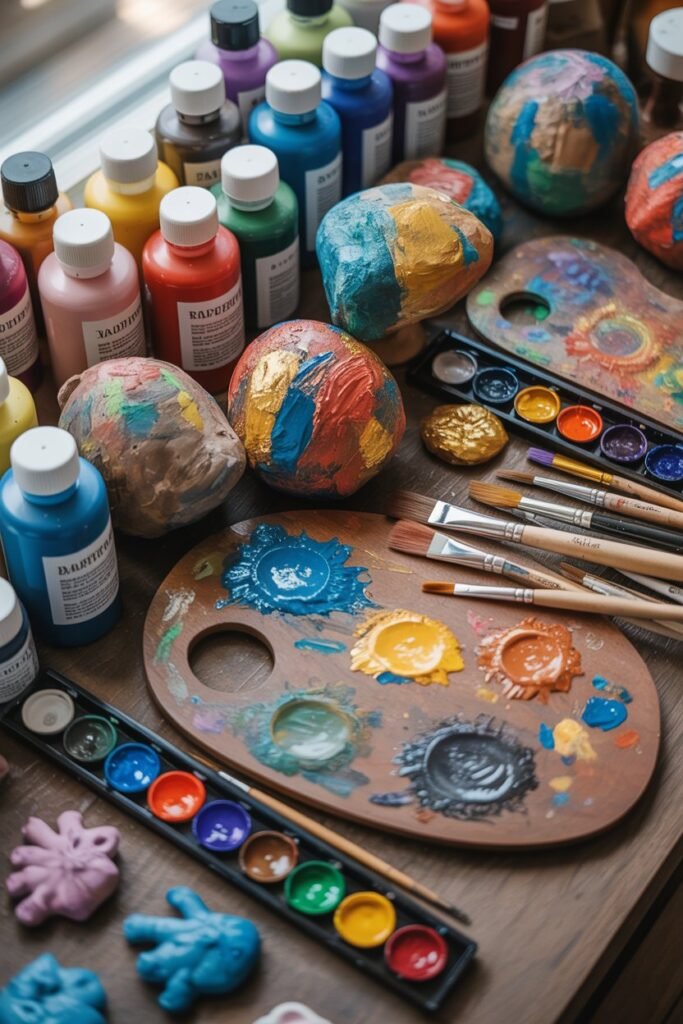
1. Acrylic Paint
Acrylic paint is the most popular and best overall option for air dry clay.
Why Acrylic Paint Works Best
- Fast drying
- Easy to apply
- Affordable
- Water-based
- Available in many colors
- Durable after sealing
- Beginner-friendly
Acrylic paint gives smooth, vibrant coverage and works on almost every clay project.
Best Uses
- Sculptures
- Ornaments
- Jewelry
- Decorative pieces
- Miniatures
2. Tempera Paint
Tempera paint is often used for children’s crafts because it washes off easily.
Pros
- Non-toxic
- Easy cleanup
- Affordable
Cons
- Less durable
- Colors may fade
- Can crack without sealing
Tempera paint works best for temporary projects or kids’ crafts.
3. Watercolor Paint
Watercolor creates a soft artistic appearance.
Best For
- Light pastel designs
- Vintage effects
- Subtle color washes
However, watercolor is less vibrant on porous clay unless the surface is primed first.
4. Oil Paint
Oil paints create rich, professional-looking finishes but take much longer to dry.
Pros
- Deep color saturation
- Smooth blending
- Professional artistic effects
Cons
- Long drying time
- Strong smell
- More difficult cleanup
Oil paint is better for advanced artists.
5. Spray Paint
Spray paint works well for large clay projects and smooth coverage.
Benefits
- Even finish
- Fast application
- Modern appearance
Always spray outdoors or in a ventilated area.
Supplies You Need to Paint Air Dry Clay
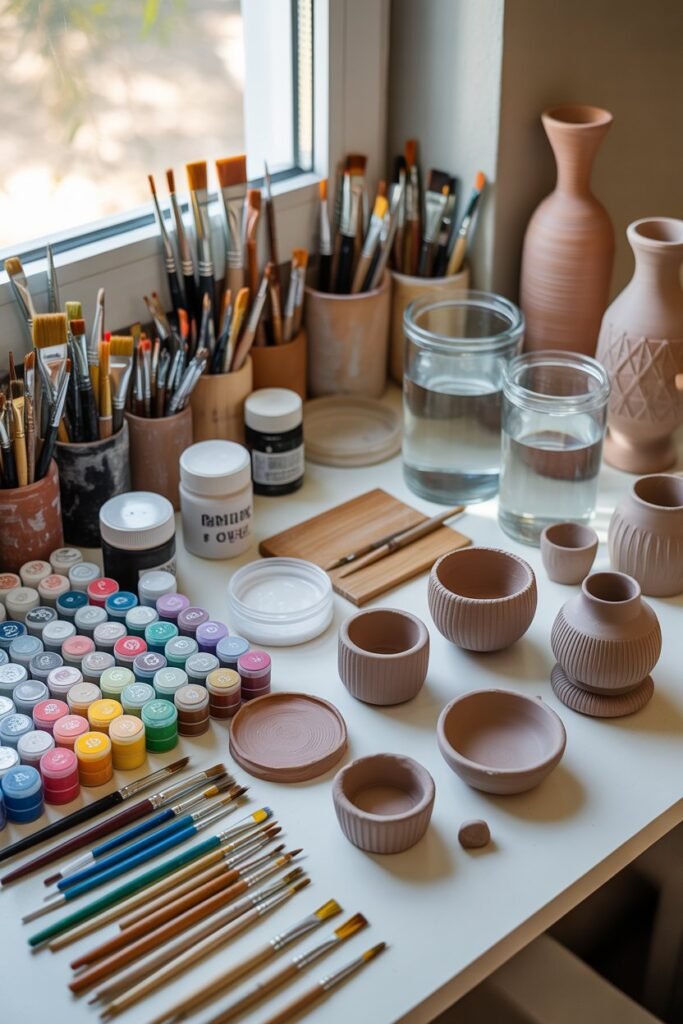
Before starting, gather all your materials.
Essential Supplies
- Fully dried air dry clay project
- Acrylic paints
- Paintbrushes
- Water cup
- Palette or paper plate
- Sandpaper
- Primer or gesso
- Paper towels
- Sealant or varnish
Optional supplies include:
- Sponges
- Dotting tools
- Metallic paint
- Glitter
- Stencils
- Painter’s tape
Having the right tools makes the process much easier.
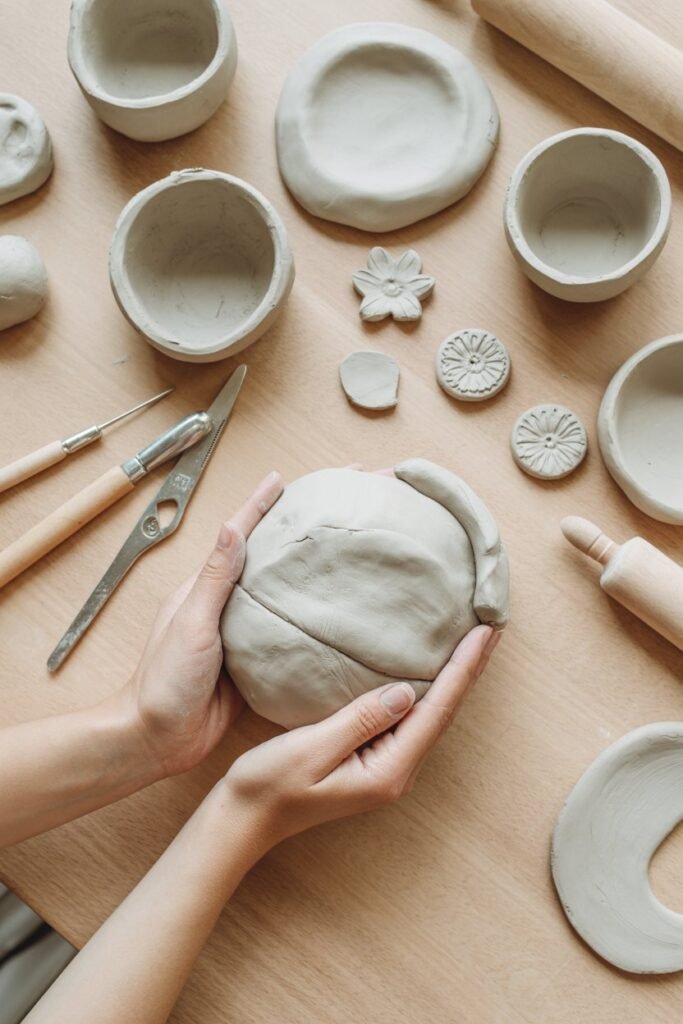
Step 1: Let the Clay Dry Completely
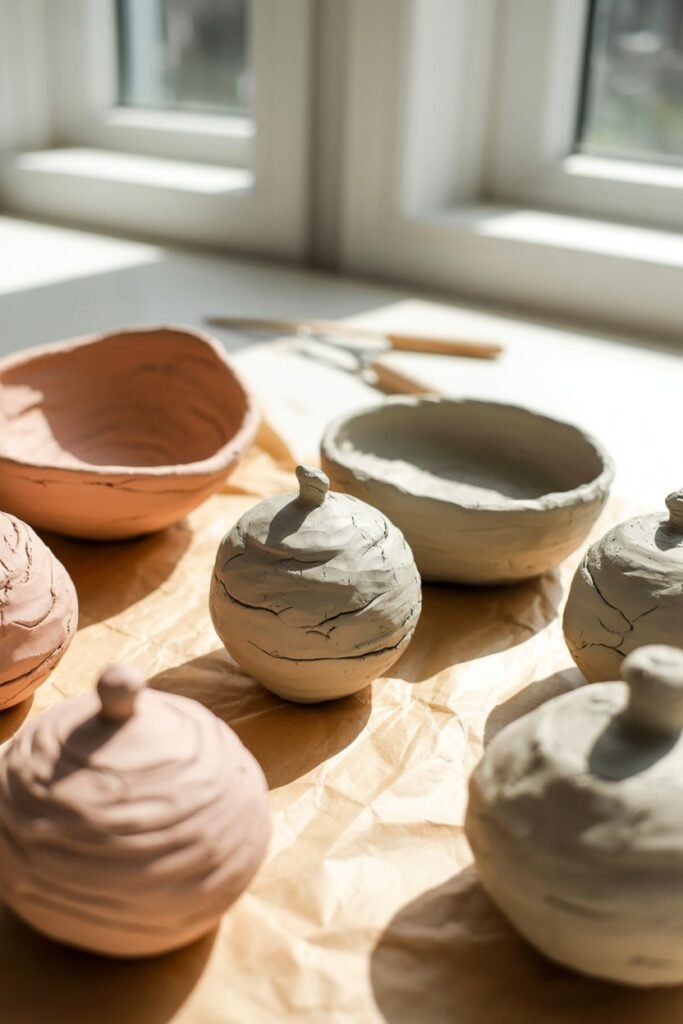
This step is extremely important.
Painting clay before it fully dries can trap moisture inside, leading to:
- Cracks
- Mold
- Paint peeling
- Weak structure
How Long Does Air Dry Clay Take to Dry?
Drying time depends on:
- Thickness
- Humidity
- Clay brand
- Room temperature
Most projects require:
- 24–72 hours minimum
- Larger projects may need up to a week
The clay should feel:
- Hard
- Room temperature
- Dry all the way through
Never rush this stage.
Step 2: Sand the Surface Smooth
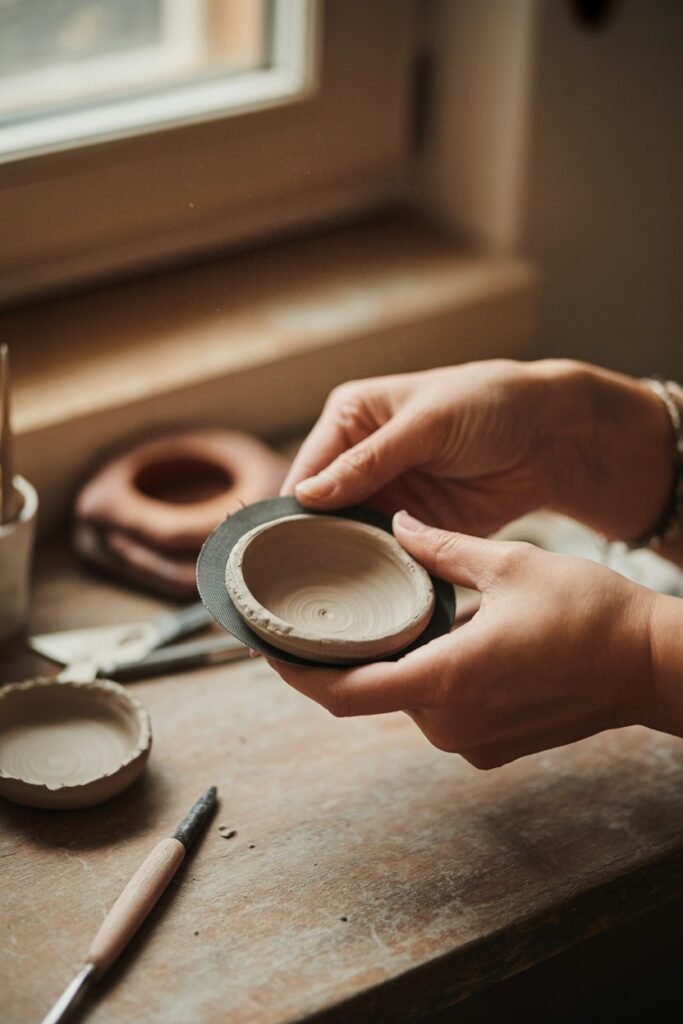
Once dry, lightly sand the clay to remove:
- Rough spots
- Fingerprints
- Uneven edges
- Small cracks
Best Sandpaper Grit
Use:
- 220-grit for general smoothing
- Fine-grit for delicate finishing
Sand gently to avoid damaging the clay.
After sanding, wipe away dust using a dry cloth or soft brush.
This step creates a much cleaner painted finish.
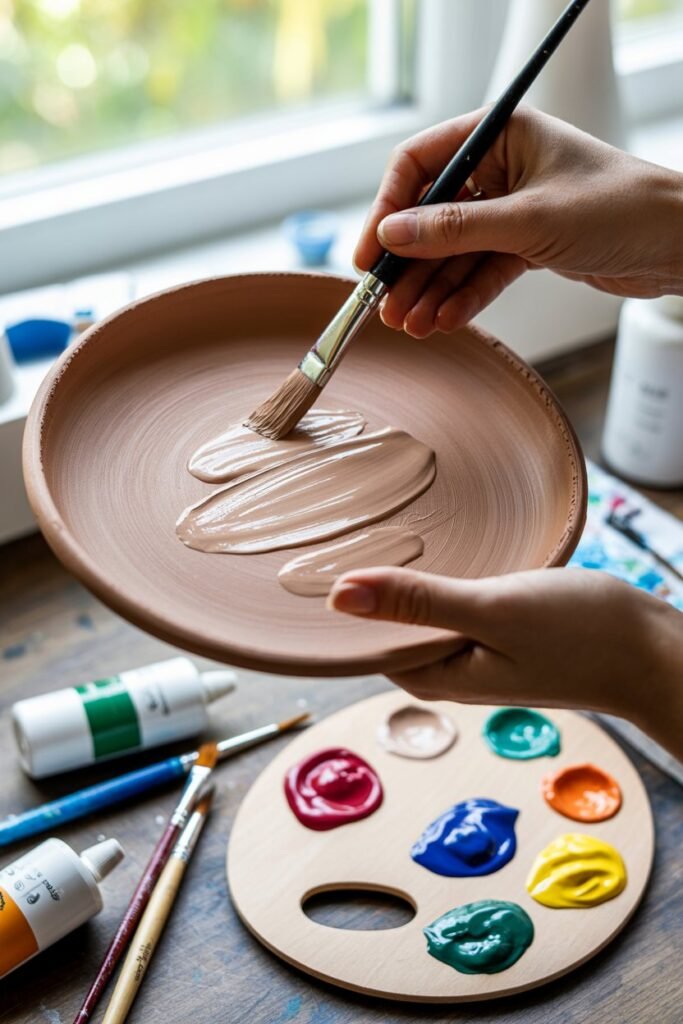
Step 3: Apply Primer or Gesso
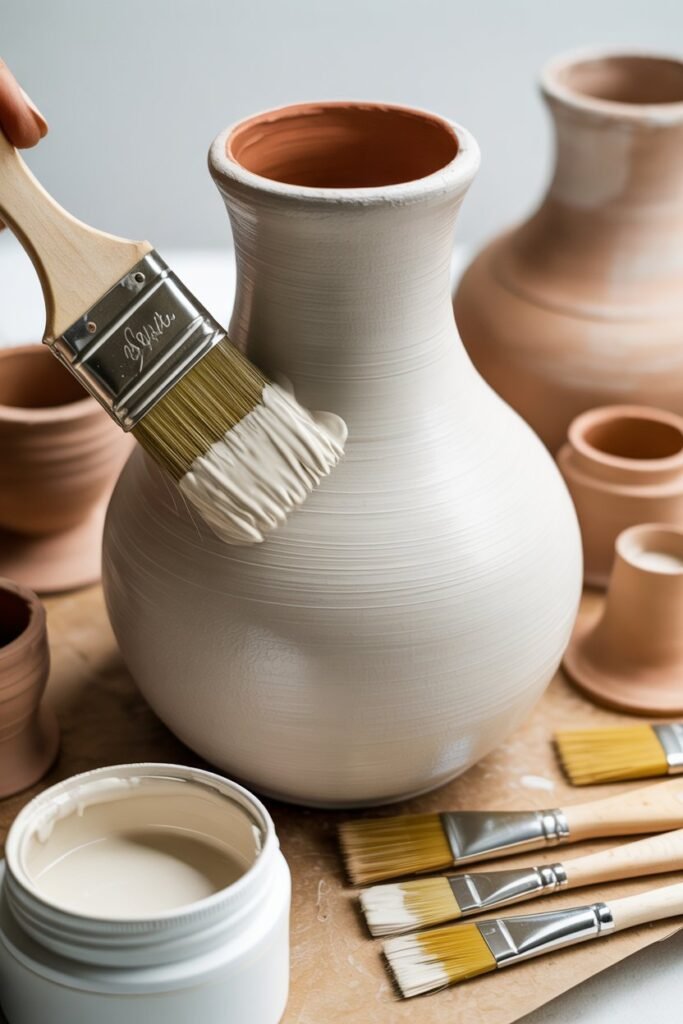
Many beginners skip primer, but it makes a huge difference.
Why Priming Helps
Primer or gesso:
- Prevents paint absorption
- Creates smoother coverage
- Improves paint adhesion
- Makes colors brighter
- Reduces paint streaks
Without primer, clay can soak up paint unevenly.
How to Apply Primer
- Use a soft brush
- Apply thin even coats
- Let each coat dry fully
- Sand lightly if needed
White gesso is the most common option.
Step 4: Choose Your Painting Style

Before painting, decide on the final look.
Popular styles include:
Minimalist
Simple neutral tones and clean designs.
Rustic
Earthy textures with natural colors.
Boho
Terracotta shades with patterns.
Modern
Bold geometric shapes and bright colors.
Vintage
Muted colors with distressed details.
Glossy Ceramic Look
Smooth paint with glossy sealant.
Planning your design helps create a cohesive final result.
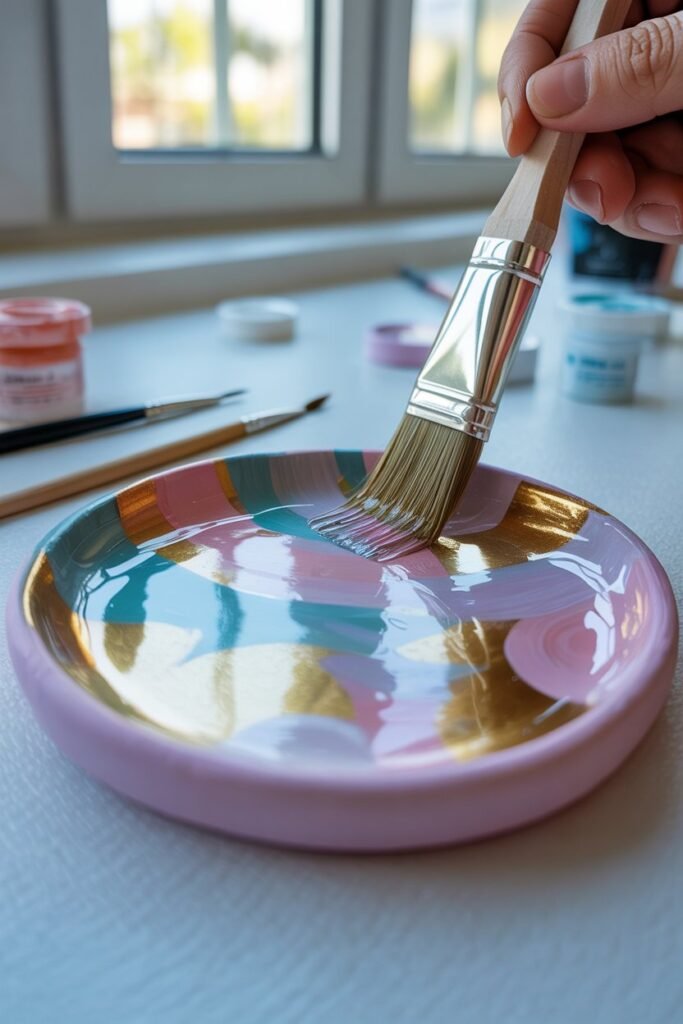
Step 5: Start Painting the Base Coat
The base coat is your foundation color.
Tips for Painting the Base Layer
- Use thin coats
- Avoid thick paint buildup
- Let each coat dry before adding another
- Use soft brush strokes
Two or three thin coats usually look better than one thick coat.
If you notice streaks, allow the paint to dry and apply another layer.
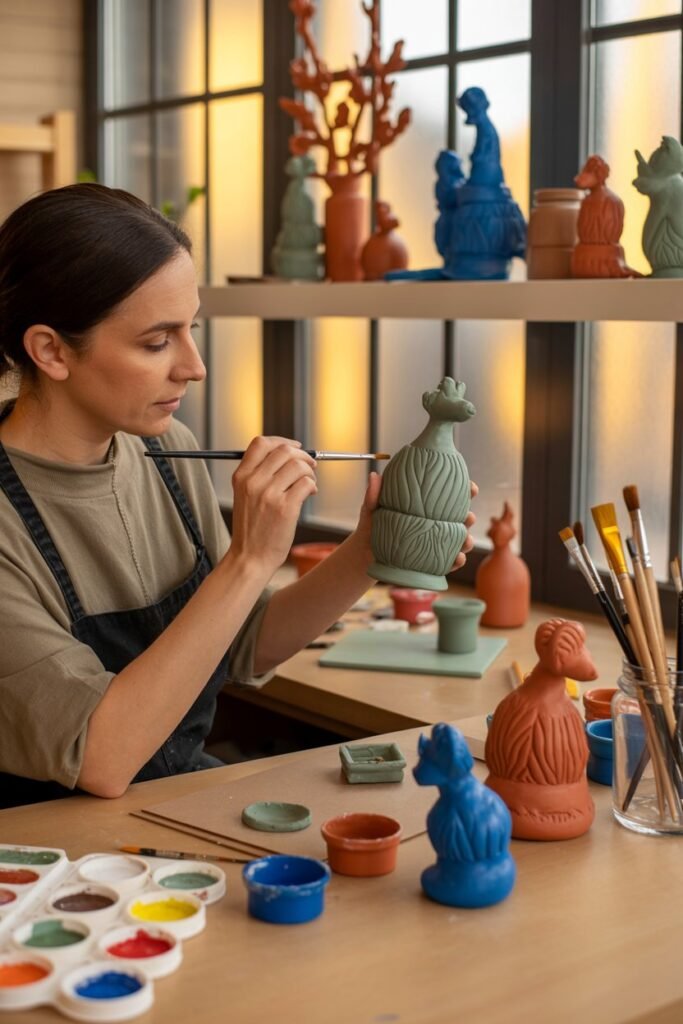
Step 6: Add Details and Designs
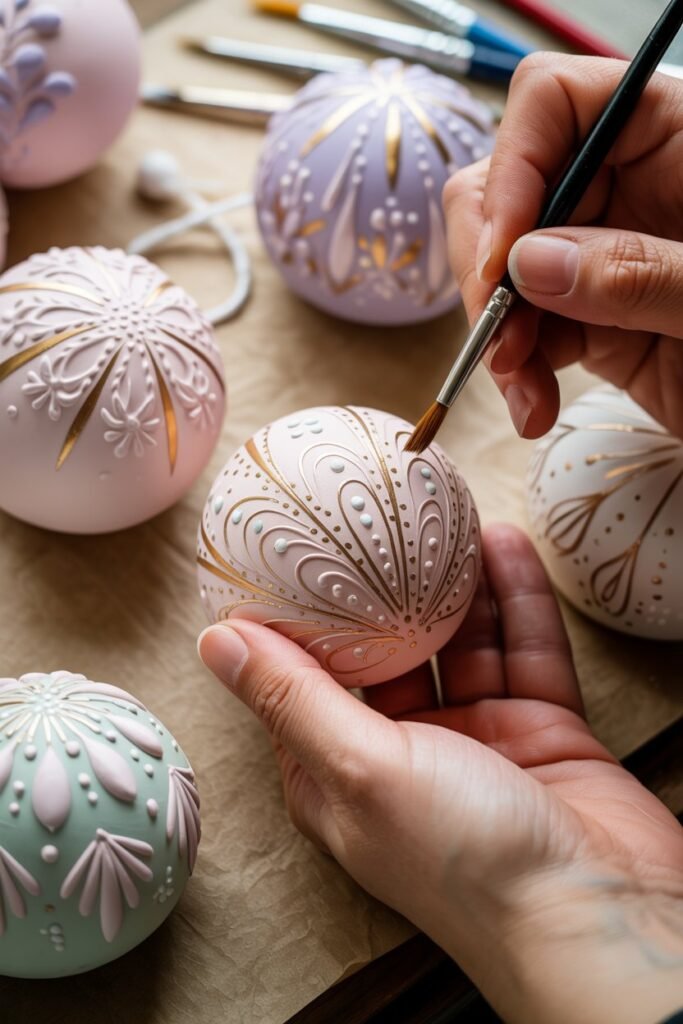
Once the base coat dries, you can decorate your piece.
Popular Clay Painting Ideas
Floral Patterns
Hand-painted flowers create a soft artistic look.
Geometric Shapes
Triangles, stripes, and dots give modern style.
Gold Accents
Metallic paint adds elegance.
Ombre Blending
Blend colors gradually for a trendy effect.
Character Designs
Perfect for figurines and kids’ crafts.
Texture Painting
Use dry brushing techniques for depth.
Take your time during this stage for cleaner details.
Best Paintbrushes for Air Dry Clay
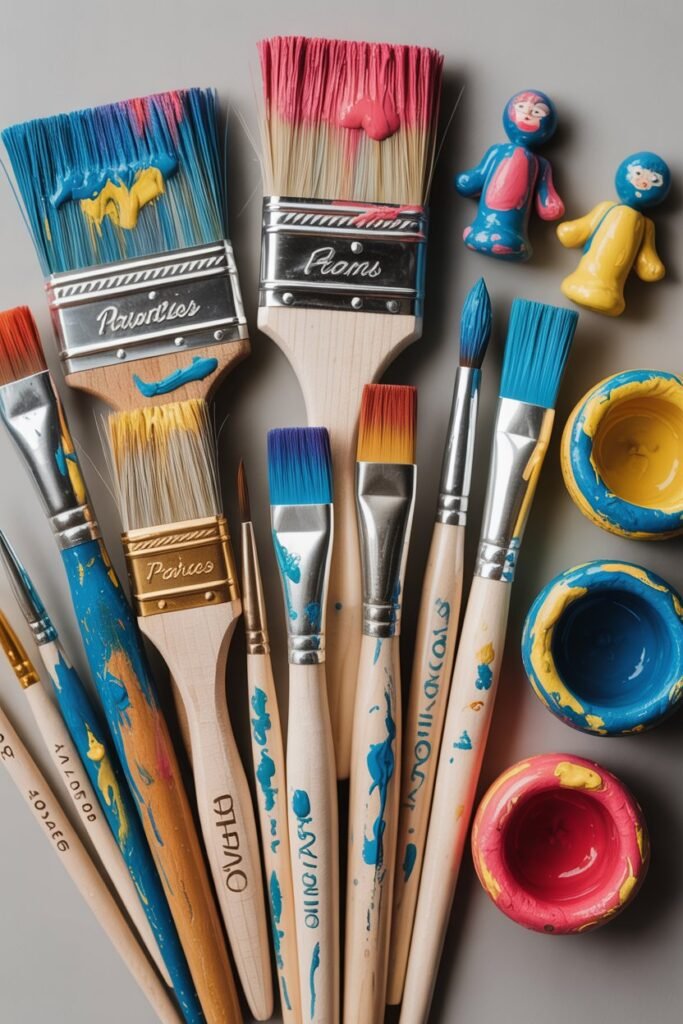
Different brushes create different effects.
Flat Brushes
Best for large areas and smooth coats.
Round Brushes
Ideal for details and curves.
Detail Brushes
Perfect for tiny designs and lettering.
Foam Brushes
Useful for smooth finishes without streaks.
Investing in decent brushes can improve your results dramatically.
Common Mistakes to Avoid
Many beginners accidentally ruin their projects with simple mistakes.
1. Painting Wet Clay
Always wait for full drying.
2. Using Thick Paint Layers
Thick paint may crack later.
3. Skipping Primer
Primer improves the entire finish.
4. Not Sealing the Project
Unsealed paint can chip easily.
5. Rushing Drying Time
Patience creates better results.
6. Using Too Much Water
Excess water weakens clay surfaces.
Avoiding these mistakes will make your clay crafts look far more professional.
How to Seal Painted Air Dry Clay
Sealing is one of the most important final steps.
Air dry clay is naturally porous and can absorb moisture from the air.
A sealant protects your project from:
- Water damage
- Paint chipping
- Dust
- Scratches
- Fading
Best Sealers for Air Dry Clay
Matte Varnish
Creates a soft non-shiny finish.
Gloss Varnish
Makes clay look polished and ceramic-like.
Satin Finish
Offers a balance between matte and glossy.
Mod Podge
Popular for crafts and beginner projects.
How to Apply Sealant
- Use thin coats
- Let each layer dry fully
- Avoid over-brushing
- Use a clean brush
Two to three coats are usually enough.
Can You Waterproof Air Dry Clay?
Air dry clay is not fully waterproof, even after sealing.
However, sealants can make it more water-resistant.
Avoid soaking finished clay pieces in water.
Decorative projects last much longer indoors.
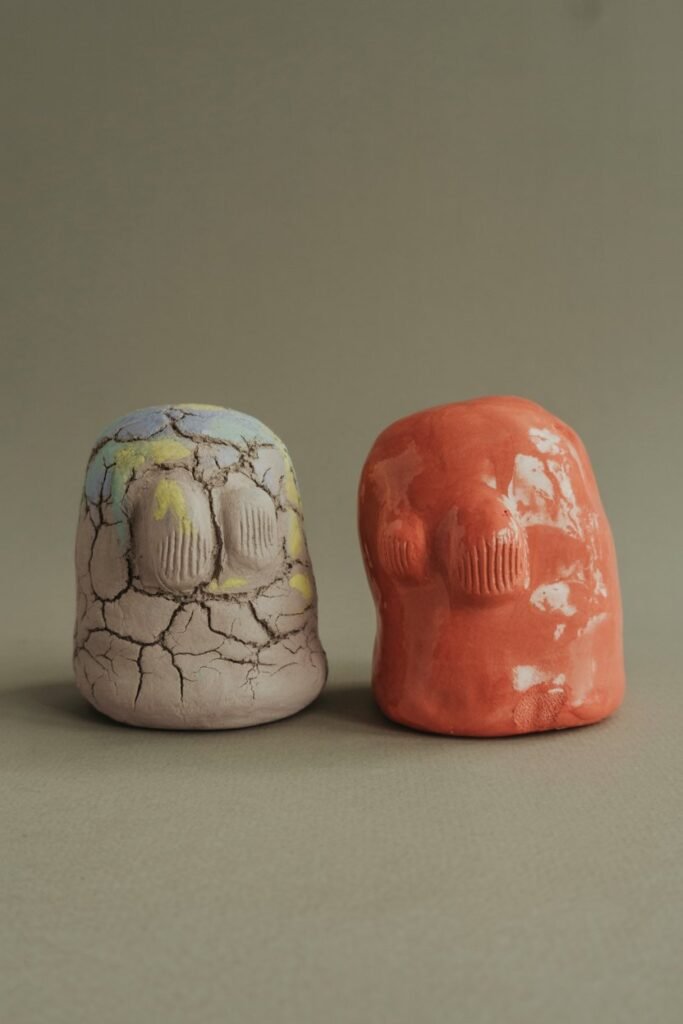
How to Paint Air Dry Clay Without Cracking

Cracking is one of the biggest frustrations for beginners.
Tips to Prevent Cracks
- Dry clay slowly
- Avoid thick clay pieces
- Use thin paint layers
- Seal properly
- Store clay correctly
Small cracks can often be repaired using clay slip or filler before painting.
Creative Air Dry Clay Painting Ideas
Need inspiration? Here are fun project ideas.
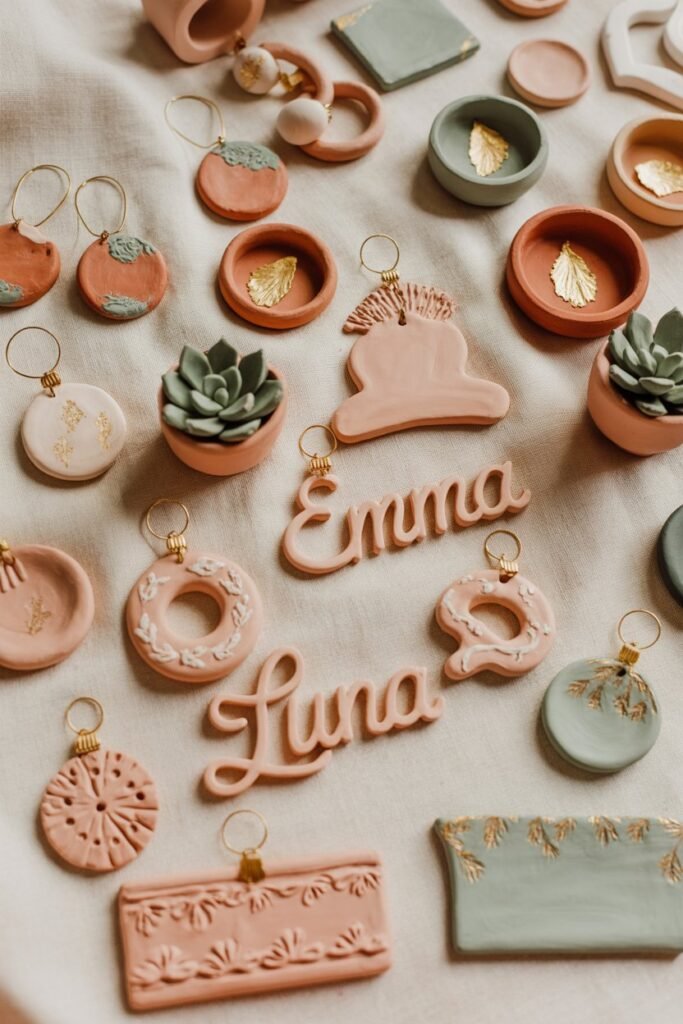
Painted Clay Jewelry
Create earrings, pendants, and charms.
Decorative Trinket Dishes
Perfect for jewelry storage.
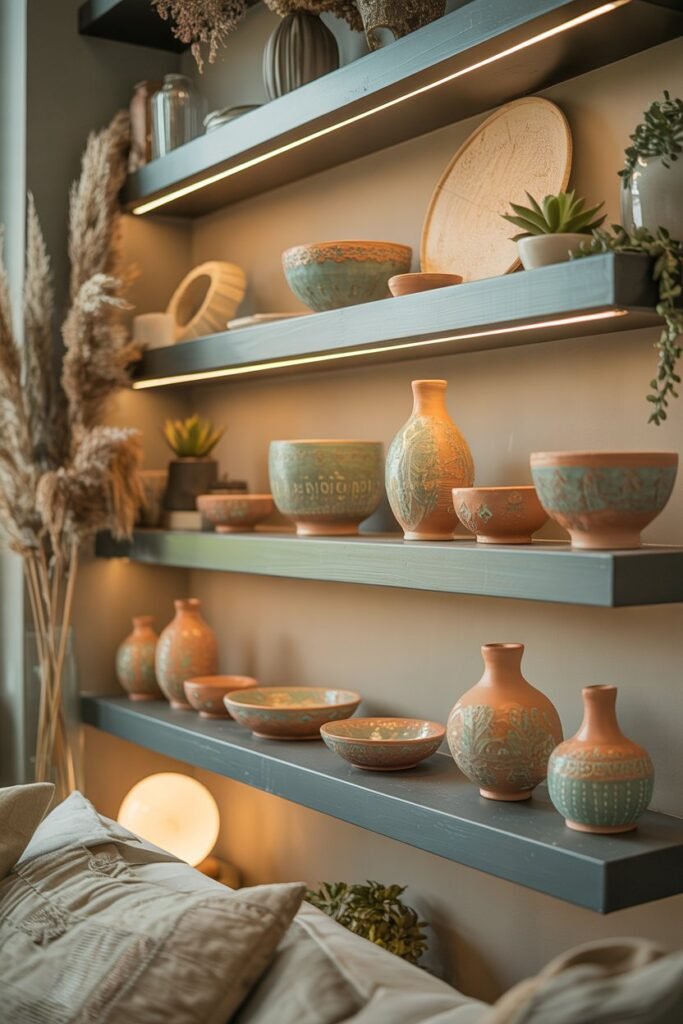
Mini Plant Pots
Add hand-painted patterns.
Holiday Ornaments
Great for Christmas and seasonal décor.
Name Plaques
Personalized gifts for friends and family.
Clay Coasters
Stylish handmade home décor pieces.
Tips for Painting Air Dry Clay Like a Professional
If you want truly polished results, follow these expert techniques.
Use Multiple Thin Layers
Thin layers always dry smoother.
Let Paint Dry Fully Between Coats
This prevents smudging and peeling.
Work in Good Lighting
You will spot mistakes faster.
Use Quality Acrylic Paints
Cheap paints often look dull.
Protect Your Workspace
Painting can get messy quickly.
Practice on Scrap Clay First
Test colors and techniques before painting the final piece.
Best Colors for Air Dry Clay Projects
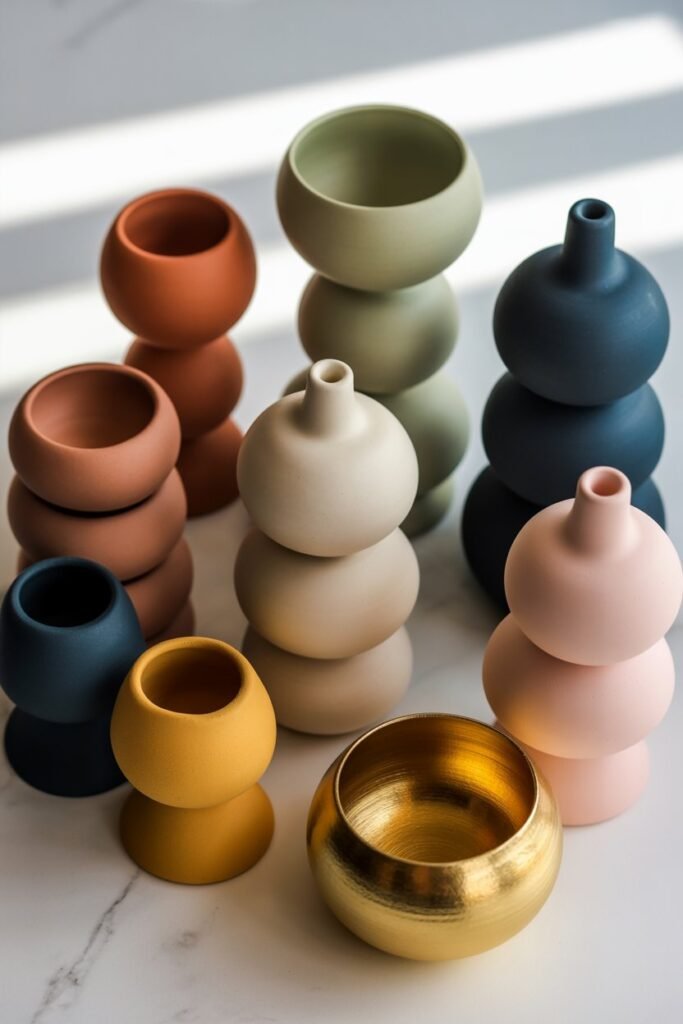
Certain colors work especially well on clay.
Neutral Tones
- Beige
- White
- Cream
- Terracotta
Perfect for minimalist décor.
Bold Colors
- Teal
- Mustard
- Coral
- Navy
Great for modern crafts.
Metallic Shades
- Gold
- Silver
- Bronze
Adds luxury and elegance.
How to Store Painted Air Dry Clay
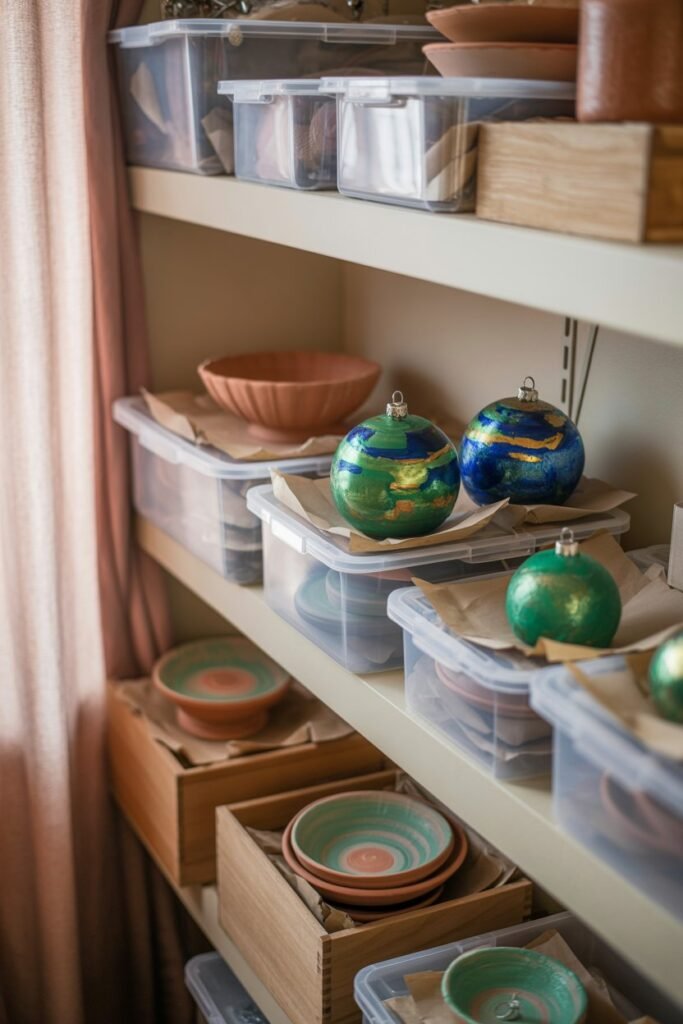
Proper storage helps your project last longer.
Storage Tips
- Keep away from moisture
- Avoid direct sunlight
- Handle gently
- Store in cool dry areas
Fragile clay pieces should be wrapped carefully when stored.
Frequently Asked Questions
Do You Need to Prime Air Dry Clay Before Painting?
Priming is highly recommended because it improves paint adhesion and creates smoother color coverage.
What Happens If You Paint Clay Too Early?
Painting wet clay can trap moisture and cause cracking or peeling later.
Can You Use Nail Polish on Air Dry Clay?
Some people use nail polish for small decorative details, but acrylic paint is usually safer and more durable.
Can Kids Paint Air Dry Clay?
Yes. Acrylic and tempera paints are excellent for children’s clay crafts.
Adult supervision is recommended for sealing products and spray paints.
How Long Should Paint Dry Before Sealing?
Wait at least 24 hours after painting before applying sealant.
Final Thoughts
Learning how to paint air dry clay properly can completely elevate your craft projects.
While the process may seem simple at first, the small details—like sanding, priming, layering paint, and sealing—make a huge difference in the final result.
Whether you are creating handmade gifts, stylish home décor, jewelry, or fun DIY crafts, the right painting techniques help your projects look more polished, colorful, and professional.
The best part about air dry clay is that there are no strict rules.
You can experiment with colors, textures, finishes, and artistic styles to create something uniquely yours.
Start with simple projects, practice your techniques, and most importantly, enjoy the creative process.
With patience and the right methods, your painted air dry clay creations can look absolutely beautiful.