
The first time I sat down at my kitchen table with a block of polymer clay, I honestly thought I would ruin it within ten minutes.
I had zero experience with crafting jewelry, my hands were shaky, and I kept comparing my lumpy little shapes to the flawless earrings I had seen on Pinterest.
But something magical happened as I kept working.
The clay softened under my fingers, my confidence grew with every roll and cut, and by the end of that afternoon I was holding my very first pair of handmade earrings.
They were a little uneven, a little quirky, and I loved them more than anything I had ever bought from a store.
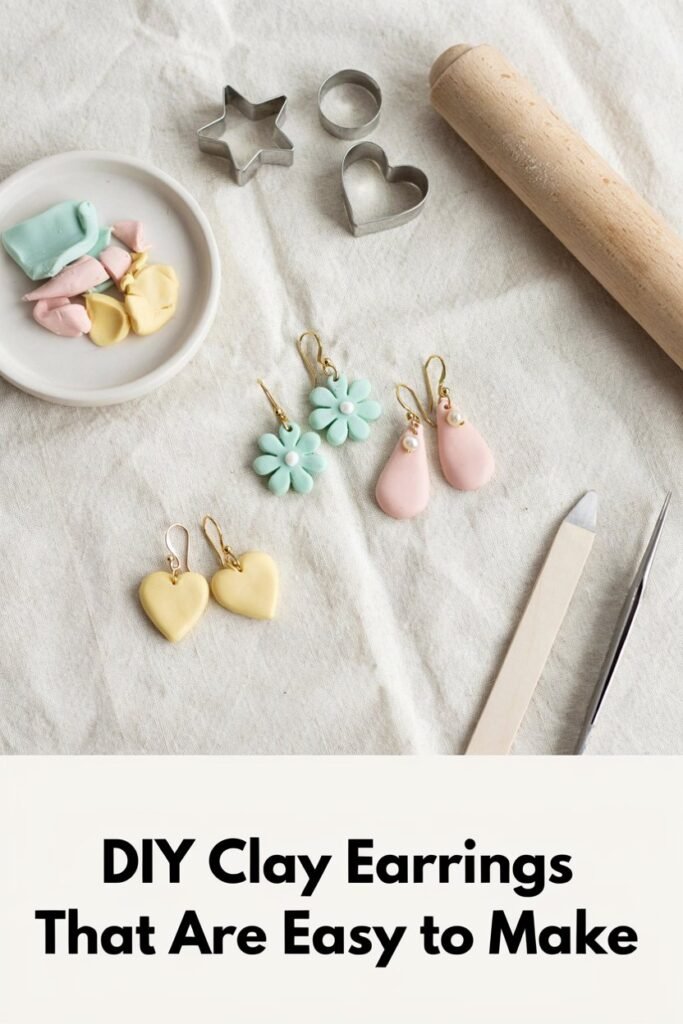
That is the beauty of clay earrings. They do not require expensive tools, a fancy studio, or years of training.
All you need is a little patience, some basic supplies, and a willingness to get your hands messy.
In this post, I am going to walk you through everything I have learned from my own trial and error, so you can skip the frustration and go straight to the fun part.
Whether you want a set of earrings for yourself or you are hoping to start a small side hustle selling handmade pieces, this guide will give you a solid foundation to build on.
Why Clay Earrings Are the Perfect DIY Project
Before we get into the steps, let me explain why this project is so worth your time.
Clay earrings are incredibly forgiving for beginners.
Unlike sewing or woodworking, clay does not demand precision right away.
You can reshape it, smooth it out, and try again as many times as you want before it is baked or air dried. It is also budget friendly.
A single block of clay can make dozens of earring pairs, which means your cost per pair ends up being much lower than what you would pay retail.
On top of that, the design possibilities are endless.
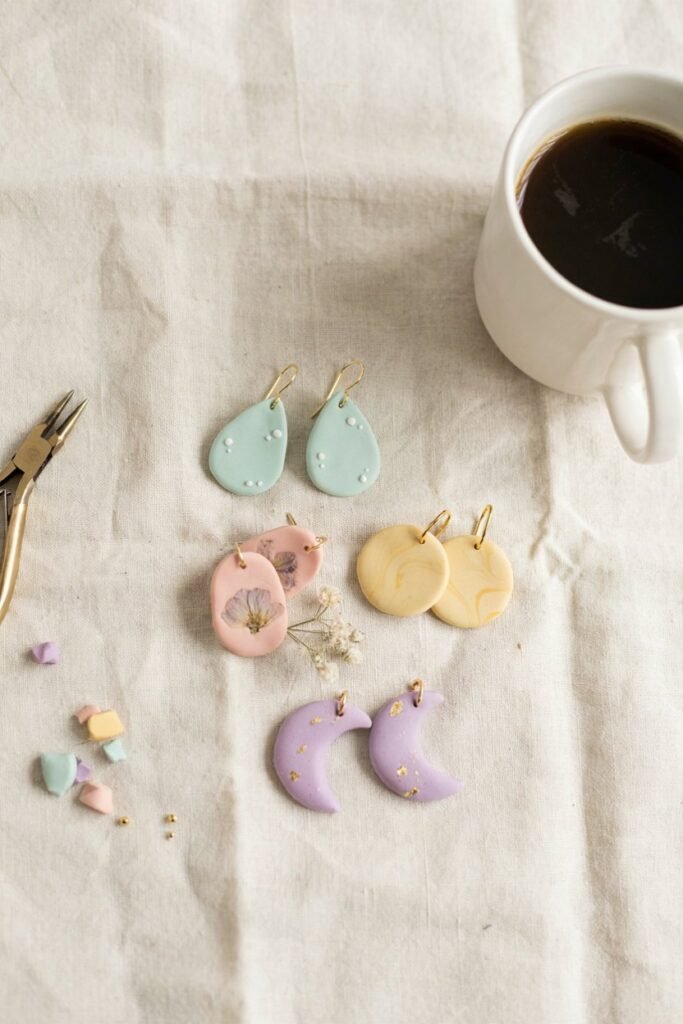
You can create anything from simple geometric studs to bold statement hoops, and every pair reflects your personal style in a way that store bought jewelry simply cannot match.
There is also something deeply therapeutic about working with your hands.
Many people describe clay crafting as meditative, almost like a stress reliever after a long day.
Kneading the clay, watching a shape come together, and seeing a finished product you made from scratch gives a real sense of accomplishment.
I have found myself reaching for my clay tools on rough days just to clear my head, and I know many other crafters who feel the same way.
What You Will Need: A Personal Rundown of Every Ingredient and Tool
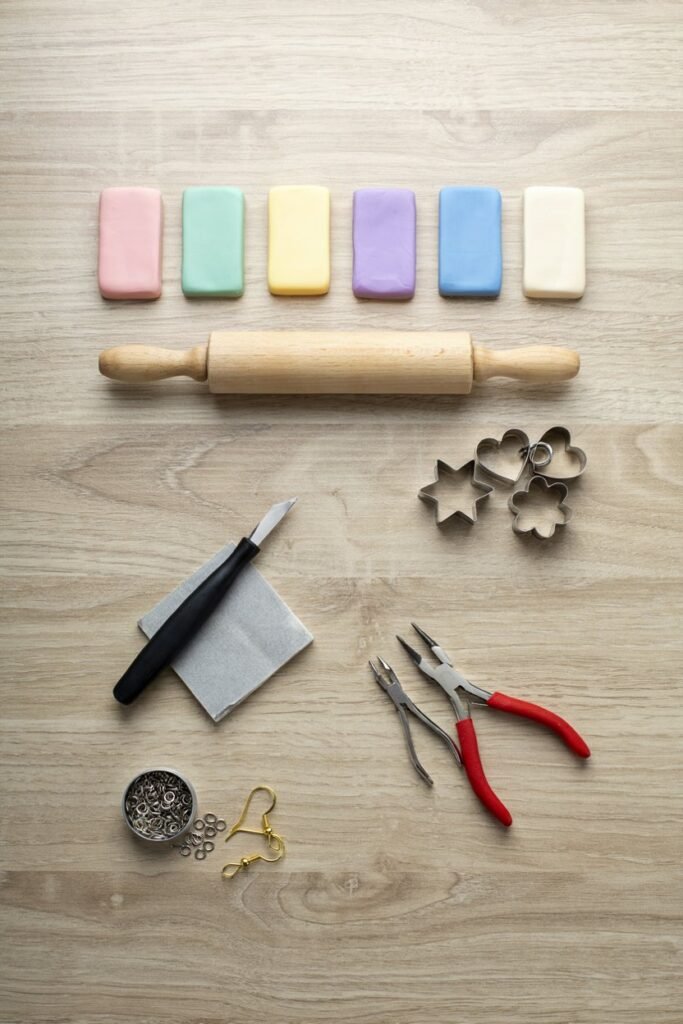
Gathering the right supplies makes the entire process smoother and far less frustrating.
Below is a breakdown of everything I personally use, along with a short twelve word description explaining what each item does for you.
Polymer clay in your favorite colors — Soft moldable material that forms the base shape of every earring.
A rolling pin or acrylic roller — Flattens clay evenly so cutting shapes stays smooth and consistent throughout.
Small cookie cutters or clay cutters — Creates clean, repeatable shapes like circles, hearts, and geometric designs quickly.
A cutting blade or craft knife — Slices custom shapes clay cutters cannot achieve for unique earring designs.
Parchment paper or a ceramic tile — Protects your work surface while giving clay a smooth baking foundation.
An oven or toaster oven — Hardens polymer clay permanently, transforming soft dough into durable finished jewelry pieces.
A sanding sponge or fine sandpaper — Smooths rough edges after baking for a polished, professional looking finish.
Jewelry glue or super glue — Bonds earring hardware securely to your cured clay shapes permanently.
Earring posts, hooks, or hoops — Provides the actual hardware that lets your earrings attach comfortably.
Jump rings and jewelry pliers — Connects charms or dangles to your clay pieces with secure precision.
A pin or toothpick — Creates tiny holes in clay for hanging dangles before the piece cures.
Acrylic paint or mica powder — Adds shimmer, color depth, or custom designs onto your finished earrings.
A clear sealant or varnish — Protects painted details and adds a glossy, long lasting professional shine.
Having everything laid out before you start saves you from stopping halfway through to search for a missing tool.
I like to set my supplies up in the order I will use them, almost like a little assembly line, because it keeps the process calm instead of chaotic.
Step by Step: How to Make Your Own Clay Earrings
Now that your supplies are ready, let us walk through the actual process together. I
am going to break this down into clear stages so you never feel lost, even if this is your very first time working with clay.
Step One: Prepare Your Workspace
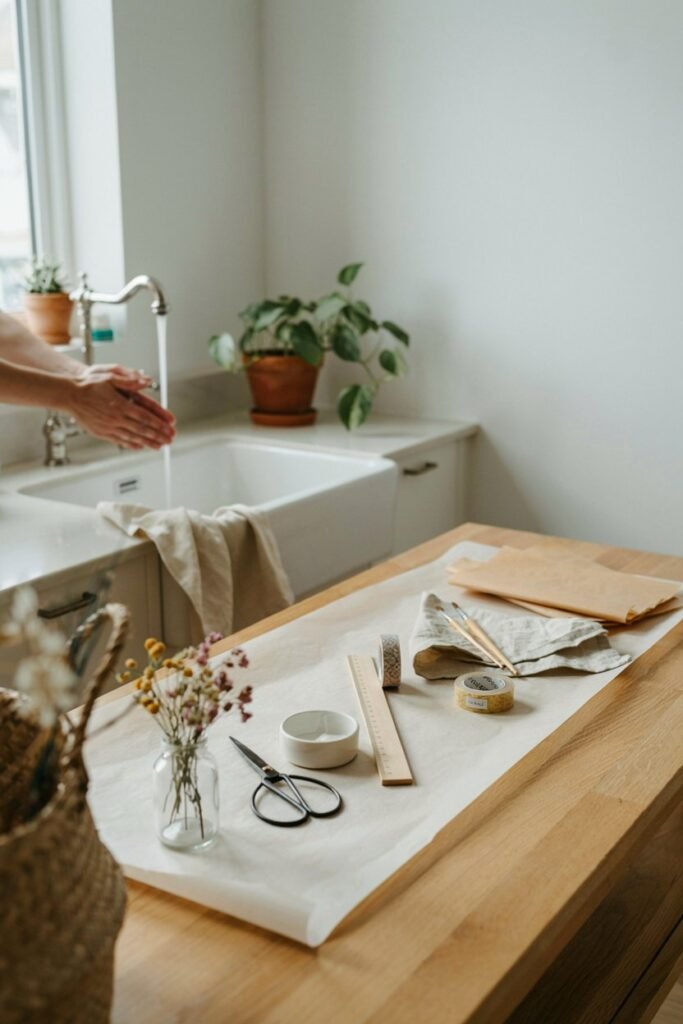
Start by covering your table with parchment paper or a silicone mat.
Clay can stain certain surfaces, especially wood, so protecting your workspace ahead of time saves you a cleanup headache later.
Set out all your tools within arm’s reach.
I also recommend washing your hands right before you begin, since lint and dust love to stick to soft clay.
Step Two: Condition the Clay
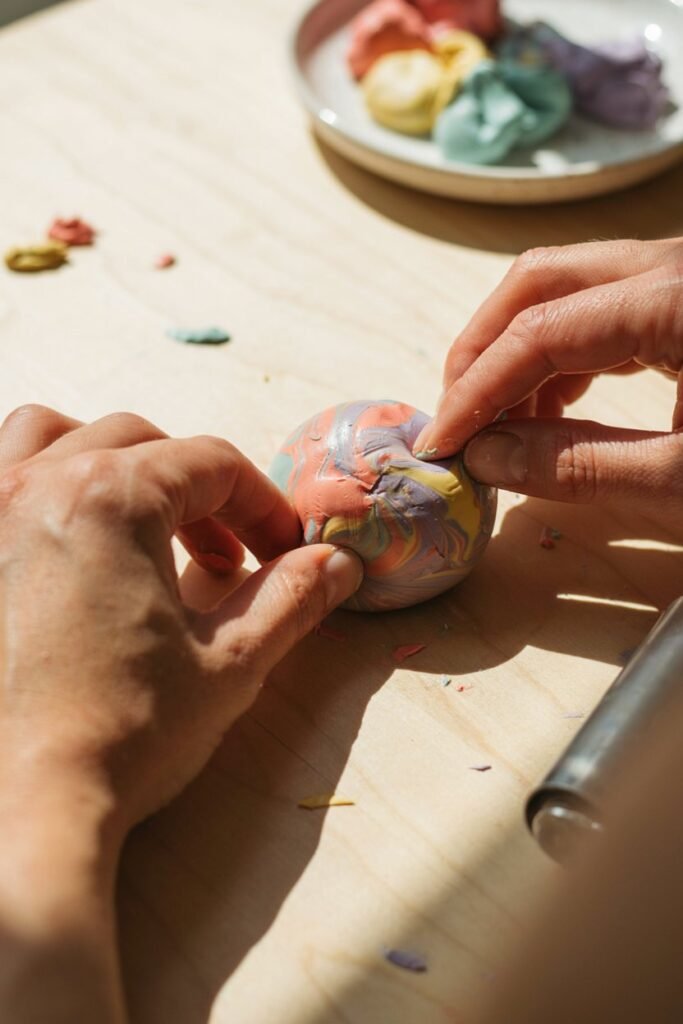
This step gets skipped by a lot of beginners, but it genuinely makes or breaks your final product.
Conditioning simply means kneading the clay with your hands until it becomes soft, warm, and pliable.
Cold clay straight from the package tends to crumble and crack, which makes it nearly impossible to shape properly.
Take a small chunk, roll it between your palms, fold it, and repeat this motion for about two to three minutes.
You will feel the texture change from stiff to smooth and stretchy.
This is exactly what you are looking for.
Step Three: Roll It Out
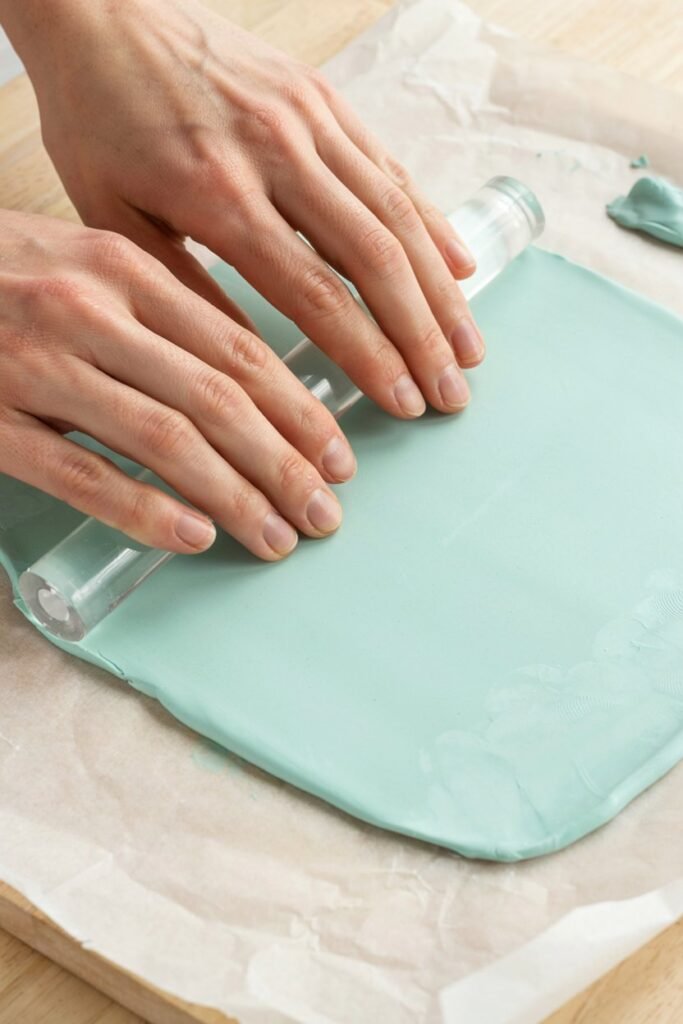
Once your clay is conditioned, place it on your parchment paper and use your rolling pin to flatten it into an even sheet.
Aim for a thickness of about a quarter of an inch, though this can vary depending on the style you want.
Thinner clay works beautifully for delicate stud earrings, while thicker clay holds up better for bold statement pieces.
Try to roll evenly in all directions so you do not end up with one side thicker than the other.
Step Four: Cut Your Shapes
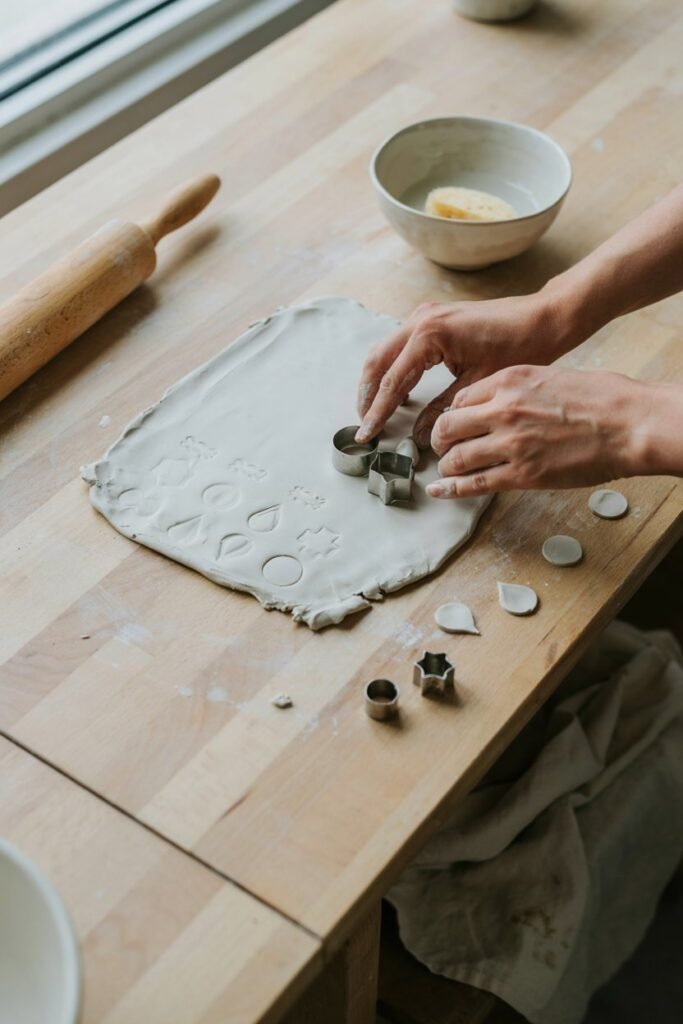
This is where the fun really begins.
Use your cookie cutters, clay cutters, or a craft knife to cut out your desired shapes.
If you are new to this, I highly recommend starting with simple shapes like circles, teardrops, or squares before attempting anything intricate.
Once you feel more confident, you can experiment with layered shapes, abstract designs, or even hand sculpted forms like tiny flowers or leaves.
Remember to cut a matching pair for each earring, unless you are intentionally going for a mismatched look, which has become a popular trend in handmade jewelry.
Step Five: Add Texture or Details
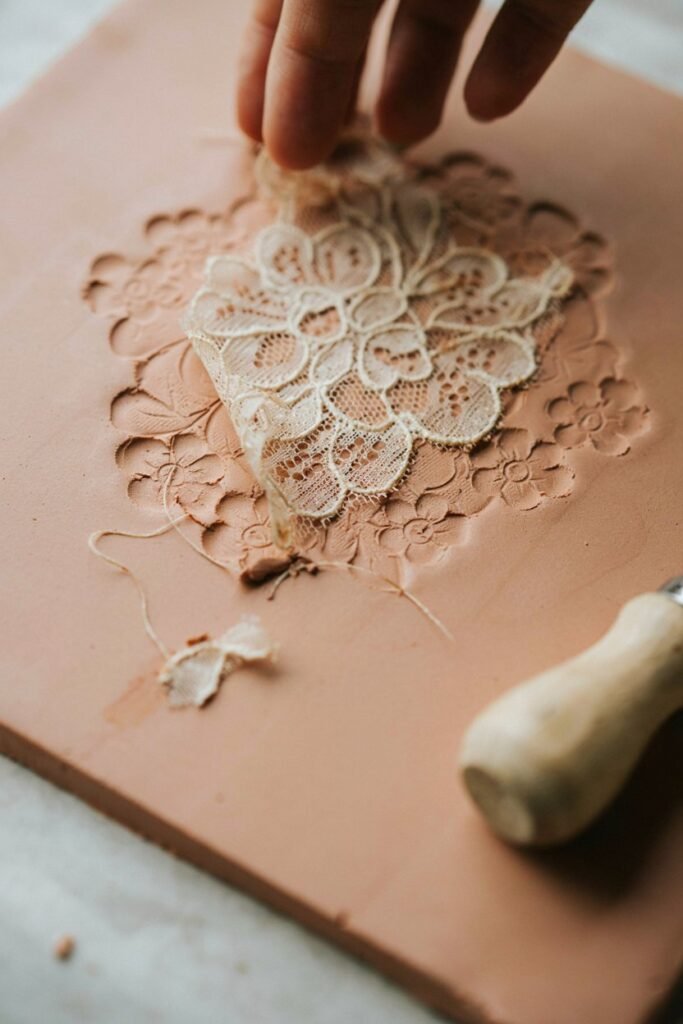
Before baking, this is your chance to get creative.
You can press textured fabric, lace, or a textured rolling pin onto the clay to create patterns.
Some crafters use the back of a comb to create ridges, while others press small found objects into the surface for unique imprints.
If you plan on painting your earrings after baking, you can leave this step plain, but if you want texture built right into the clay itself, now is the time to add it.
Step Six: Create Holes for Hardware
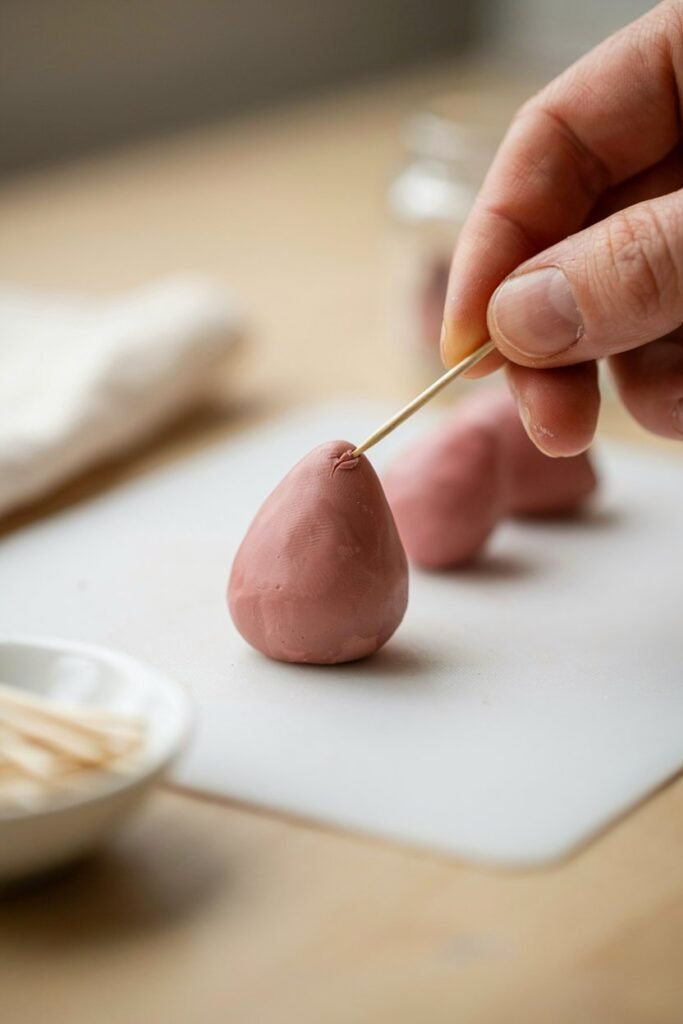
If you are making dangle earrings or pieces that need jump rings, use a pin or toothpick to poke a small hole near the top of each shape before baking.
Make the hole slightly larger than you think you need, since clay can shrink a little during the baking process.
If you are making stud earrings instead, you can skip this step and glue the post directly onto the back after curing.
Step Seven: Bake According to the Package Instructions
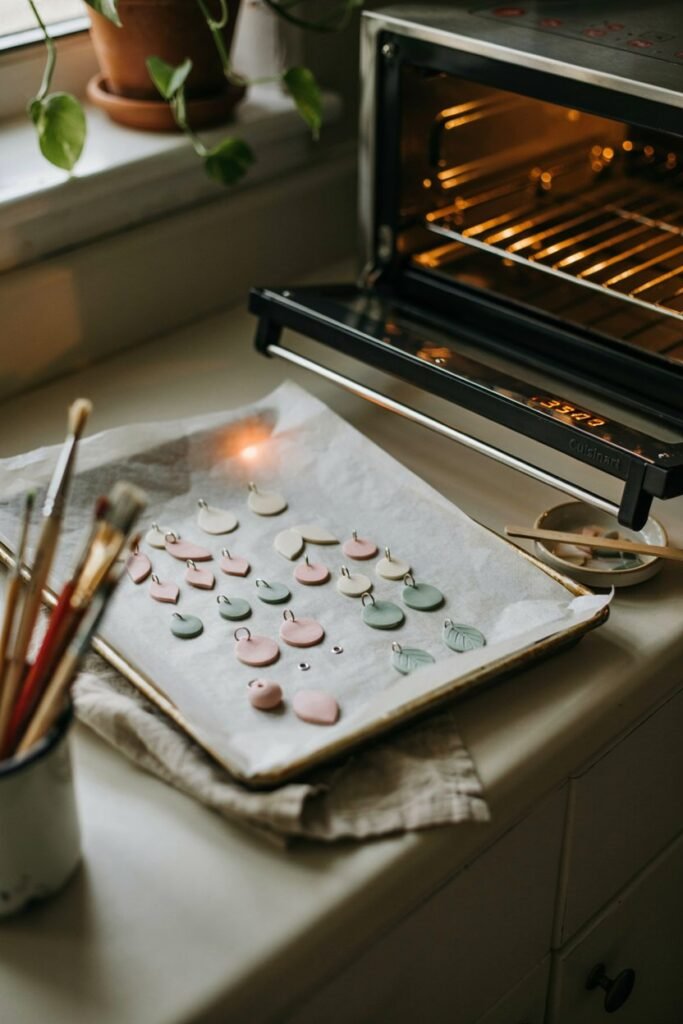
Carefully transfer your shaped clay pieces onto a baking tray lined with parchment paper.
Every brand of polymer clay has slightly different baking instructions, so always check the packaging for the correct temperature and time.
As a general guideline, most polymer clay bakes somewhere between two hundred fifty and two hundred seventy five degrees Fahrenheit for about fifteen to thirty minutes, depending on the thickness of your pieces.
Keep a close eye on your oven, since overbaking can cause discoloration or burning, while underbaking leaves the clay soft and fragile.
Step Eight: Let It Cool Completely
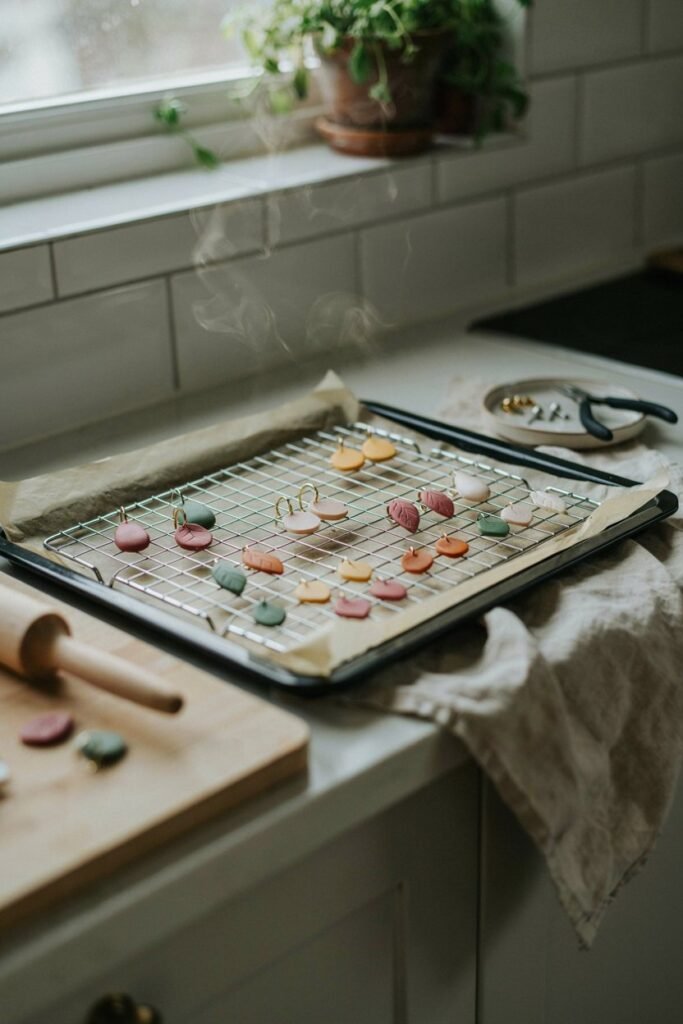
Once the timer goes off, resist the urge to touch your earrings right away.
Let the tray sit at room temperature until the clay is completely cool.
Polymer clay continues to harden slightly as it cools, and handling it too soon can cause bending or breaking. This waiting period usually takes about twenty to thirty minutes.
Step Nine: Sand and Smooth
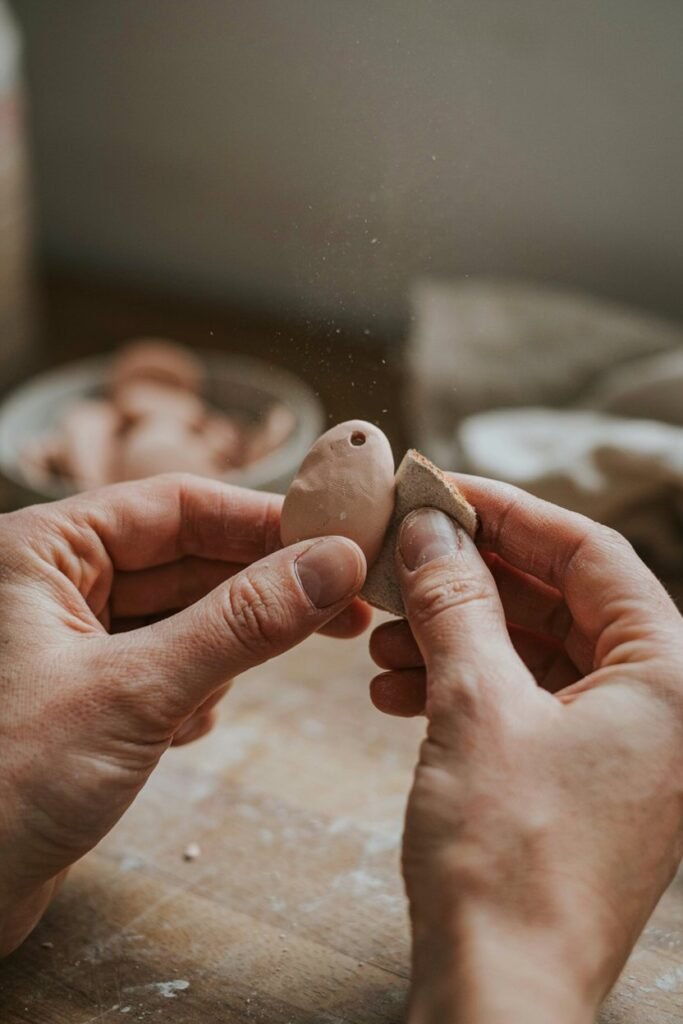
After your pieces have cooled, run your fingers along the edges to check for any roughness.
Use a sanding sponge or fine grit sandpaper to gently smooth out any imperfections.
This small step makes a huge difference in the overall look of your earrings, giving them a polished, professional finish instead of a rough homemade appearance.
Step Ten: Paint or Add Finishing Touches
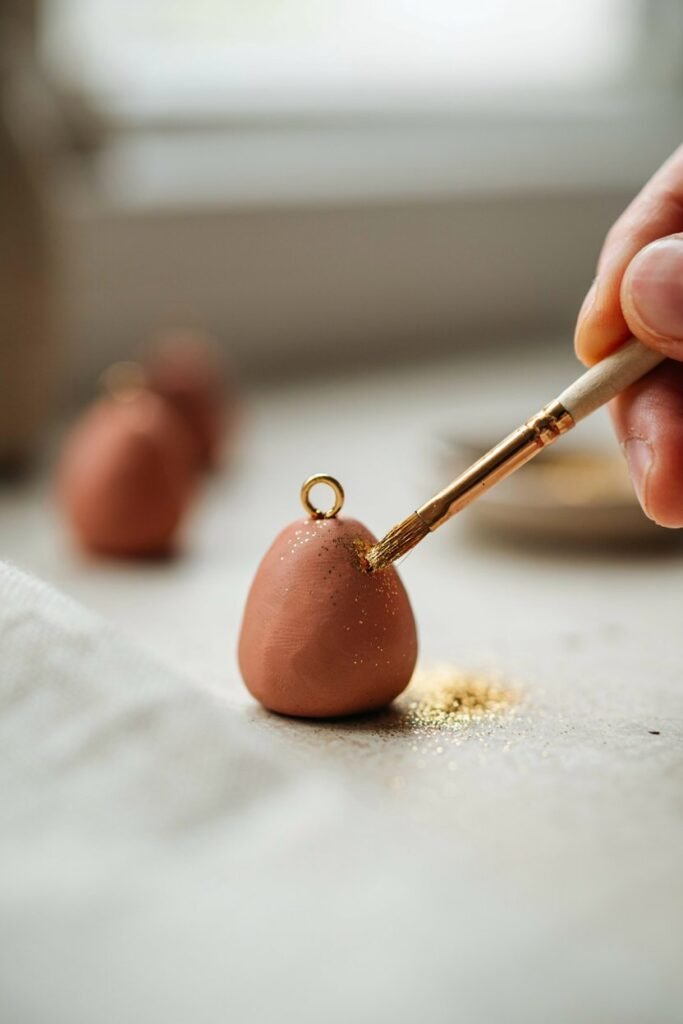
If you want to add color, shimmer, or patterns, now is the perfect time.
Acrylic paint works wonderfully on cured polymer clay, and mica powders can be brushed on for a beautiful metallic effect.
Let any paint dry fully before moving forward, then seal your pieces with a clear varnish to protect the design and add a glossy shine.
Step Eleven: Attach the Hardware
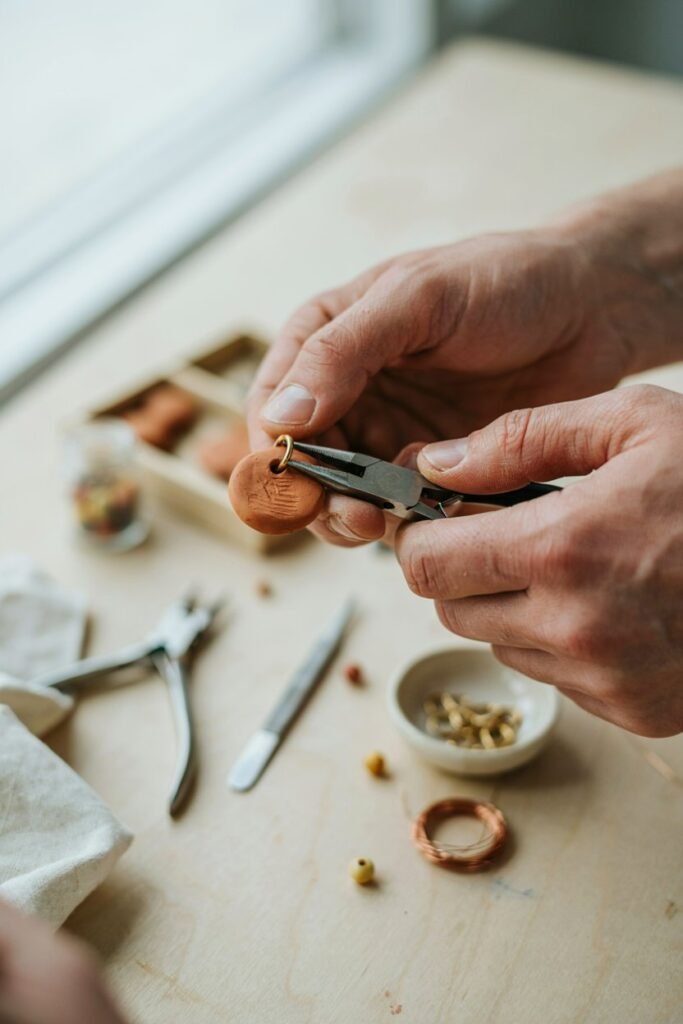
Finally, it is time to turn your clay shapes into actual wearable earrings.
For stud style earrings, apply a small dot of strong jewelry glue to the back of each piece and press an earring post firmly into place.
Hold it steady for about thirty seconds to allow the bond to set.
For dangle style earrings, use your jewelry pliers to open a jump ring, thread it through the hole you created earlier, attach it to an earring hook, and close the ring securely.
Let the glue cure fully, usually for about twenty four hours, before wearing your new earrings.
Common Mistakes and How to Avoid Them
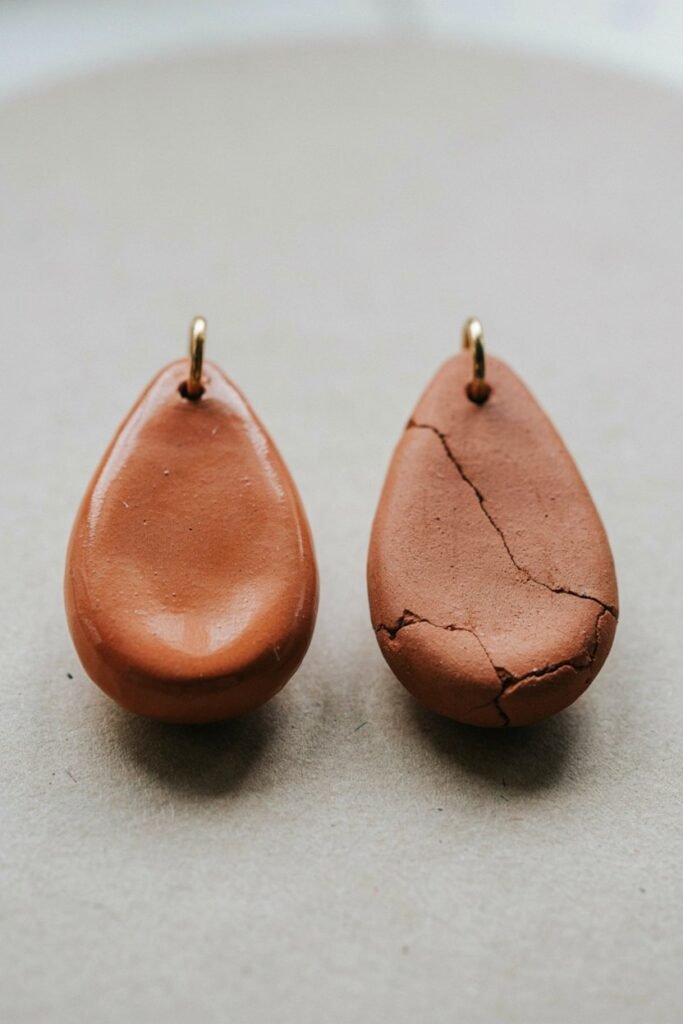
Even with clear instructions, a few common hiccups tend to trip up beginners.
Air bubbles sometimes form inside the clay while rolling, which can cause cracking during baking.
Kneading your clay thoroughly before shaping helps push these bubbles out.
Another frequent issue is uneven baking, which usually happens when pieces are different thicknesses on the same tray.
Try to group similarly sized pieces together so they bake evenly.
Lastly, many beginners rush the gluing step, only to have their earring posts pop off within days.
Always use glue specifically designed for jewelry making, and give it the full recommended curing time before wearing your new pieces.
Styling and Gifting Ideas
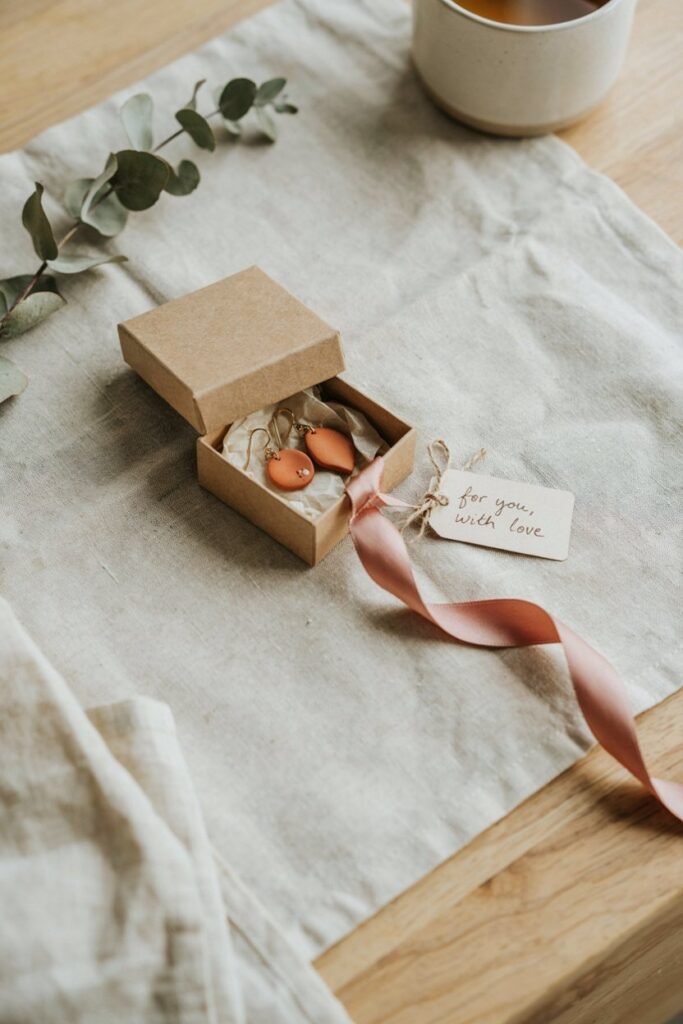
Once you get comfortable with the basic process, the creative possibilities become endless.
You can make seasonal collections, like pastel florals for spring or deep jewel tones for winter.
Matching sets make thoughtful handmade gifts for birthdays, holidays, or bridesmaid proposals.
Some crafters even turn this hobby into a small business, selling their designs at local markets or online shops.
Because the material cost per pair is so low, this hobby has real potential to grow into something bigger if you decide to pursue it.
Frequently Asked Questions
Do I need an oven specifically for crafting? No, your regular kitchen oven or a toaster oven works perfectly fine, just make sure it reaches an accurate temperature.
Can I use air dry clay instead of polymer clay? Yes, though air dry clay tends to be more fragile and is better suited for lightweight designs.
How long do handmade clay earrings actually last? With proper sealing and care, they can last for years without chipping or fading.
Final Thoughts
Making your own clay earrings is one of those hobbies that feels intimidating at first but becomes second nature surprisingly fast.
Every pair you make teaches you something new, whether it is how to roll clay more evenly or how to mix the perfect custom color.
Do not worry if your first attempt looks a little rough around the edges.
Mine certainly did, and I still wore them proudly.
Grab your supplies, set aside an afternoon, and give yourself permission to enjoy the process rather than chasing perfection.
You might just discover a new favorite hobby, one tiny clay shape at a time.