
Air dry clay is one of the easiest and most enjoyable crafting materials for beginners.
You do not need a kiln, expensive equipment, or professional art experience to create beautiful clay projects at home.
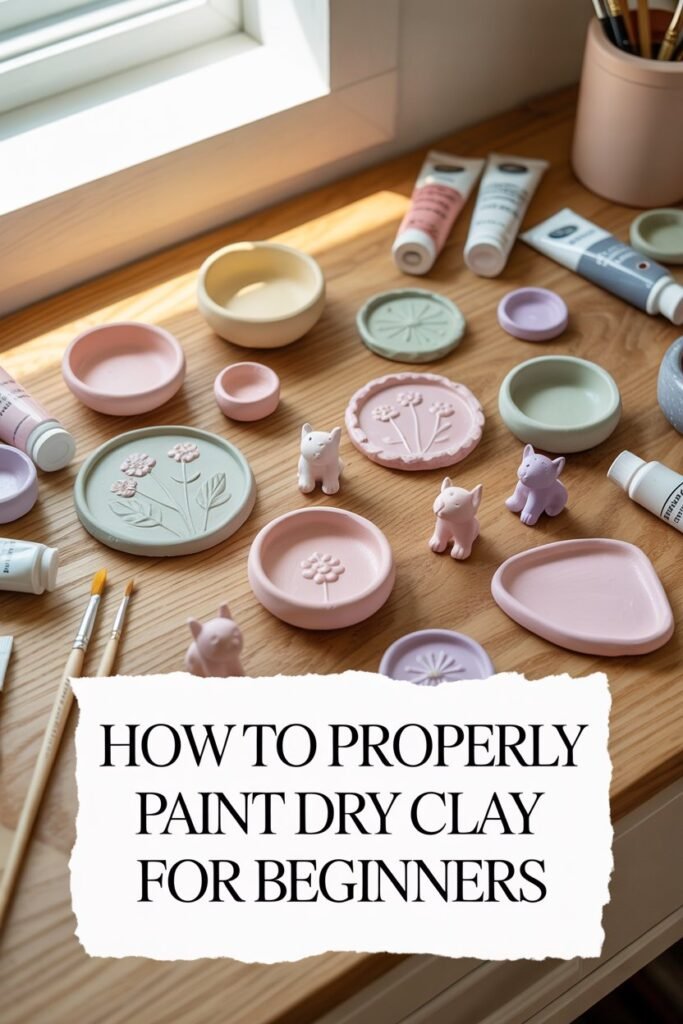
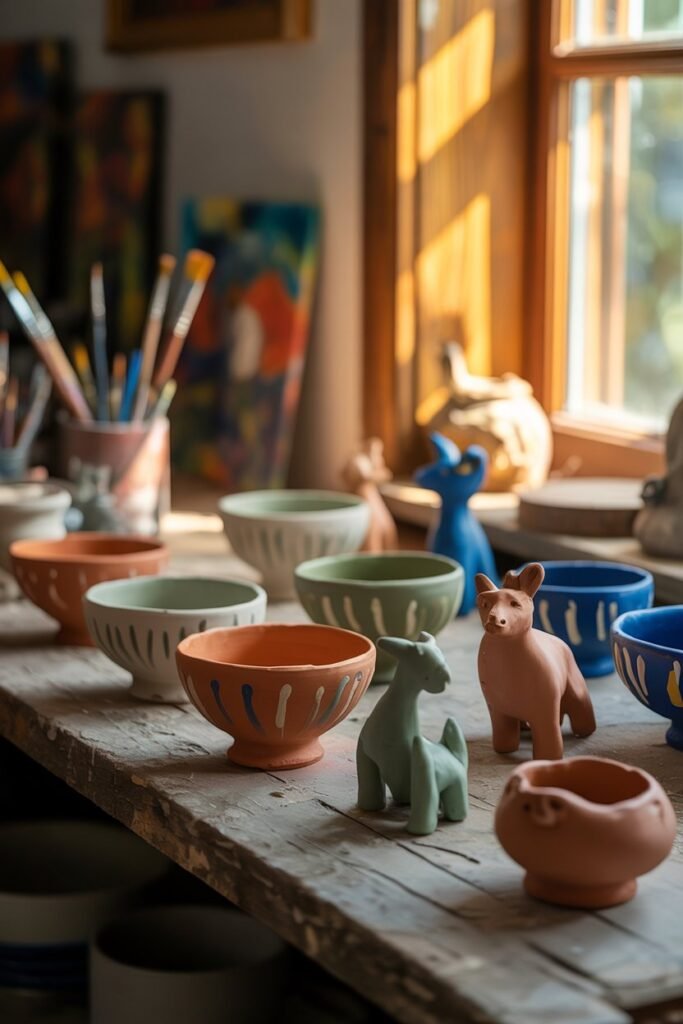
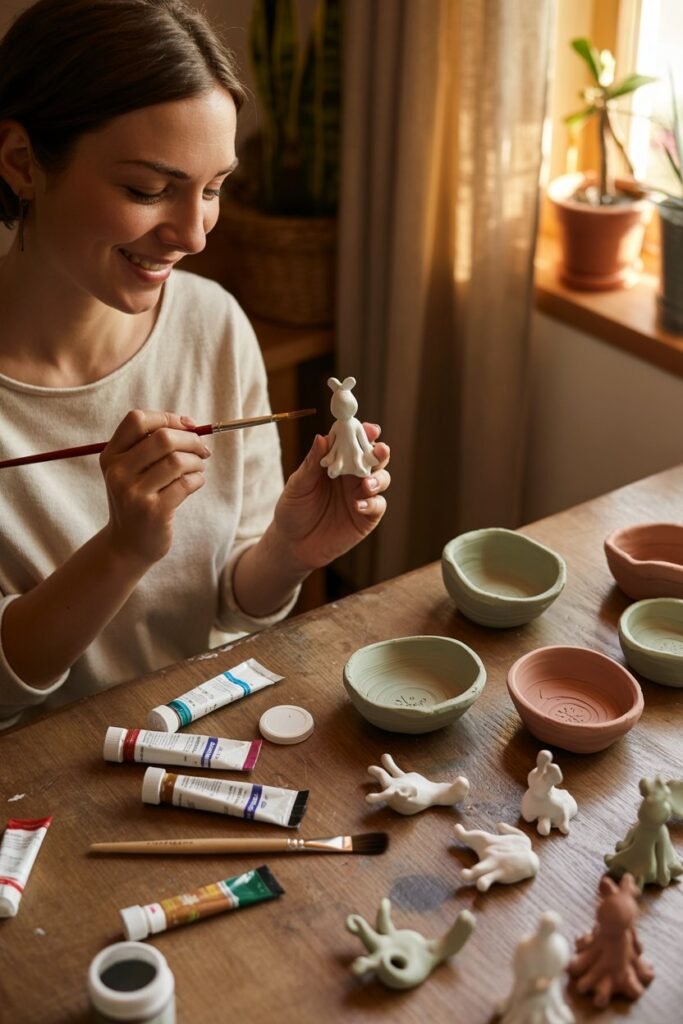
Whether you are making jewelry dishes, mini sculptures, flower pots, ornaments, figurines, or home décor pieces, learning how to properly paint air dry clay can completely transform your creations and make them look polished and professional.
Many beginners make the mistake of rushing into painting before the clay is fully prepared. This often leads to cracking paint, uneven color, peeling, streaks, or dull-looking results.
The good news is that painting air dry clay is actually simple once you understand the right techniques, tools, and preparation methods.
In this detailed beginner-friendly guide, you will learn everything you need to know about painting air dry clay properly.
From preparing the clay surface to choosing the best paints and sealing your final project, this article covers all the essential tips that will help your clay creations look smooth, vibrant, and long-lasting.
Disclaimer: This post may contain affiliate links, which means I may earn a small commission at no extra cost to you. Always allow air dry clay to fully cure before painting and follow product instructions for safe use and long-lasting results.
Amazon Shopping List: How to Properly Paint Air Dry Clay for Beginners
- Air Dry Clay Pack (White or Natural Clay)
- Acrylic Paint Set (Beginner-Friendly Colors)
- Paint Brushes Variety Pack (Fine & Wide Tips)
- Clear Acrylic Sealer or Varnish (Gloss or Matte)
- Fine Grit Sandpaper Set (For Smoothing Clay)
- Silicone Craft Mat for Workspace Protection
- Water Cup & Paint Palette Set
Why Proper Painting Matters for Air Dry Clay
Painting is not just about adding color to your clay project. Proper painting helps:
- Protect the clay surface
- Improve durability
- Add personality and style
- Make projects look cleaner and more professional
- Prevent fading and moisture damage
- Highlight textures and details
- Hide imperfections
A well-painted clay piece can look store-bought even if it was made at home by a beginner.
What Is Air Dry Clay?
Air dry clay is a soft modeling clay that hardens naturally when exposed to air. Unlike polymer clay or ceramic clay, it does not require baking or firing in a kiln.
It is popular among beginners because it is:
- Easy to use
- Affordable
- Widely available
- Lightweight
- Beginner-friendly
- Great for DIY projects
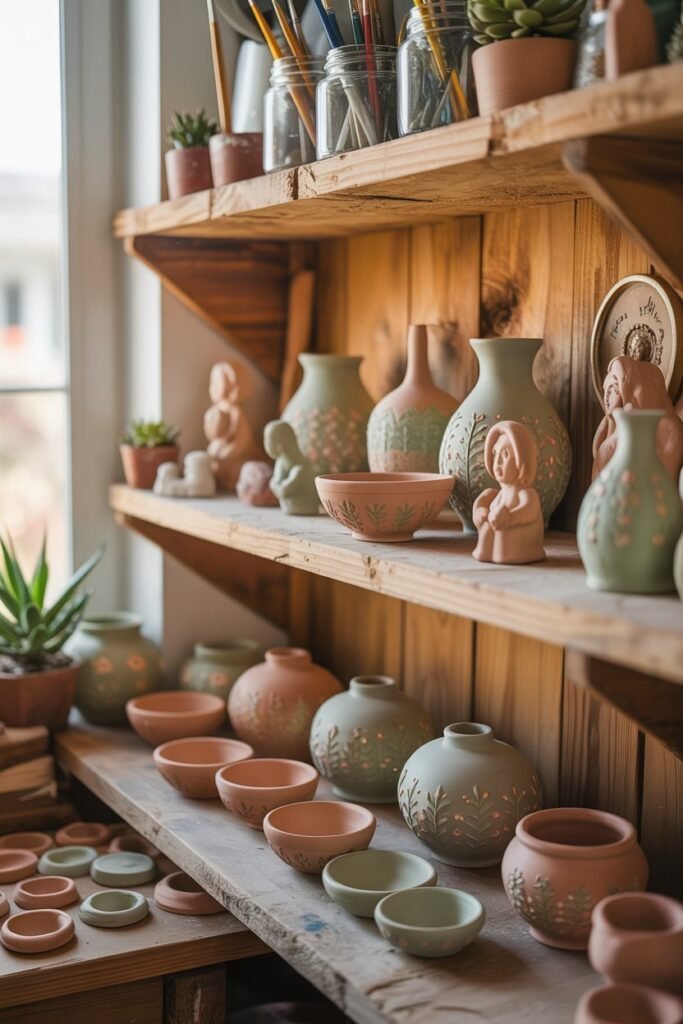
Air dry clay is commonly used for:
- Trinket dishes
- Decorative bowls
- Plant pots
- Keychains
- Mini sculptures
- Ornaments
- Jewelry
- Wall art
- Holiday decorations
Once dry, the clay becomes firm and can be painted and sealed.
Common Beginner Mistakes When Painting Air Dry Clay
Before learning the proper method, it helps to understand what beginners often do wrong.
Painting Before the Clay Is Fully Dry
This is one of the biggest mistakes. If moisture is trapped inside the clay, the paint may bubble, crack, or peel later.
Skipping Sanding
Many beginners paint directly onto rough clay surfaces. Sanding helps create a smoother finish and allows paint to apply evenly.
Using Too Much Paint
Thick layers of paint can create streaks and uneven drying.
Forgetting Primer or Base Coat
Some paints absorb unevenly into clay. A primer or white base coat helps colors appear brighter and smoother.
Not Sealing the Finished Piece
Without a sealant, painted clay may chip, fade, or absorb moisture.
Avoiding these mistakes already puts you ahead as a beginner.
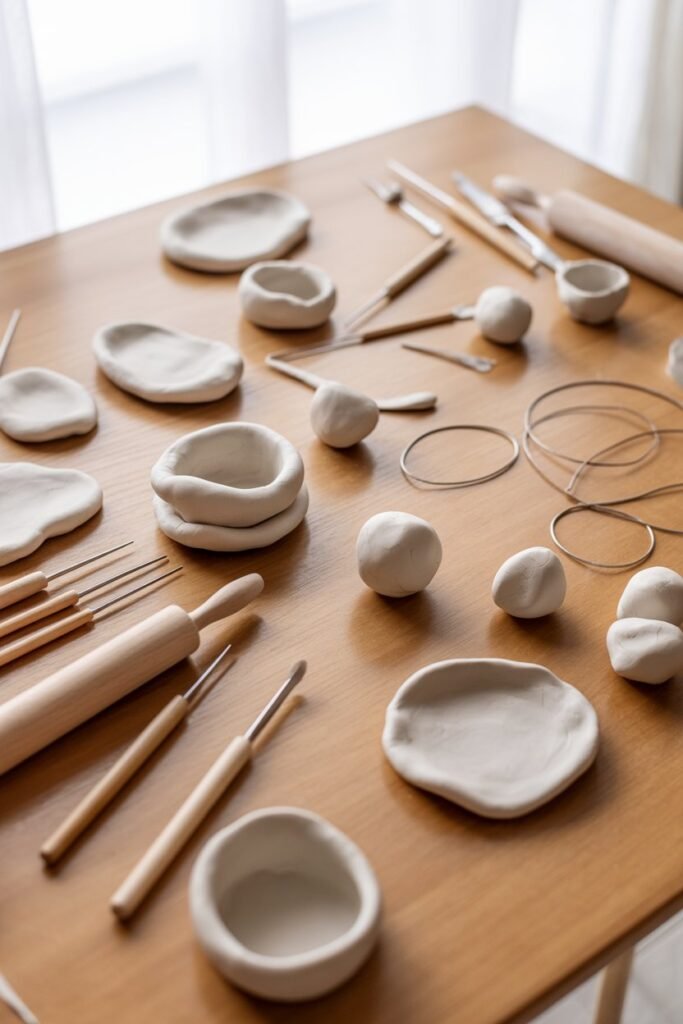
Tools and Supplies You Need
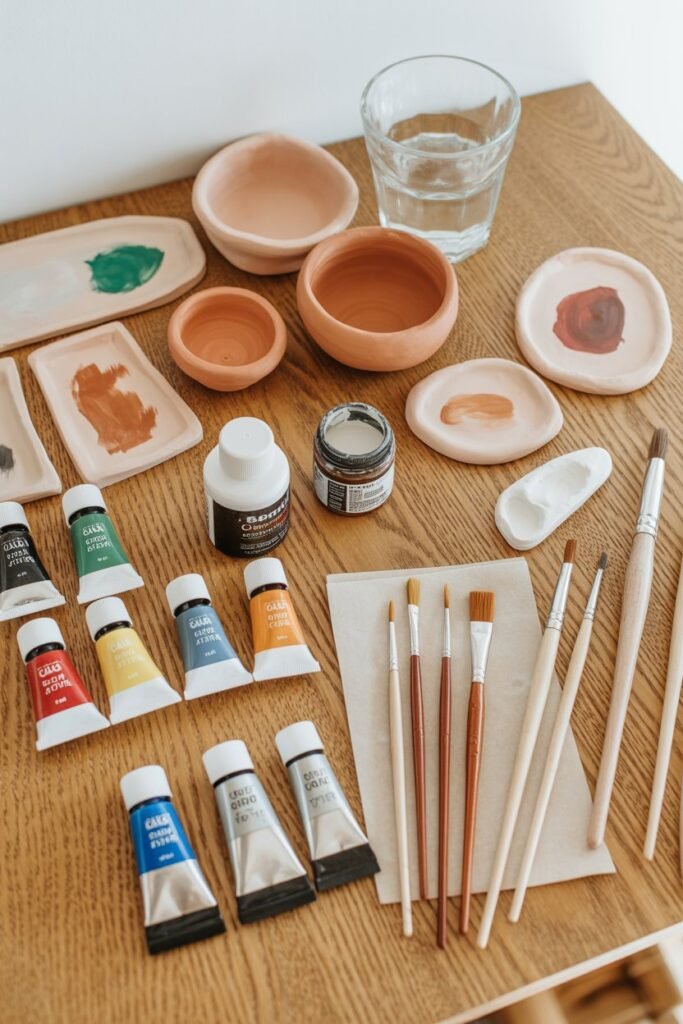
Before you start painting, gather the right materials.
Essential Supplies
Air Dry Clay Project
Your fully dried clay item.
Acrylic Paints
Acrylic paint is the best choice for beginners because it:
- Dries quickly
- Has vibrant colors
- Is easy to layer
- Works well on clay
Paint Brushes
Use different brush sizes:
- Small detail brushes
- Medium flat brushes
- Large soft brushes
Sandpaper
Fine-grit sandpaper helps smooth rough areas.
Water Cup
For rinsing brushes.
Paper Towels
Useful for cleaning excess paint.
Primer or Gesso
Optional but highly recommended for smooth painting.
Sealant
Protects the final painted surface.
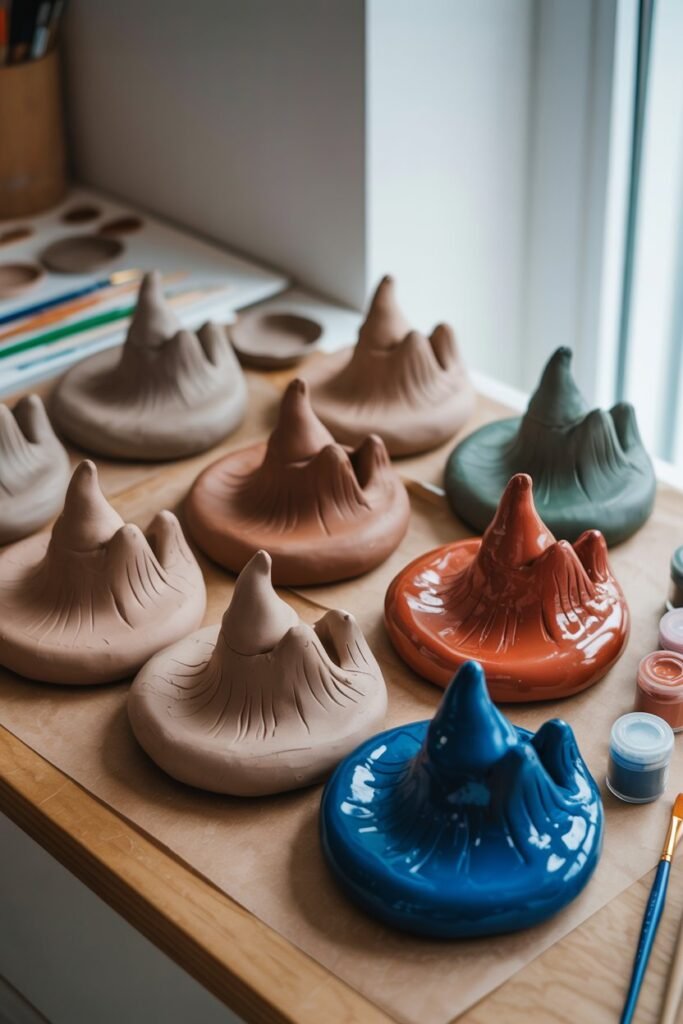
Best Types of Paint for Air Dry Clay
Not all paints work equally well on air dry clay.
Acrylic Paint
This is the most recommended option for beginners.
Benefits:
- Easy to use
- Affordable
- Fast drying
- Great coverage
- Available in many colors
Acrylic paint works for almost every clay project.
Tempera Paint
Tempera paint can work for kids’ projects but is less durable than acrylic paint.
Good for:
- Temporary crafts
- Children’s activities
Not ideal for long-lasting projects.
Watercolor Paint
Watercolors create a soft artistic effect but may soak into the clay unevenly unless the clay is sealed first.
Best for:
- Decorative artistic styles
- Soft color effects
Oil Paint
Oil paint is rarely used by beginners because it takes a long time to dry.
Paint Pens and Markers
These are excellent for:
- Tiny details
- Outlines
- Patterns
- Lettering
Acrylic paint pens work especially well on clay.
How Long Should Air Dry Clay Dry Before Painting?
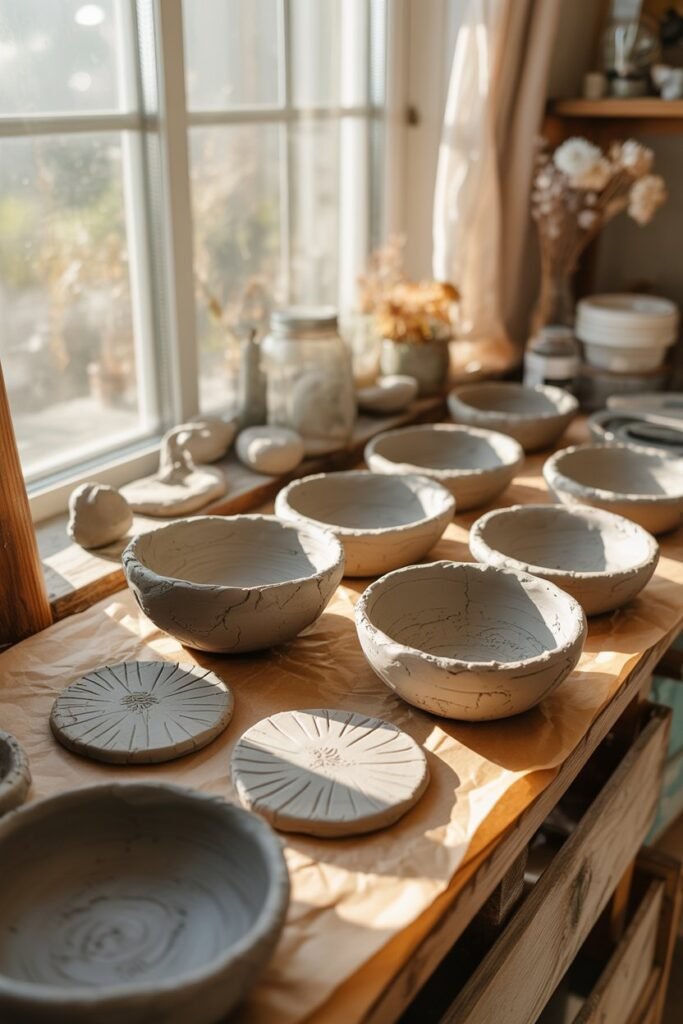
Patience is extremely important.
Most air dry clay projects need:
- 24 to 72 hours minimum drying time
- Larger projects may need several days
Factors affecting drying time:
- Thickness of clay
- Humidity
- Temperature
- Air circulation
How to Tell If Clay Is Fully Dry
The clay should:
- Feel room temperature, not cold
- Look lighter in color
- Feel hard and dry throughout
Never paint clay that still feels damp.
Step-by-Step Guide to Properly Painting Air Dry Clay
Now let’s go through the full beginner-friendly process.
Step 1: Let the Clay Fully Dry
This step cannot be skipped.
Place your clay project in a dry area with good airflow. Turn it occasionally for even drying.
Avoid:
- Direct heat
- Hair dryers
- Ovens (unless manufacturer instructions allow it)
Drying too quickly can cause cracks.
Step 2: Sand the Surface Smooth
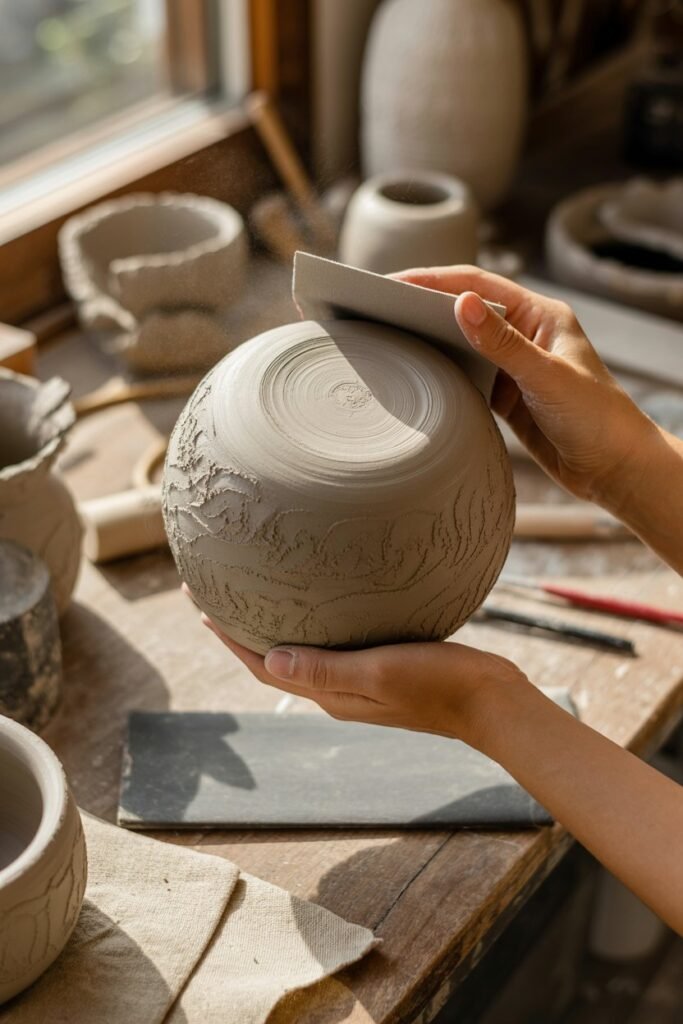
Once dry, inspect your piece carefully.
Use fine-grit sandpaper to:
- Remove bumps
- Smooth fingerprints
- Even out rough edges
- Improve paint application
Sand gently in circular motions.
After sanding:
- Wipe away dust with a dry cloth
- Make sure the surface is clean
This single step makes a huge difference in the final look.
Step 3: Apply Primer or Gesso
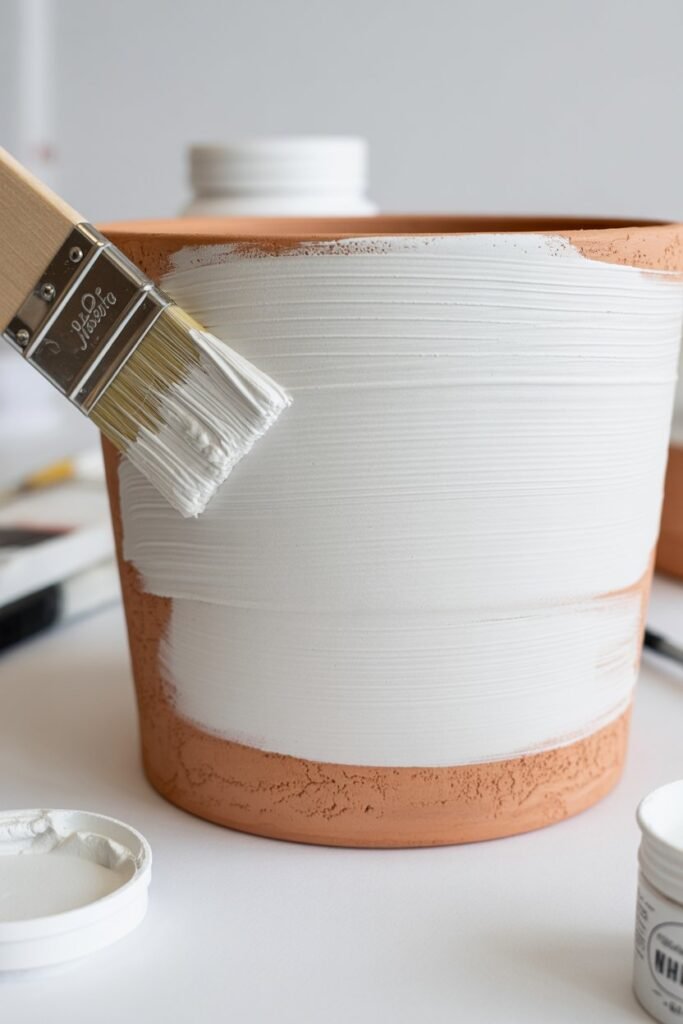
Many beginners skip this step, but it helps tremendously.
Why Primer Helps
Primer:
- Creates a smoother surface
- Prevents uneven paint absorption
- Makes colors brighter
- Improves durability
White gesso is one of the best primers for air dry clay.
How to Apply Primer
- Use a soft brush
- Apply thin even coats
- Let dry completely
- Sand lightly if needed
Usually 1–2 coats are enough.
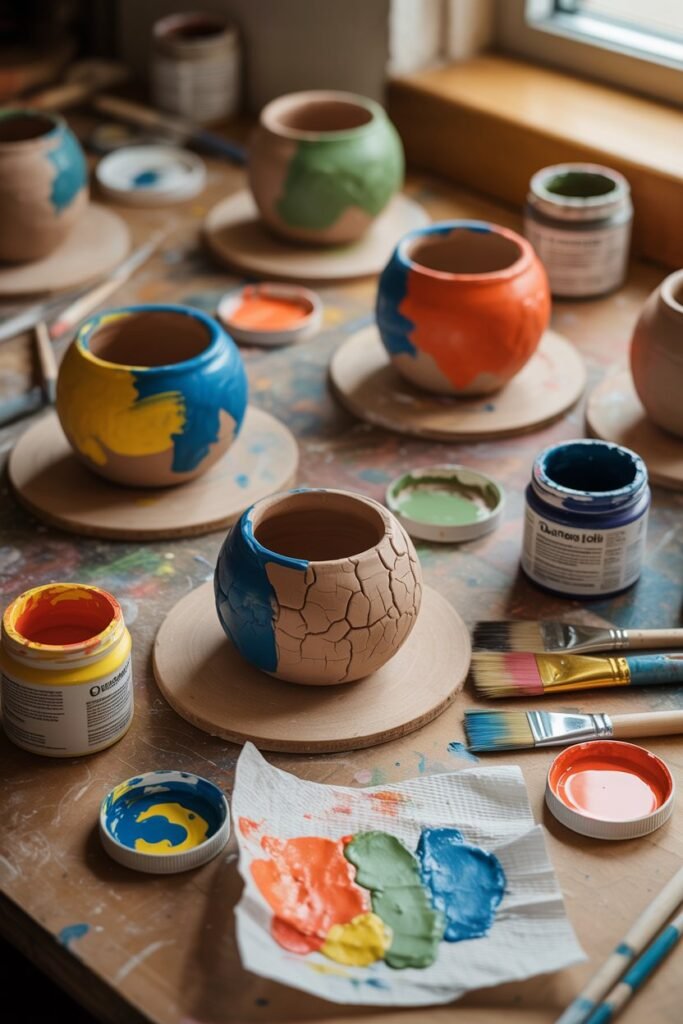
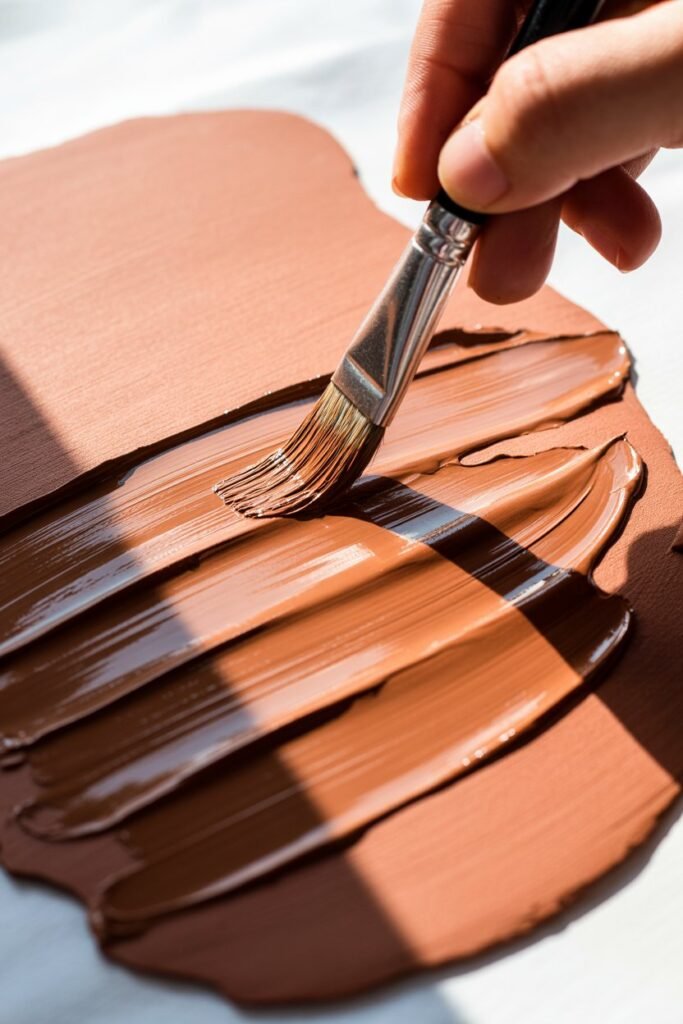
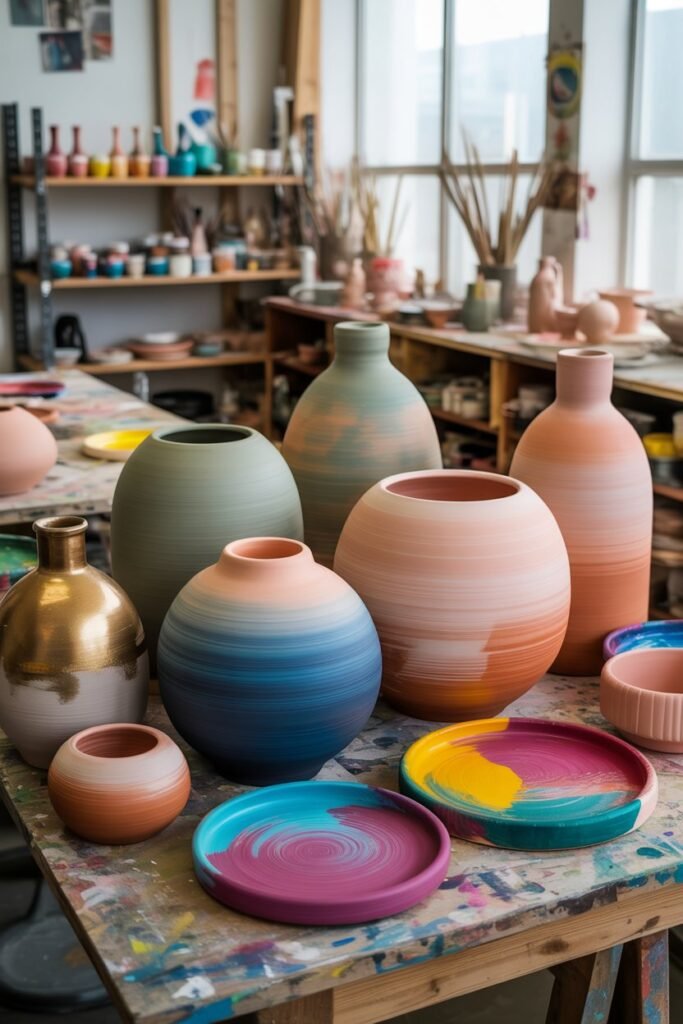
Step 4: Paint the Base Color
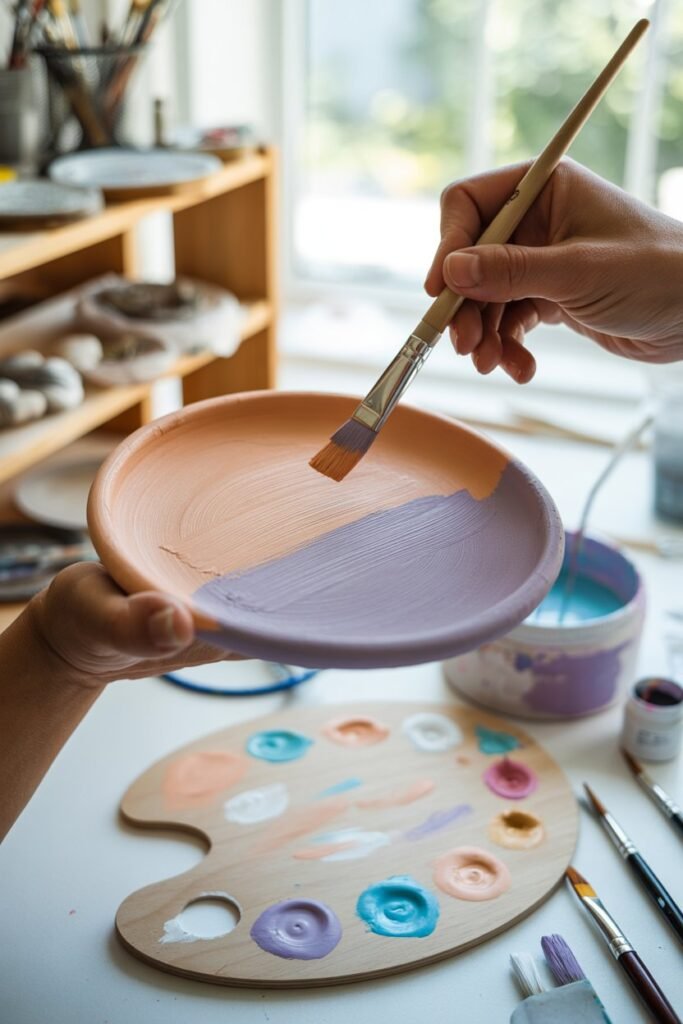
Start with larger background colors first.
Tips for Smooth Painting
- Use thin paint layers
- Let each coat dry before adding another
- Avoid overloaded brushes
- Paint in even strokes
Two thin coats usually look better than one thick coat.
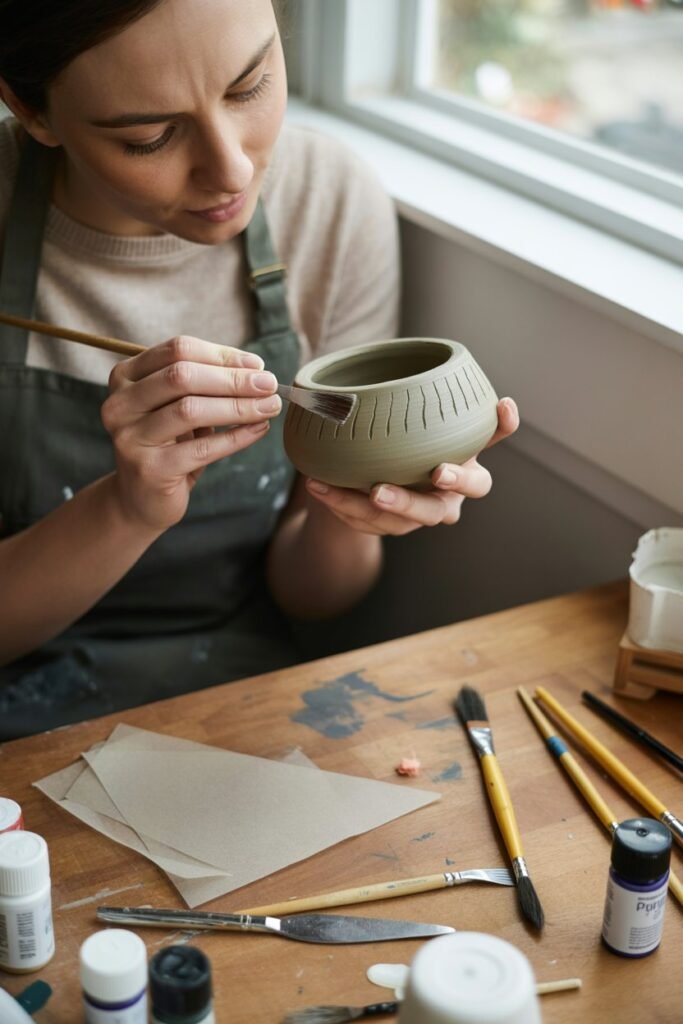
Step 5: Add Details and Designs
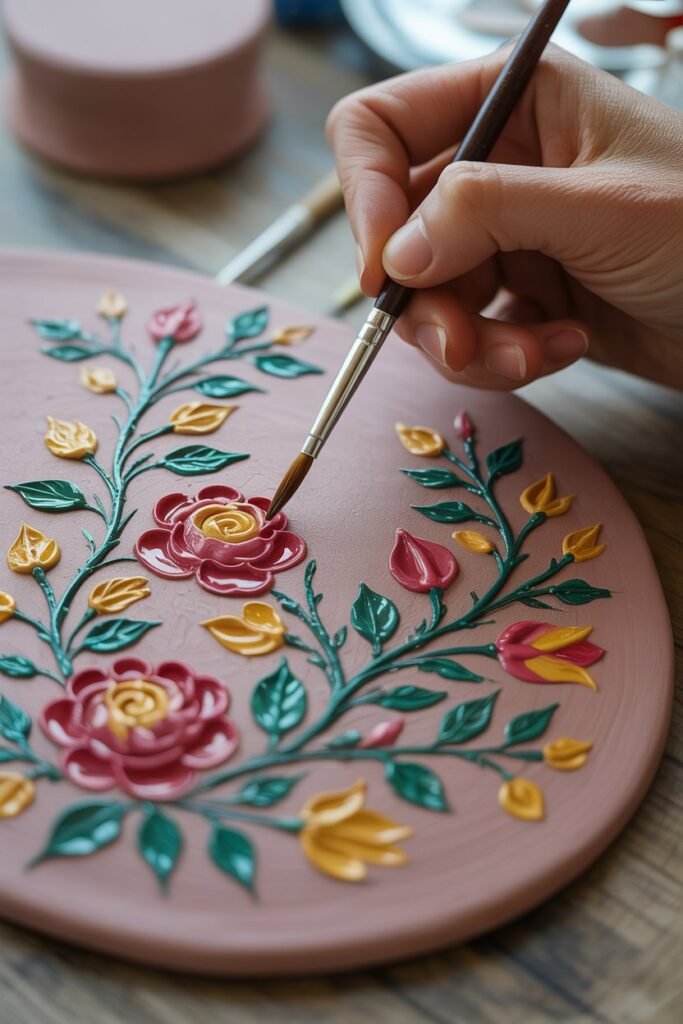
Once the base coat dries, you can decorate your piece.
Popular beginner techniques include:
- Polka dots
- Floral patterns
- Geometric shapes
- Cartoon faces
- Abstract art
- Color blocking
Use:
- Fine brushes
- Toothpicks
- Paint pens
- Sponges
Take your time with details.
Step 6: Allow the Paint to Fully Dry
Even if acrylic paint feels dry quickly, wait several hours before sealing.
Touching paint too soon may leave fingerprints or smudges.
Step 7: Seal the Clay
Sealing is one of the most important final steps.
Why You Should Seal Painted Air Dry Clay
Sealants:
- Protect paint from chipping
- Add water resistance
- Increase durability
- Create matte or glossy finishes
- Prevent fading
Best Sealers for Air Dry Clay
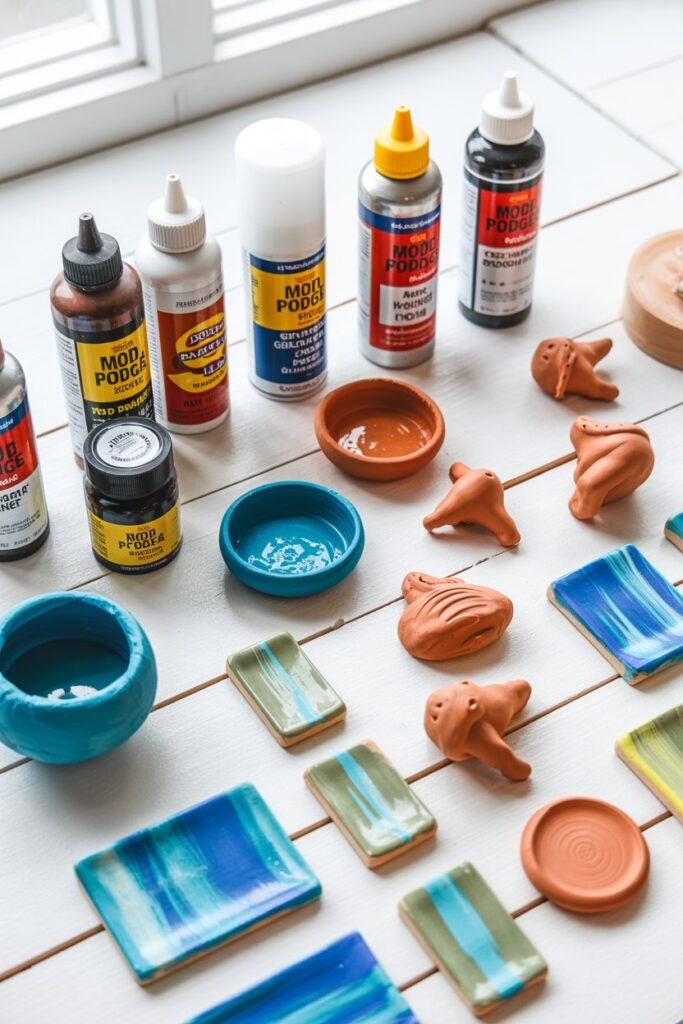
Mod Podge
A beginner favorite.
Available finishes:
- Matte
- Gloss
- Satin
Acrylic Spray Sealers
Provide smooth professional coverage.
Great for:
- Decorative items
- Even finishes
Use in ventilated areas.
Brush-On Varnish
Easy to control for small projects.
Matte vs Gloss Finish
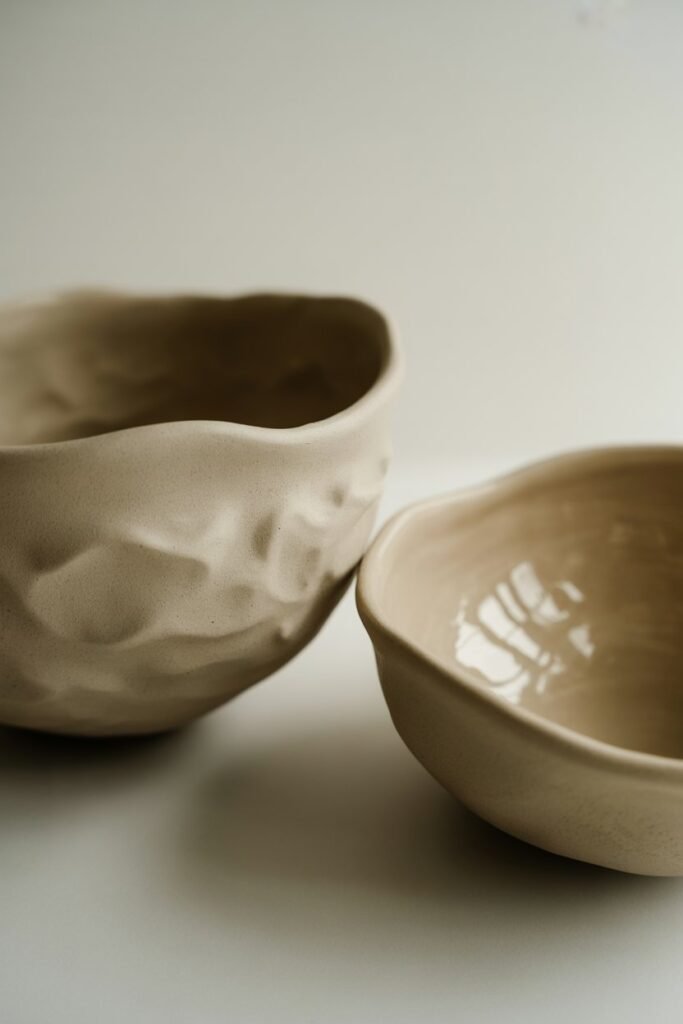
Matte Finish
- Soft natural appearance
- Modern aesthetic
- Less shiny
Gloss Finish
- Bright reflective look
- Enhances colors
- Looks polished
Choose based on your project style.
Best Brushes for Painting Air Dry Clay
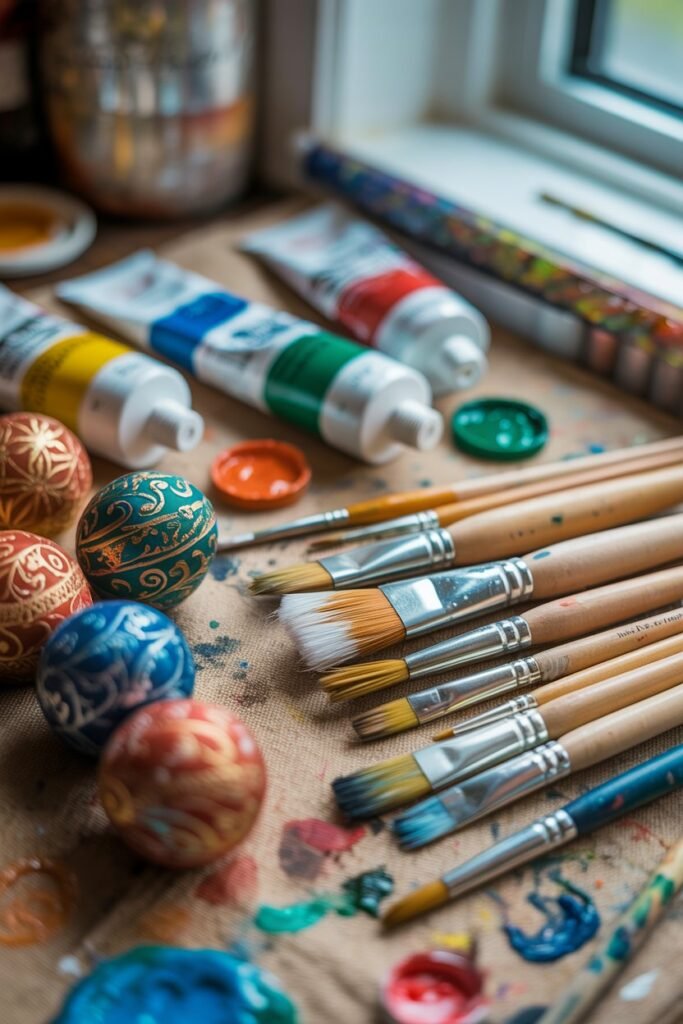
Different brushes create different effects.
Flat Brushes
Best for:
- Base coats
- Large areas
Round Brushes
Best for:
- Curves
- General painting
Detail Brushes
Best for:
- Tiny patterns
- Fine lines
Foam Brushes
Best for:
- Smooth finishes
- Minimal brush strokes
How to Prevent Brush Strokes
Visible brush marks are common for beginners.
Tips to Reduce Brush Strokes
- Use thin paint
- Add small amounts of water to acrylics
- Use soft brushes
- Apply multiple thin layers
- Avoid overworking wet paint
Smooth painting comes with practice.
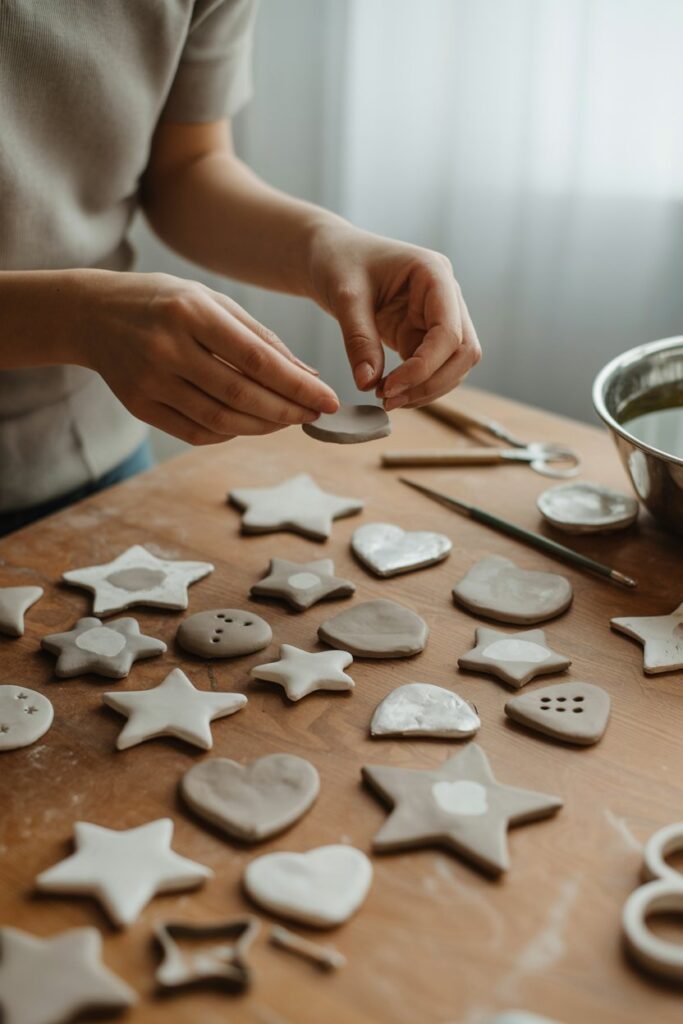
Easy Painting Ideas for Beginners
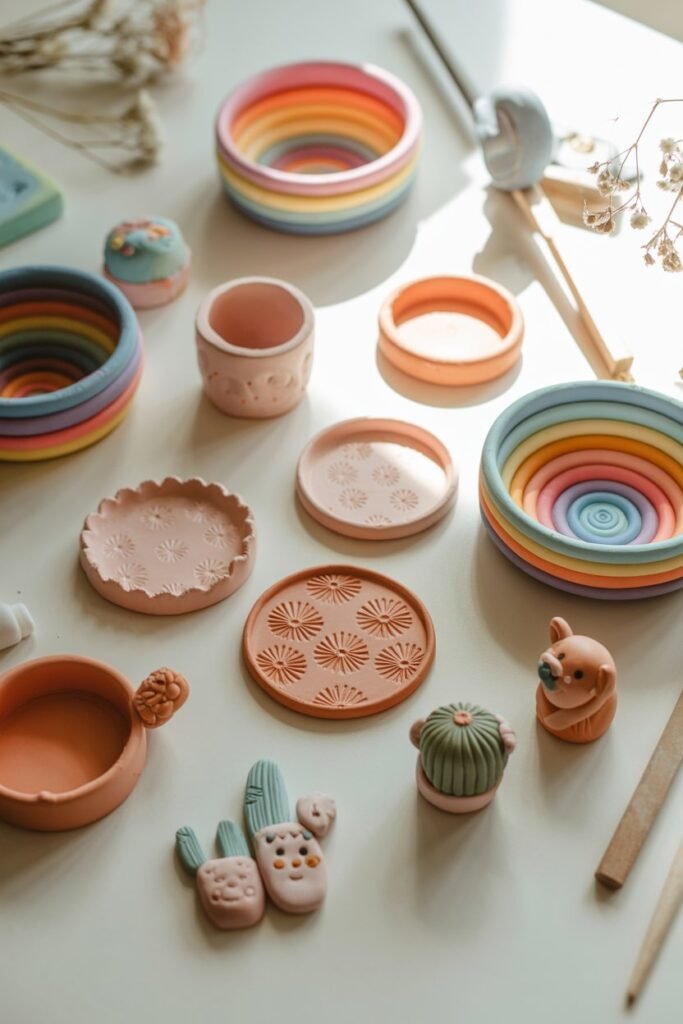
If you are unsure what to paint, try simple beginner projects.
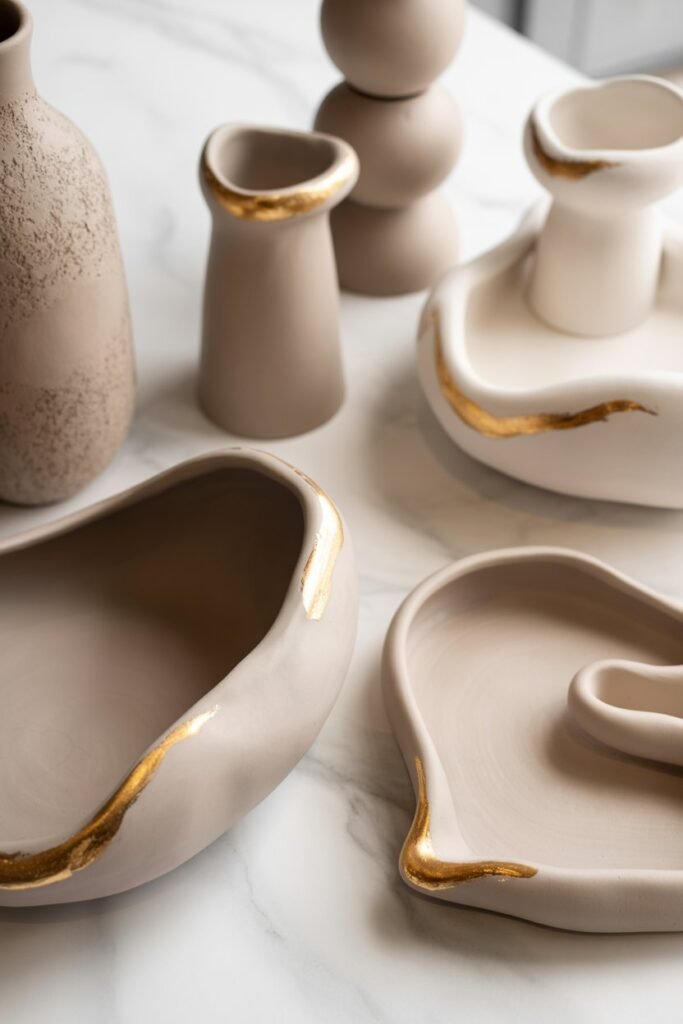
Minimalist Trinket Dishes
Use:
- Neutral colors
- Gold edges
- Simple patterns
Rainbow Clay Bowls
Perfect for learning blending techniques.
Floral Clay Coasters
Easy and visually beautiful.
Cute Animal Figurines
Great for practicing details.
Marbled Paint Effects
Create elegant modern designs.
How to Paint Tiny Details
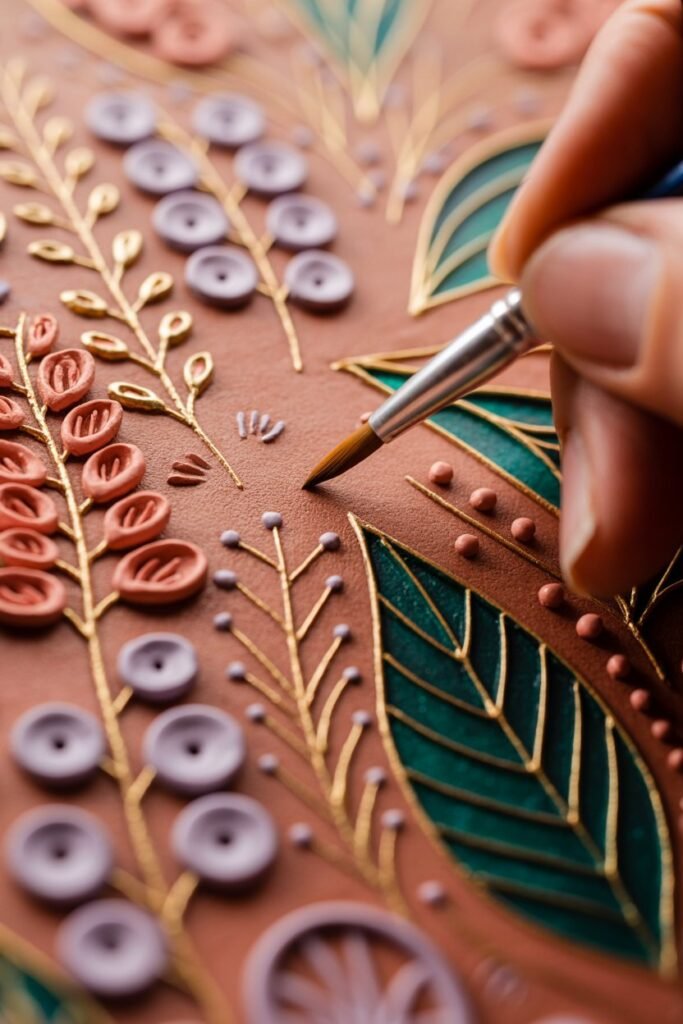
Small details can make your project look professional.
Helpful Tools
- Nail dotting tools
- Toothpicks
- Fine liners
- Paint markers
Tips
- Rest your hand on a table for stability
- Work slowly
- Use minimal paint on detail brushes
Can You Mix Paint Into Air Dry Clay?
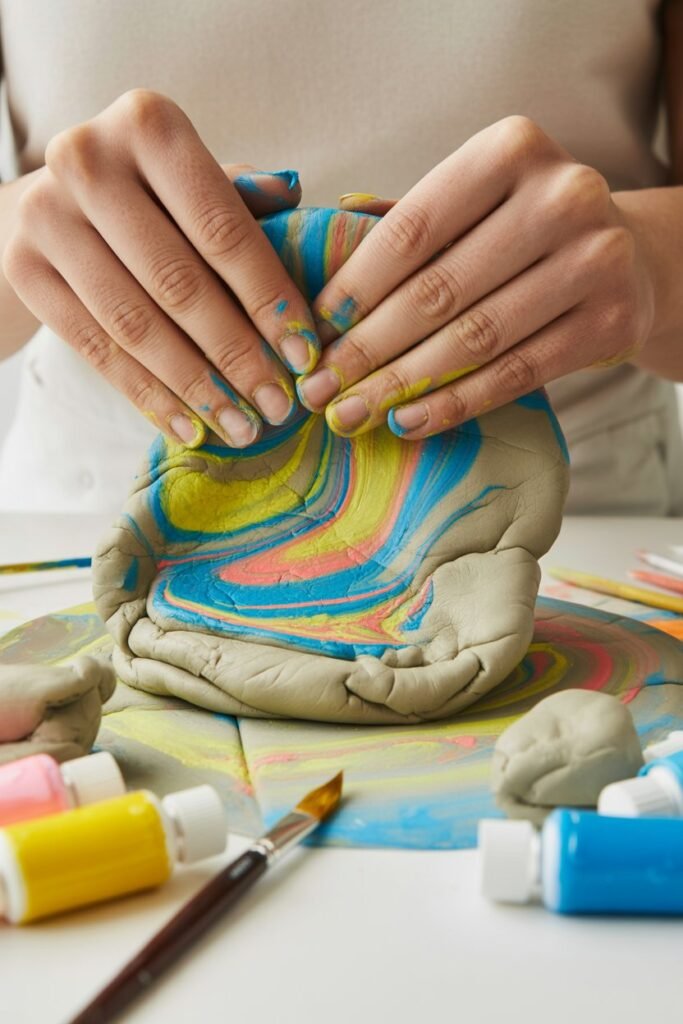
Yes, you can.
Some people mix acrylic paint directly into wet clay before shaping it.
Benefits:
- Colored clay throughout
- No white showing through scratches
- Soft pastel effects
However, painting after drying still gives more control and brighter colors.
How to Fix Painting Mistakes
Mistakes happen even to experienced crafters.
Uneven Paint
Solution:
- Sand lightly
- Repaint thin layers
Smudges
Solution:
- Wait for paint to dry
- Paint over carefully
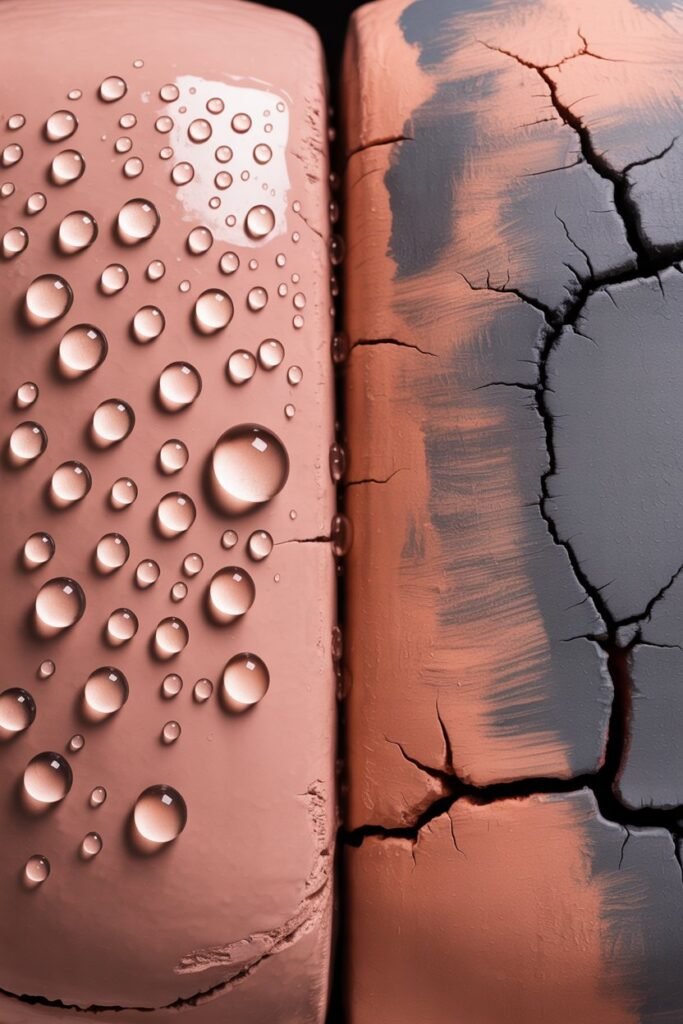
Cracked Paint
Usually caused by thick layers.
Solution:
- Sand affected area
- Repaint with thinner coats
Wrong Color
Simply repaint once dry.
Acrylic paint layers well.
How to Make Air Dry Clay Look Professional
Beginners often wonder how to achieve a high-end finish.
Use These Techniques
Sand Thoroughly
Smooth surfaces instantly look more polished.
Use Neutral Color Palettes
Soft earthy tones often look elegant.
Seal Properly
A good sealant changes everything.
Add Metallic Accents
Gold or silver edges elevate simple pieces.
Keep Designs Clean
Minimal designs often look more expensive.
How to Store Painted Air Dry Clay
Proper storage helps prevent damage.
Keep Away From Moisture
Air dry clay is not fully waterproof even after sealing.
Avoid Direct Sunlight
Sun exposure may fade colors over time.
Store Carefully
Fragile clay pieces can chip if dropped.
Are Painted Air Dry Clay Items Waterproof?
Usually not completely.
Sealants improve water resistance but most air dry clay remains somewhat sensitive to moisture.
Decorative items are best kept indoors and dry.
Can Kids Paint Air Dry Clay?
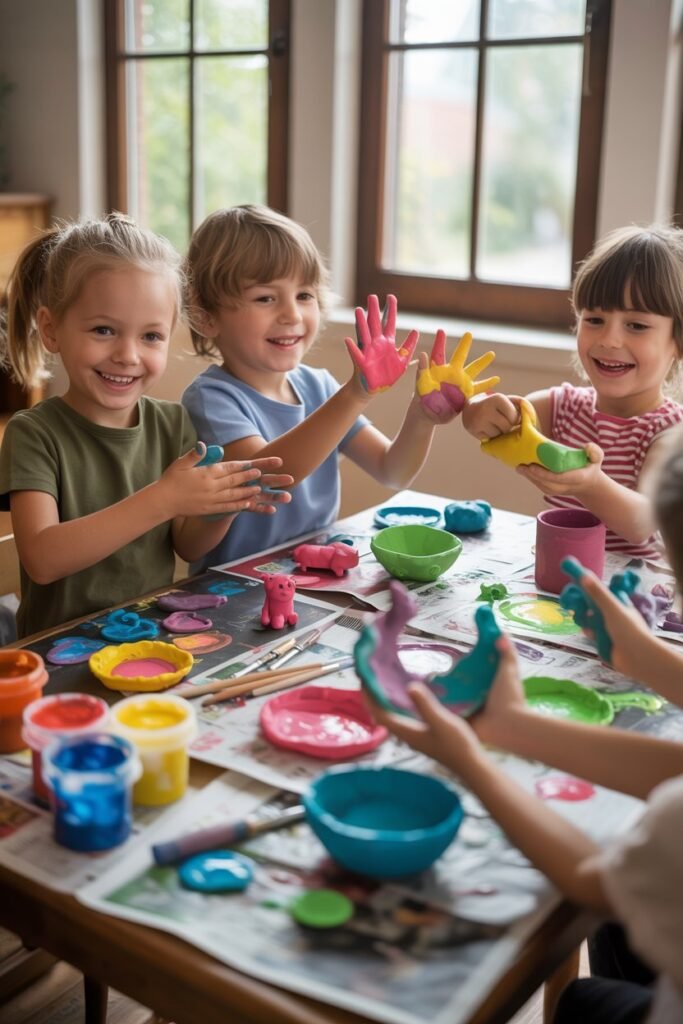
Absolutely.
Air dry clay is one of the best beginner crafts for children.
Tips for Kids
- Use washable acrylic paints
- Choose simple designs
- Let projects dry completely
- Use larger brushes
Clay crafting encourages:
- Creativity
- Fine motor skills
- Patience
- Artistic confidence
Best Color Combinations for Clay Projects
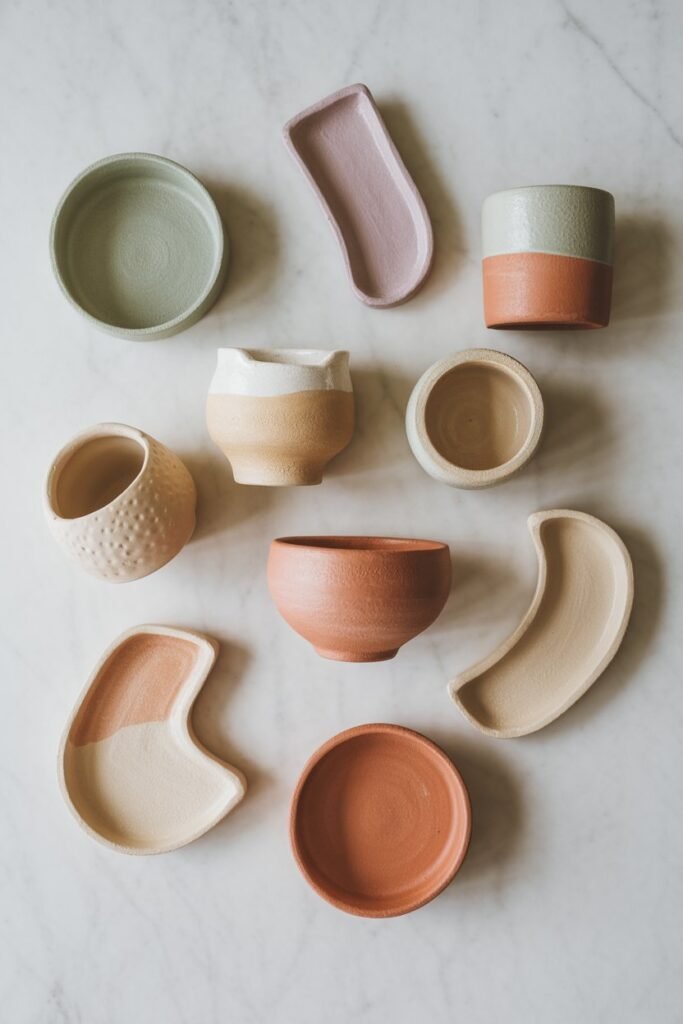
Beautiful color palettes improve the overall look.
Popular Beginner Color Schemes
Neutral Tones
- Beige
- White
- Terracotta
- Brown
Pastels
- Soft pink
- Lavender
- Mint green
- Baby blue
Bold Modern Colors
- Black and gold
- Navy and white
- Emerald and cream
Earthy Colors
- Olive green
- Rust orange
- Sand tones
Fun Painting Techniques to Try
Once comfortable with basic painting, experiment with creative effects.
Dry Brushing
Uses very little paint to highlight textures.
Sponging
Creates soft textured finishes.
Splatter Painting
Adds playful artistic effects.
Ombre Blending
Smoothly blends colors together.
Metallic Detailing
Adds luxury accents.
How to Avoid Cracks in Painted Clay
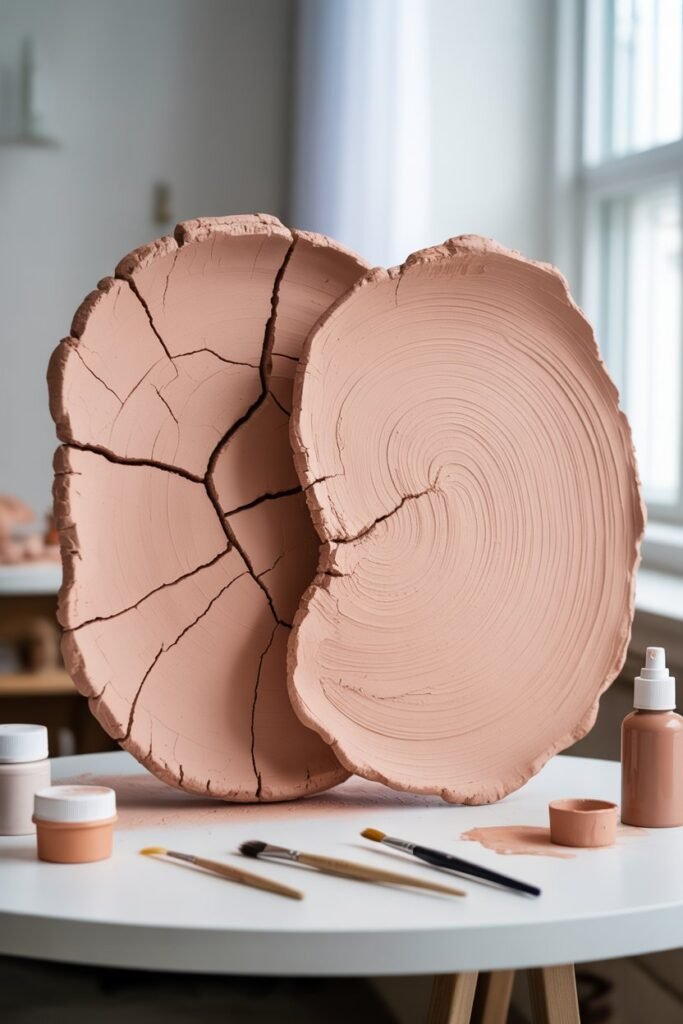
Cracking can ruin beautiful projects.
Prevention Tips
- Avoid thick clay pieces
- Let clay dry slowly
- Use thin paint coats
- Seal properly
- Store carefully
Sometimes small cracks naturally occur with air dry clay, especially in humid conditions.
Why Beginners Love Air Dry Clay Crafts
Air dry clay is relaxing, affordable, and rewarding.
People love it because:
- No kiln is needed
- Easy to learn
- Endless creativity
- Suitable for all ages
- Great for home décor
- Perfect for gifts
Even simple beginner projects can turn out beautifully with proper painting techniques.
Frequently Asked Questions
What Paint Works Best on Air Dry Clay?
Acrylic paint is the best choice for most beginners because it is durable, colorful, and easy to apply.
Do I Need to Seal Painted Air Dry Clay?
Yes. Sealing protects the paint and helps the clay last longer.
Can I Paint Air Dry Clay Before It Dries?
No. Always let the clay dry completely before painting.
Why Does My Paint Look Streaky?
This usually happens from:
- Thick paint
- Rough clay surfaces
- Poor-quality brushes
Thin layers and sanding help fix this.
Can Air Dry Clay Get Wet?
Air dry clay is not fully waterproof. Keep painted pieces away from excessive moisture.
Final Thoughts
Learning how to properly paint air dry clay for beginners is easier than many people think.
The secret is not expensive supplies or advanced artistic talent. It comes down to preparation, patience, and using the right techniques.
When you allow the clay to dry fully, sand the surface carefully, use thin layers of paint, and seal the final piece properly, your clay creations can look incredibly polished and professional.
Do not worry if your first few projects are not perfect. Every artist improves with practice.
The more you experiment with colors, textures, brushes, and painting styles, the more confident and creative you will become.
Air dry clay crafting is meant to be enjoyable, relaxing, and expressive.
Start with simple beginner-friendly designs, take your time, and most importantly, have fun creating unique handmade pieces that reflect your personality and creativity.