
I still remember the first time I sat at my kitchen table with a block of clay, no idea what I was doing, just hoping to make something pretty enough to give as a gift.
What started as a quiet weekend hobby turned into something I now sell at local markets and online.
If you are reading this because you want to turn clay into cute, sellable gifts, you are exactly where I was a few years ago, and I promise it is easier than it looks once you understand the basics.
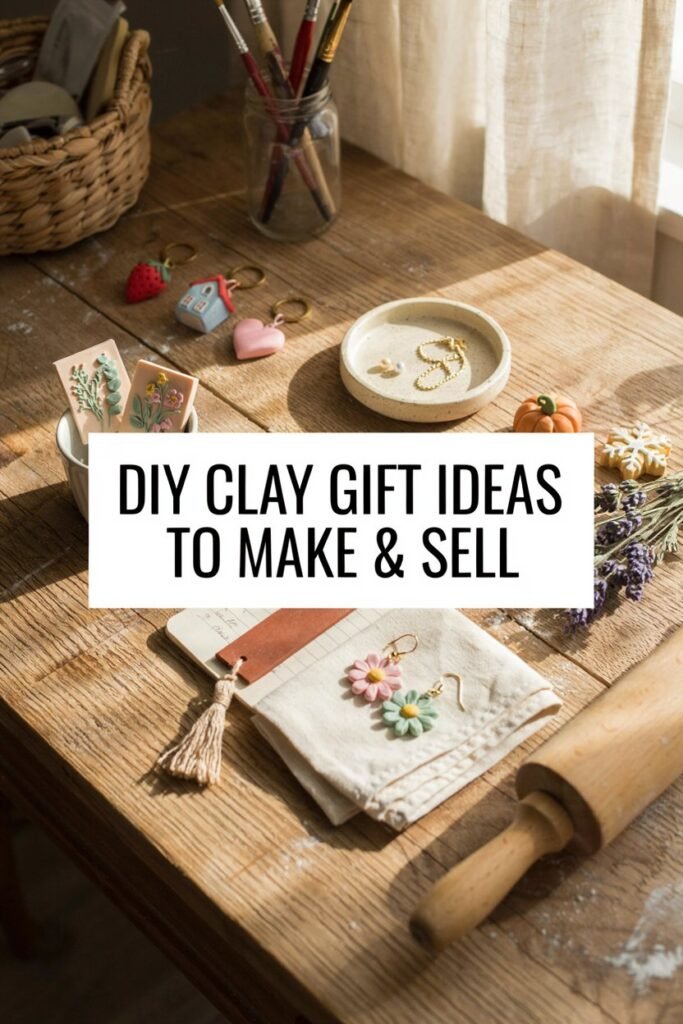
This guide walks you through everything I wish someone had told me when I started.
You will learn the materials you need, what each one actually does, and step by step instructions for making clay gifts that people genuinely want to buy.
Grab a cup of coffee, get comfortable, and let us get into it.
Why Clay Gifts Are Such a Great Small Business Idea
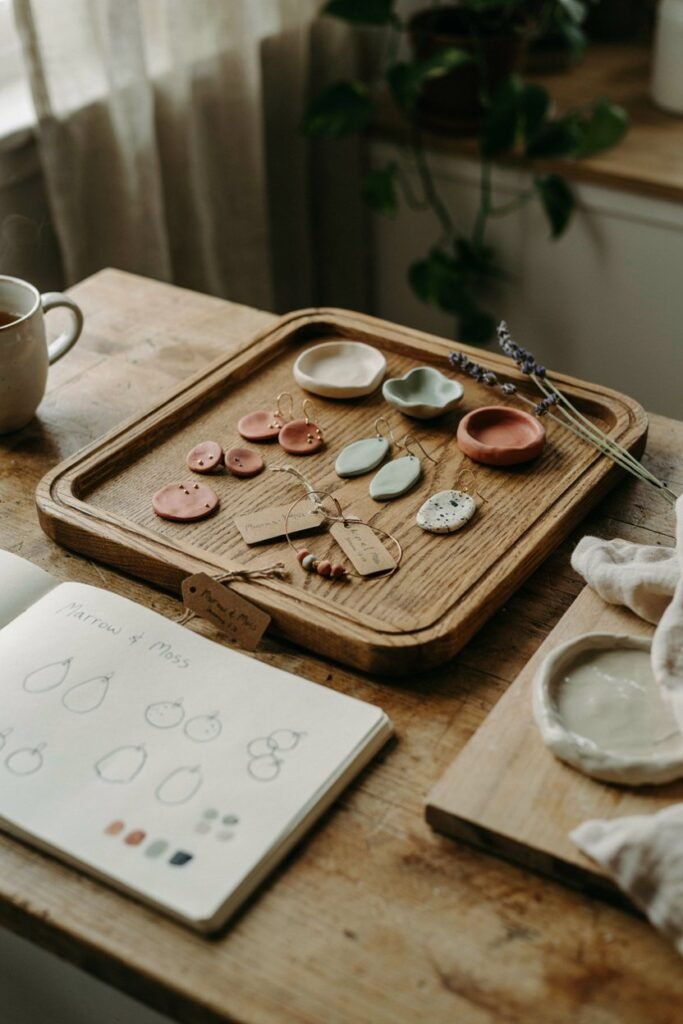
Before we jump into the materials and steps, I want to explain why clay gifts have become such a popular handmade product.
Clay is affordable, it does not require a huge workspace, and the finished pieces feel personal in a way that mass produced items simply do not.
Earrings, trinket dishes, ornaments, and planters made from clay carry a handmade charm that customers are willing to pay a premium for.
I have sold everything from tiny clay charms to full sized plant pots, and the demand only keeps growing, especially around holidays and gift giving seasons.
Another reason I love this craft is how forgiving it is.
Unlike some crafts where one mistake ruins the whole piece, clay lets you reshape, sand, and fix things along the way.
That means even beginners can produce professional looking results with a bit of patience.
Materials You Will Need and What Each One Does
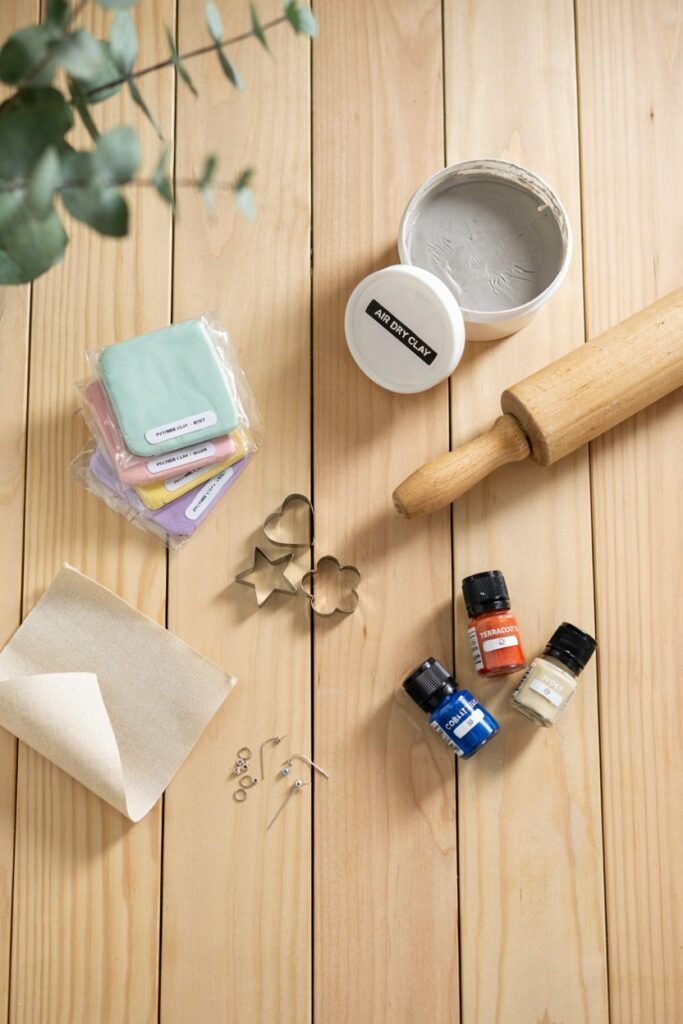
Every great clay project starts with the right supplies.
Below I have broken down the essential materials, along with a short twelve word explanation of what each one is used for, written from my own experience using them.
Air dry clay softens easily in hands, perfect for beginners crafting simple decorative gift pieces quickly.
Polymer clay bakes hard in ovens, ideal for detailed jewelry and long lasting sellable items.
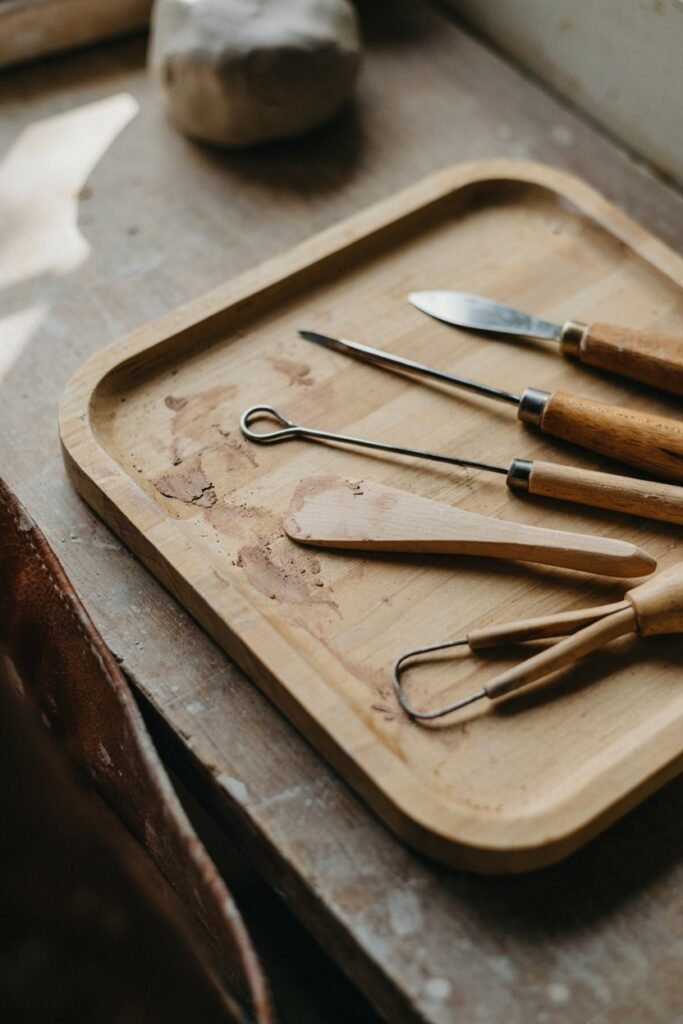
Clay tools set shapes tiny details, smooths edges, and carves patterns into soft clay surfaces.
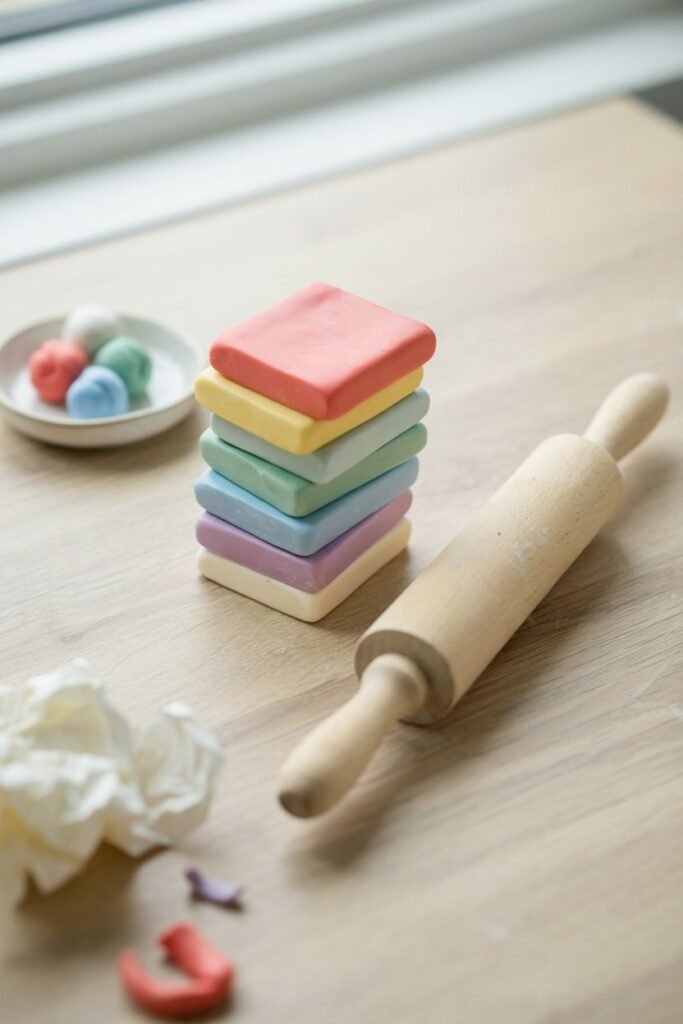
Rolling pin flattens clay evenly, giving you a consistent thickness before cutting out shapes.
Cookie or clay cutters create uniform shapes fast, saving time when making matching sets for customers.
Acrylic paint adds color after baking, letting each piece reflect your personal creative style beautifully.
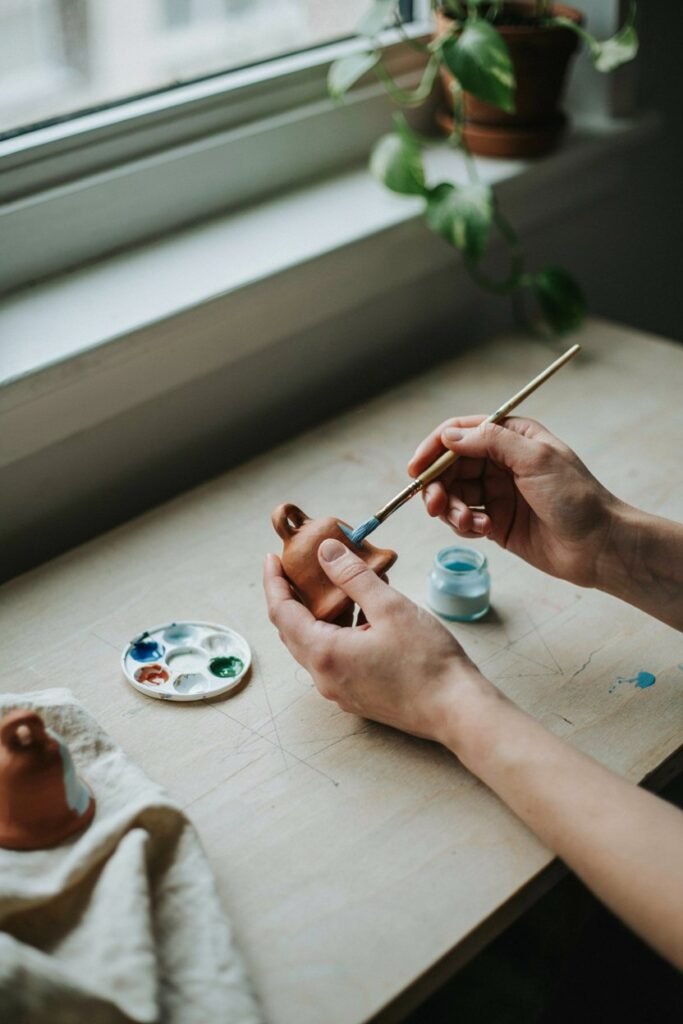
Sealant or varnish protects finished pieces from moisture, giving your gifts a professional glossy finish.
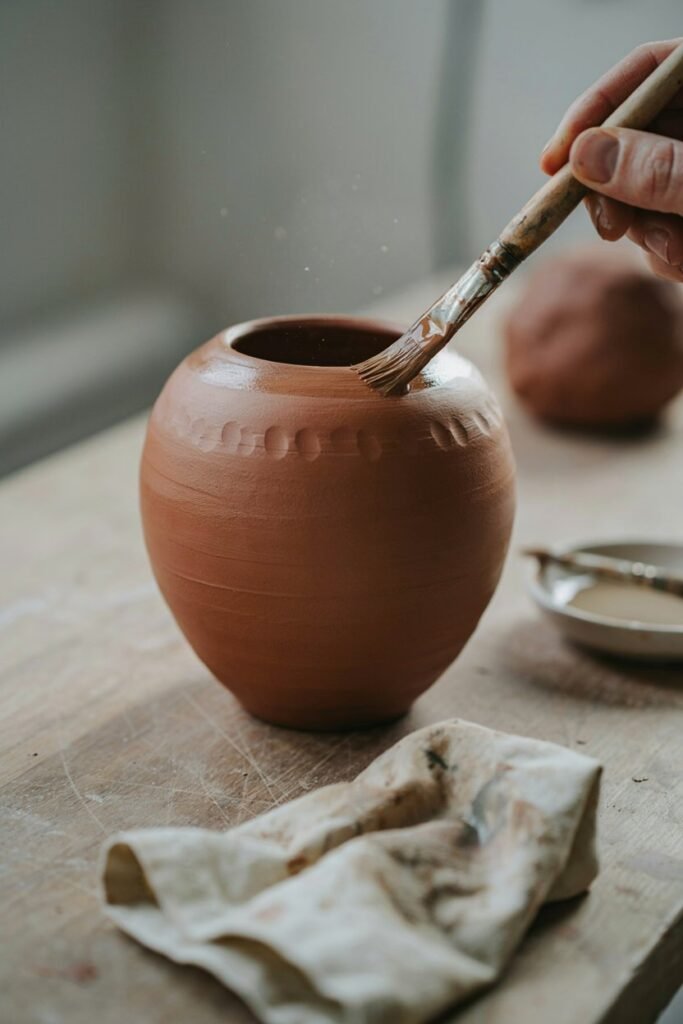
Sandpaper smooths rough edges after baking, making handmade pieces feel polished and store bought.
Jewelry findings turn clay shapes into wearable earrings, necklaces, and keychains customers actually want.
Craft glue attaches clay pieces to backings, magnets, or findings for sturdy finished products.
Baking sheet and oven hardens polymer clay permanently, transforming soft dough into durable sellable creations.
Packaging supplies wrap finished gifts beautifully, making your handmade products feel gift ready instantly.
Having these on hand before you start saves you from stopping halfway through a project because you are missing something small.
I learned that lesson the hard way after running out of sealant mid batch during my first market prep night.
Step by Step: How to Make Clay Gifts From Scratch
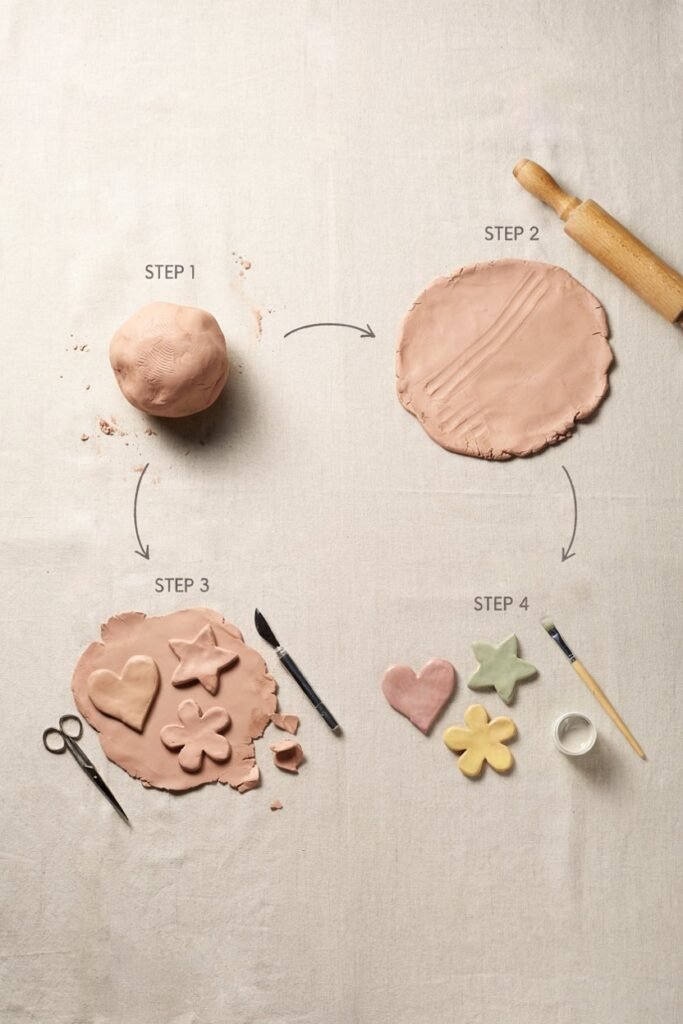
Now let us get into the part you came here for.
I am going to walk you through the general process first, then break it down into specific gift ideas you can start making today.
Step One: Choose Your Clay Type
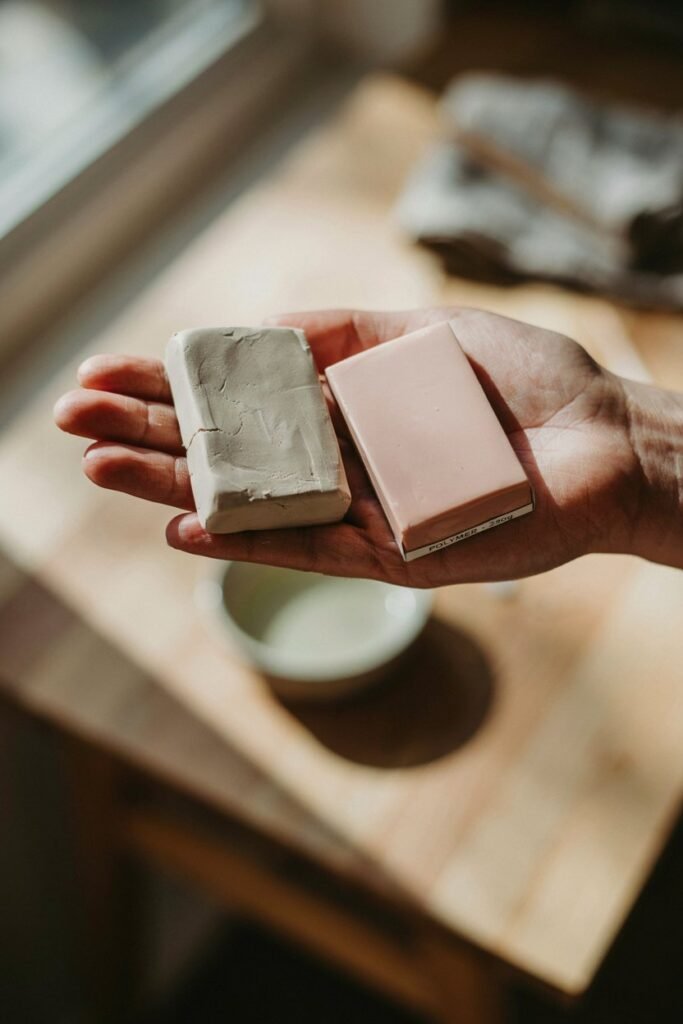
Decide between air dry clay and polymer clay depending on what you are making.
Air dry clay works wonderfully for simple decor items like trinket dishes or small figurines since it does not require baking.
Polymer clay is better for jewelry and anything that needs durability and fine detail because baking makes it much stronger.
Step Two: Prepare Your Workspace
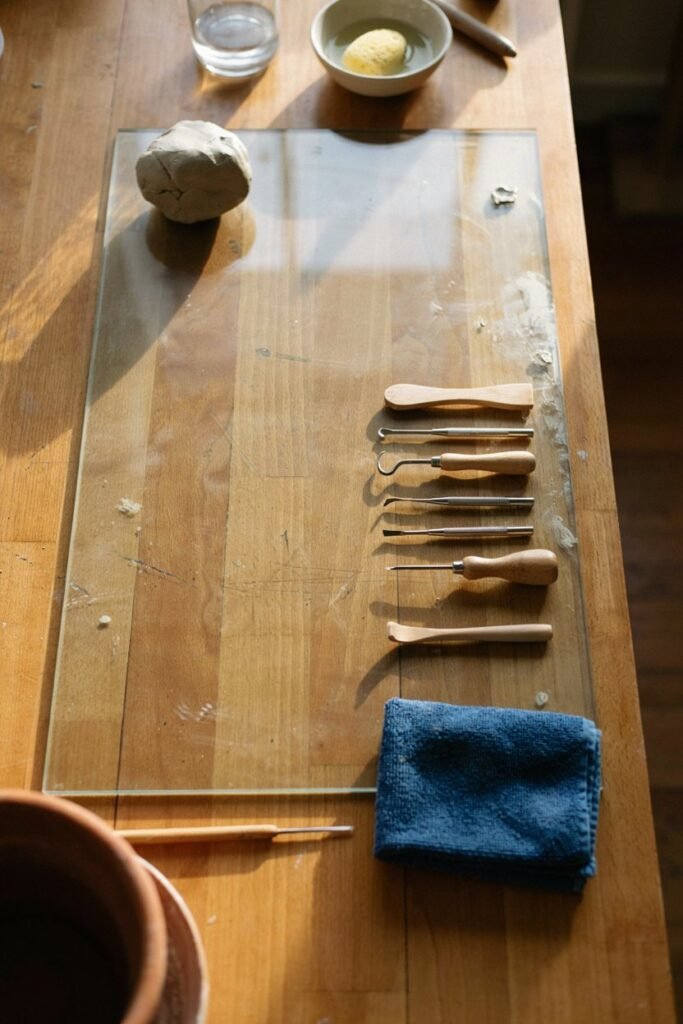
Lay down a clean, smooth surface such as a glass or ceramic tile.
This keeps your clay free of lint and dust, which matters a lot once you are selling finished products to paying customers.
Keep your tools nearby so you are not searching for them mid project.
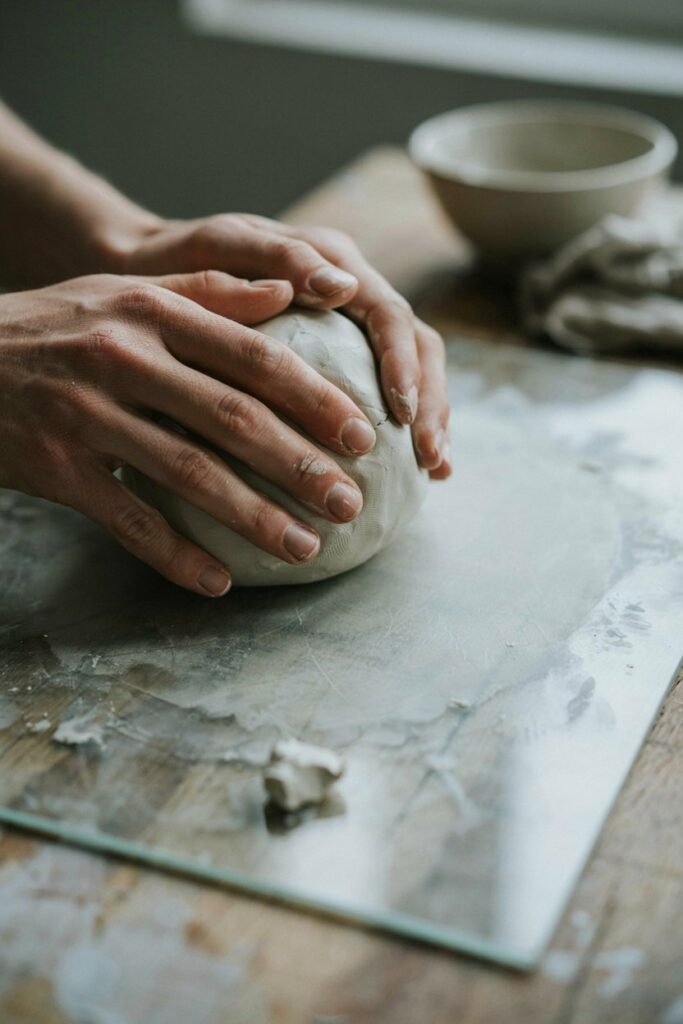
Step Three: Condition the Clay
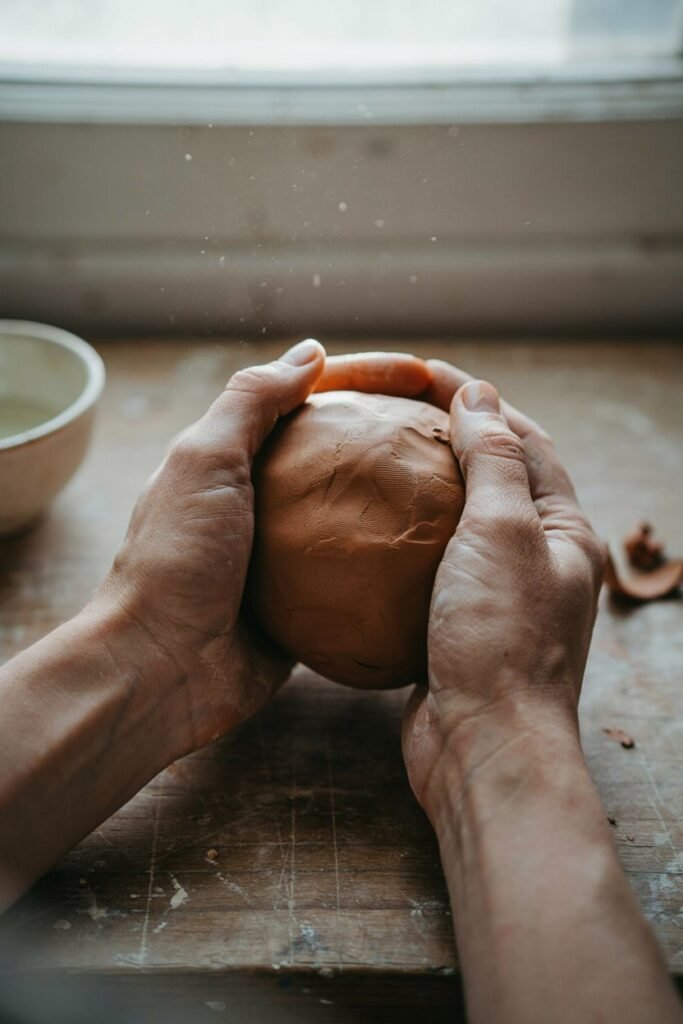
Knead the clay in your hands for a few minutes until it becomes soft and pliable.
This step is often skipped by beginners, but it genuinely affects how smooth and crack free your final piece turns out.
Step Four: Roll and Cut Your Shapes
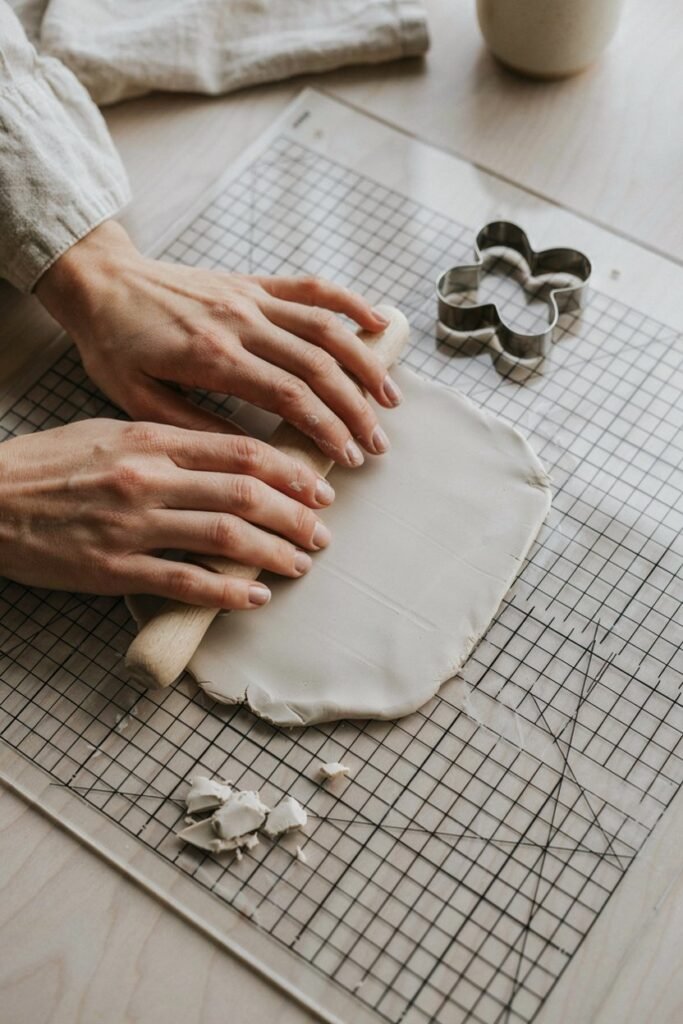
Use your rolling pin to flatten the clay to an even thickness, usually around a quarter inch works well for most gift items.
Then use your cutters or a small knife to create your desired shapes, whether that is hearts, flowers, animals, or geometric designs.
Step Five: Add Details
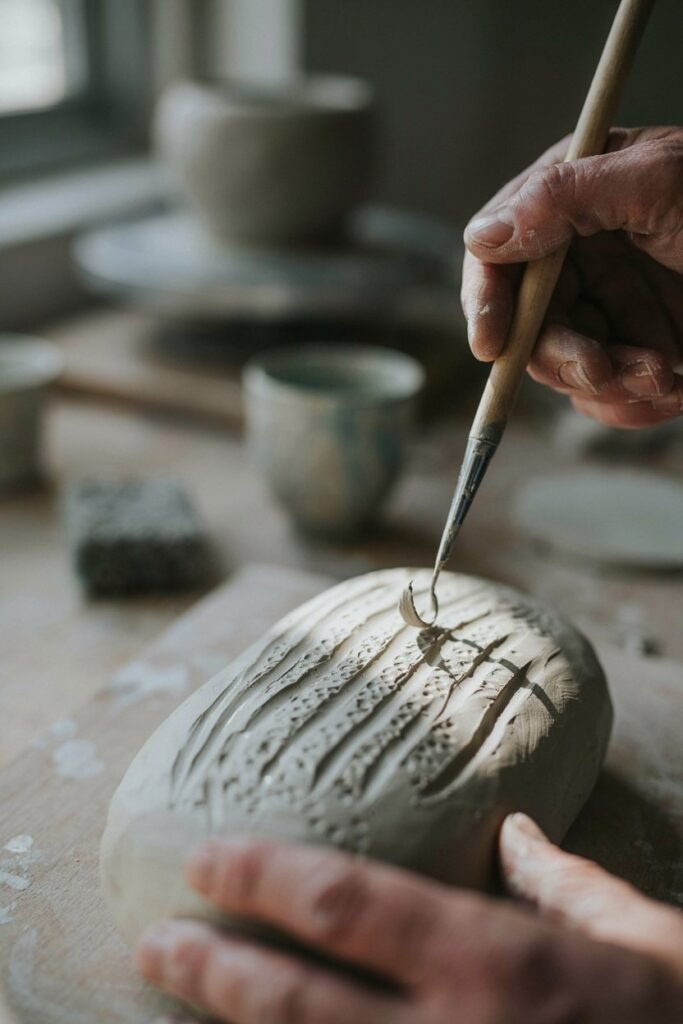
This is where your creativity shines.
Use clay tools to carve patterns, add texture, or press small imprints into the surface.
If you are making jewelry, this is also when you add holes for jump rings using a small skewer or needle tool.
Step Six: Bake or Air Dry
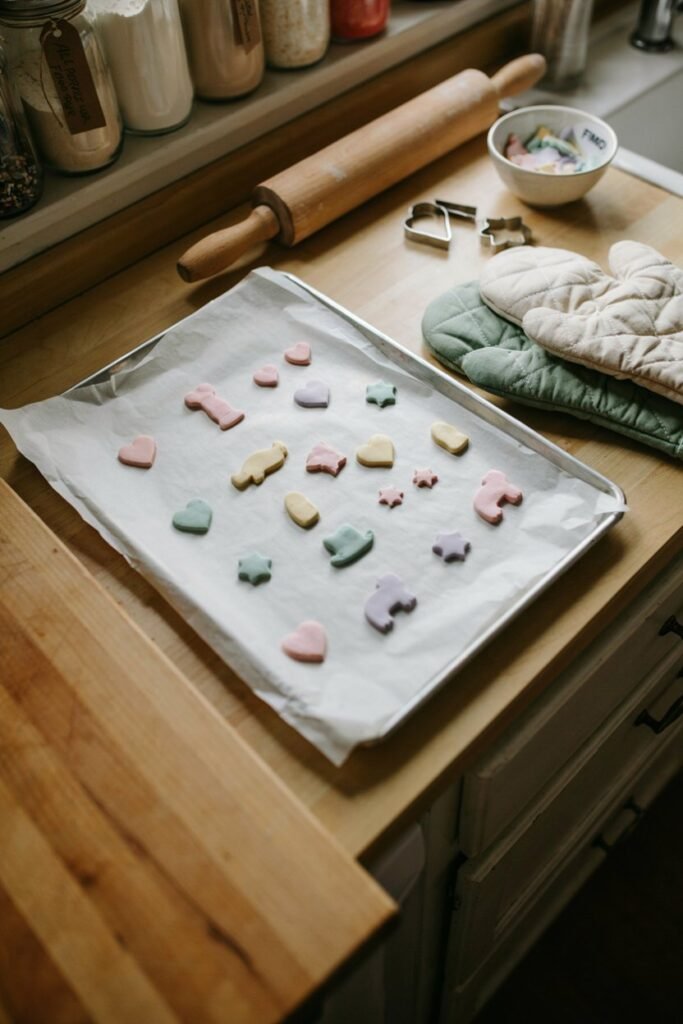
If you are using polymer clay, follow the package instructions for baking temperature and time, usually around 275 degrees Fahrenheit for fifteen to thirty minutes depending on thickness.
If you are using air dry clay, simply leave your pieces out for twenty four to forty eight hours until fully hardened.
Step Seven: Sand the Edges
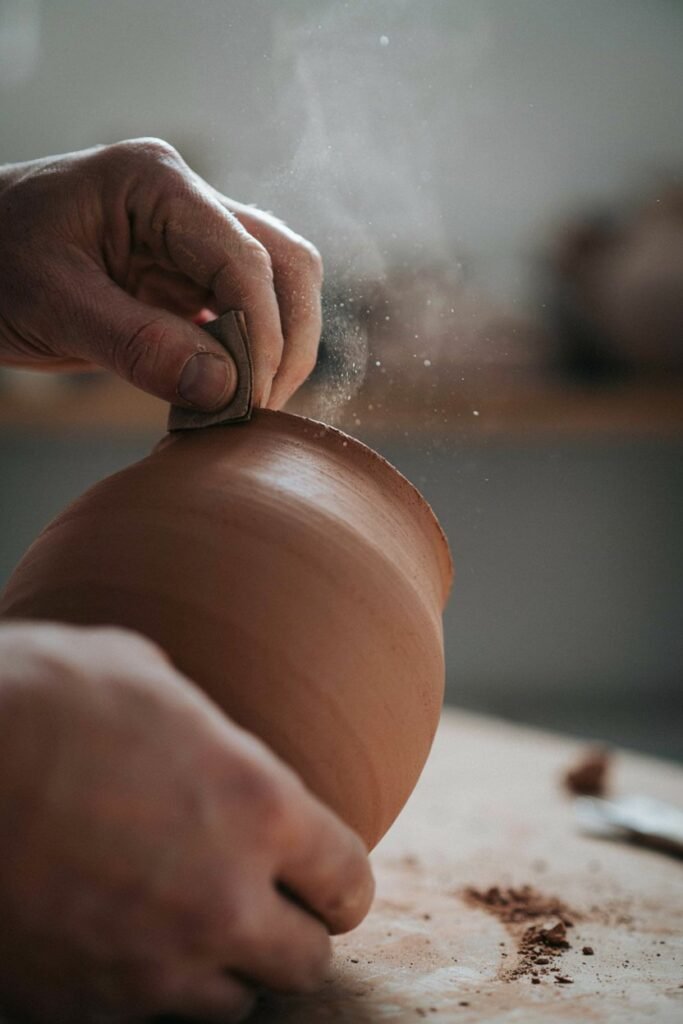
Once your pieces have cooled or dried, gently sand any rough or uneven edges.
This small step makes a huge difference in how professional your final product looks and feels.
Step Eight: Paint and Decorate
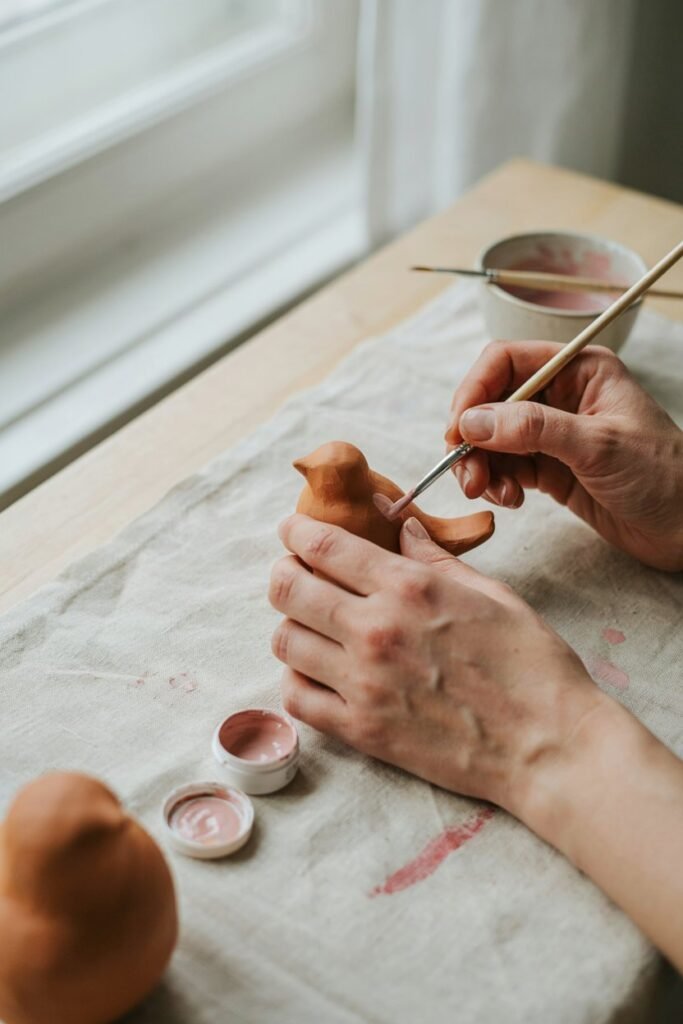
Apply acrylic paint in thin layers, allowing each coat to dry before adding another.
This prevents smudging and gives you a cleaner, more vibrant finish.
Step Nine: Seal Your Pieces
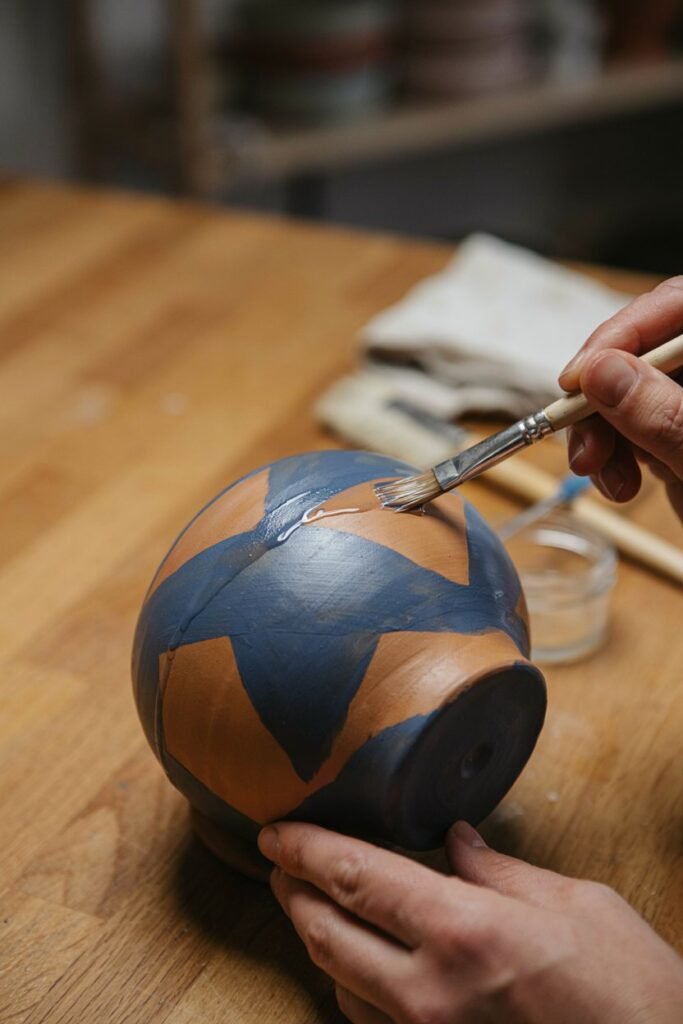
Brush or spray a thin layer of sealant over your painted clay.
This protects the piece from scratches, fading, and moisture damage, which is especially important if you are shipping items to customers.
Step Ten: Attach Findings or Backings
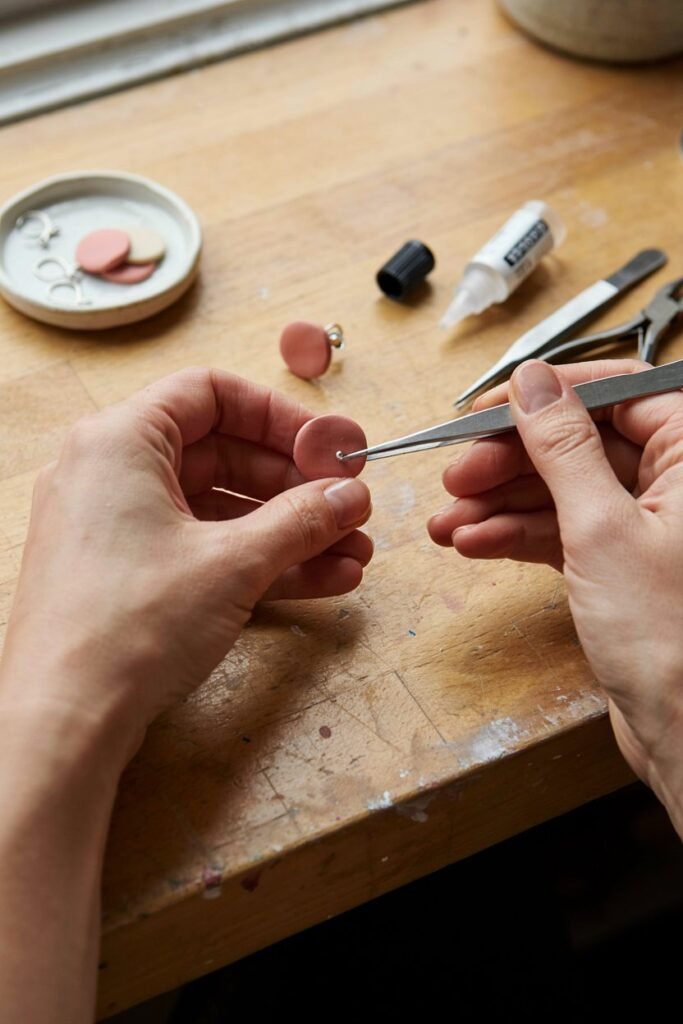
Depending on what you are making, glue on earring hooks, magnets, keychain rings, or display stands.
Let everything dry completely before handling or packaging.
Specific Clay Gift Ideas You Can Start Selling
Now that you understand the general process, here are specific gift ideas that consistently sell well, based on my own experience at markets and online shops.
Clay Earrings
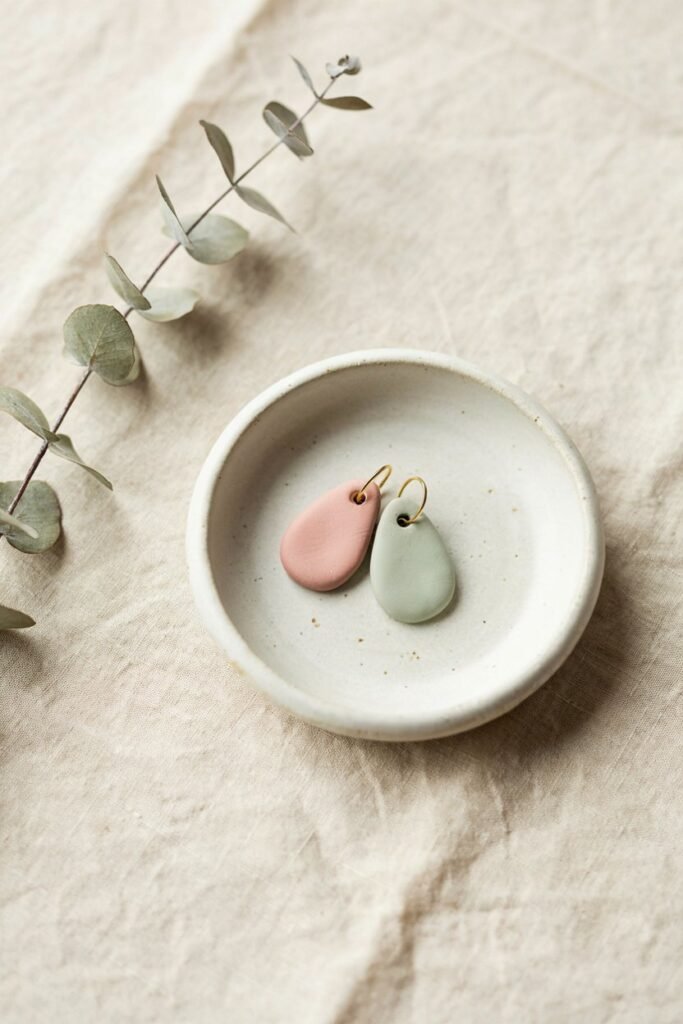
Earrings are by far my best selling item.
They require very little material, which keeps your costs low, while allowing you to charge a fair price for the design and labor involved.
Try simple shapes like circles, arches, or florals to start, then experiment with more intricate patterns as you gain confidence.
Pair bold colors with neutral tones so customers can mix and match easily.
Trinket Dishes
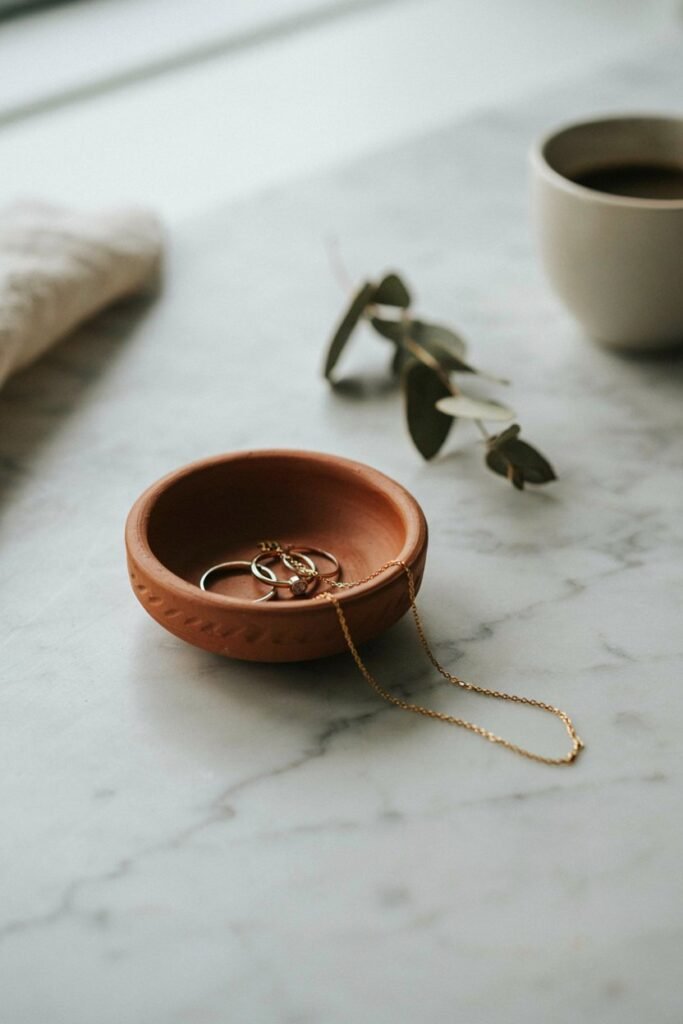
Small clay dishes are perfect for holding rings, keys, or other tiny items.
Use a shallow bowl or mold to shape the clay, then let it dry into a slightly curved dish shape.
These make wonderful gifts because they are both decorative and functional, which customers love.
Holiday Ornaments
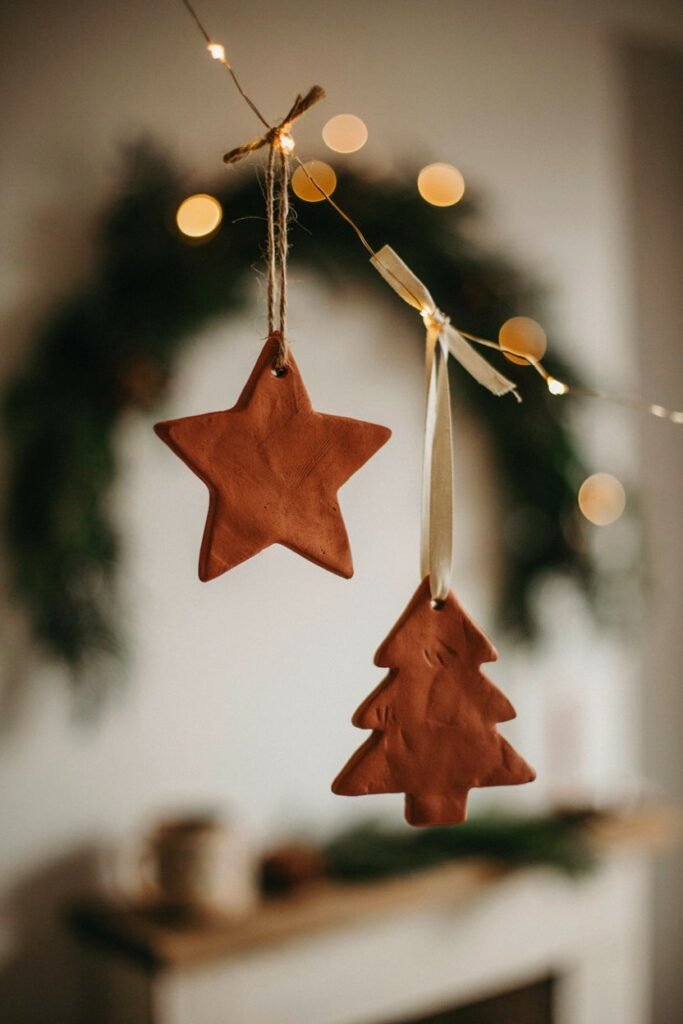
Clay ornaments sell incredibly well during the holiday season.
Cut out shapes like stars, trees, or snowflakes, then add a small hole at the top before baking or drying so you can loop a ribbon through later.
Personalizing ornaments with names or dates adds even more value for gift buyers.
Planters and Pots
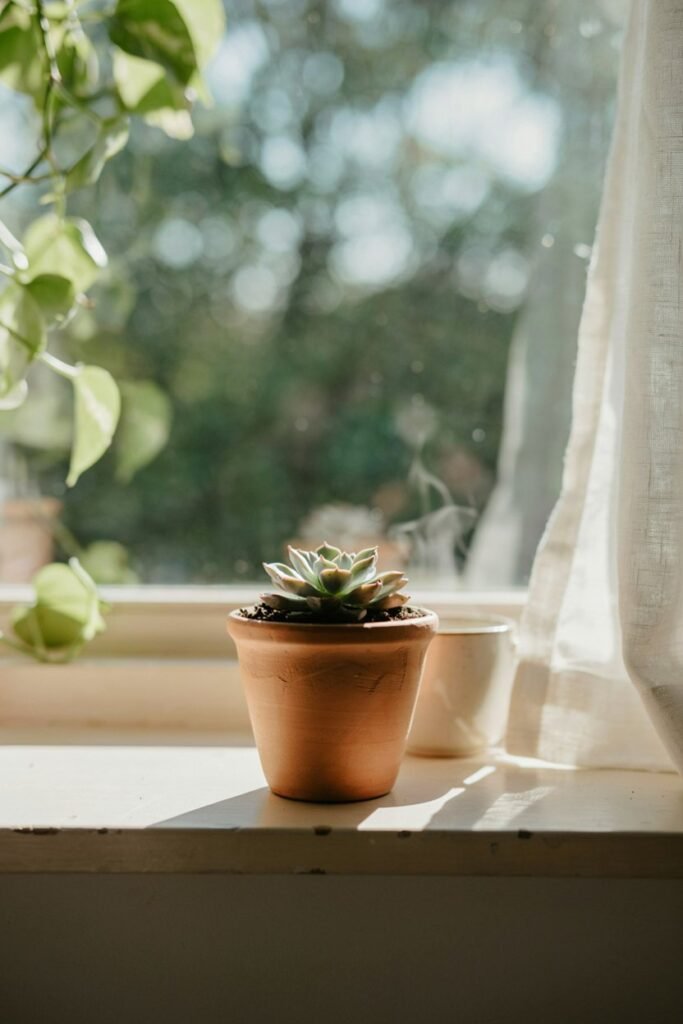
Small clay planters for succulents or air plants have become extremely popular gift items.
Shape the clay around a mold or use coil building techniques to form the walls of the pot.
These take a bit more skill but sell for a higher price point, making them worth the extra effort.
Keychains
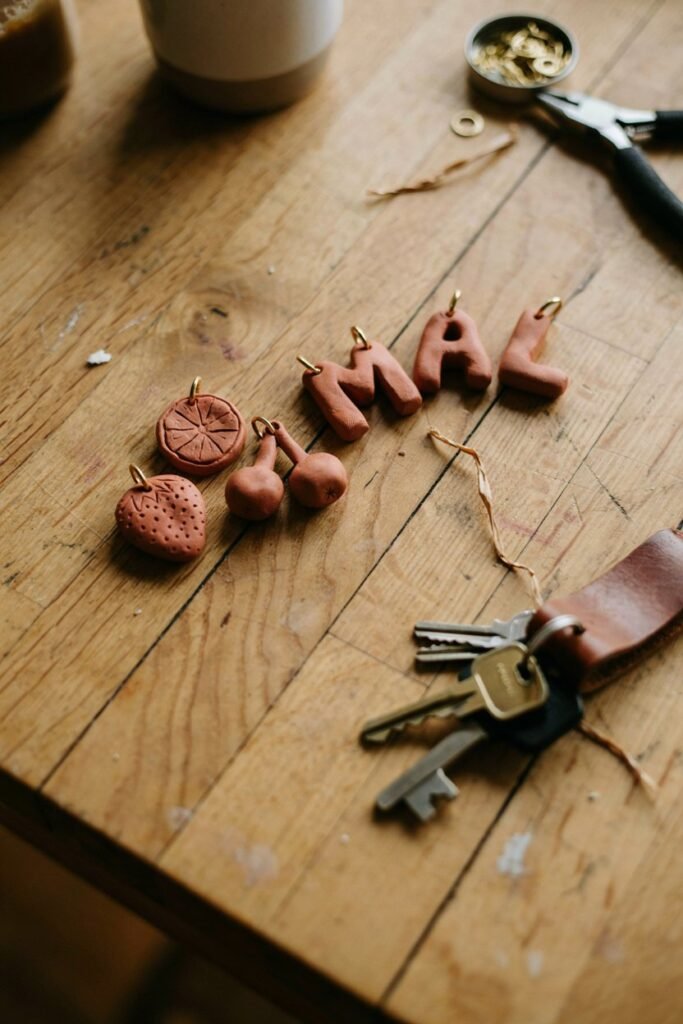
Simple clay keychains are quick to make and appeal to a wide range of customers looking for affordable gifts.
Shapes like initials, animals, or fruit tend to be popular choices.
Magnets
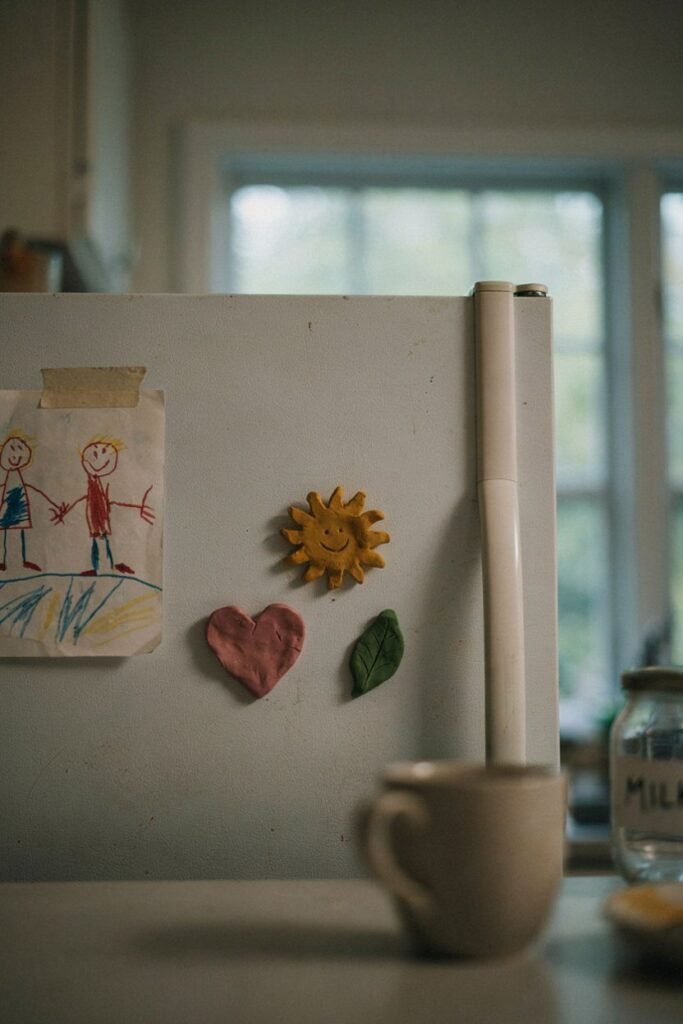
Clay magnets are another low cost, high demand item.
Attach small magnets to the back of finished clay pieces using strong craft glue, and you have an easy gift that customers often buy in sets.
Tips for Turning Your Hobby Into a Real Business
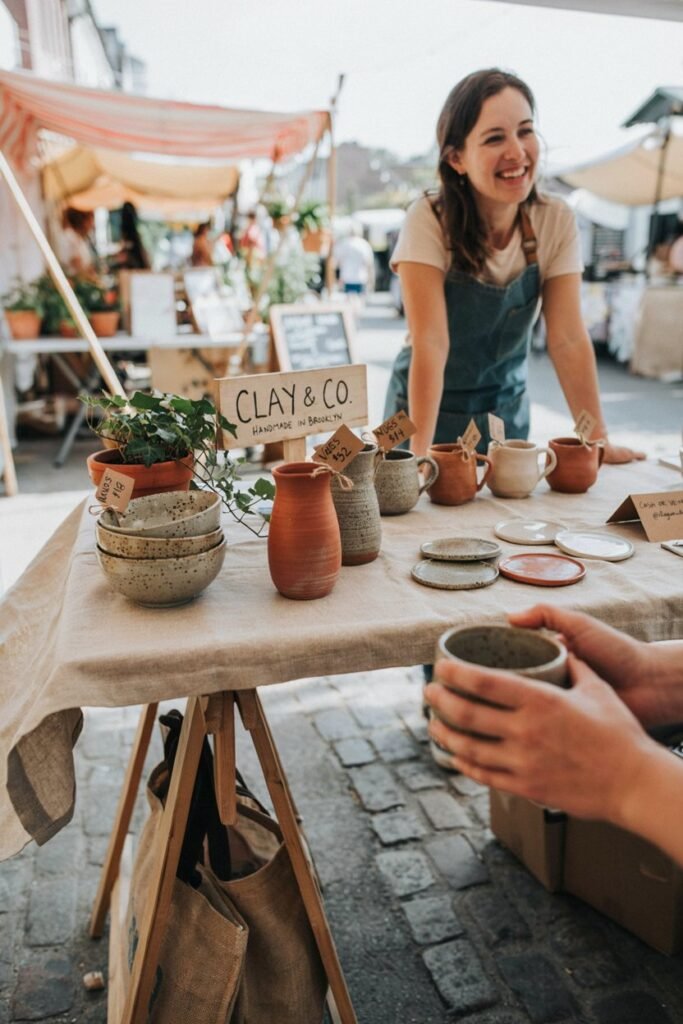
Making the clay pieces is only part of the journey.
Selling them successfully requires a bit of strategy too.
Price your items based on both material cost and the time it took to create them.
Many beginners undervalue their work, so make sure you are factoring in your effort, not just supplies.
Take clear, well lit photos when listing your items online.
Natural lighting near a window works wonders for showing off the true colors and textures of your pieces.
Package your gifts thoughtfully.
A small handwritten thank you note or a nicely wrapped box can make a huge difference in customer satisfaction and repeat purchases.
Build a consistent style.
Customers often return to shops that have a recognizable aesthetic, so try to develop a signature color palette or design theme across your products.
Attend local markets when possible.
Seeing and holding a handmade piece in person often convinces buyers faster than an online photo ever could.
Final Thoughts
Clay gift making has genuinely changed the way I spend my free time and even brought in extra income I never expected.
What started as a simple table top hobby turned into something people actively seek out and purchase.
If you follow the steps above, invest in quality materials, and give yourself room to improve with practice, you will be surprised at how quickly your clay creations go from homemade experiments to gifts people are excited to buy.
Start small, be patient with your first few attempts, and remember that even the pieces that do not turn out perfectly are part of the learning process.
Every crack, every uneven edge, and every color mismatch taught me something that made my next piece better.
Your clay gift journey is going to be just as rewarding, so grab your materials and start creating something beautiful today.