
I remember the exact night I decided to take polymer clay seriously.
I was sitting at my kitchen table, hands covered in dried clay dust, staring at a lumpy little dish I’d just pulled out of the oven.
It wasn’t pretty. It wasn’t even close to “sellable.”
But something about the process hooked me instantly, and three months later that same clumsy hobby was paying my internet bill every month through my Etsy shop.
If you’ve ever scrolled through Etsy and thought, “I could make that,” you’re not wrong.
Polymer clay is one of the most beginner-friendly, low-cost, high-margin crafts you can start from your own home.
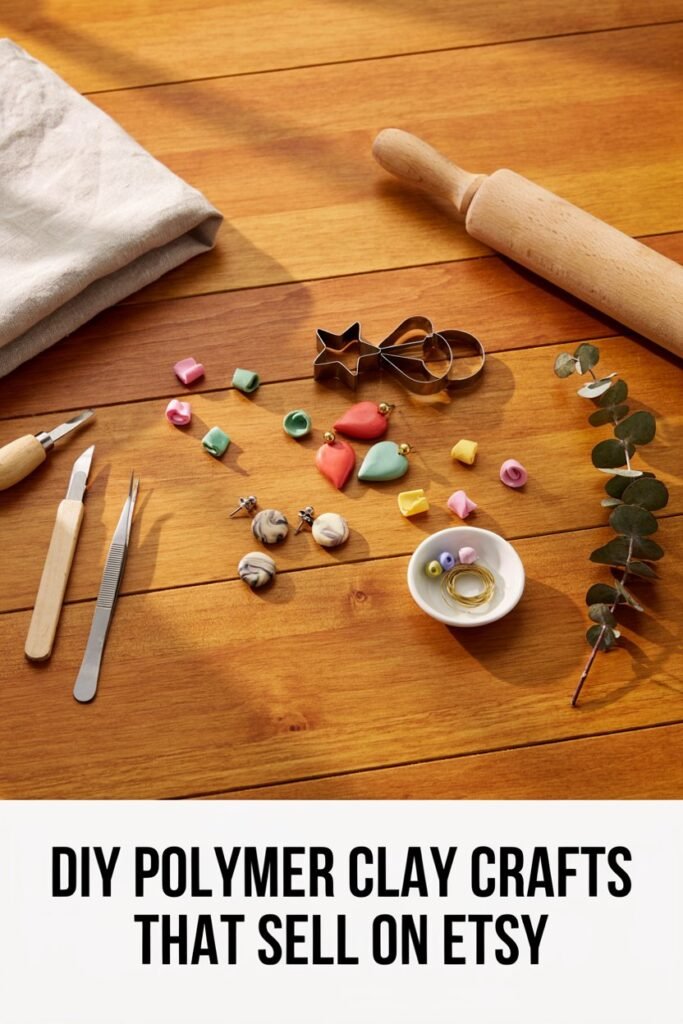
No kiln, no pottery wheel, no expensive studio space.
Just an oven, a few tools, and a willingness to get your hands a little messy.
In this post, I’m walking you through everything I wish someone had told me when I started: the materials that actually matter, the tools worth buying, and step-by-step instructions for creating pieces that customers genuinely want to buy.
This isn’t a generic “here’s what clay is” article.
This is what worked for me, what flopped, and what turned a kitchen table hobby into a real source of income.
Why Polymer Clay Crafts Are Perfect for Etsy Sellers
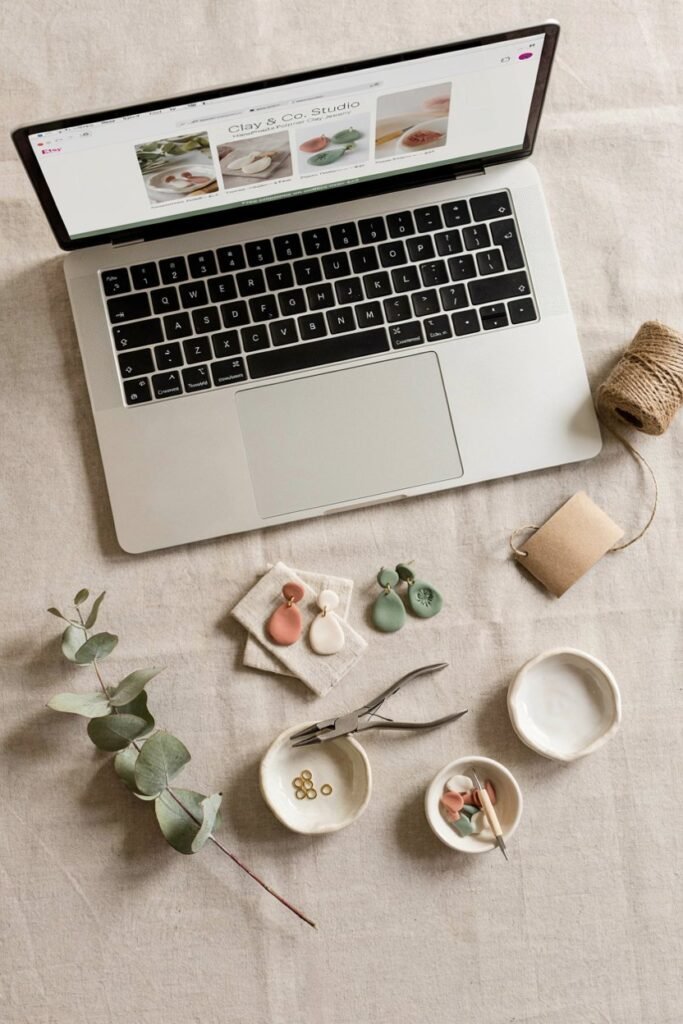
Before we get into the how-to, let’s talk about why this craft works so well for an online shop.
Polymer clay is cheap to buy in bulk, it doesn’t spoil, and a single block can produce dozens of small items like earrings, charms, and trinket dishes.
The finished pieces are lightweight, which keeps shipping costs low, and they photograph beautifully under natural light, which matters enormously when your entire storefront lives on a screen.
There’s also an emotional pull to handmade clay goods that mass-produced items simply can’t replicate.
Buyers on Etsy are actively searching for that “made by a real person” feeling, and every slightly imperfect edge or hand-painted detail reinforces that authenticity.
That’s your competitive advantage over factory-made jewelry, and it’s one you should lean into rather than hide.
Gathering Your Materials: What Each One Actually Does
When I first started, I bought a random assortment of supplies based on YouTube recommendations, and honestly, half of it sat unused in a drawer.
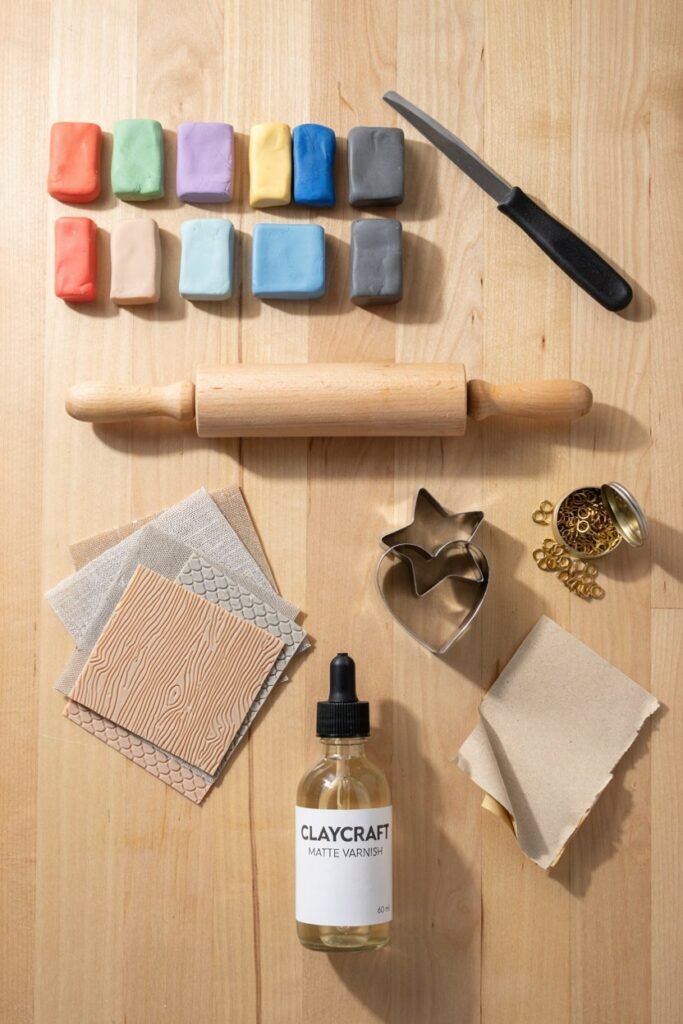
Below is the exact lineup I now consider essential, along with a quick note on what each item brings to the process.
Polymer Clay Blocks — My entire color palette starts here, so quality genuinely matters.
Clay Cutting Blade — This slices clean, even pieces without dragging or distorting your shapes.
Rolling Pin or Pasta Machine — I use this daily for consistent, professional-looking sheet thickness every single time.
Clay Shape Cutters — These turn rolled clay into precise earrings, pendants, and charms instantly.
Texture Sheets or Stamps — I press these into clay for depth, pattern, and visual interest.
Needle Tool or Toothpick — Perfect for poking clean holes before baking your jewelry pieces.
Baking Sheet and Oven Thermometer — This ensures even curing without scorching or under-baking my creations.
Jewelry Findings — Jump rings, earring hooks, and pin backs transform baked clay into wearable art.
Fine-Grit Sandpaper — I smooth rough edges here for that polished, boutique-quality final finish.
Glossy or Matte Varnish — This seals color, adds shine, and protects pieces from daily wear.
Strong Craft Glue or E6000 — Nothing beats this for permanently attaching findings to cured clay.
Acrylic Paint (Optional) — I add fine detail work with this after the initial bake.
You don’t need every single item on day one.
When I started, I genuinely only owned clay, a butter knife doubling as a blade, and my regular kitchen oven.
Buy the essentials first, sell a few pieces, then reinvest in better tools as your shop grows.
That’s exactly how I built mine up over time.
Step-by-Step: Making Polymer Clay Earrings That Actually Sell
Earrings were my very first product, and they remain the easiest entry point for new sellers because they use small amounts of clay and sell in pairs, which means better margins per block. Here’s the process I still use today.
Step 1: Condition Your Clay Take your block of clay and knead it thoroughly with your hands until it becomes soft and pliable.
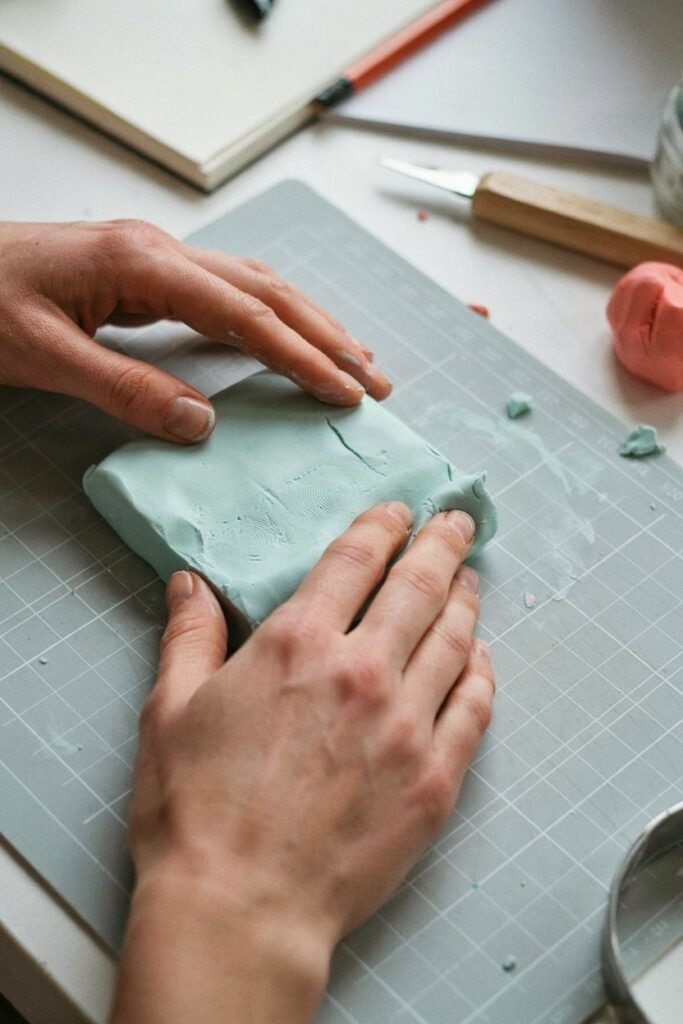
This step matters more than people realize, because unconditioned clay cracks after baking and ruins otherwise beautiful pieces.
I usually knead for a solid five minutes, folding and pressing repeatedly until there are zero cracks when I bend it in half.
Step 2: Roll to an Even Thickness Using your rolling pin or pasta machine, roll the clay into a flat, even sheet.
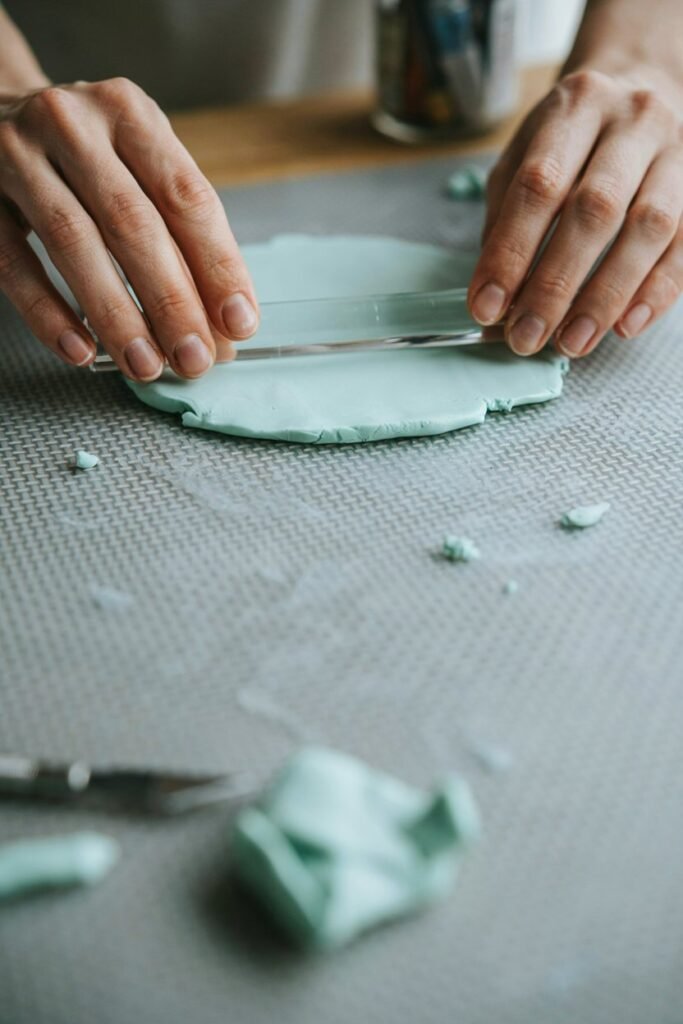
I aim for roughly a quarter inch thickness for earrings, thin enough to stay lightweight but thick enough to avoid snapping.
Consistency here is everything, since uneven thickness leads to uneven baking and warped shapes.
Step 3: Add Texture Before Cutting If you’re using a texture sheet or stamp, press it into your rolled clay now, before you cut any shapes.
I learned this the hard way after trying to texture already-cut pieces and distorting half of them in the process.
Press firmly and evenly, then peel the texture tool away slowly.
Step 4: Cut Your Shapes Press your clay cutter firmly into the sheet and lift away the excess clay around it.
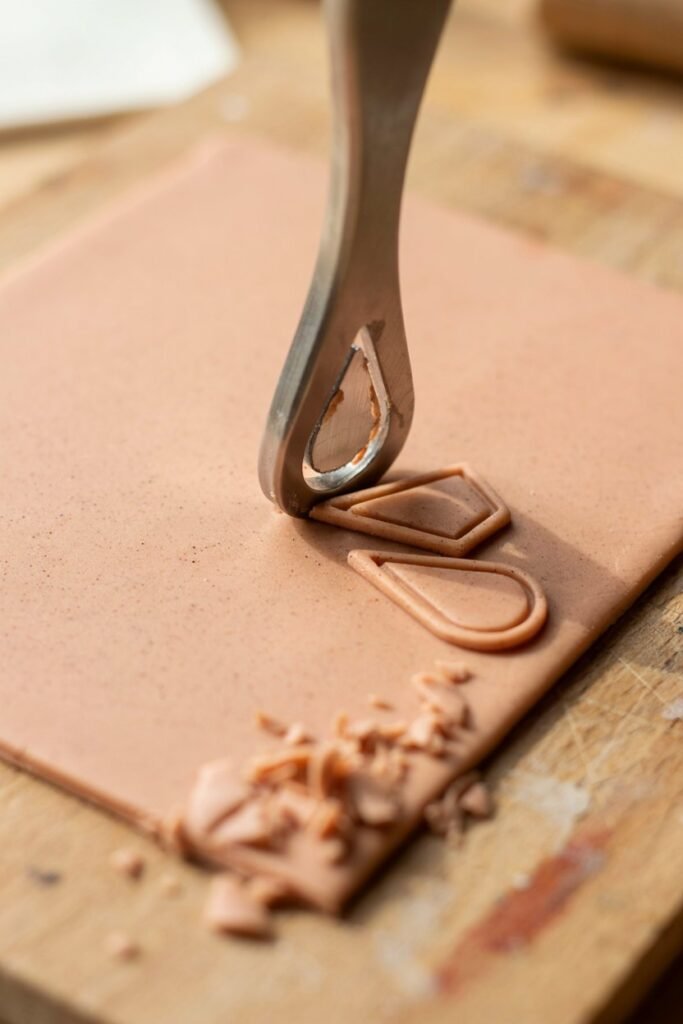
I like to cut a few extra pairs beyond what I need, since baking occasionally warps a piece or two beyond saving.
Keep your cut shapes on a piece of parchment paper as you work.
Step 5: Poke Your Holes Before baking, use your needle tool to poke a small hole near the top of each earring where the jump ring will eventually attach.
Do this now, not after baking, because cured polymer clay becomes far too hard to pierce cleanly.
Step 6: Bake at the Right Temperature Every brand of clay lists its own recommended temperature on the package, so check that first, but most fall between 265 and 275 degrees Fahrenheit.
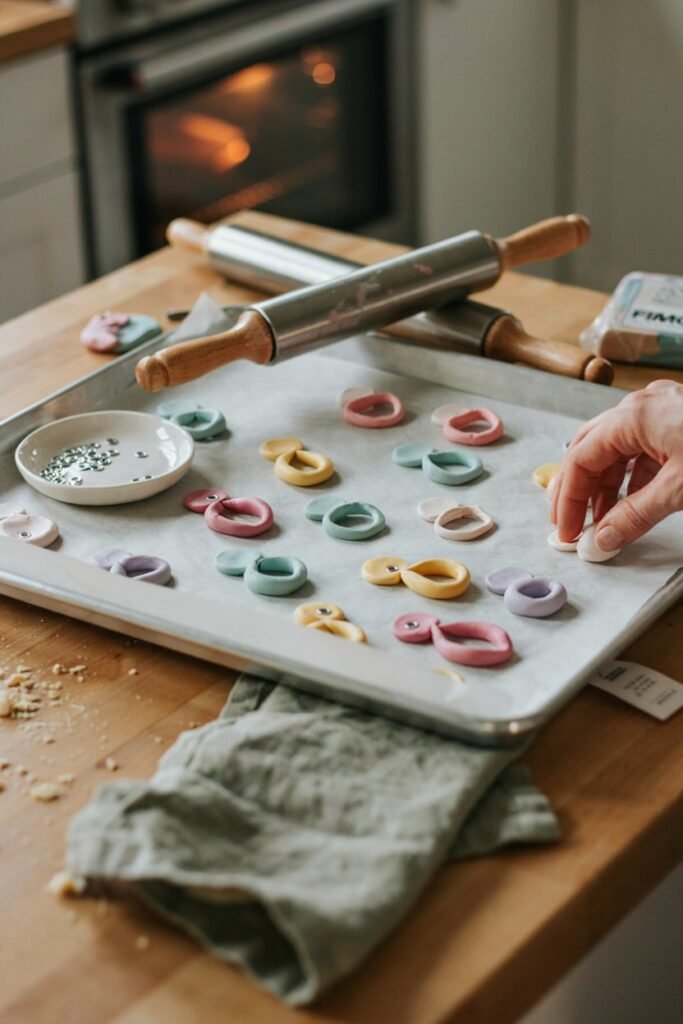
I place my earrings on a parchment-lined baking sheet and use an oven thermometer, because home ovens run hotter or cooler than the dial suggests far more often than people expect.
Bake for the time listed on your clay’s packaging, usually around 20 to 30 minutes depending on thickness.
Pulling pieces out too early leaves them soft and breakable, while overbaking can scorch lighter colors, so I set a timer and stay nearby during the first bake of any new batch.
Step 7: Let Pieces Cool Completely Once the timer goes off, resist the urge to touch anything right away.
Polymer clay continues hardening as it cools, and pieces that feel slightly soft straight out of the oven firm up considerably within the first hour.
I leave mine on the baking sheet for a full 20 minutes before handling them at all.
Step 8: Sand and Smooth Run fine-grit sandpaper gently over any rough edges left behind from cutting or texturing.
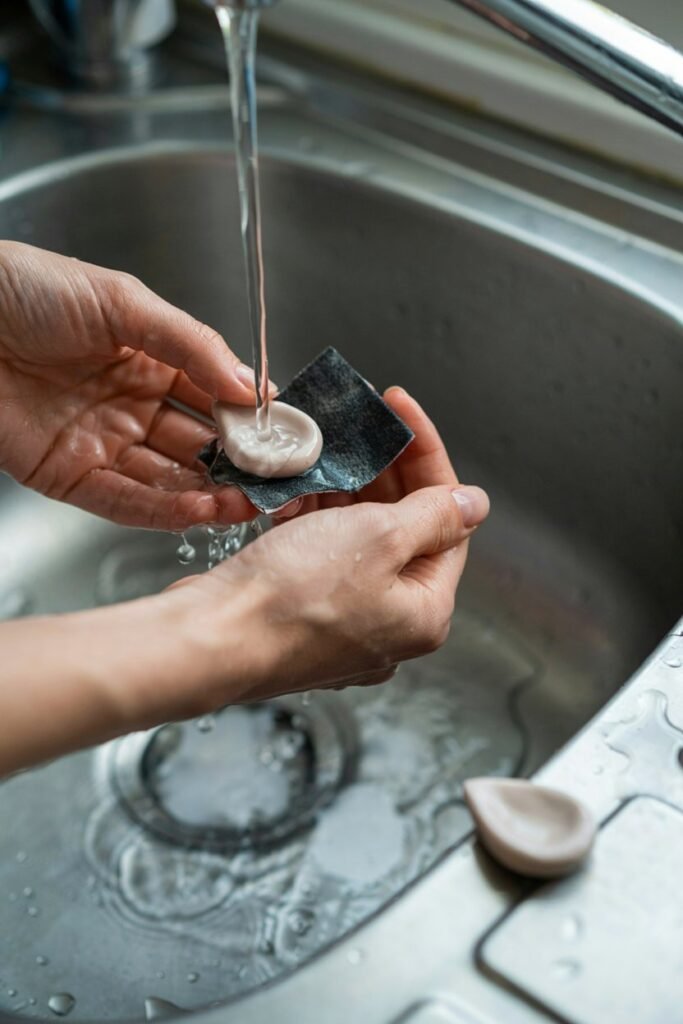
This single step separates amateur-looking pieces from ones that feel genuinely boutique-quality in a buyer’s hand.
I sand under running water when possible, since wet sanding cuts down on clay dust and gives a smoother result.
Step 9: Seal With Varnish Apply a thin, even coat of glossy or matte varnish depending on the finish you’re going for.
This step protects your color from fading and adds a professional sheen that customers notice immediately in product photos.
Let the varnish dry fully, usually a few hours, before moving on to assembly.
Step 10: Attach Your Findings Open a jump ring, thread it through the hole you poked earlier, and attach your earring hook.
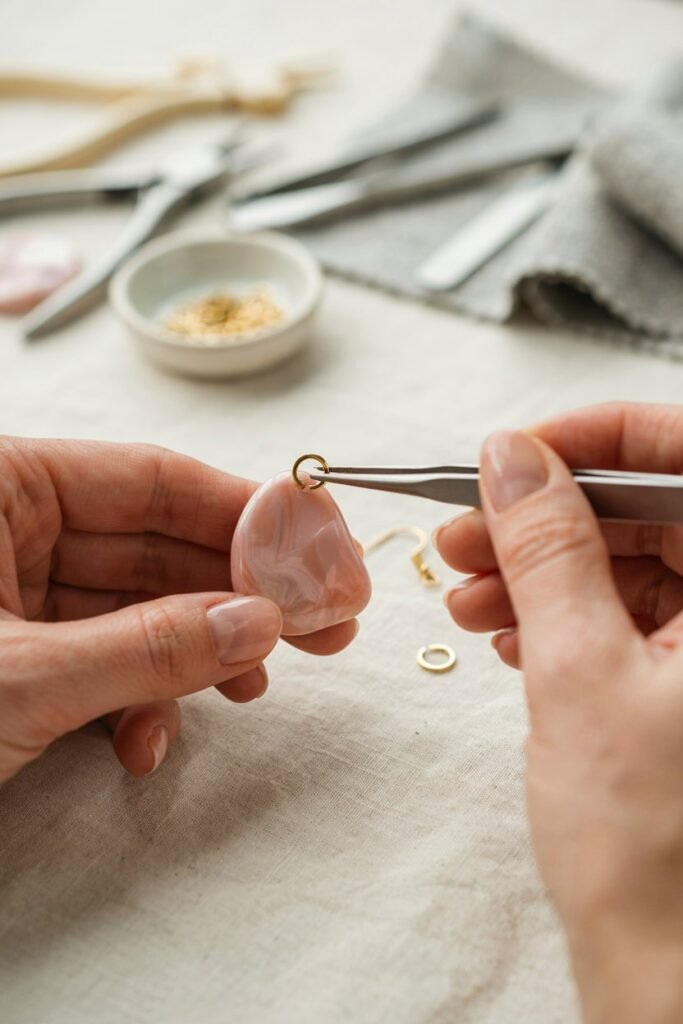
For pieces without a pre-poked hole, use strong craft glue to attach a flat-back earring post instead.
Give the glue a full 24 hours to cure before wearing or packaging your finished pair.
Beyond Earrings: Other Polymer Clay Products That Sell Well
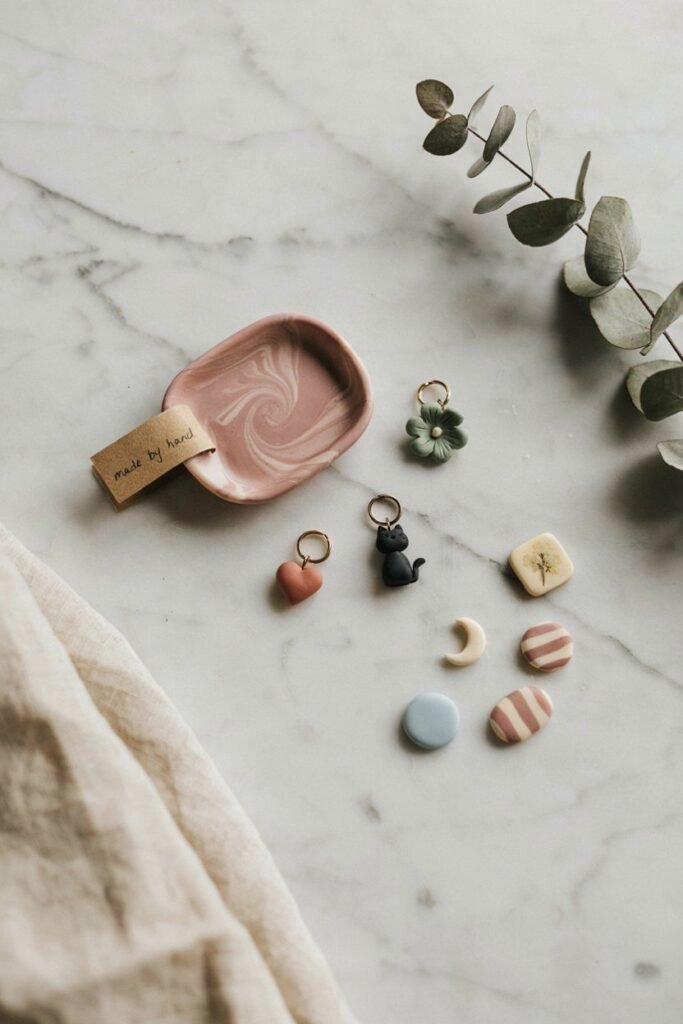
Once you’ve got the basic process down, the same steps apply to a wide range of products, just with different cutters and finishing touches.
Trinket dishes are one of my personal bestsellers, made by draping a rolled sheet of textured clay over a small oven-safe bowl before baking to hold its curved shape.
Keychains follow the same process as earrings but use a larger jump ring and a keyring attachment instead of an earring hook.
Magnets are quick to produce in bulk, since you simply glue a small magnet disc to the back of any flat baked shape.
Plant markers, ring dishes, and phone charms round out a well-stocked shop without requiring any new tools beyond what’s already in your kit.
Pricing Your Handmade Pieces Fairly
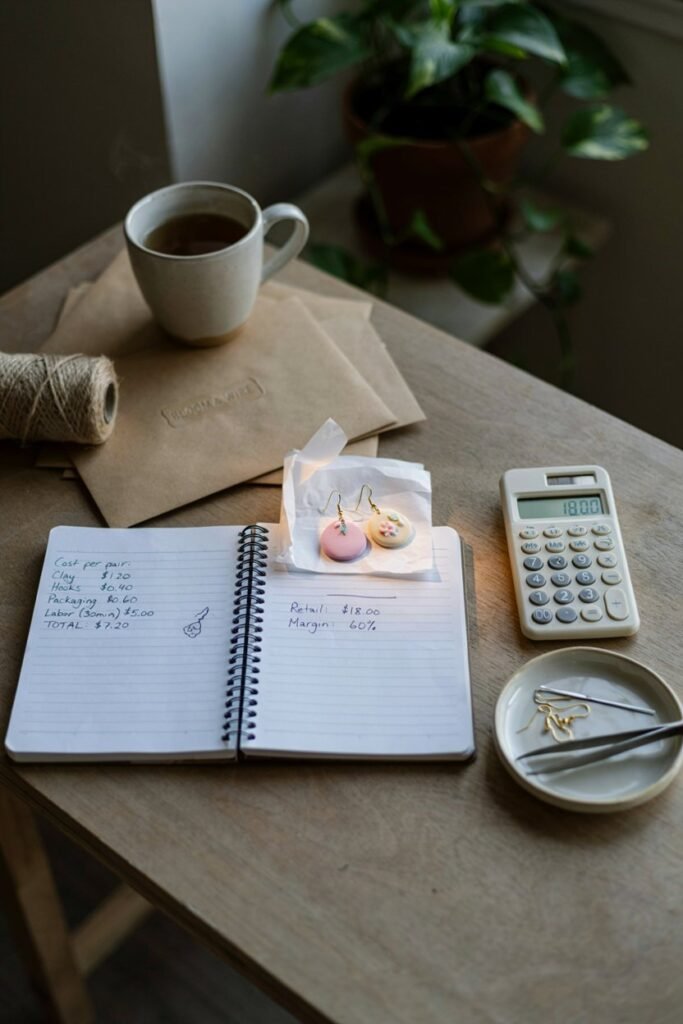
Pricing was where I struggled the most in my first few months.
I undercharged badly at first, treating my time as if it were worthless, and burned out fast trying to keep up with demand at prices that barely covered materials.
A simple formula that worked for me: add up your material cost per piece, multiply your working time by a fair hourly rate, then add Etsy’s listing and transaction fees on top.
For a typical pair of earrings, that usually landed somewhere between 18 and 32 dollars depending on complexity, and buyers paid it without hesitation because the quality matched the price.
Don’t be afraid to price based on the skill and time involved rather than just the cost of clay.
An intricately textured, multi-layered design deserves a higher price tag than a simple cut-and-bake shape, and Etsy shoppers browsing handmade categories generally understand and respect that difference.
Photography Tips That Made the Biggest Difference

Honestly, improving my photos did more for my sales than any other single change I made.
Natural window light beats artificial lighting every time, so I shoot near a bright window on an overcast day whenever possible, since direct sun creates harsh shadows.
A plain, uncluttered background keeps the focus entirely on the clay piece itself rather than distracting props.
I always include at least one photo showing scale, either against a hand or next to a common object, because buyers frequently hesitate to purchase jewelry when they can’t judge the actual size.
Close-up shots that show texture and detail build trust, especially for a material like polymer clay where buyers want reassurance about quality and craftsmanship before committing to a purchase.
I also photograph pieces from multiple angles, since earrings in particular can look completely different depending on how the light catches their texture.
Final Thoughts From My Own Etsy Journey
Looking back at that clumsy first trinket dish, I never expected polymer clay to become an actual income source, but the low startup cost and endless creative possibilities make it one of the most accessible crafts for anyone wanting to start selling handmade goods.
Start small, master the basics I’ve walked through here, and don’t be discouraged if your first batch doesn’t turn out perfectly. Mine certainly didn’t.
Every skill in this craft, from conditioning clay to nailing your product photography, gets better with repetition, and the shop you build six months from now will look nothing like the one you start with today.