
There is something special about walking into a room that has a soft, pleasant scent without having to light a candle or turn on a diffuser. That is one of the reasons I enjoy making aroma stones at home.
They are simple, inexpensive, and easy to customize with different shapes, colors, and fragrances. I also like that they can be used in small spaces where I do not always want another plug in device sitting around.
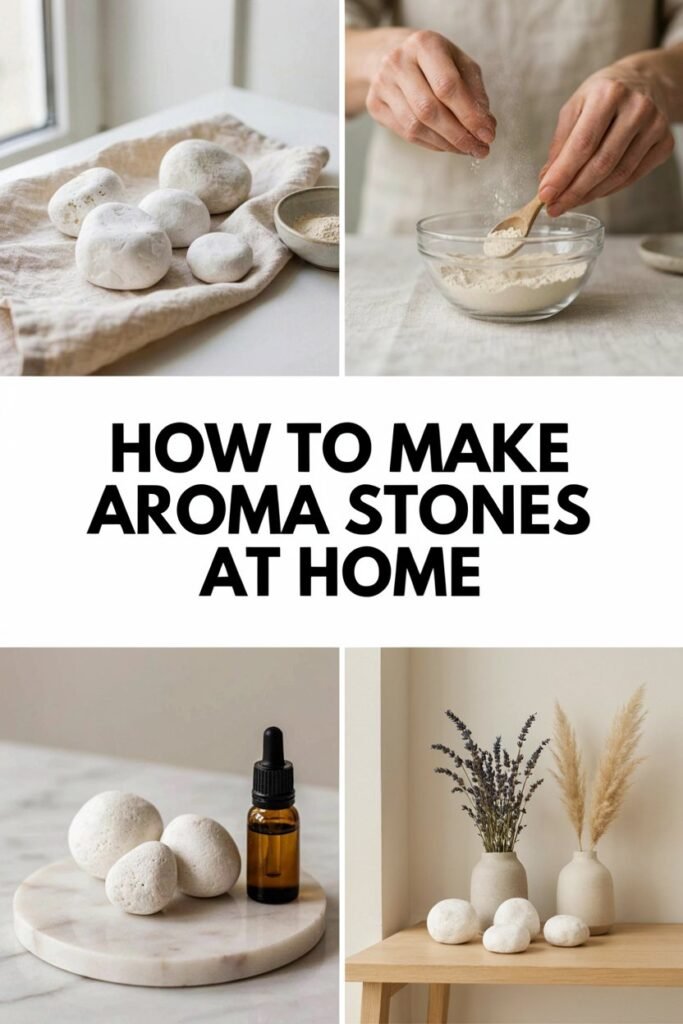
When I make aroma stones, I usually keep the design simple. Neutral colors and small decorative molds make them look like part of the home rather than just something made for fragrance. I have also found that making a few at once is much more convenient, especially when I want to keep some in different rooms or put together a small handmade gift.
In this guide, I will walk you through the method I use, from choosing the right materials to mixing, molding, drying, scenting, and using the finished stones. I will also share the little things I have learned that make the process easier and help avoid common mistakes.
What Are Aroma Stones?
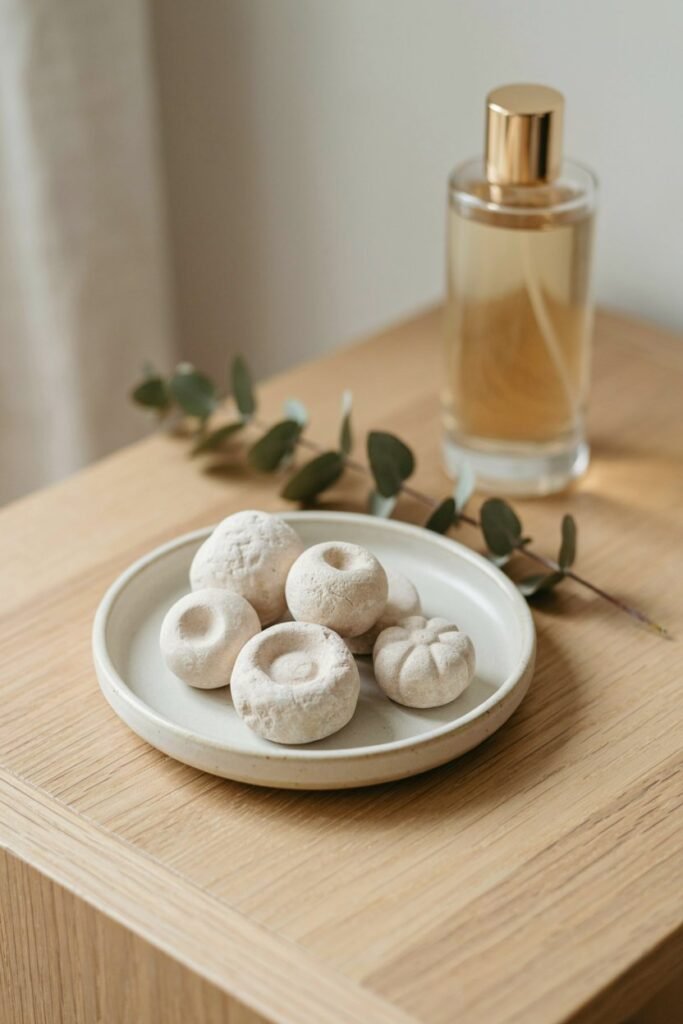
Aroma stones are small porous decorative pieces that can absorb fragrance and gradually release the scent into the surrounding area. Unlike a candle, they do not need a flame, and unlike an electric diffuser, they do not need electricity.
I think of them as a simple way to add fragrance while also adding a little decorative detail to a room.
You can make them in almost any shape you like, depending on the molds available. Small flowers, hearts, circles, leaves, stars, and simple geometric shapes all work well. I personally prefer smaller designs because they are easier to handle and can be placed in more areas around the house.
Aroma stones are particularly useful in small spaces such as bathrooms, closets, bedrooms, entryways, and home offices. You can also place them on a small decorative dish so that the stone becomes part of the arrangement rather than looking like a separate fragrance product.
One thing I think is important to understand before making them is that aroma stones provide a subtle fragrance. They are not designed to perfume an entire large room as strongly as some electric diffusers can. Their appeal is the gentle scent and the fact that they are simple, attractive, and easy to refresh.
Why I Like Making Aroma Stones at Home
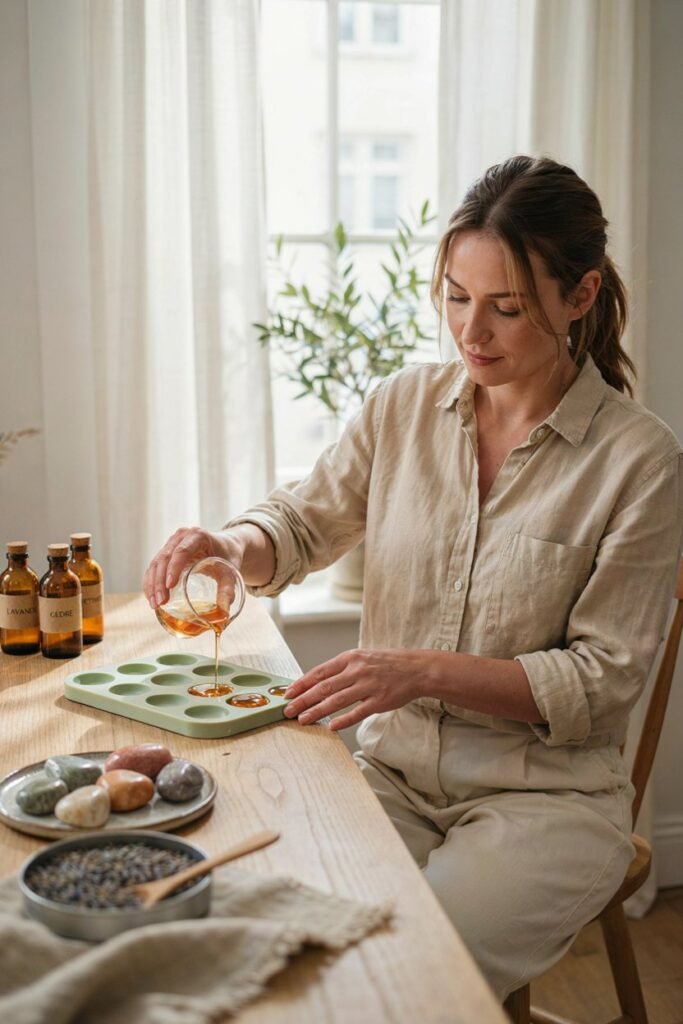
What I like most about this project is how little equipment is needed. Once you have the basic supplies, you can make several stones without spending much money.
I also enjoy having control over the finished look. Instead of buying a ready made air freshener that may not fit my decor, I can choose a mold and color that works with the room.
Another benefit is being able to change the fragrance depending on where I plan to use the stones. I tend to prefer fresher scents for bathrooms and entryways, while softer fragrances work nicely in bedrooms and personal spaces.
Making them at home is also useful when I need a simple handmade gift. A few nicely shaped aroma stones placed in a small box or pouch can look thoughtful without requiring a complicated craft project.
What You Need to Make Aroma Stones
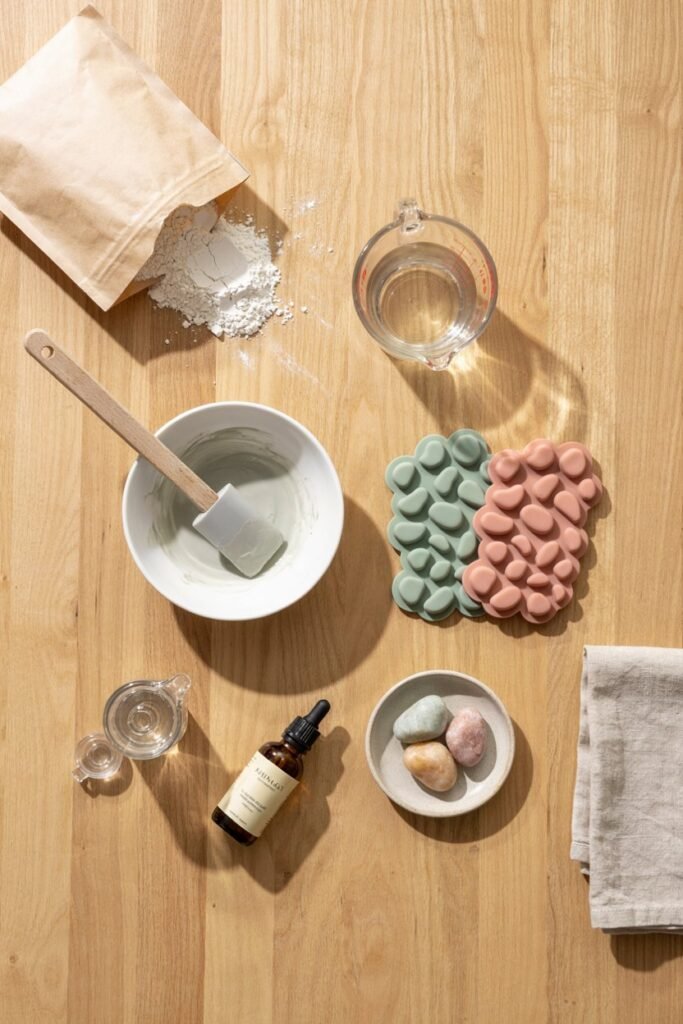
You do not need a long list of supplies to get started. I recommend gathering everything before you begin because the mixture can start setting sooner than you expect.
Plaster of Paris
Plaster of Paris is the main material I use for making the stones. It creates the hard, porous surface that allows the finished piece to absorb fragrance.
Water
You will need clean water to mix with the plaster. The amount matters because adding too much can leave you with a mixture that is difficult to work with and stones that take longer to dry.
Silicone Molds
Silicone molds are my preferred choice because they make removing the finished stones much easier.
For your first batch, I recommend choosing a mold with fairly simple shapes. Very small details can make unmolding more frustrating, especially when you are still getting used to the consistency of the mixture.
Fragrance
You can use a suitable fragrance product according to the manufacturer’s instructions and intended application. If you prefer essential oils, make sure the particular oil is appropriate for how you intend to use the finished stone.
I would not recommend simply adding a large amount of fragrance because you want a stronger scent. More is not always better, and too much liquid can affect the mixture and the finished stone.
Mixing Bowl
Use a bowl that you do not mind dedicating to craft projects. Plaster can become difficult to remove once it has hardened.
Mixing Spoon or Spatula
A simple disposable spoon or craft spatula works well for mixing.
Measuring Tools
Accurate measuring makes the process much more predictable, especially when you are making your first batch.
Optional Color
Color is completely optional. I usually prefer soft, neutral shades because they give the finished aroma stones a more natural decorative appearance.
If you decide to add color, use a coloring product that is appropriate for your chosen material and follow its instructions.
Choosing the Right Aroma Stone Mold
The mold you choose has more influence on the finished result than you might expect.
For beginners, I recommend starting with relatively shallow molds that have simple shapes. They are easier to fill evenly and usually release more easily once the plaster has set.
Small floral molds are lovely if you want something decorative. Round molds are probably the easiest option if you want a simple and clean appearance. Heart shaped molds can also work well when you are making aroma stones as gifts.
I have found that very intricate molds can be tempting because they look beautiful online, but they are not always the easiest to work with. Tiny corners and narrow sections can break during unmolding.
If you are making aroma stones for the first time, start simple. Once you understand how your mixture behaves, you can move on to more detailed designs.
Preparing Your Workspace
Before mixing anything, I like to prepare the entire workspace first.
Have your molds ready and sitting on a flat surface. Measure the materials you need and keep your mixing tools within reach.
This small step makes the process much less stressful because you do not want to be searching for a spoon or trying to find a mold while the plaster is already beginning to set.
I also cover my work surface because plaster powder can become messy very quickly. Keeping everything contained makes cleanup much easier.
If you are working with fragrance, I recommend keeping the area well ventilated and following the safety instructions provided with the particular fragrance product you are using.
Before You Start Mixing
There are two things I pay particular attention to before beginning.
The first is consistency. The mixture needs to be fluid enough to pour into the molds but not so watery that it takes unnecessarily long to dry.
The second is timing. Once the plaster and water are mixed, you have a limited amount of working time. I do not like preparing the mixture first and then figuring out where everything is going afterward.
Have the molds ready, keep your workspace clear, and know exactly where you are going to place the finished stones while they dry.
That preparation makes a noticeable difference.
A Simple Tip I Wish More Beginners Knew
Do not try to make a huge batch on your first attempt.
It can be tempting to fill every mold you own because the process looks simple. I prefer starting with a small batch and paying attention to how quickly the mixture sets, how easily the stones come out of the molds, and how long they take to dry completely.
Once you understand those things, making a larger batch becomes much easier.
How to Mix the Plaster
Start by measuring your plaster and water according to the instructions for your particular plaster product. I recommend following the manufacturer’s recommended ratio rather than relying on a random measurement from another project because different products can behave differently.
Pour the water into your mixing container first. Then gradually add the plaster to the water.
I avoid dumping all of the plaster in at once. Adding it gradually helps the powder become evenly moistened and gives me more control over the consistency.
Let the plaster sit in the water briefly before mixing. Then gently stir until the mixture becomes smooth.
You do not need to mix aggressively. Vigorous stirring can introduce unnecessary air bubbles, which can show up as small holes on the surface of your finished aroma stones.
The consistency I look for is smooth and pourable without being extremely watery.
If the mixture looks too thick to flow into the mold, it will be difficult to get into small spaces. If it looks very thin and watery, I know I need to be more careful because the finished stones may take longer to dry.
Adding Color to Your Aroma Stones
Color is optional, and honestly, I often prefer aroma stones in their natural white or soft neutral shade.
There is something very clean about simple white stones sitting on a small ceramic dish or tray.
When I do add color, I keep it subtle. Soft beige, pale pink, muted green, and gentle earthy shades can look beautiful without making the stones appear overly artificial.
Add only a suitable amount of coloring product according to its instructions. Mix thoroughly so that the color is evenly distributed throughout the plaster.
If you are experimenting with a new color for the first time, make a small batch before committing to a larger quantity. The color can look different once the stone has completely dried.
Adding Fragrance
This is the part where I recommend being particularly careful.
The fragrance you use should be appropriate for the intended application, and you should always follow the manufacturer’s instructions for that specific product.
I do not recommend guessing how much fragrance to add simply because you want a stronger aroma. Adding too much liquid can affect the plaster and may prevent the stones from setting or drying as expected.
If you are using a fragrance product specifically intended for this type of craft, follow its recommended usage information.
For essential oils, check the specific oil’s safety information and intended use. Not every essential oil is appropriate for every situation, particularly around children, pets, fabrics, or people who may be sensitive to fragrances.
I usually prefer starting with a subtle scent. Aroma stones are meant to release fragrance gradually, so they do not need to smell overwhelmingly strong immediately after they are made.
Pouring the Mixture Into the Molds
Once your mixture is ready, pour it into the prepared silicone molds.
I like to pour slowly because this gives me more control and makes it easier to fill small sections of the mold.
Try not to overfill the cavities. Leaving the surface reasonably even makes the finished stones easier to remove and gives them a cleaner appearance.
If you are working with a detailed mold, gently move the mixture toward the edges with your mixing tool if necessary.
One of the simplest things I do at this stage is gently tap the mold against the work surface a few times.
You do not need to hit it hard. Gentle tapping can help trapped air move toward the surface.
I have found that this small step makes a noticeable difference when I am working with molds that have small details.
How to Avoid Air Bubbles
Small air bubbles are one of the most common imperfections you may notice on handmade aroma stones.
Some are completely normal, and I do not worry about a few tiny imperfections. They can actually make handmade pieces look more natural.
However, if you want a smoother finish, there are a few things that can help.
Mix gently rather than whipping the plaster.
Pour slowly.
Tap the filled mold gently against your work surface.
Avoid moving the mold around unnecessarily after pouring.
For very detailed molds, you can also use your mixing tool to carefully guide the mixture into small corners before allowing it to settle.
Letting the Aroma Stones Set
Once the molds are filled, place them somewhere flat where they will not be disturbed.
This is one stage where I have learned that patience really helps.
It can be tempting to check the stones repeatedly or try to remove them as soon as they feel firm. I avoid doing that because the outside can feel hard while the inside is still not ready.
Allow the plaster to set according to the instructions for your particular product.
The exact timing can vary depending on the plaster, the size of your molds, the amount of water used, and the conditions in the room.
Removing the Stones From the Molds
Once the stones have set sufficiently, gently flex the silicone mold around each piece.
I never try to force a stone out by pulling aggressively from one corner.
Instead, I loosen the edges gradually and allow the flexible silicone to release the stone.
If a piece feels like it is resisting, I stop rather than forcing it.
A little patience at this stage can save an otherwise beautiful aroma stone.
Small decorative details can be particularly fragile, so handle them carefully.
Letting the Stones Dry Completely
Setting and drying are not exactly the same thing.
After removing the stones from their molds, I place them on a dry, flat surface with enough space between each piece for air to circulate.
I leave them alone until they are completely dry.
The amount of time needed depends on the size and thickness of the stones and the environment where they are drying.
I do not recommend rushing this part. If you add fragrance while the stones still contain significant moisture, the result may not be what you expect.
The stones should feel dry and solid rather than cool or damp.
What to Do if Your Stones Are Crumbly
If your aroma stones break easily or crumble around the edges, there may be several reasons.
The mixture may have contained too much water.
The stones may not have dried or cured sufficiently.
The pieces may be too thin.
The mixture may not have been prepared according to the plaster manufacturer’s instructions.
The mold may also have been too detailed for the shape and thickness of the piece.
I recommend changing only one thing at a time when troubleshooting. That makes it much easier to understand what caused the problem.
For my own projects, I find that starting with simple molds and focusing on a good mixture is much more reliable than trying to fix a complicated design afterward.
What to Do if Your Stones Have Rough Edges
Some roughness is normal with handmade plaster pieces.
If the edges are slightly uneven after the stones have completely dried, you can gently smooth them with fine sandpaper while wearing appropriate protection and avoiding breathing the dust.
I prefer not to overwork the pieces because part of the charm of homemade aroma stones is that they do not need to look factory perfect.
A clean shape, a smooth enough surface, and a pleasant fragrance are more important to me than making every single stone flawless.
When Should You Add the Fragrance?
There are two approaches you may come across.
Some people incorporate fragrance into the mixture, while others add fragrance to the fully dried stones afterward.
For beginners, I prefer keeping the fragrance step separate from the basic plaster setting process unless the particular fragrance product and plaster instructions specifically support adding it during mixing.
Adding fragrance after the stone has completely dried gives you more control over the amount absorbed and makes it easier to refresh the scent later.
Before applying any fragrance, make sure the stone is completely dry.
How I Scent My Aroma Stones
I prefer scenting the stones after they have completely dried.
Before applying any fragrance, I place the stones on a surface that can be protected easily. I do not put freshly scented stones directly on furniture, painted surfaces, or fabric because fragrance oils can leave marks.
The amount of fragrance you use should always follow the instructions provided with the particular product.
I apply the fragrance gradually rather than soaking the stone. The goal is to let the porous material absorb the fragrance rather than leaving excess liquid sitting on the surface.
After scenting, I leave the stones undisturbed until the fragrance has had time to absorb.
I also recommend testing one stone before scenting an entire batch. This is especially useful if you are trying a new fragrance because different products can behave differently.
How to Refresh Aroma Stones
One thing I really like about aroma stones is that you do not necessarily need to throw them away when the fragrance fades.
When I notice that a stone is no longer releasing much scent, I can refresh it with a suitable fragrance product.
Before doing this, I make sure the stone is clean, dry, and in good condition.
I then add the fragrance according to the product’s instructions and allow it to absorb before putting the stone back in its usual place.
I would avoid adding more fragrance simply because the previous scent has become faint. If the stone becomes oversaturated, you may end up with excess oil on the surface.
Another thing to remember is that porous stones can retain traces of previous fragrances. If you frequently switch between very different scents, the new fragrance may mix with the old one.
For that reason, I like keeping certain stones for particular fragrance families.
Where I Like to Use Aroma Stones
There are quite a few places around the home where aroma stones can work well.
On a Bathroom Shelf
A small aroma stone can be a simple way to add a fresh scent to the bathroom.
I like placing mine on a small dish rather than directly on the shelf. It looks more intentional and also gives the fragrance a designated place.
Fresh, clean, citrus, or herbal scents can work nicely here, depending on your personal preference.
On a Bedroom Nightstand
A small stone can work well on a nightstand because it takes up very little space.
I prefer subtle fragrances in bedrooms rather than anything overly strong.
A simple floral or soft fragrance can also work nicely with a neutral bedroom decor style.
In a Closet
Aroma stones can also be useful in closets, but I would keep the stone inside an appropriate dish or breathable container rather than allowing fragrance oils to touch clothing.
This is especially important with delicate fabrics.
Near an Entryway
I like the idea of placing a decorative aroma stone near an entryway because it can add a subtle scent to an area guests notice when they enter the home.
A small stone in a decorative tray can look much nicer than having several commercial air fresheners sitting around.
On a Home Office Desk
A small aroma stone can also fit easily into a workspace.
I prefer using a small piece here so it does not take up much room.
Since everyone reacts differently to fragrance, I would keep the scent subtle if you are working in a shared space.
Keeping Aroma Stones Away From Delicate Surfaces
This is one tip I would definitely not skip.
Fragrance products can contain oils that may stain or damage certain materials.
I always prefer placing scented aroma stones on a small ceramic, glass, or other suitable nonporous dish.
I avoid placing a freshly scented stone directly on unfinished wood, painted furniture, delicate fabric, or other surfaces that could be affected by oil.
If you are unsure how a particular fragrance will behave, test a small amount on an appropriate protected surface first.
This takes very little time and can prevent an annoying stain later.
How to Make Aroma Stones Look More Decorative
The beauty of making these at home is that you can make them fit your own decor.
For my own pieces, I tend to prefer simple shapes and soft colors because they blend easily with the rest of the room.
White aroma stones can look beautiful with natural wood, ceramic dishes, woven baskets, and neutral fabrics.
If you prefer something more colorful, you can experiment with muted shades rather than making every stone a bright color.
You can also use seasonal molds.
For example, leaf and flower shapes work beautifully in spring, while stars and other decorative shapes can be used for holiday gift sets.
The goal is not to make every piece perfect. A little variation is part of what makes handmade aroma stones look special.
Turning Aroma Stones Into Handmade Gifts
Aroma stones make lovely small gifts because they are inexpensive to make and easy to personalize.
When I am preparing them as gifts, I usually make several pieces in the same color family rather than making every stone completely different.
You could place three or four finished stones inside a small gift box or fabric pouch.
Add a small note explaining what the stones are and how to refresh them.
If you are including fragrance, make sure the recipient knows exactly what product it is and provide any relevant safety information from the manufacturer.
This can make a simple homemade project feel much more thoughtful.
They can work nicely for housewarming gifts, birthdays, holiday gifts, hostess gifts, or small handmade gift baskets.
Common Aroma Stone Problems
Even though the process is simple, small problems can happen.
Why Are My Aroma Stones Crumbling?
If your stones crumble easily, check the plaster and water ratio first.
Too much water can affect the final strength. The stones may also need more time to dry completely.
Thin pieces and very detailed molds can also be more fragile.
Why Did My Stones Crack?
Cracking can happen for several reasons, including mixture consistency, drying conditions, thickness, or handling the stones too soon.
If you notice repeated cracking, make another small batch and change only one part of the process so you can identify what is causing the problem.
Why Are My Aroma Stones Full of Holes?
Small holes are usually caused by air trapped in the mixture.
Mix gently and tap the filled molds carefully against the work surface after pouring.
You may still see a few tiny imperfections, and I do not consider that a problem. Handmade pieces do not need to look machine made.
Why Won’t My Stones Come Out of the Mold?
Make sure the stones have set sufficiently before attempting to remove them.
Then gently flex the silicone around the edges.
If the mold has very small details or narrow sections, the design itself may be making unmolding more difficult.
This is another reason I recommend simple molds when starting out.
Can You Reuse Aroma Stones?
Yes, the stone itself can generally be refreshed with fragrance when the original scent becomes faint, provided the stone remains intact and suitable for continued use.
The important thing is to avoid oversaturating it.
If you want to change from one fragrance to another, remember that the porous material can retain some of the previous scent.
For example, switching directly from a strong spicy fragrance to a delicate floral fragrance may result in the two scents blending together.
I prefer making separate stones for fragrance combinations that I use regularly.
How Long Do Aroma Stones Last?
There is no single answer because the fragrance life depends on several factors.
The size and porosity of the stone can affect how much fragrance it holds. The type of fragrance also matters, as does temperature, airflow, and where you place the stone.
A small stone in a well ventilated area may lose its fragrance faster than one sitting in a smaller enclosed space.
Instead of focusing on an exact number of days, I simply refresh the stone when I notice that the scent has become too faint for my preference.
My Tips for Making Better Aroma Stones
After making these at home, there are a few things I would recommend to anyone trying them for the first time.
Prepare everything before mixing the plaster.
Start with a small batch.
Choose simple silicone molds until you understand how the mixture behaves.
Follow the manufacturer’s instructions for your plaster and fragrance products.
Do not rush the drying process.
Handle detailed stones carefully when removing them from the mold.
Start with a subtle amount of fragrance rather than trying to make the stones extremely strong.
Always protect furniture and fabrics from direct contact with fragrance oils.
Test a new fragrance on one stone before using it on an entire batch.
Keep fragrance products stored according to their manufacturer’s instructions and away from children and pets.
Frequently Asked Questions
What are aroma stones made from?
Aroma stones are commonly made using a porous material such as plaster, which creates a hard surface capable of absorbing and gradually releasing fragrance.
Can I use essential oils on aroma stones?
Some essential oils can be used for scenting porous materials, but suitability varies by oil and intended use. Always check the specific oil’s safety information and follow appropriate usage guidance.
Can I use fragrance oil on aroma stones?
A suitable fragrance oil may be used when the manufacturer indicates that it is appropriate for this application. Follow the product’s recommended usage instructions rather than guessing the amount.
How do I make aroma stones smell stronger?
Allow the stones to dry completely and use an appropriate fragrance product according to its instructions. Applying too much fragrance is not necessarily the best way to create a stronger or longer lasting scent.
Can aroma stones be reused?
The stone can generally be refreshed with additional fragrance when the original scent fades, as long as it remains intact and suitable for use.
Where should I put aroma stones?
They work well in small areas such as bathrooms, bedrooms, closets, entryways, and home offices. I recommend placing scented stones on a suitable dish or protected surface.
Can I use aroma stones around pets?
Fragrance safety varies depending on the specific fragrance, essential oil, animal, and environment. Do not assume that a fragrance is safe for pets simply because it is natural. Check reliable safety guidance for the particular product and keep fragrance products out of your pet’s reach.
Final Thoughts
Making aroma stones at home is one of those projects that looks more complicated than it really is. Once you understand how the plaster behaves and give yourself enough time for the stones to set and dry properly, the process becomes much easier.
What I enjoy most is being able to make the pieces fit the space where I plan to use them. A simple white flower on a small ceramic dish can look completely different from a colorful geometric stone made as a gift.
I would start with a small batch, choose one or two fragrances you genuinely enjoy, and keep the first designs simple. Once you are comfortable with the process, you can experiment with different molds, colors, seasonal designs, and gift sets.
The little imperfections do not bother me because they are part of what makes the finished pieces feel handmade. For me, the best aroma stones are not necessarily the ones that look perfect. They are the ones that add a subtle fragrance while fitting naturally into the home.