The Best Homemade Clay Recipe
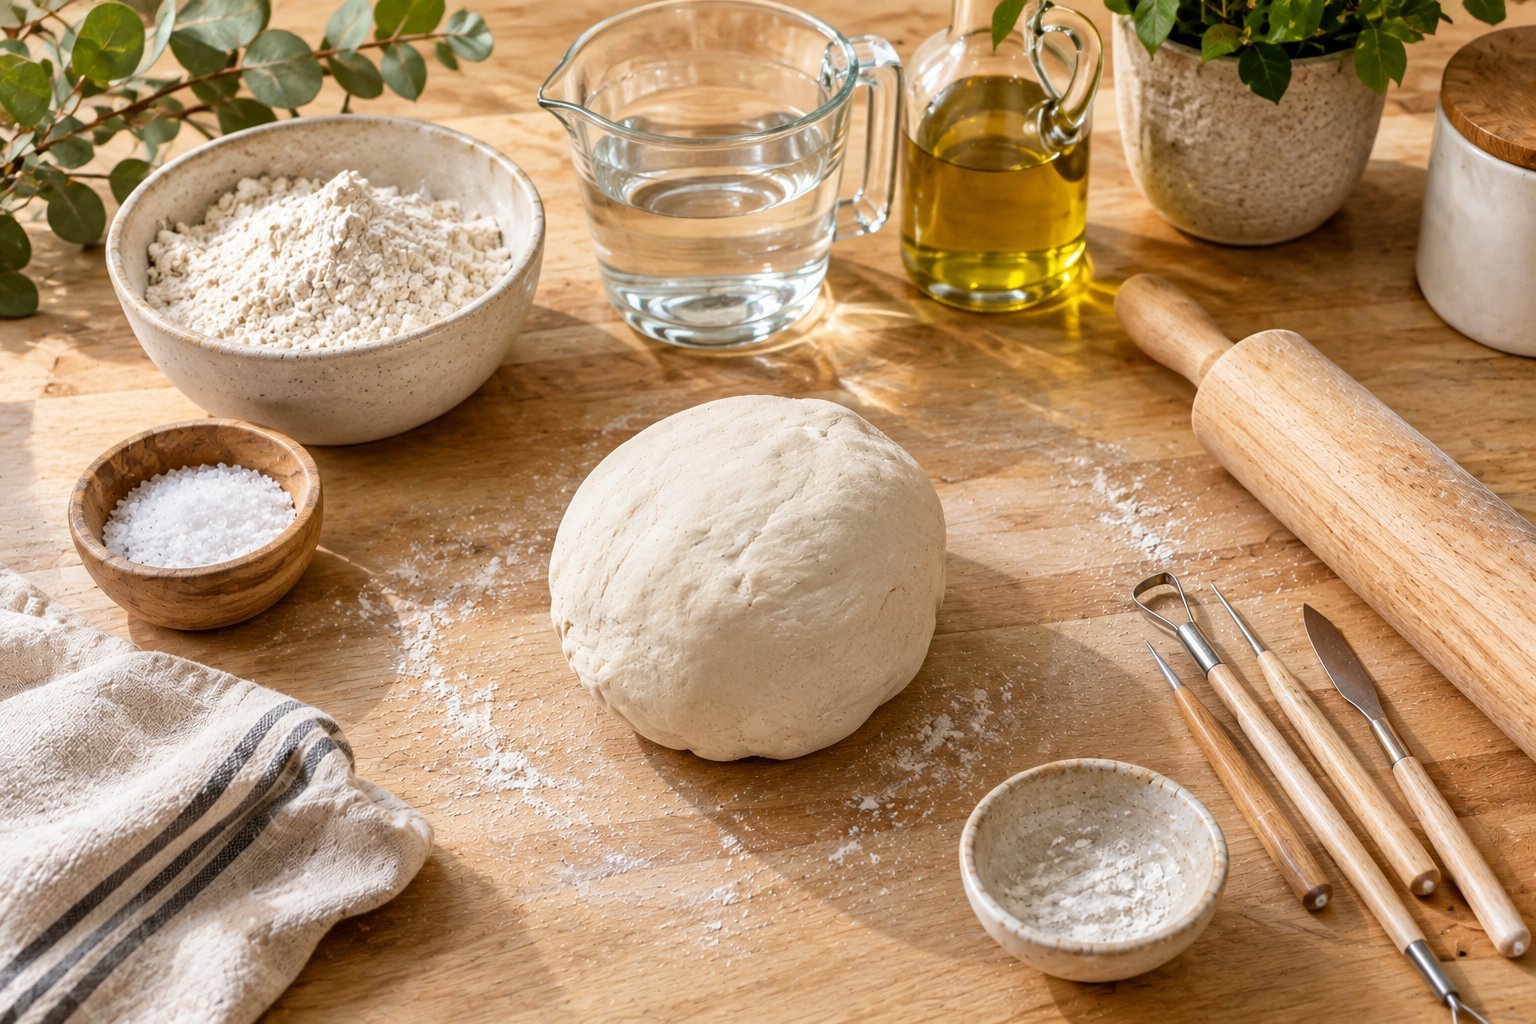
Homemade clay is one of those simple DIY projects that can turn an ordinary afternoon into something genuinely creative. I like making my own clay because I can control the texture, adjust the consistency when needed, and make enough for several small projects without spending much on craft supplies.
After working with different homemade clay mixtures, I have found that the recipe matters less than getting the consistency right. Clay that is too wet becomes sticky and difficult to shape, while clay that is too dry can crack before the project is finished.
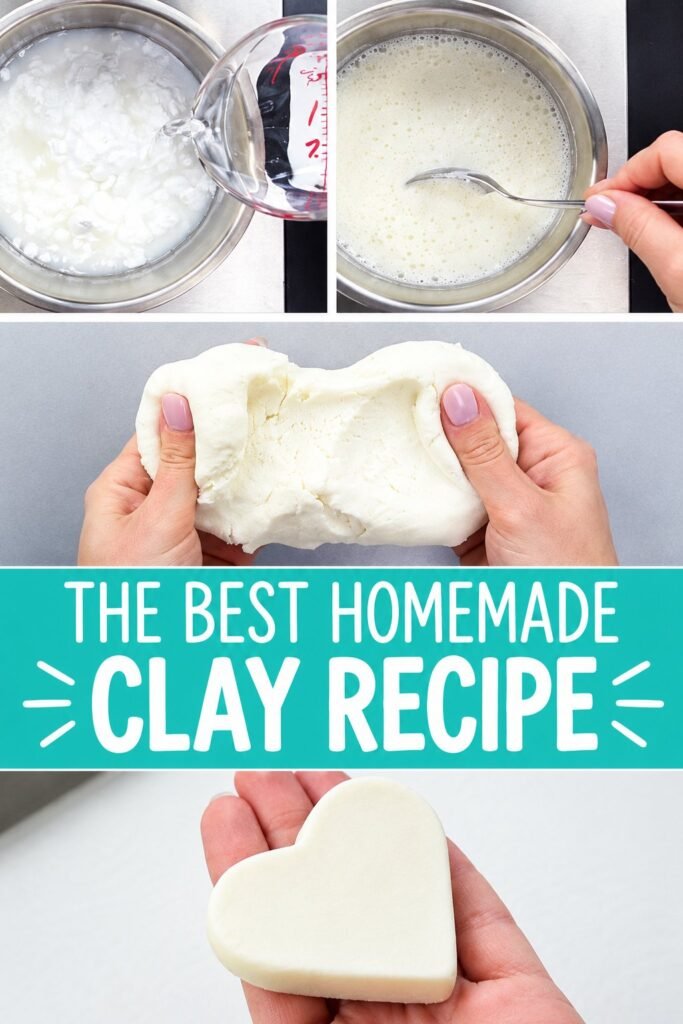
This recipe gives you a smooth, workable dough that is easy to roll, cut, mold, and decorate. It works especially well for ornaments, small sculptures, decorative shapes, keepsakes, and simple crafts with kids.
I will also walk you through the little details that make a noticeable difference, including cooking the mixture, kneading it properly, storing leftover clay, and fixing the most common texture problems.
Disclaimer
This post may contain affiliate links. As an Amazon Associate, I earn from qualifying purchases at no additional cost to you. I only recommend craft supplies that I genuinely find useful for making homemade clay. Results can vary depending on ingredients, humidity, and drying conditions, so always follow safe handling practices and keep craft materials away from children and pets unless they are confirmed safe.
Amazon Shopping List You Need
- Cornstarch – I always keep this on hand because it gives homemade clay a smooth, soft texture.
- Baking Soda – I use this as a simple ingredient for making homemade clay.
- White Craft Glue – I love using a good quality glue when I want clay that dries firm.
- Silicone Mixing Bowls – I use these for mixing clay ingredients without worrying about the mixture sticking too much.
- Silicone Rolling Pin – I always use one to roll the clay evenly for crafts and decorations.
- Clay Sculpting Tools – I use these to shape, smooth, and add details to homemade clay projects.
- Silicone Craft Mat – I love having a nonstick surface that makes rolling and cleanup much easier.
Why I Like Making Homemade Clay
I keep coming back to homemade clay because it is inexpensive, easy to customize, and surprisingly versatile. A small batch can become several different projects depending on how thick I roll it and how I choose to decorate it.
Another thing I appreciate is being able to make the clay when I need it instead of keeping several different types of modeling material around. Once you get comfortable with the consistency, the process becomes very straightforward.
The biggest lesson I have learned is that consistency is everything.
The finished clay should feel soft and smooth without sticking heavily to your fingers. It should also hold its shape when you press or mold it.
If the mixture feels sticky, it needs a little more dry ingredient. If it feels crumbly or difficult to knead, it needs a small amount of moisture.
That balance is what makes homemade clay enjoyable to work with.
Ingredients You Need
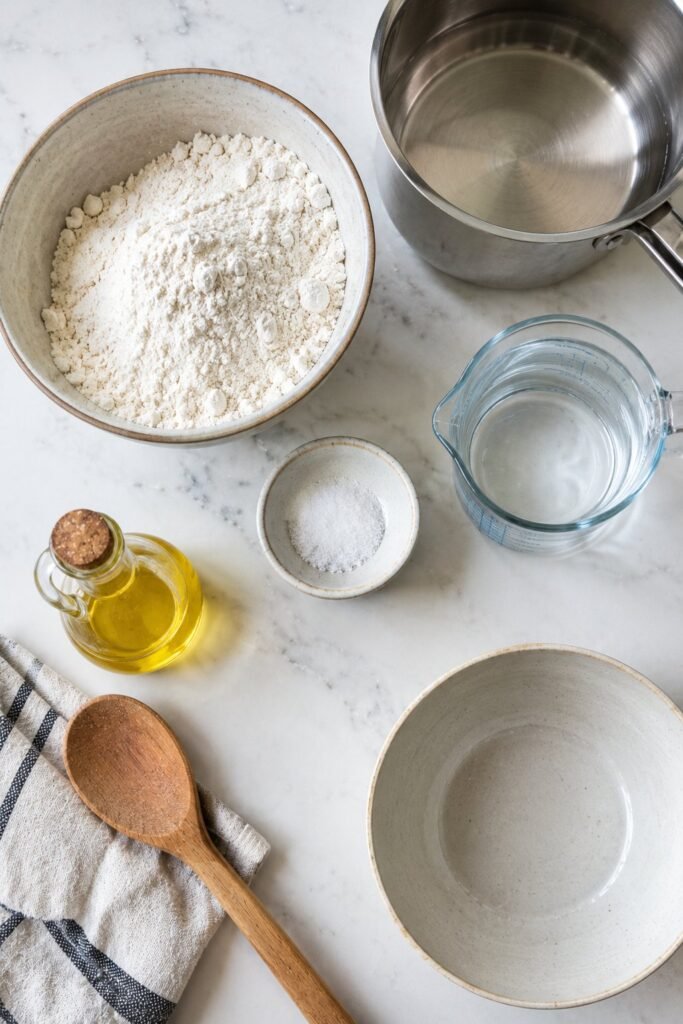
You only need a few basic ingredients for this homemade clay recipe.
Flour
All purpose flour works well for this recipe and provides the main structure for the clay.
I recommend using ordinary plain flour rather than anything specially formulated for baking. There is no need to use an expensive type of flour for a craft project.
Salt
Salt helps give the clay its structure and also contributes to the finished texture.
I use regular table salt. A finely textured salt is particularly helpful because it incorporates more easily into the mixture.
Water
Water brings everything together and controls the final consistency.
Do not add all of the water at once if you are making the recipe for the first time. Flour can vary slightly, so adding the liquid gradually gives you much better control.
Cooking Oil
A small amount of cooking oil helps make the clay smoother and easier to knead.
It also gives the finished dough a softer feel, which makes it easier to roll and shape without immediately breaking apart.
Homemade Clay Recipe
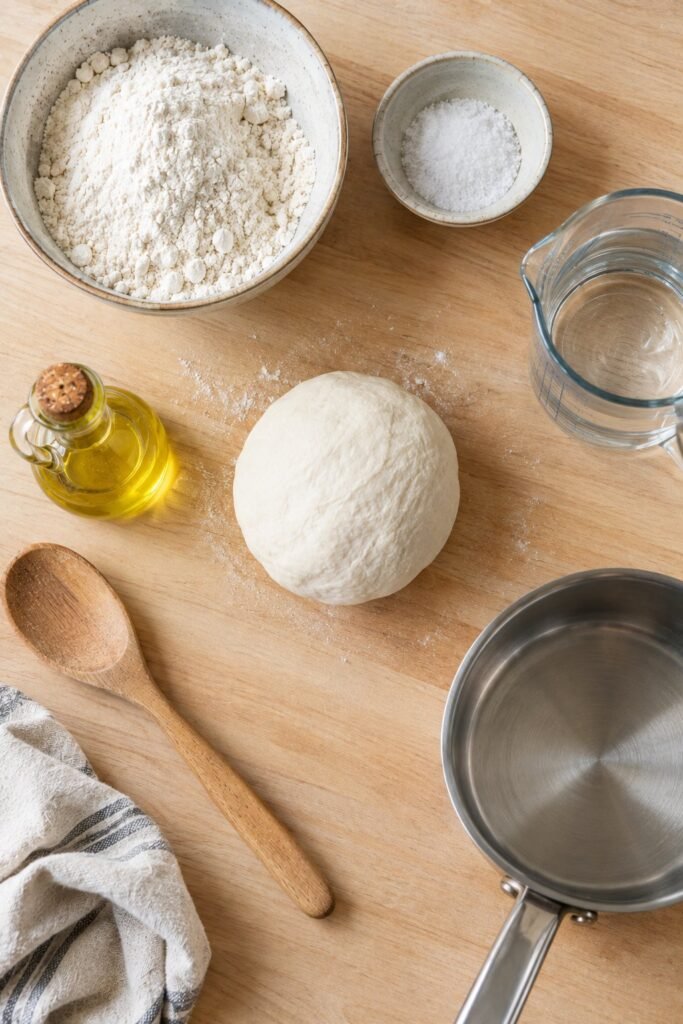
Ingredients
2 cups all purpose flour
1 cup salt
1 cup water
1 tablespoon cooking oil
Instructions
Start by combining the flour and salt in a saucepan.
Give the dry ingredients a good stir before adding the wet ingredients. I find this helps distribute the salt evenly and prevents little pockets of dry flour from forming later.
Add the water gradually while stirring.
Add the cooking oil and continue mixing until everything is combined.
Place the saucepan over low to medium heat and stir continuously.
As the mixture warms, it will gradually become thicker. Keep stirring and scraping the bottom of the pan so the mixture does not stick.
You are looking for a thick dough that begins pulling away from the sides of the saucepan.
Once it becomes difficult to stir and starts forming a ball, remove it from the heat.
Do not worry if it looks slightly rough at this stage. The texture usually improves considerably once you knead it.
Let the Clay Cool Before Kneading
This is one step I would not skip.
Transfer the warm clay onto a clean work surface and allow it to cool enough that you can comfortably handle it.
The mixture will continue changing texture as it cools, so I prefer not to add extra flour immediately.
Once it is cool enough to handle, begin kneading it with your hands.
Knead for several minutes until the clay becomes smooth and flexible.
This is where the homemade clay really starts to come together.
If it feels slightly sticky, dust your work surface with a very small amount of flour and continue kneading. Avoid adding large amounts because too much flour can make the finished clay dry and prone to cracking.
What the Perfect Clay Should Feel Like
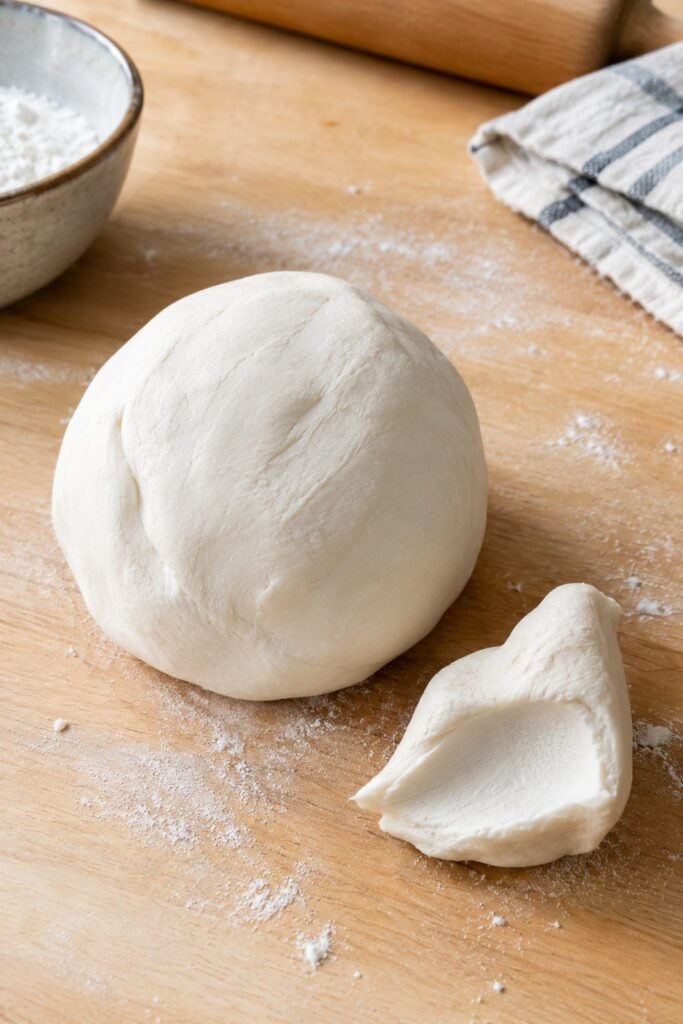
The easiest way to know whether your clay is ready is to test it with your hands.
The dough should be:
Soft
Smooth
Flexible
Easy to roll
Easy to press and shape
Firm enough to hold its form
It should not feel wet or gluey.
It should also not crumble when you bend or flatten it.
I usually pinch off a small piece and roll it between my palms. If it forms a smooth little ball without sticking badly to my hands, the consistency is usually right.
How to Fix Homemade Clay That Is Too Sticky
Sticky clay is usually easier to fix than people expect.
Add a very small amount of flour and knead it through the dough.
Continue adding tiny amounts until the texture improves.
I would avoid dumping a large amount of flour into the mixture at once. That can take the clay from sticky to overly dry very quickly.
If the clay becomes too dry, add a tiny amount of water or oil and knead again.
The goal is to make small adjustments rather than trying to completely change the mixture.
How to Fix Clay That Is Too Dry
Dry clay can become difficult to roll and may crack around the edges.
Start by adding a few drops of water and kneading thoroughly.
If it still feels dry, add a few more drops.
Another option is adding a tiny amount of cooking oil to soften the mixture.
Give the ingredients time to work through the dough before adding more. Kneading is often enough to bring slightly dry clay back to a workable consistency.
How to Prepare the Clay for Crafting
Once the clay has cooled and you have kneaded it until smooth, it is ready to turn into your actual craft projects.
I like to work with smaller portions rather than keeping the entire batch on the work surface. It makes the clay easier to handle and keeps the rest from drying out while I am working.
Before rolling it, knead the portion between your hands for a minute or two. This warms it slightly and makes it more flexible.
If you are making several pieces at once, keep the unused clay covered with plastic wrap or inside an airtight container.
How Thick Should Homemade Clay Be?
The thickness depends on what you are making.
For ornaments, tags, small decorative shapes, and simple wall decorations, I usually aim for around 1/4 inch thick.
Very thin pieces can become fragile once dry, while very thick pieces take considerably longer to dry and are more likely to develop cracks.
For small sculptures, you can work thicker, but I recommend avoiding large solid pieces whenever possible. Thick clay takes longer to dry all the way through.
If you are making a flat decoration, try to keep the thickness as even as possible.
An uneven piece can dry at different rates, which may cause warping or cracking.
How to Roll Homemade Clay
Place the clay on a clean, lightly floured surface.
Use a rolling pin to gently flatten it.
Roll from the center outward and turn the clay occasionally so you can maintain an even shape.
I like to check the thickness several times rather than rolling aggressively. Pressing too hard can create thin areas around the edges while leaving the center much thicker.
If the clay starts sticking to the rolling pin, lightly dust the surface with flour.
Do not use a lot of flour. A small amount is usually enough.
Cutting Shapes From the Clay
Once the clay has been rolled, you can use cookie cutters, craft cutters, or even a small knife to create different shapes.
Press the cutter firmly into the clay and lift it straight up.
If the edges look rough, smooth them gently with your fingertip.
For more detailed designs, you can use simple household items to create texture. A fork can make lines, while the end of a pencil can create small indentations.
This is one of my favorite parts because the same basic clay recipe can look completely different depending on how you texture it.
How to Make Homemade Clay Ornaments
Homemade clay works particularly well for simple ornaments.
Roll the clay evenly and cut out your desired shapes.
Before the clay dries, make a small hole near the top if you want to hang the finished piece.
A drinking straw works well for making a clean hole.
Make sure the hole is large enough for your ribbon or string. It is frustrating to discover after drying that the opening is too small.
Try not to place the hole too close to the edge because that can weaken the ornament.
How to Dry Homemade Clay
Drying is one of the most important parts of the entire process.
There are two main approaches: air drying and oven drying.
Air Drying
Air drying is the simplest option.
Place your finished pieces on a flat surface lined with parchment paper and leave them somewhere dry with good airflow.
Turn thicker pieces occasionally so both sides can dry evenly.
The drying time depends on the thickness and the humidity in your home.
Thin pieces may dry relatively quickly, while thicker pieces can require considerably longer.
Do not judge the drying process only by the outside. A piece can feel hard on the surface while still containing moisture inside.
Oven Drying
If you want to speed things up, you can use a low temperature oven.
Place the pieces on a parchment lined baking sheet and use a low oven temperature.
The goal is to dry the clay slowly rather than trying to bake it quickly.
High temperatures can cause the outside to harden too quickly while moisture remains inside, which can contribute to cracking.
I prefer checking the pieces periodically instead of relying only on a specific drying time.
How to Prevent Homemade Clay From Cracking
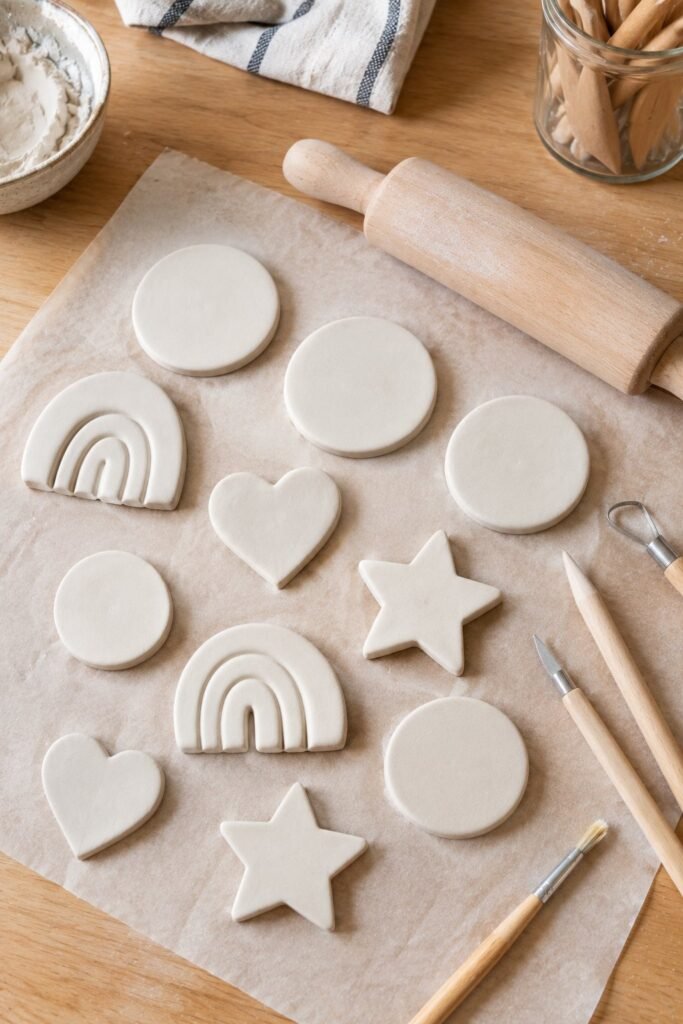
Cracking is one of the most common problems with homemade clay, but several simple changes can help.
Keep the Thickness Consistent
Uneven thickness is one of the easiest problems to prevent.
Try to keep flat pieces roughly the same thickness throughout.
Do Not Add Too Much Flour
Adding excessive flour while kneading can make the dough too dry.
Only add enough to correct stickiness.
Dry Slowly
Rushing the drying process can increase the chance of cracks.
A slower drying process gives the moisture more time to leave the clay evenly.
Avoid Extremely Thick Pieces
Large solid pieces contain more moisture and take longer to dry.
For bigger projects, consider building the shape around a suitable lightweight structure rather than creating one very thick piece of clay.
What to Do If Your Clay Cracks While Drying
Small cracks do not necessarily mean the entire project is ruined.
If you notice a crack while the clay is still slightly soft, gently smooth it with a damp fingertip.
You can also use a tiny amount of leftover clay to fill the crack.
Press the repair material into the opening and smooth the surface carefully.
For a piece that has already dried, lightly sanding the area can help before applying a thin layer of suitable craft filler or another finishing material.
The important thing is to avoid adding a large amount of wet material at once.
How to Make the Surface Smooth
For a clean finished project, spend a little time smoothing the clay before it dries.
Run your fingertip gently across the surface to remove fingerprints and rough areas.
A slightly damp fingertip can help smooth small imperfections, but avoid soaking the clay.
You can also use a smooth tool to refine edges and corners.
I find it much easier to fix rough areas while the clay is still workable than trying to correct everything after it has completely dried.
How to Decorate Homemade Clay
Once the clay is completely dry, you can decorate it in several ways.
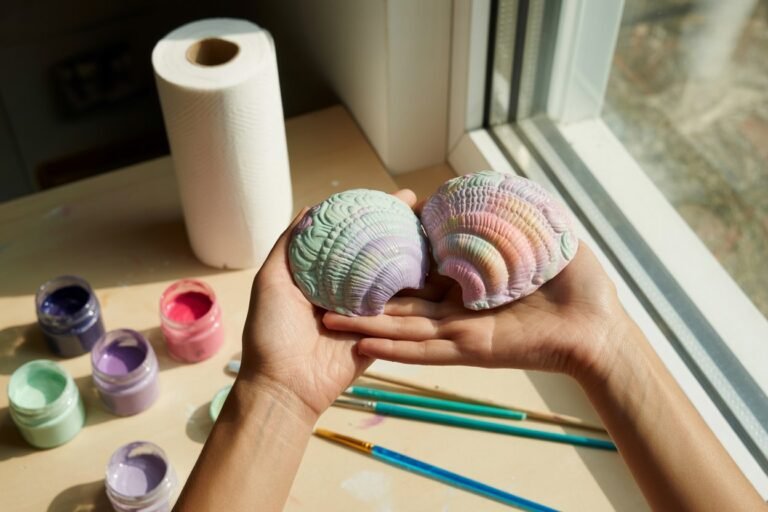
Acrylic paint is one of the easiest options for adding color.
You can also use paint pens for small details, patterns, lettering, and outlines.
For a simple natural look, you can leave the clay unpainted and add a small amount of decorative detail instead.
I like keeping the base design fairly simple because the texture of the clay itself can give the finished project a handmade appearance.
If you are painting several pieces, allow each layer of paint to dry before adding another.
This helps prevent the colors from becoming muddy.
How to Seal Homemade Clay
Sealing is useful when you want to protect the painted surface or give the finished piece a more polished appearance.
Choose a clear craft sealer that is appropriate for the type of project you are making.
Apply thin coats rather than one heavy coat.
Allow each coat to dry according to the product instructions before applying another.
Keep in mind that homemade flour and salt clay is intended primarily for decorative crafts. It is not waterproof simply because it has dried, and sealing it does not make it suitable for food contact.
Common Mistakes to Avoid
Making the Dough Too Wet
Adding too much water can leave you with sticky clay that is difficult to shape.
Add liquid gradually whenever you can.
Making Pieces Too Thick
Thick pieces take longer to dry and are more difficult to dry evenly.
Drying the Clay Too Quickly
High heat can cause the outside to dry faster than the center.
Slow and even drying generally gives you better results.
Skipping the Kneading
Kneading helps bring the mixture together and improves its texture.
Do not rush this stage.
Painting Before the Clay Is Completely Dry
Even if the surface feels hard, moisture can remain inside.
Give the clay enough time to dry completely before decorating it.
Leaving Finished Clay Uncovered
Unused clay should be covered tightly so it does not dry out while you are working.
My Best Tip for Getting Consistent Results
The most useful thing I have learned with homemade clay is to make small adjustments instead of trying to correct everything at once.
If the clay feels sticky, add a little flour.
If it feels dry, add a tiny amount of moisture.
If it cracks, look at the thickness and drying process before changing the entire recipe.
Once you learn what properly prepared clay feels like in your hands, the recipe becomes much easier to repeat successfully.
How to Store Leftover Homemade Clay
You do not have to use the entire batch at once. I often prefer making the clay ahead of time and keeping the unused portion ready for another project.
Place the leftover clay inside an airtight container or wrap it tightly in plastic wrap. The goal is to prevent air from reaching the surface because exposed clay can become dry and difficult to work with.
Before using stored clay, knead it for a few minutes to bring the texture back together.
If it feels slightly dry, work in a tiny amount of water or oil rather than adding a large amount at once.
I recommend making smaller batches if you know you will only be working on a few projects. Fresh homemade clay is much easier to handle, and there is less chance of having a large amount left over.
How Long Does Homemade Clay Last?
When stored properly in an airtight container, homemade clay can usually remain workable for several days.
The exact storage life depends on the ingredients, moisture level, and how well the clay is sealed.
Check the texture before using stored clay. If it has developed an unusual smell, visible mold, or other signs of spoilage, discard it rather than trying to restore it.
For the best results, I prefer using homemade clay relatively soon after making it.
Can You Add Color to Homemade Clay?
Yes. Adding color directly to the dough is an easy way to create different shades without painting the finished project.
Food coloring can be mixed into the dough while you are preparing it.
Add the color gradually until you reach the shade you want.
Another option is to make the clay naturally light in color and paint the finished pieces once they have completely dried.
I usually prefer painting finished pieces when I want detailed designs because it gives me more control over the final appearance.
Can You Make Different Colors in One Batch?
You can divide the finished dough into several portions and color each portion separately.
This works particularly well if you are making small decorations.
Divide the clay while it is still soft, add a small amount of coloring to each portion, and knead until the color is evenly distributed.
Keep the portions you are not currently using covered while you work.
This prevents the surface from drying and also makes it easier to work with multiple colors without rushing.
Homemade Clay Project Ideas
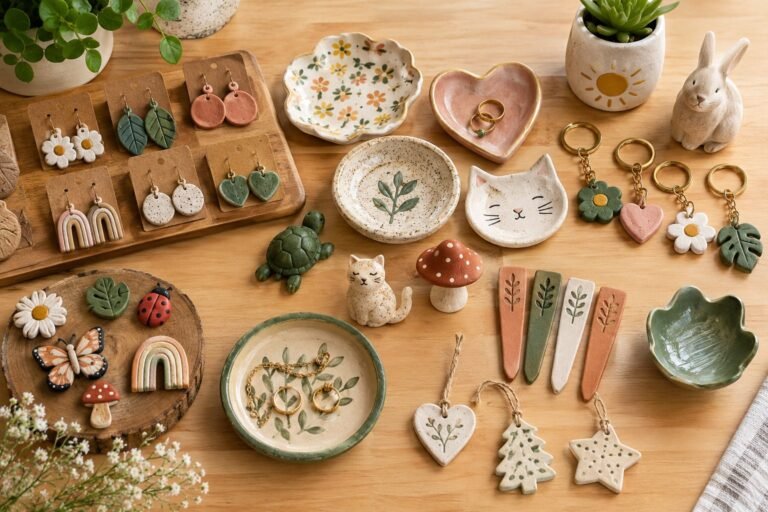
Once you have a good batch of clay, there are plenty of simple projects you can make.
Clay Ornaments
Cut stars, hearts, circles, flowers, or seasonal shapes and add a small hole before drying.
These can be painted afterward and finished with ribbon or string.
Personalized Name Plaques
Roll the clay into a flat shape and use letter stamps or carefully pressed lettering to create a name.
Once dry, paint the letters for contrast.
Mini Clay Decorations
Small flowers, leaves, mushrooms, stars, and abstract shapes are easy projects for using leftover pieces.
Handprint Keepsakes
Flatten the clay into a thick, even piece and gently press a hand or fingerprint into the surface.
Make sure the piece is thick enough to withstand handling after it dries.
Clay Magnets
Create small shapes, allow them to dry completely, decorate them, and attach an appropriate craft magnet to the back.
Avoid making the pieces excessively thick because magnets may struggle to hold heavier pieces.
Gift Tags
Small clay tags can make handmade gifts feel more personal.
Cut the shape, add a hole, allow it to dry, then paint or decorate it before attaching it to a package.
How to Make Homemade Clay Look More Professional
Small finishing details can make a major difference.
Take your time smoothing the edges before the clay dries.
Try to keep your pieces evenly shaped and similar in thickness.
After drying, lightly sand rough edges if necessary.
Apply paint in thin layers instead of covering the entire piece with one heavy coat.
For detailed designs, a fine paintbrush or paint pen can give you much better control.
A clear protective finish can also give painted projects a cleaner appearance.
The goal is not to make every piece perfectly smooth. A little handmade texture is part of what makes homemade clay projects appealing.
Is Homemade Clay the Same as Air Dry Clay?
No. Homemade clay and commercial air dry clay are different materials.
Homemade clay recipes are generally made from simple household ingredients such as flour, salt, water, and oil. Commercial air dry clay is formulated specifically for crafting and can have different properties, textures, strength, and drying behavior.
Homemade clay is a convenient option for simple decorative projects, especially when you want an inexpensive DIY material.
Commercial air dry clay may be more suitable when you need a particular finish, greater durability, or more detailed sculpting.
Can Homemade Clay Be Used for Food?
No.
This recipe is intended for crafting and decorative projects only.
Even though the ingredients are commonly found in food, the finished clay should not be treated as edible material or used for food storage, serving, or direct food contact.
I would also keep finished clay crafts away from pets and young children who may try to put small pieces in their mouths.
Can Kids Make This Homemade Clay?
Yes, homemade clay can be a fun craft material for children when an adult provides appropriate supervision.
The mixing and cooking stages should be handled by an adult because the mixture becomes hot.
Once the clay has cooled enough to handle safely, children can help roll, cut, shape, and decorate it.
Choose simple projects for younger children and supervise them closely, particularly when using small cutters, craft tools, paint, or other decorating supplies.
Frequently Asked Questions
What is the best homemade clay recipe?
A simple mixture of flour, salt, water, and a small amount of cooking oil makes an easy homemade clay for decorative crafts. The most important part is achieving a smooth, workable consistency rather than simply following the measurements.
Why is my homemade clay cracking?
Cracking can happen when the clay is too dry, the pieces are too thick, or the clay dries too quickly. Keeping the thickness consistent and allowing the pieces to dry gradually can help.
How do I make homemade clay softer?
Knead the clay thoroughly and add a very small amount of water or oil if it feels too dry. Add only a little at a time so you do not make the dough sticky.
How do I make homemade clay harder?
Allow the finished pieces to dry completely. For thicker pieces, additional drying time may be necessary. Avoid adding excessive moisture while preparing the dough.
Can I bake homemade clay?
Yes, you can use a low oven temperature to help dry homemade clay. The important thing is to dry it gradually rather than using high heat.
Can I paint homemade clay?
Yes. Acrylic paint works well for many decorative clay projects. Make sure the clay is completely dry before painting.
Can I make homemade clay without cooking?
There are no cook versions of homemade clay, but cooking the mixture can produce a smoother and more cohesive dough. For this particular recipe, I prefer the cooked method because I find the finished clay easier to knead and shape.
Final Thoughts
Making homemade clay does not need to be complicated. Once you understand how the dough should feel, the process becomes much easier to repeat and customize.
The recipe itself is simple, but the small details make the biggest difference. Add the water gradually, cook the mixture gently, knead it well, keep your pieces evenly sized, and give them enough time to dry properly.
I also recommend making a small test piece before starting a larger project. It gives you a chance to see how your particular batch behaves as it dries and lets you adjust the consistency before using all of your clay.
For simple ornaments, keepsakes, decorations, and creative projects, this homemade clay recipe is an inexpensive material to keep in your DIY craft routine.