
Air dry clay is one of the easiest and most satisfying crafting materials to work with.
Whether you’re making jewelry dishes, decorative bowls, figurines, planters, ornaments, or DIY home décor, one thing can instantly take your project from looking homemade to beautifully polished: a good glaze.
If you’ve ever wondered how creators make air dry clay projects look shiny, smooth, professional, and almost ceramic-like, the secret is in the finishing process.
Learning how to make air dry clay glaze — and how to apply it correctly — can completely transform your projects.
The best part? You don’t need a kiln, pottery studio, or expensive tools to create a gorgeous glossy finish at home.
In this complete guide, you’ll learn:
- What air dry clay glaze actually is
- The best homemade glaze recipes
- Store-bought alternatives that work beautifully
- Step-by-step glazing techniques
- Common mistakes to avoid
- How to make your clay projects waterproof-looking
- Matte vs glossy finishes
- Professional tricks for a ceramic-style appearance
Whether you’re a beginner or already obsessed with DIY clay crafts, this guide will help you create polished pieces that look far more expensive and professional.
Disclaimer: This post may contain affiliate links, which means I may earn a small commission at no extra cost to you. Traditional ceramic glaze cannot be used on air dry clay because it is not kiln-fired. Always use products specifically designed for air dry clay and follow manufacturer instructions for best results.
Amazon Shopping List: How to Make Air Dry Clay Glaze
- Clear Acrylic Gloss Sealer (Gloss Finish for Air Dry Clay)
- Water-Based Acrylic Varnish (Gloss, Satin, or Matte)
- Soft Paint Brush Set (For Smooth Application)
- Air Dry Clay Pack (White or Natural Clay)
- Fine Grit Sandpaper Set (For Surface Preparation)
- Paint Palette or Small Mixing Trays
- Silicone Craft Mat for Workspace Protection
What Is Air Dry Clay Glaze?

Before diving into recipes and techniques, it’s important to understand something many beginners get confused about:
Traditional ceramic glaze and air dry clay glaze are NOT the same thing.
Real ceramic glaze requires:
- A kiln
- Extremely high temperatures
- Specialized materials
Air dry clay cannot survive kiln firing because it isn’t true ceramic clay.
Instead, air dry clay uses sealers, varnishes, or glaze-like coatings that mimic the appearance of ceramic glaze.
These finishes can:
- Add shine
- Protect the surface
- Enhance paint colors
- Reduce cracking
- Make projects look professional
- Add water resistance
- Create glossy or matte effects
So when people say “air dry clay glaze,” they usually mean a protective topcoat or glossy finishing layer.
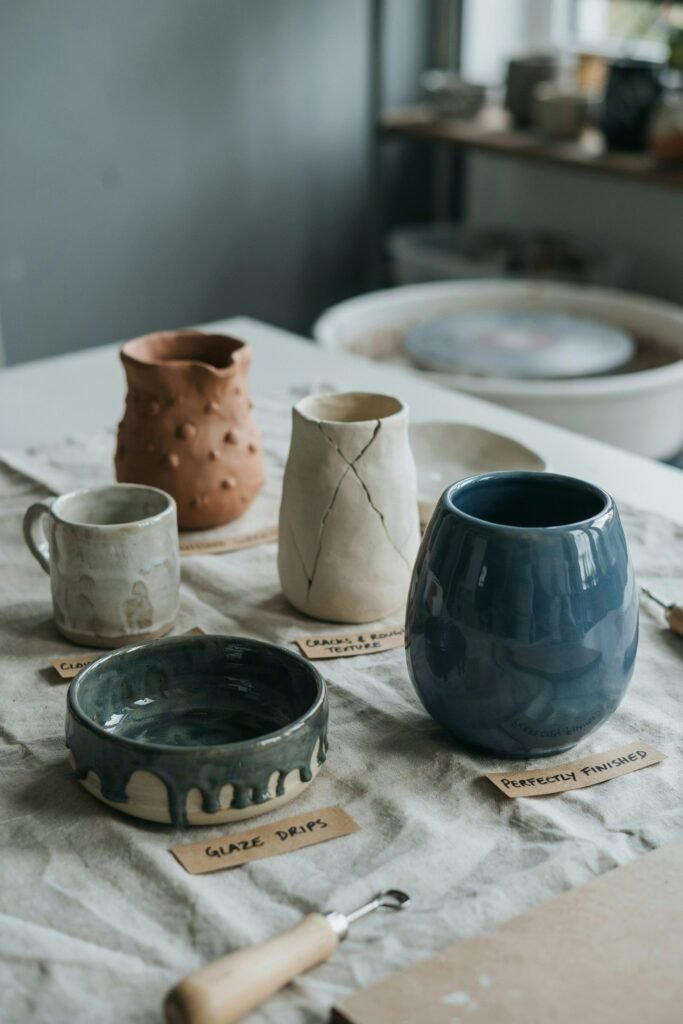
Why Glazing Air Dry Clay Matters
A lot of people skip the glazing step and wonder why their projects look dull, chalky, or unfinished.
Glazing makes a massive difference because it:
- Protects the clay from dust and moisture
- Prevents paint from peeling
- Adds durability
- Creates a smooth texture
- Makes colors richer and deeper
- Gives projects a polished, professional appearance
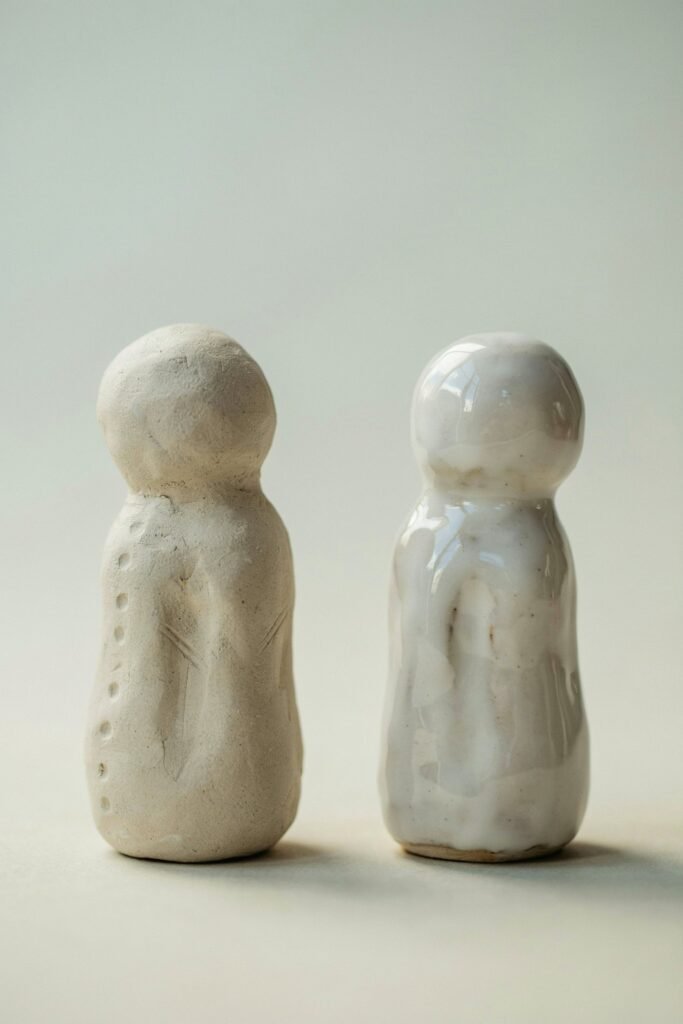
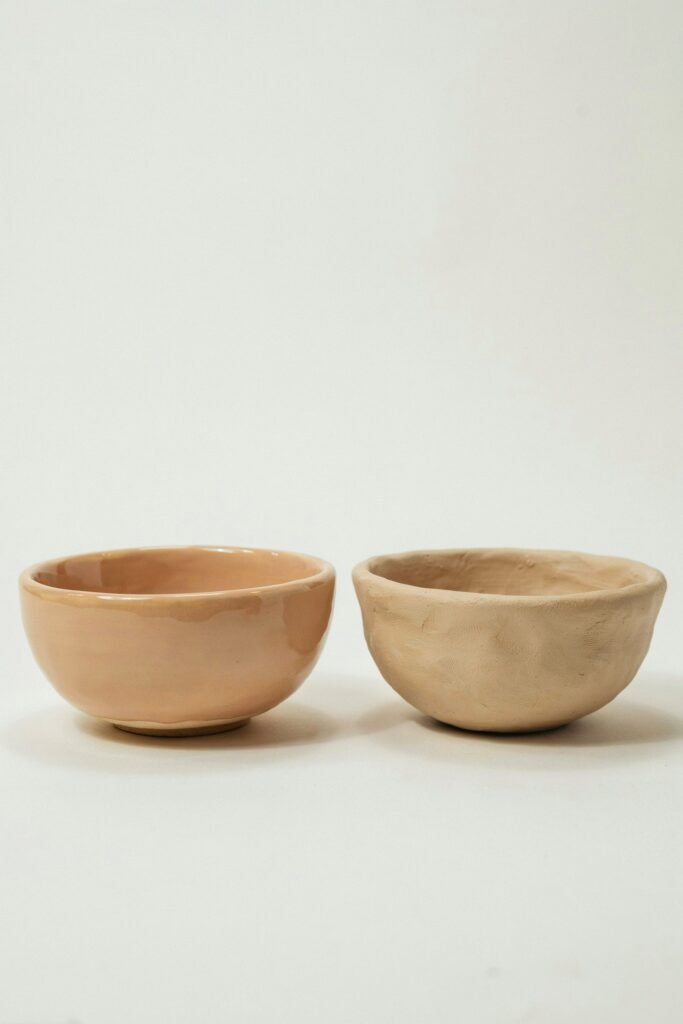
Without glaze, air dry clay often looks dry and porous.
With glaze, it can resemble ceramic pottery.
Best Types of Glaze for Air Dry Clay
Not every finish works well on air dry clay. Some products crack, become sticky, or dry unevenly.
Here are the best options.
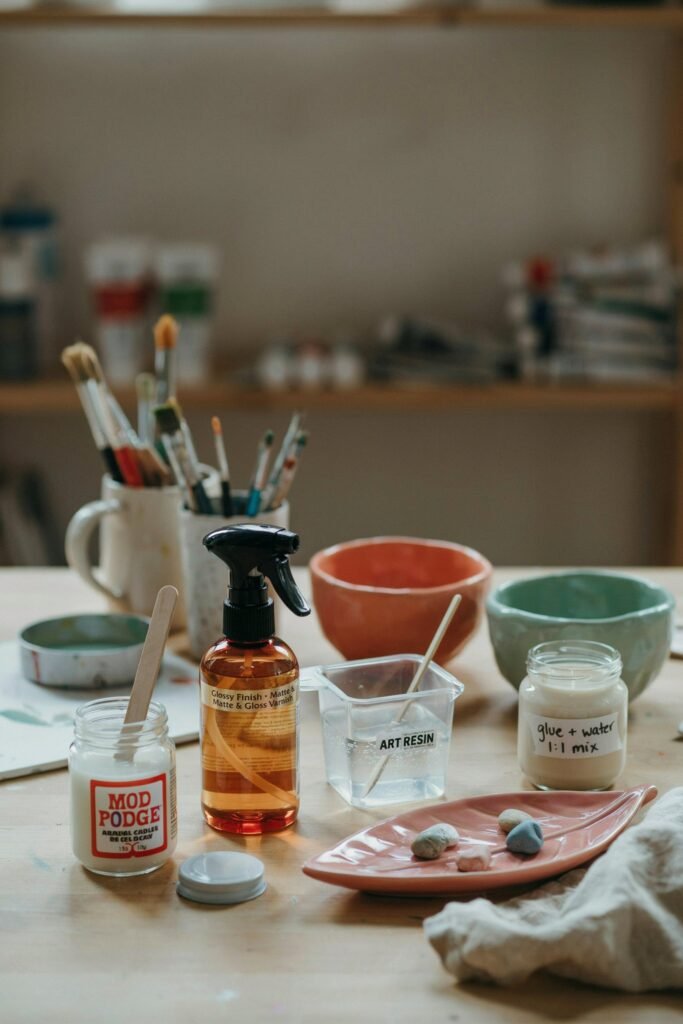
1. Mod Podge
One of the most beginner-friendly choices.
Pros:
- Affordable
- Easy to find
- Comes in glossy, satin, and matte finishes
- Simple application
Cons:
- Can stay tacky in humid environments
- Not fully waterproof
Best for:
- Decorative crafts
- Kids’ projects
- Beginner clay art
2. Acrylic Varnish
Acrylic varnish gives a smoother and more professional finish than many DIY methods.
Pros:
- Durable
- Dries clear
- Available in spray or brush-on formulas
- Less sticky than Mod Podge
Cons:
- Some brands have strong odor
Best for:
- Home décor
- Sculptures
- Painted clay pieces
3. Resin Coating
If you want an ultra-glossy luxury finish, resin is the top choice.
Pros:
- Glass-like shine
- Waterproof finish
- Extremely durable
Cons:
- More expensive
- Requires careful mixing
- Longer curing time
Best for:
- Jewelry trays
- Coasters
- Decorative bowls
- Premium-looking projects
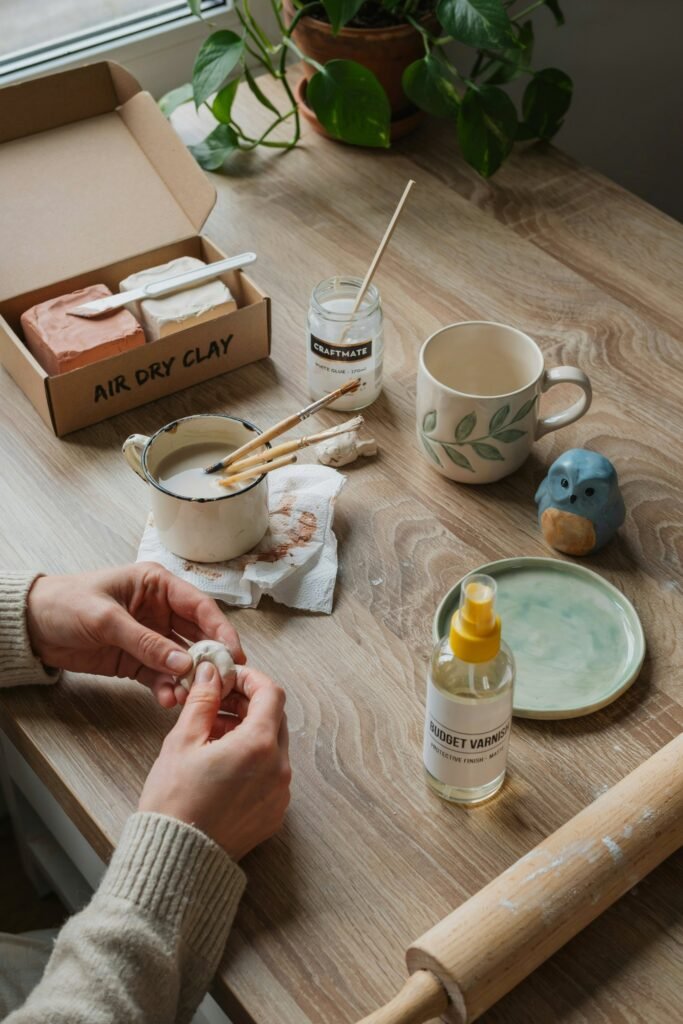
4. Homemade Glue Glaze
A super affordable DIY solution.
Basic recipe:
- 2 parts white glue
- 1 part water
This creates a shiny sealant that works surprisingly well for beginner crafts.
How to Make Homemade Air Dry Clay Glaze
One of the easiest ways to glaze air dry clay is by making your own DIY version at home.
Simple Homemade Gloss Glaze Recipe
Ingredients
- 2 tablespoons white PVA glue
- 1 tablespoon water
- Optional: a few drops of clear acrylic varnish
Instructions
- Mix glue and water thoroughly.
- Stir until smooth.
- Apply thin layers with a soft paintbrush.
- Let each coat dry completely.
- Add 2–4 coats for extra shine.
This creates a glossy protective finish that works beautifully for beginner projects.
DIY Matte Glaze Recipe
Not everyone loves a glossy finish.
For a soft matte look:
Ingredients
- Matte Mod Podge
- Small amount of water
Application
Apply thin coats using a foam brush for smooth results.
Matte finishes are perfect for:
- Modern décor
- Minimalist pieces
- Neutral aesthetic crafts
- Scandinavian-inspired designs
Supplies You Need Before Glazing
Preparing your materials properly helps avoid streaks and bubbles.
Essential Supplies
- Soft paintbrushes
- Foam brushes
- Fine-grit sandpaper
- Paper towels
- Acrylic paint (optional)
- Air dry clay project
- Sealant or glaze
- Clean workspace
Optional:
- Resin kit
- Spray varnish
- Clay tools
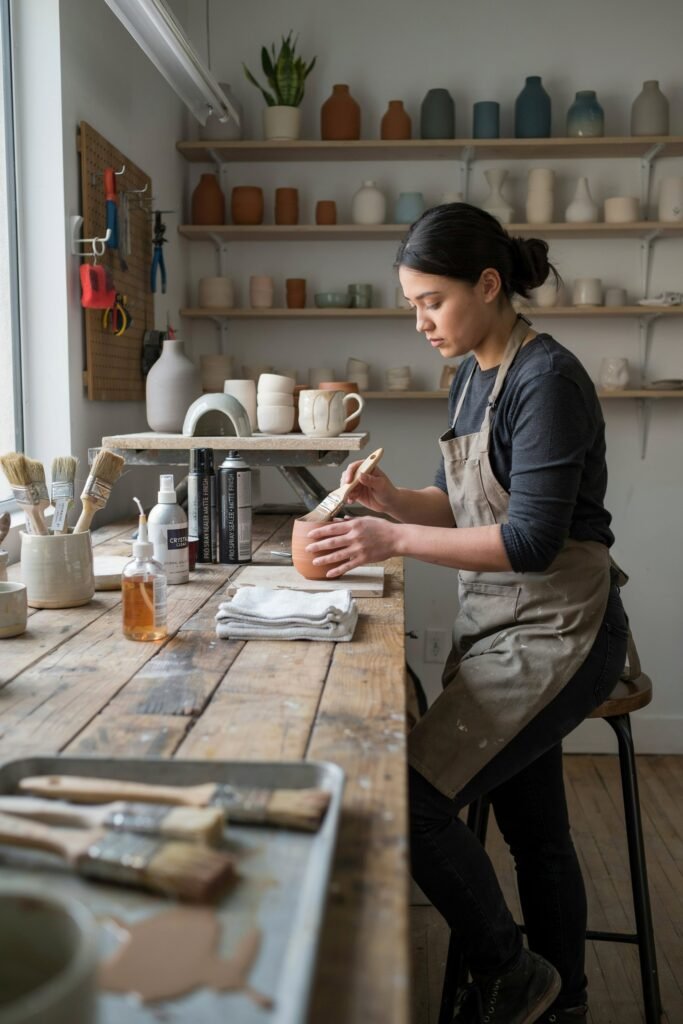
Step-by-Step: How to Glaze Air Dry Clay Properly
Step 1: Let the Clay Fully Dry
This is one of the biggest mistakes beginners make.
Even if the outside feels dry, the inside may still contain moisture.
Wait:
- 24–72 hours minimum
- Longer for thick projects
If you glaze damp clay, it can:
- Crack
- Mold
- Bubble
- Warp
Step 2: Sand the Surface
Sanding creates a smooth professional texture.
Use:
- 220-grit sandpaper
- Gentle circular motions
Focus on:
- Rough edges
- Fingerprints
- Uneven surfaces
Wipe away dust afterward.
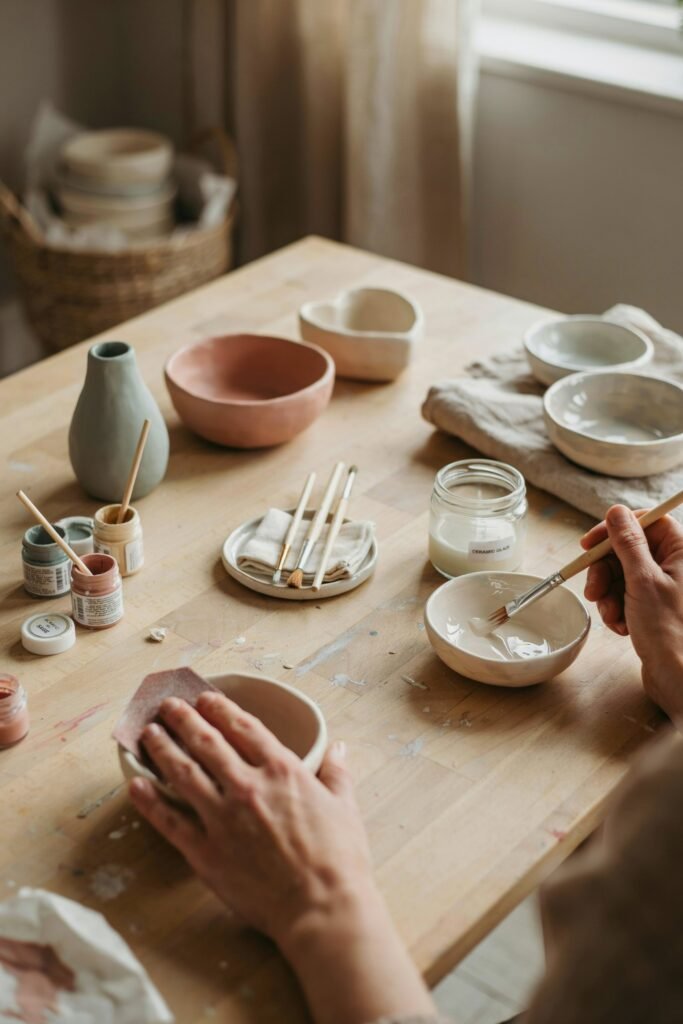
Step 3: Paint the Clay (Optional)
Many creators paint their clay before glazing.
Best paints:
- Acrylic paint
- Chalk paint
- Metallic craft paint
Let paint dry fully before sealing.
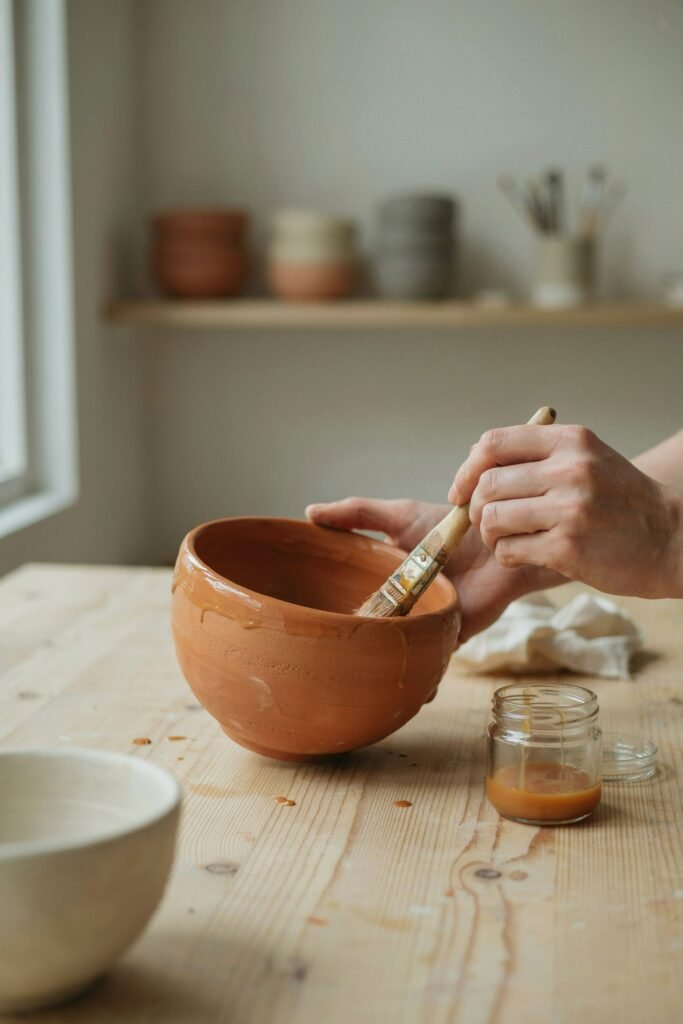
Step 4: Apply Thin Layers
Never apply thick coats.
Thin layers:
- Dry smoother
- Prevent streaks
- Reduce bubbling
- Create an even finish
Use long, soft brush strokes.
Step 5: Allow Proper Drying Time
Patience matters.
Rushing causes:
- Cloudiness
- Fingerprints
- Sticky surfaces
Most coats need:
- 20 minutes to several hours
Always read product instructions.
Step 6: Add Multiple Coats
One coat rarely looks professional.
For best results:
- Apply 2–5 thin coats
- Let each layer dry completely
More layers create:
- Deeper shine
- Better protection
- Smoother texture
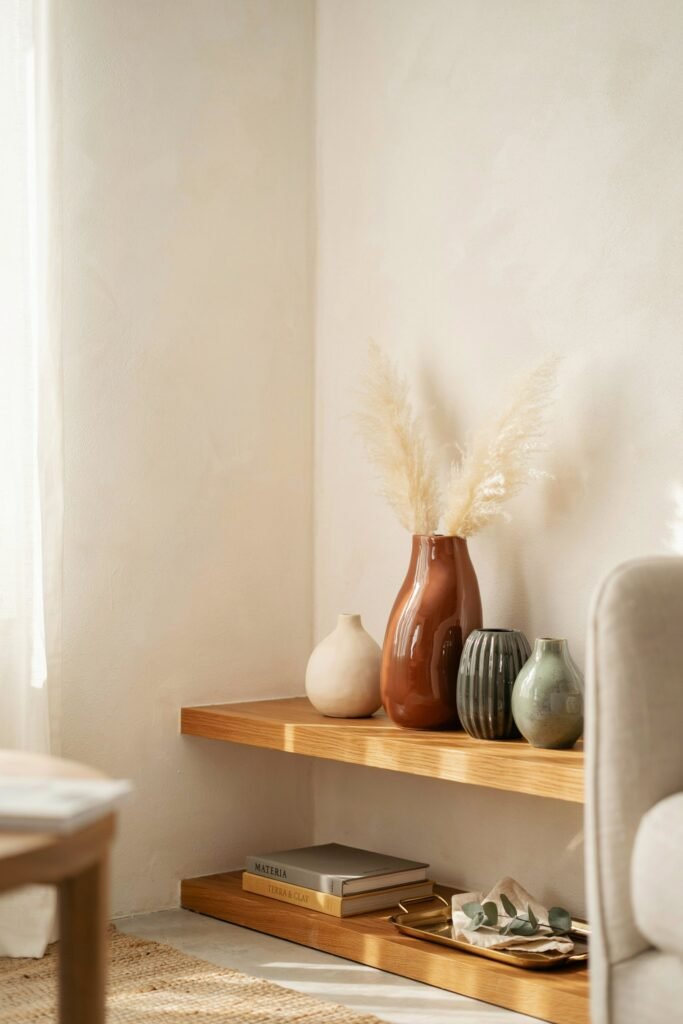
How to Make Air Dry Clay Look Like Real Ceramic
This is one of the most searched clay crafting questions online.
Here’s how to achieve that expensive ceramic appearance.
Use White Clay
White clay mimics real pottery best.
Sand Extremely Well
Ceramic-looking pieces are smooth, not rough.
Take time sanding.
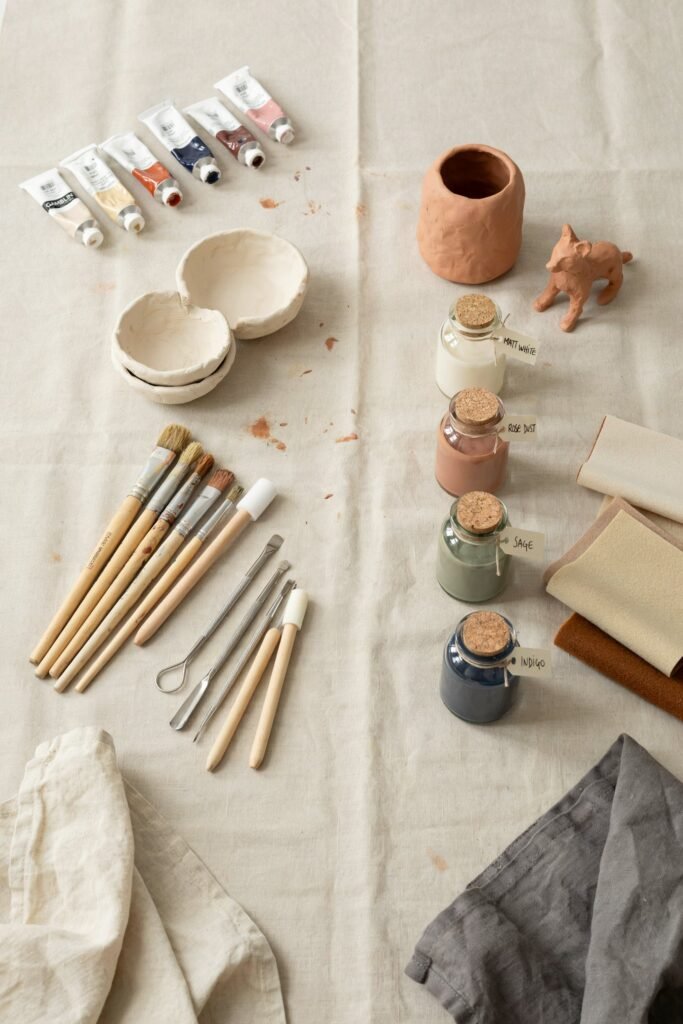
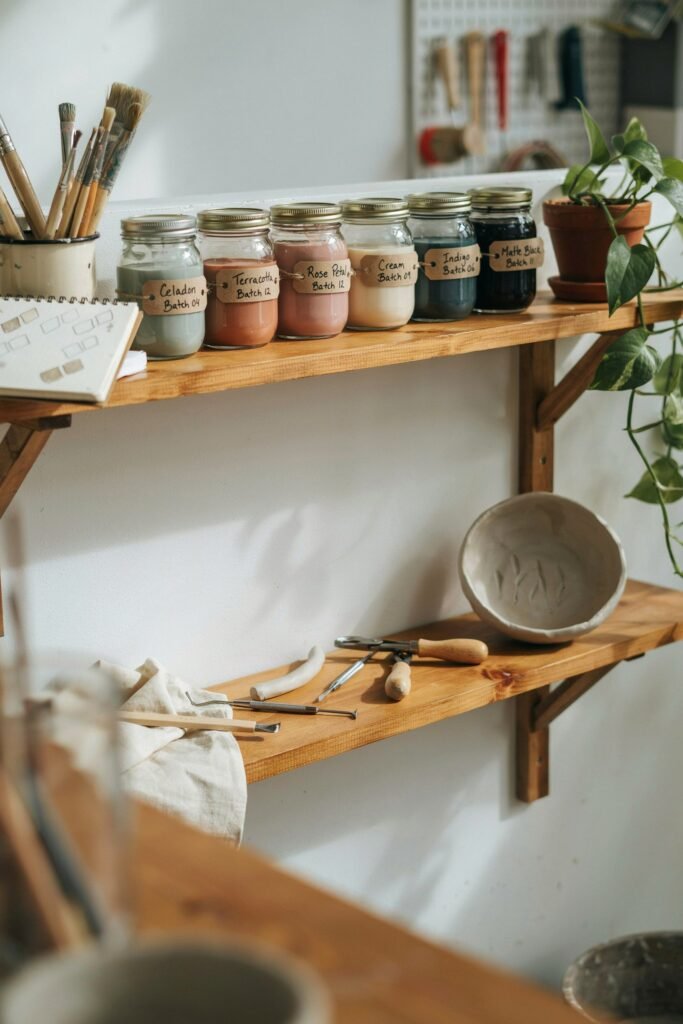
Use Neutral Paint Colors
Ceramic-inspired shades:
- White
- Cream
- Sage green
- Terracotta
- Soft beige
- Dusty blue
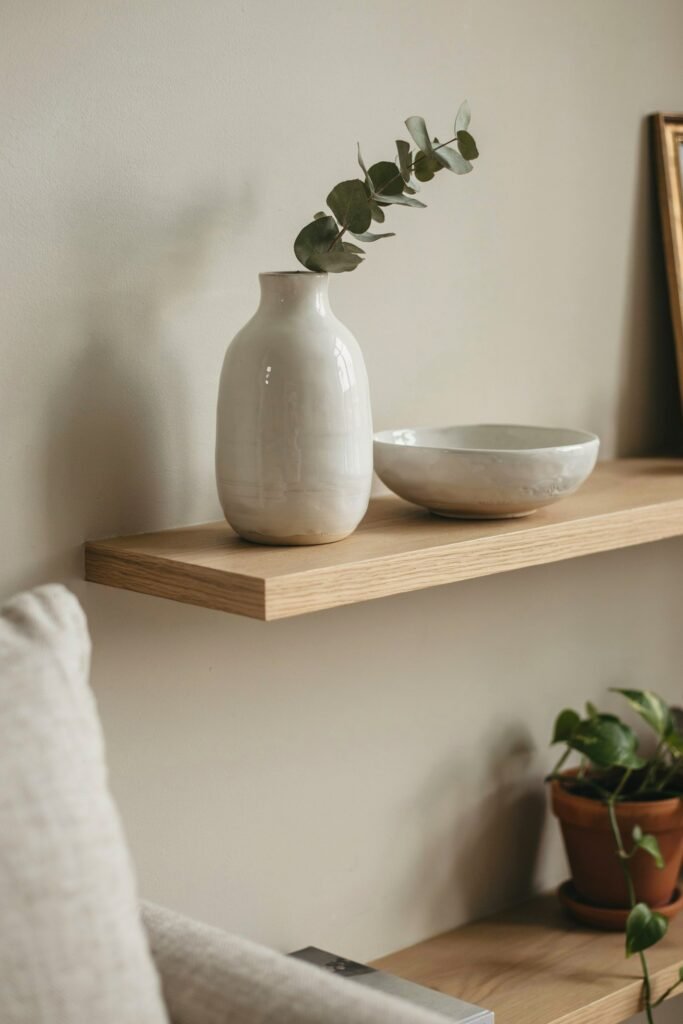
Apply Gloss Resin or High-Shine Varnish
This creates the illusion of kiln-fired pottery.
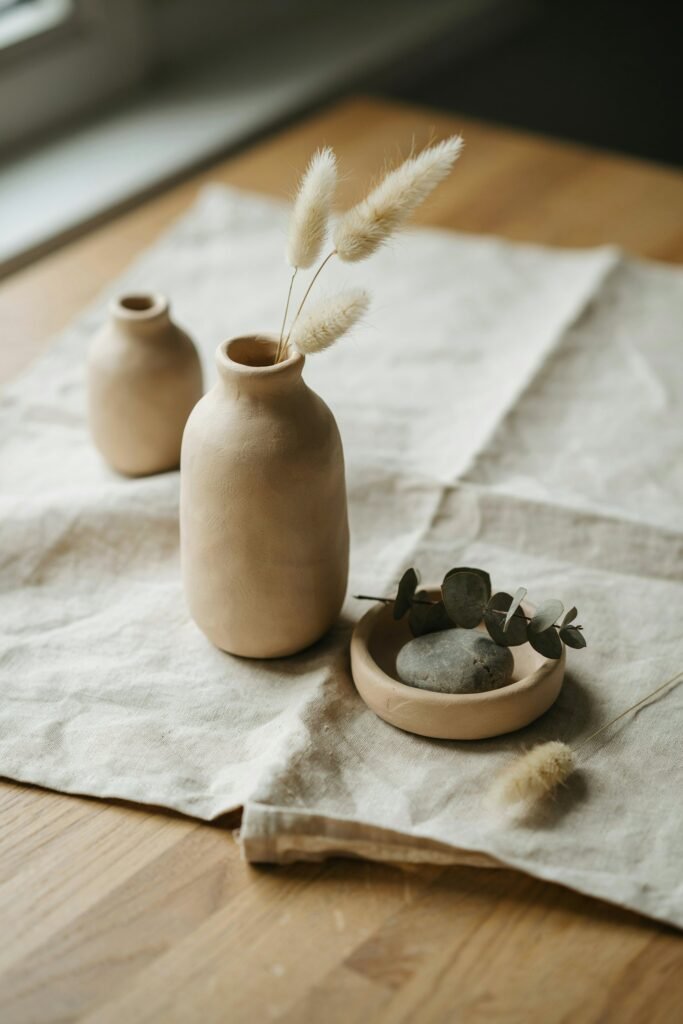
Keep Shapes Minimal
Simple organic shapes often look more high-end than complicated designs.
Common Air Dry Clay Glaze Mistakes
Even beautiful projects can get ruined during finishing.
Avoid these mistakes.
Applying Glaze Too Early
Damp clay traps moisture underneath.
Using Thick Coats
This causes:
- Drips
- Cracks
- Cloudy finish
Skipping Sanding
Rough texture becomes more visible after glazing.
Using Cheap Brushes
Poor brushes leave:
- Streaks
- Brush hairs
- Uneven finish
Not Sealing Painted Pieces
Paint can chip without protection.
Can You Make Air Dry Clay Waterproof?
Technically, air dry clay is not fully waterproof.
However, you can make it highly water-resistant using:
- Resin
- Waterproof varnish
- Multiple sealant coats
Still, avoid:
- Dishwashers
- Outdoor rain exposure
- Long water contact
Decorative use works best.
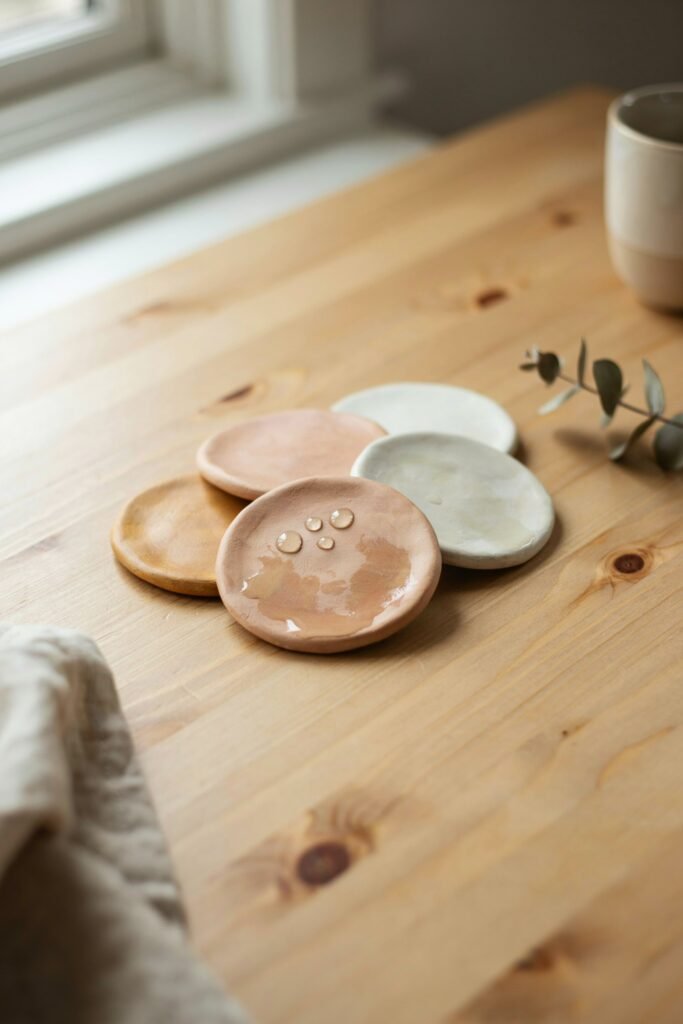
Best Projects for Glazed Air Dry Clay
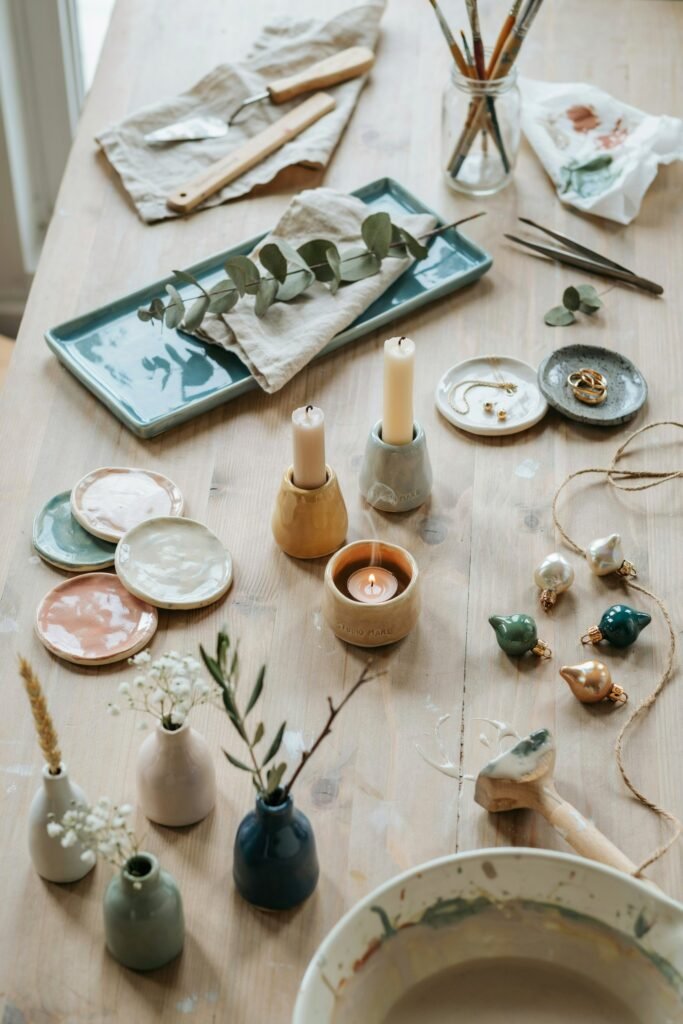
Once you master glazing, you can create amazing DIY items.
Popular Ideas
- Trinket dishes
- Jewelry holders
- Coasters
- Plant pots
- Decorative trays
- Christmas ornaments
- Wall art
- Incense holders
- Candle holders
- Key bowls
- Mini sculptures
Glazing instantly elevates all of them.
Glossy vs Matte Finish: Which Is Better?
Both styles are beautiful — it depends on your aesthetic.
Glossy Finish
Best for:
- Bright colors
- Modern décor
- Ceramic look
- Luxury appearance
Matte Finish
Best for:
- Neutral interiors
- Soft minimalist style
- Earthy aesthetics
- Scandinavian décor
Many creators combine both for contrast.
How to Store Leftover Homemade Glaze
If you make DIY glaze, store it properly.
Tips
- Use airtight containers
- Keep away from heat
- Stir before reuse
- Discard if smell changes
Most homemade mixtures last:
- 1–2 weeks
Advanced Tips for a Professional Finish
Once you learn the basics, these tricks help your projects stand out.
Use Foam Brushes
They reduce brush strokes dramatically.
Rotate Your Piece While Drying
This prevents uneven drips.
Spray Sealers Give Smooth Results
Especially for large pieces.
Use Resin for Luxury Projects
Resin instantly makes projects look expensive.
Buff Between Coats
Light sanding between layers creates ultra-smooth finishes.
Budget-Friendly Air Dry Clay Glazing Tips
You don’t need expensive products to create beautiful results.
Affordable options:
- White glue mixtures
- Dollar-store varnish
- Mod Podge
- DIY matte sealers
Skill matters more than price.
How Long Does Air Dry Clay Glaze Last?
With proper care:
- Decorative pieces can last for years
- Sealed surfaces resist dust and moisture better
- Multiple coats improve durability
Keep projects:
- Indoors
- Away from soaking water
- Out of direct extreme heat
Frequently Asked Questions
Can I use nail polish as glaze for air dry clay?
You can, but it’s not ideal for large projects because it may yellow or become sticky over time.
What is the best glaze for beginners?
Glossy Mod Podge or diluted glue mixtures are easiest for beginners.
How many coats of glaze should I use?
Usually 2–5 thin coats work best.
Why is my glaze cloudy?
Cloudiness usually happens from thick coats or trapped moisture.
Can air dry clay hold water after glazing?
Not reliably. Even sealed clay should not hold water long term.
Is resin better than varnish?
Resin creates a stronger and glossier finish, but varnish is easier and cheaper.
Final Thoughts
Learning how to make air dry clay glaze is one of the most important skills for anyone who loves DIY clay crafts.
A beautiful glaze transforms rough handmade clay into polished décor that looks elegant, stylish, and professionally made.
The good news is you don’t need expensive pottery equipment or advanced artistic skills.
With the right glaze, proper preparation, and a little patience, you can create stunning clay pieces right from home.
Start simple:
- Sand carefully
- Use thin coats
- Let everything dry fully
- Experiment with finishes
Over time, you’ll develop your own signature style and discover which glazing techniques work best for your projects.
Whether you prefer glossy ceramic-inspired finishes or soft matte modern aesthetics, glazing is the final touch that truly brings air dry clay creations to life.