
Air dry clay is one of the most popular crafting materials for beginners, hobby artists, DIY lovers, and even professional creators who want a simple alternative to kiln-fired pottery.
But one thing many people struggle with is learning how to properly join clay pieces together without cracks, weak seams, or broken edges.
That’s where air dry clay slip comes in.
If you have ever tried attaching handles, decorations, flowers, ears, limbs, or layered clay pieces and watched them fall apart later, you are not alone.
The secret that experienced clay artists use is something called clay slip.
The good news? Making air dry clay slip at home is incredibly easy, affordable, and beginner-friendly.
In this complete guide, you will learn:
- What air dry clay slip is
- Why it matters in clay projects
- The easiest ways to make it
- Common mistakes to avoid
- How to use slip properly
- Best consistency for strong joins
- Expert tips for smoother results
- Storage methods
- Troubleshooting advice
- Creative project ideas
Whether you are making miniature crafts, clay jewelry, sculptures, decorative bowls, ornaments, or DIY home decor, this guide will help you create stronger and more professional-looking clay projects.
Disclaimer: This post may contain affiliate links, which means I may earn a small commission at no extra cost to you. Always follow manufacturer instructions for your clay type and work in a clean, well-ventilated area when crafting.
Amazon Shopping List: How to Make Air Dry Clay Slip
- Air Dry Clay Pack (White or Natural Clay)
- Small Mixing Bowls Set
- Craft Measuring Spoons
- Silicone Spatula or Craft Mixing Sticks
- Fine Mesh Strainer (For Smooth Clay Slip)
- Clay Sculpting Tools Kit
- Silicone Craft Mat for Workspace Protection
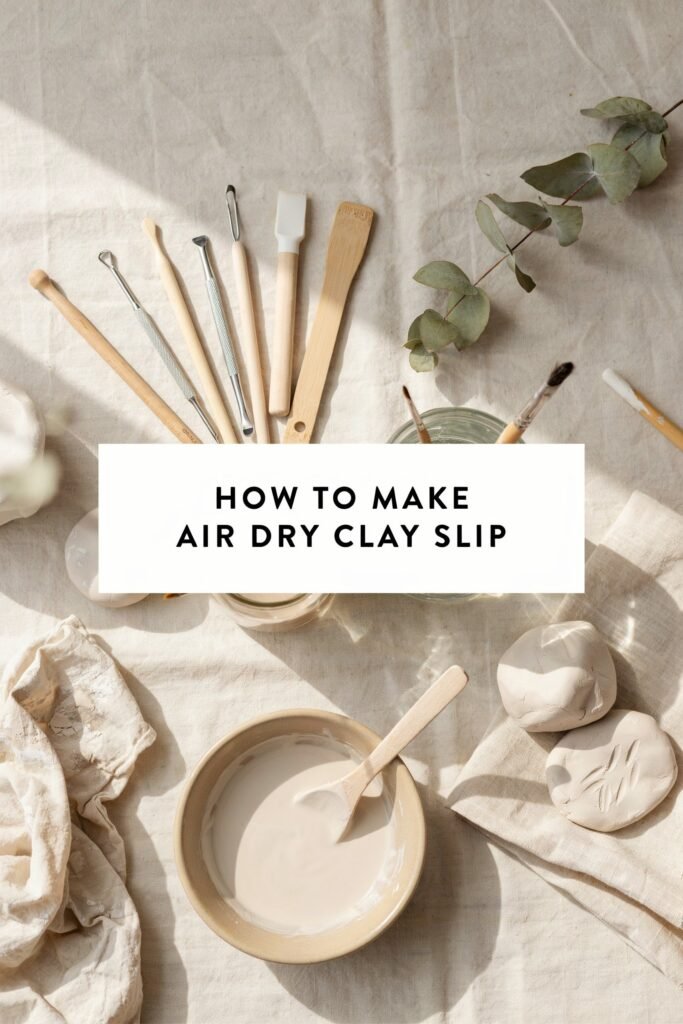
What Is Air Dry Clay Slip?
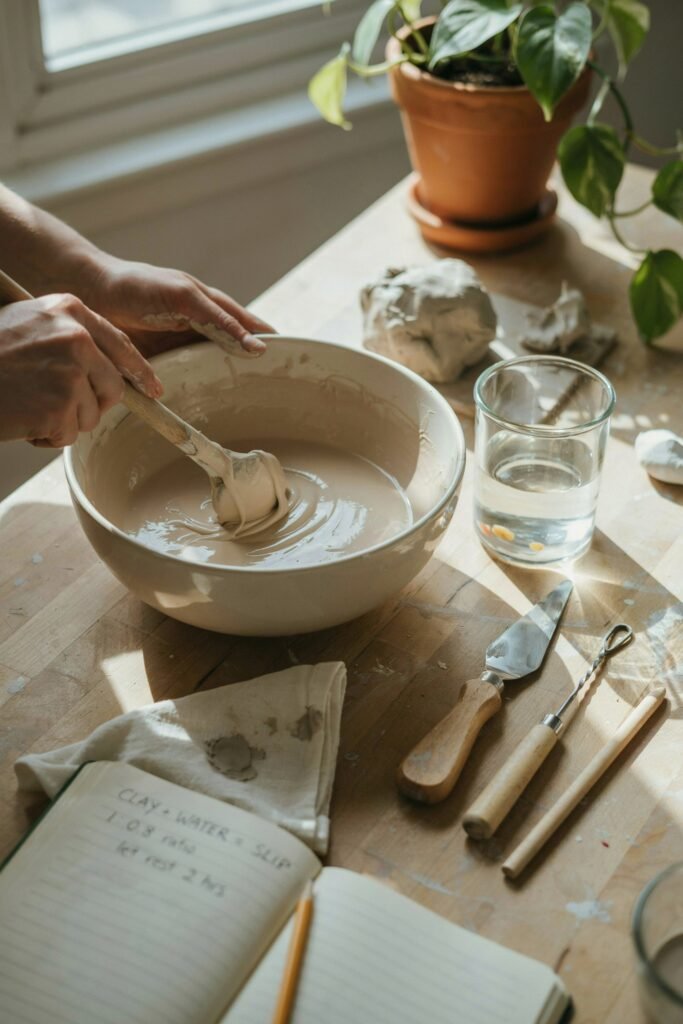
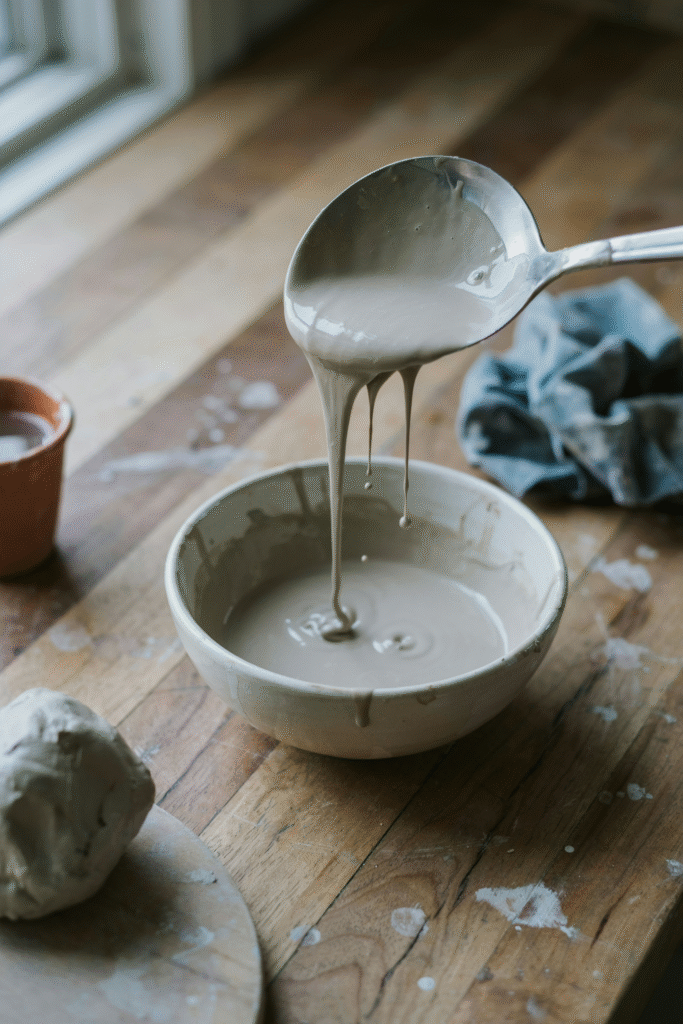
Air dry clay slip is a creamy liquid mixture made from air dry clay and water.
It acts like a glue or adhesive that helps connect separate clay pieces together securely.
Think of slip as “liquid clay glue.”
Instead of using regular glue while the clay is wet, clay artists use slip because it bonds naturally with the clay itself.
Slip is commonly used for:
- Attaching clay decorations
- Joining separate clay parts
- Repairing cracks
- Smoothing seams
- Filling gaps
- Adding texture effects
- Strengthening weak connections
Without slip, clay pieces often separate as they dry because air dry clay shrinks slightly during the drying process.
Using slip helps the pieces dry together more evenly and securely.
Why Clay Slip Is Important for Air Dry Clay Projects
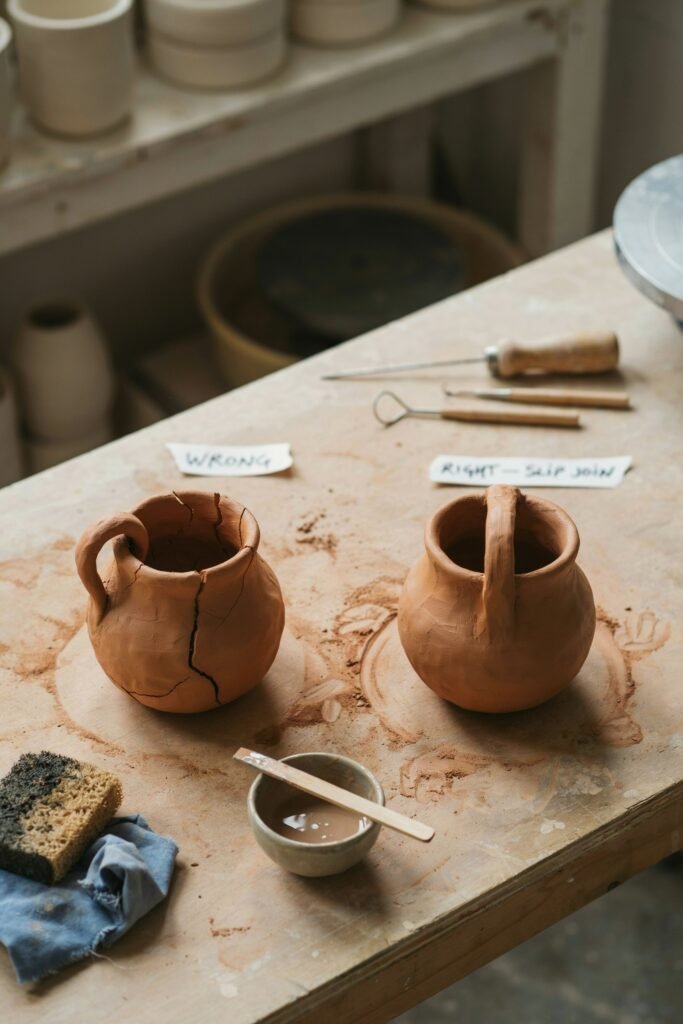
Many beginners skip this step because they think pressing clay pieces together is enough.
Unfortunately, that usually leads to:
- Cracking
- Pieces falling off
- Weak joints
- Uneven drying
- Broken decorations
- Fragile sculptures
Slip creates a stronger bond because it helps merge both surfaces together naturally.
Professional clay artists almost always use slip when connecting pieces.
If you want your projects to look cleaner, stronger, and more polished, learning how to make and use slip is essential.
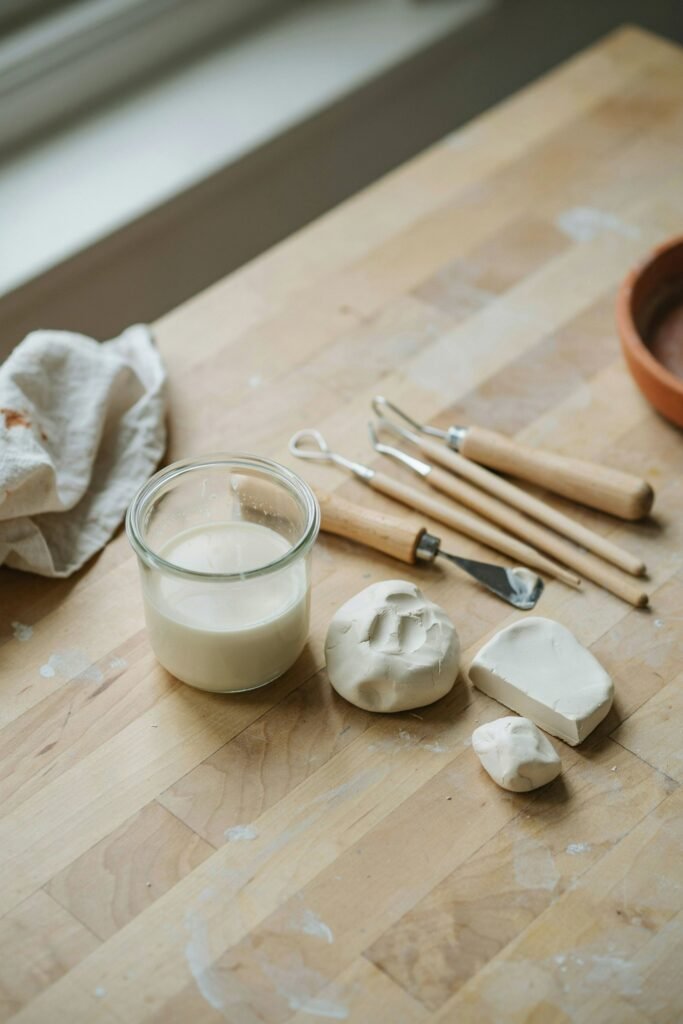
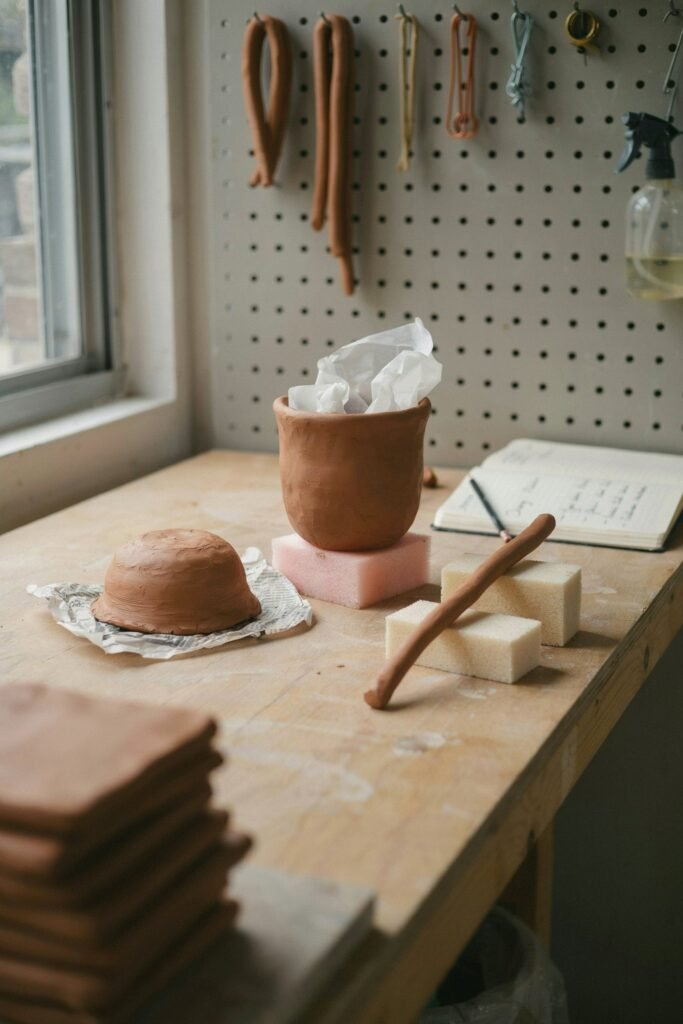
Materials You Need to Make Air Dry Clay Slip
One of the best things about making clay slip is that you only need a few simple materials.
Basic Supplies
- Air dry clay
- Water
- Small container or bowl
- Spoon or craft stick
- Airtight container for storage
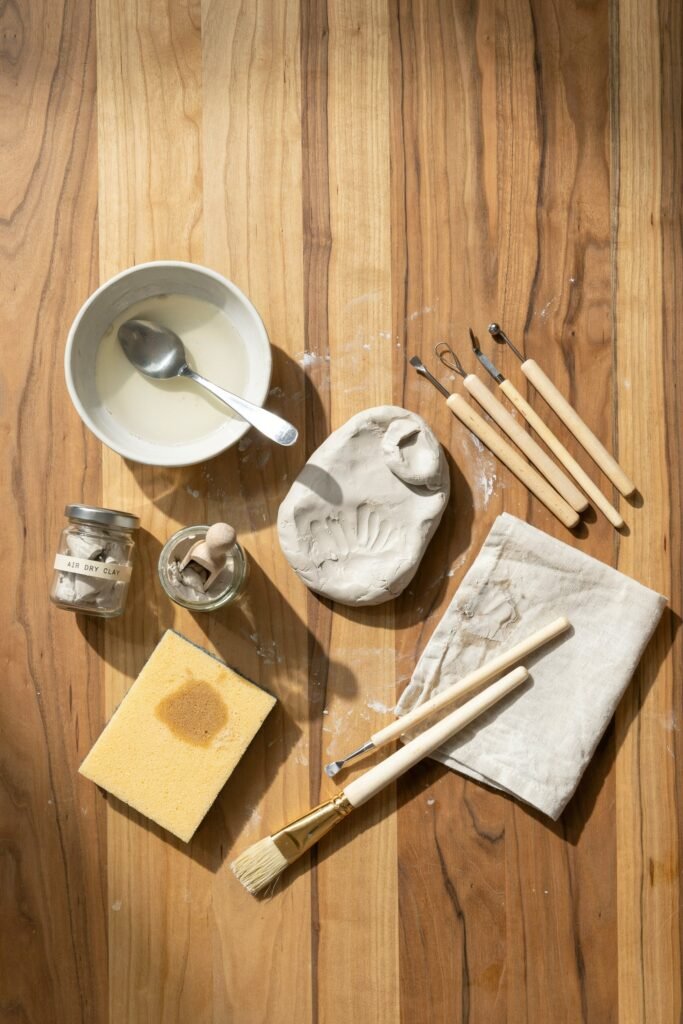
Optional tools:
- Small paintbrush
- Spray bottle
- Sponge
- Fine mesh strainer
- Palette knife
That’s it.
No expensive tools or special ingredients required.
The Easiest Way to Make Air Dry Clay Slip
This beginner-friendly method works perfectly for most clay projects.
Step 1: Break the Clay Into Small Pieces
Take leftover air dry clay or fresh clay and break it into tiny chunks.
Smaller pieces dissolve faster and create smoother slip.
You can also grate dried clay pieces using a cheese grater if needed.
Step 2: Place Clay Into a Container
Add the clay pieces into a small bowl, cup, or airtight container.
Do not overfill the container.
Leave enough room for mixing.
Step 3: Add Small Amounts of Water
Slowly pour water into the clay.
Start with very little water.
Too much water can make the mixture runny and weak.
A good starting ratio is:
- 2 parts clay
- 1 part water
You can always adjust later.
Step 4: Mix Thoroughly
Use a spoon, stick, or palette knife to stir the mixture.
Keep mixing until it becomes smooth and creamy.
The ideal texture should resemble:
- Yogurt
- Thick cream
- Smooth paste
It should not be watery like soup.
Step 5: Let It Sit
Allow the mixture to sit for 10–30 minutes.
This helps the clay absorb moisture evenly.
After resting, stir again.
If it feels too thick, add tiny amounts of water.
If too thin, add more clay.
What Is the Best Consistency for Clay Slip?
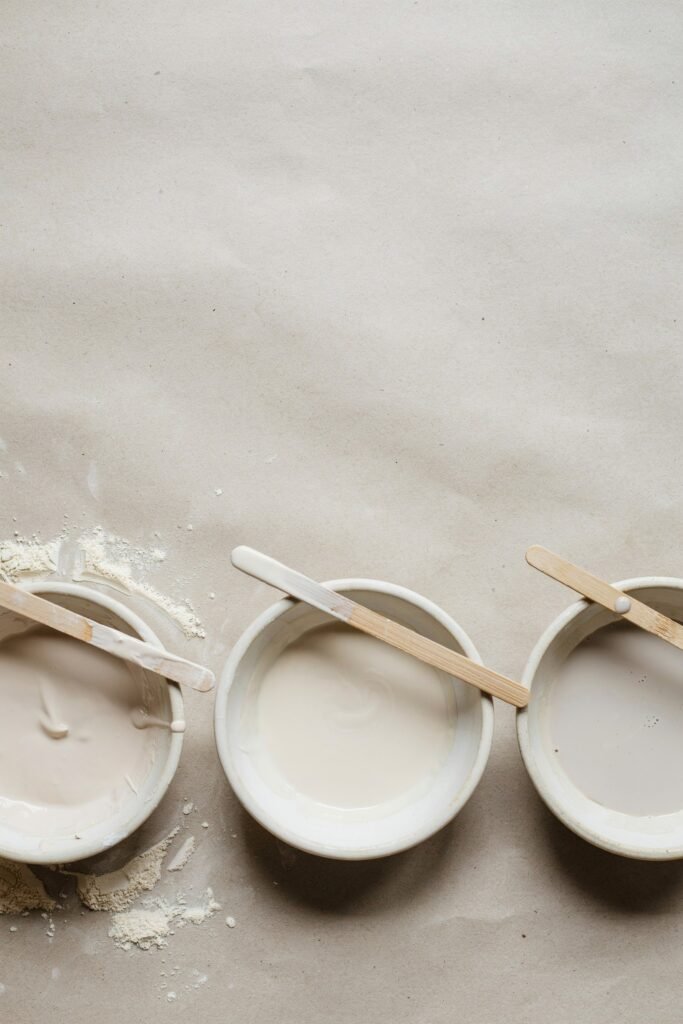
The perfect slip consistency depends on your project.
Thick Slip
Best for:
- Heavy pieces
- Sculptures
- Attachments
- Repairs
Texture:
- Thick yogurt
Medium Slip
Best for:
- General crafting
- Decorative pieces
- Joining small parts
Texture:
- Creamy pudding
Thin Slip
Best for:
- Texture painting
- Surface smoothing
- Fine detailing
Texture:
- Heavy cream
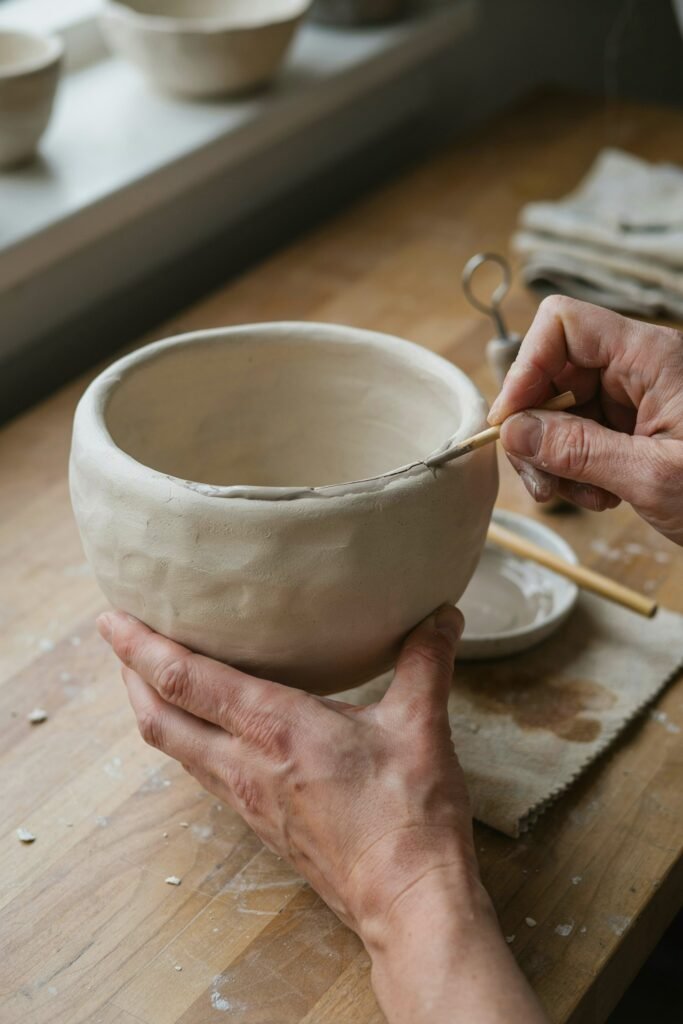
How to Use Air Dry Clay Slip Correctly
Knowing how to use slip properly is just as important as making it.
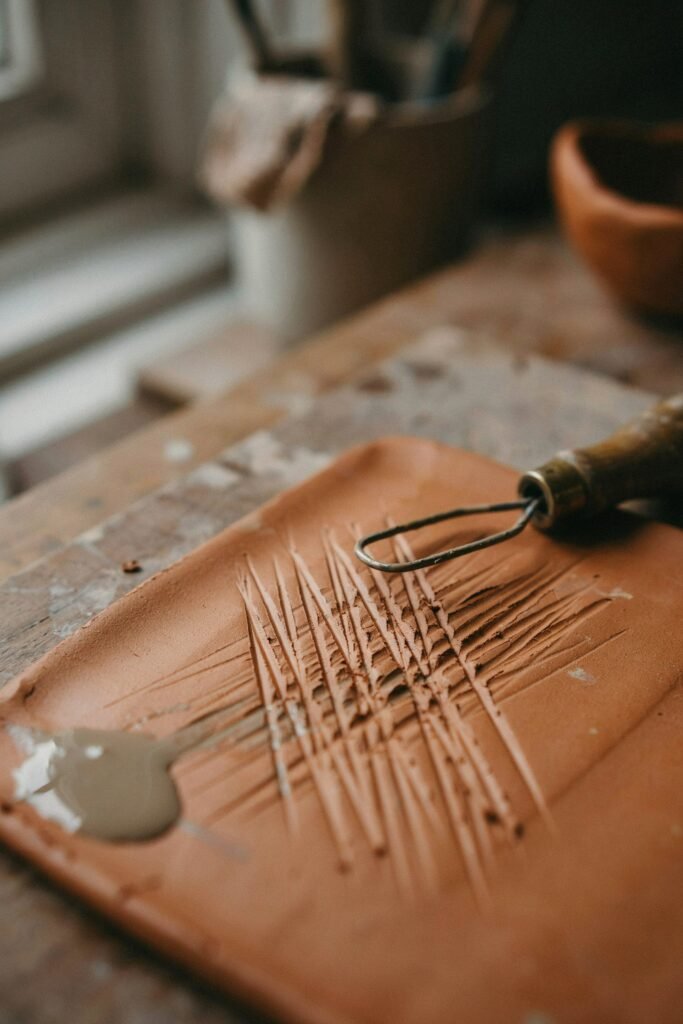
Step 1: Score the Clay
Before applying slip, scratch both clay surfaces lightly using:
- Toothpick
- Needle tool
- Fork
- Craft knife
This process is called scoring.
The scratches help the slip grip better.
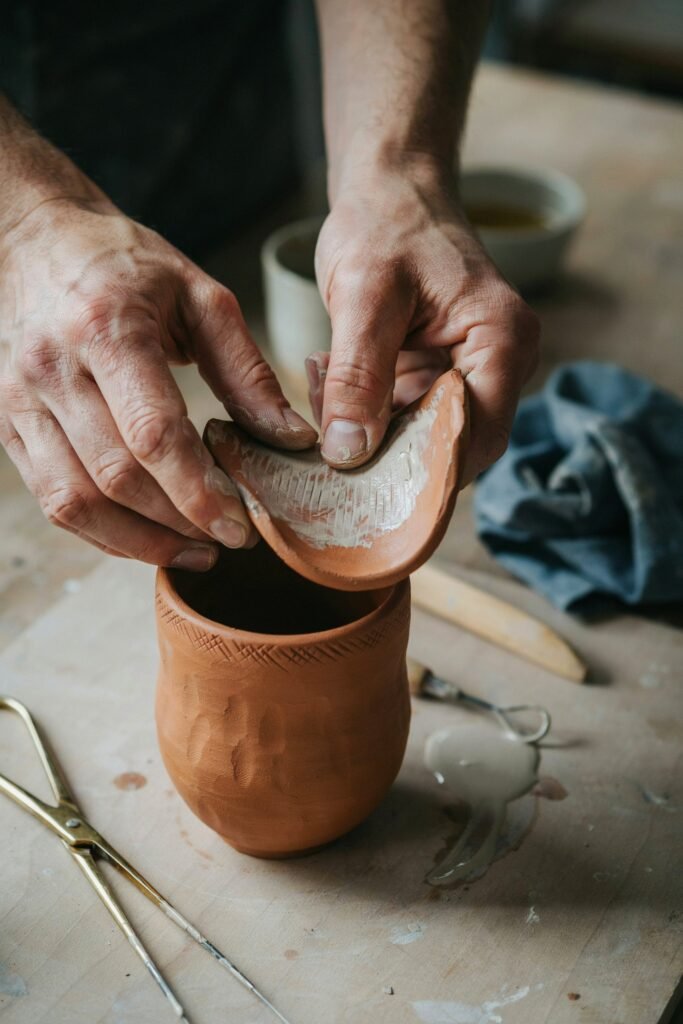
Step 2: Apply the Slip
Use a brush, finger, or tool to spread slip onto both scored surfaces.
Do not use too much.
A thin but even layer works best.
Step 3: Press Pieces Together
Firmly attach the clay pieces together.
Wiggle slightly to help the slip bond properly.
You should see a little excess slip squeeze out.
That’s a good sign.
Step 4: Smooth the Seam
Use your finger, sponge, or brush to smooth the seam.
This creates a cleaner and more professional finish.
Common Mistakes Beginners Make
Using Too Much Water
Watery slip weakens the bond and creates messy seams.
Always add water slowly.
Skipping Scoring
Slip alone is not enough.
Scoring gives the clay surface texture for stronger attachment.
Attaching Dry Clay to Wet Clay
Different moisture levels can cause cracking.
Try to join pieces with similar dampness.
Using Slip on Fully Dry Clay
Slip works best on moist or leather-hard clay.
Completely dry clay may need sanding and special repair methods.
Rushing the Drying Process
Fast drying can cause cracks.
Let projects dry naturally and evenly.
How to Store Air Dry Clay Slip
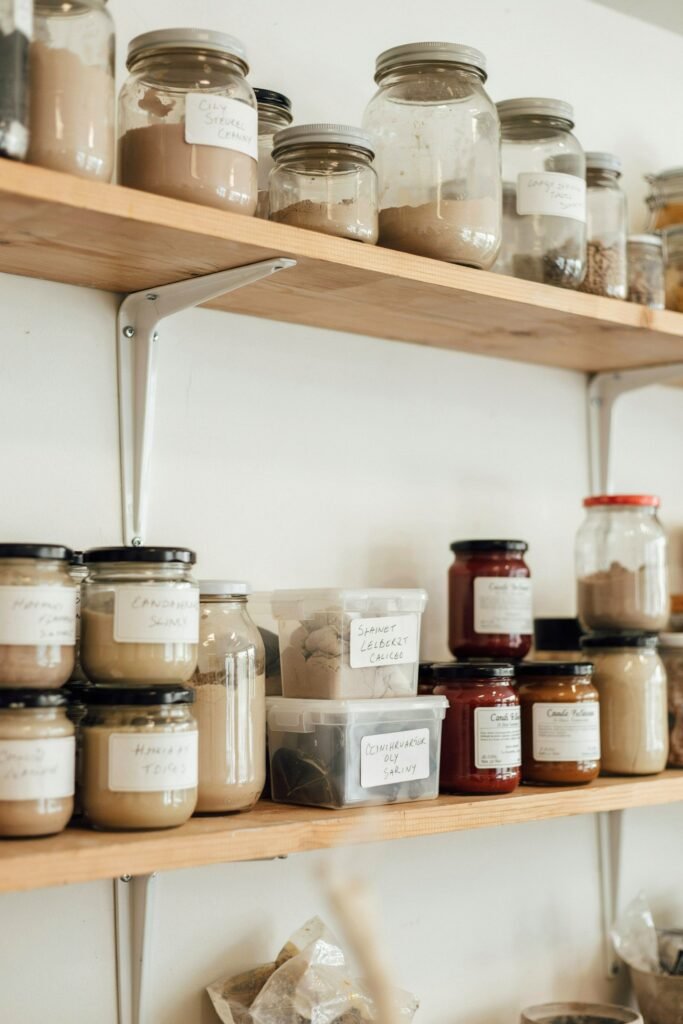
Proper storage keeps your slip usable for weeks.
Best Storage Methods
Store slip in:
- Airtight plastic containers
- Small jars with lids
- Recycled containers
Keep the lid tightly sealed to prevent drying.
How Long Does It Last?
Most homemade air dry clay slip lasts:
- 1–3 weeks
Depending on:
- Humidity
- Storage conditions
- Type of clay
If it thickens over time, simply add a few drops of water and stir again.
Can You Make Slip From Dried Air Dry Clay?
Yes — and it’s actually a great way to reduce waste.
How to Reuse Dried Clay
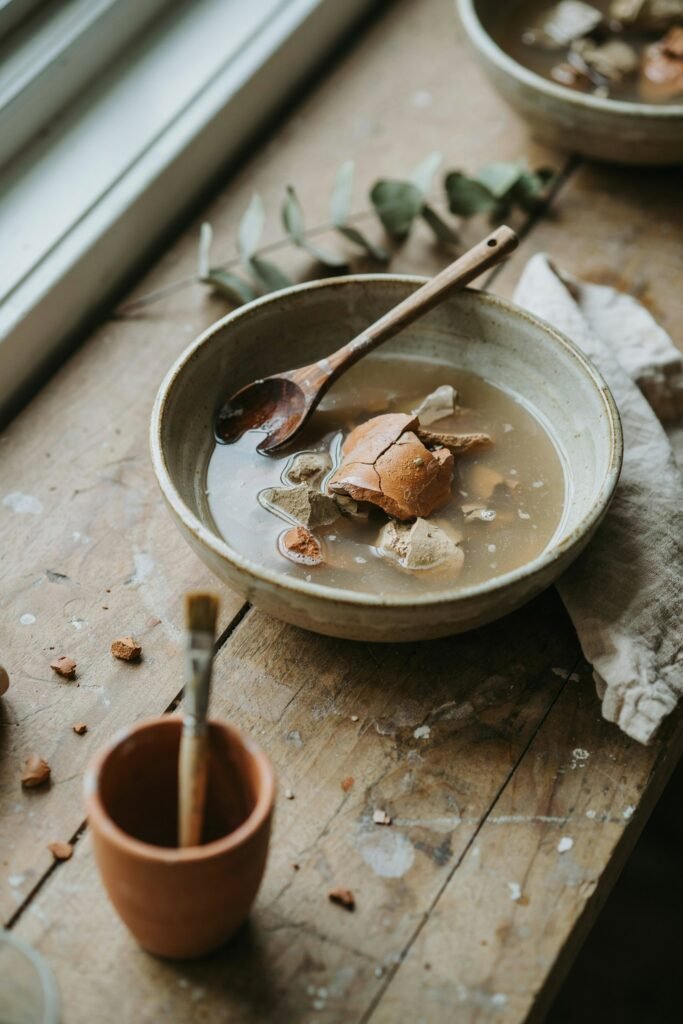
- Crush dried clay into powder or tiny chunks
- Add warm water
- Let soak overnight
- Stir until smooth
This method is eco-friendly and budget-friendly.
Best Types of Air Dry Clay for Making Slip
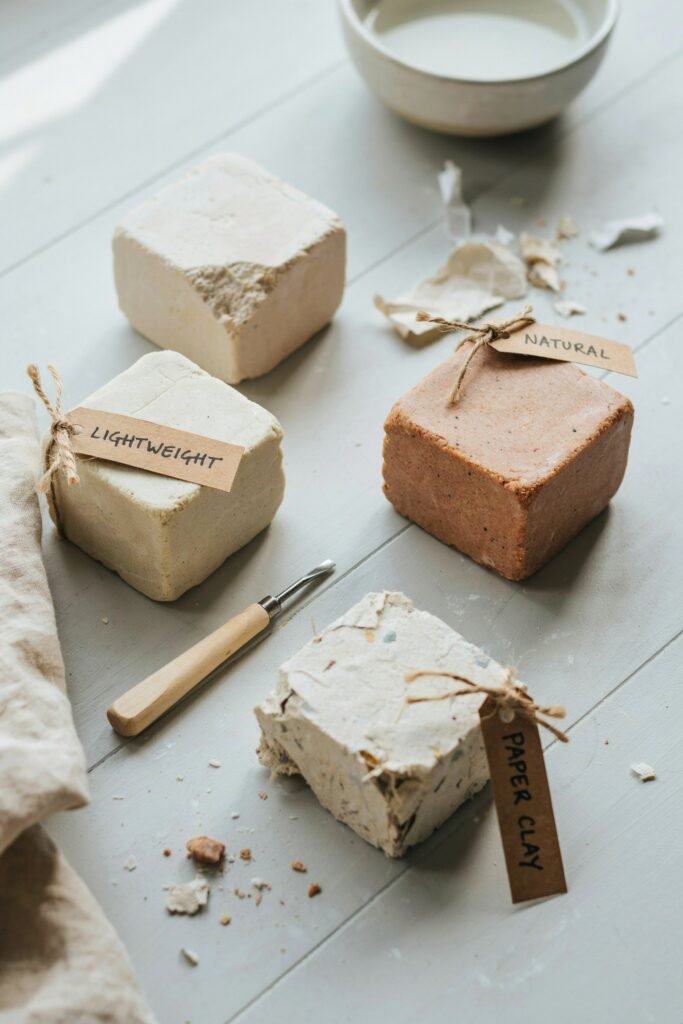
Different brands behave differently.
Some create smoother slip than others.
Popular Air Dry Clay Types
- Lightweight clay
- Natural clay
- Paper clay
- Resin-based air dry clay
Natural clay-based air dry clay usually creates the strongest slip.
How to Fix Cracks With Clay Slip
Slip is excellent for repairing small cracks.
Simple Crack Repair Method
- Slightly widen the crack
- Add slip inside
- Smooth with finger or tool
- Let dry slowly
For larger cracks:
- Use thicker slip
- Reinforce with fresh clay if necessary
Creative Ways to Use Air Dry Clay Slip
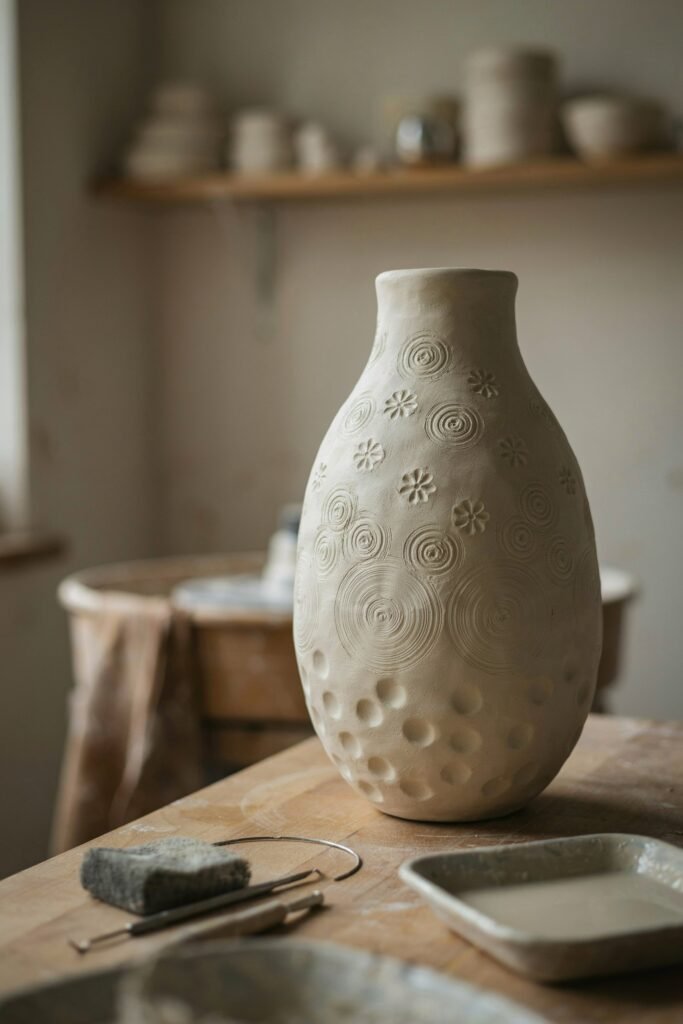
Many people only use slip as glue, but it can do much more.
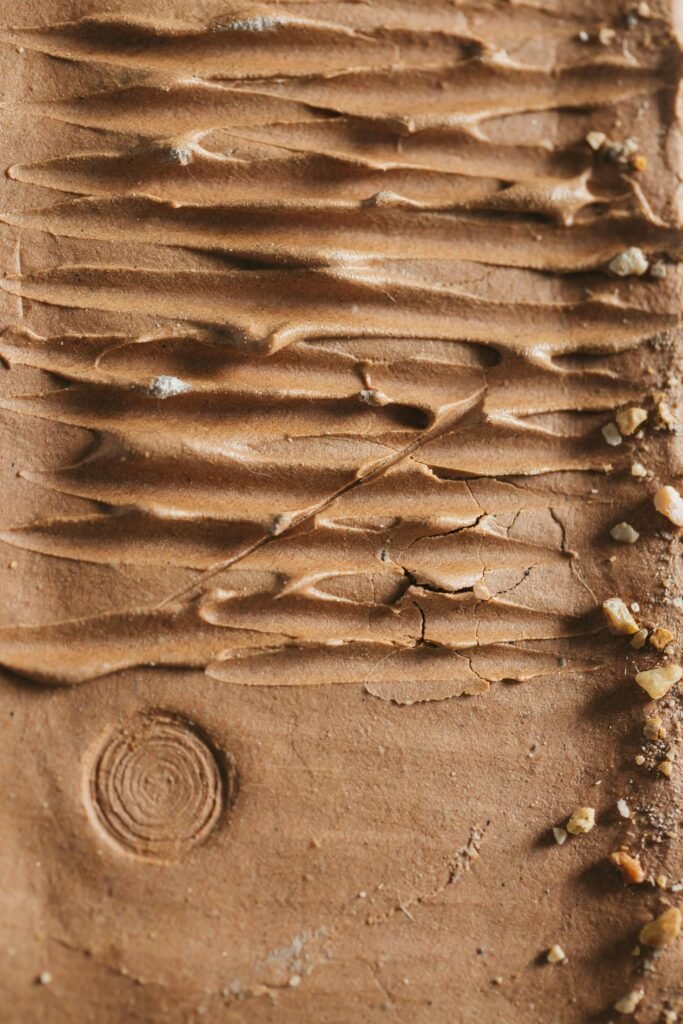
Texture Effects
Use slip to create:
- Rustic finishes
- Organic textures
- Raised patterns
Decorative Painting
Thin slip can be brushed onto surfaces for artistic effects.
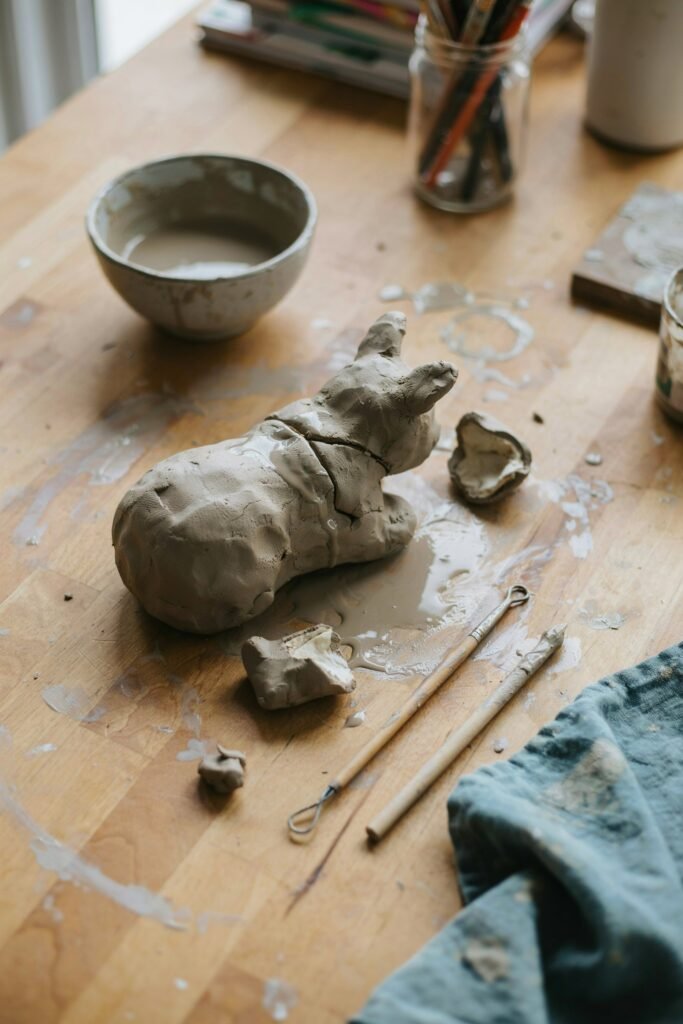
Seamless Sculpting
Slip helps blend pieces together naturally.
Great for:
- Animal sculptures
- Dolls
- Miniatures
- Clay flowers
Pro Tips for Stronger Clay Attachments
Work Slowly
Rushing often creates weak seams.
Take time to score and smooth properly.
Keep Clay Moist
Dry clay is harder to bond.
Cover unused clay with plastic wrap while working.
Use Small Amounts of Slip
Too much slip creates slippery weak joints.
Thin layers are stronger.
Support Heavy Pieces
Use temporary supports while drying:
- Tissue paper
- Foam
- Towels
This prevents sagging.
Air Dry Clay Slip vs Glue
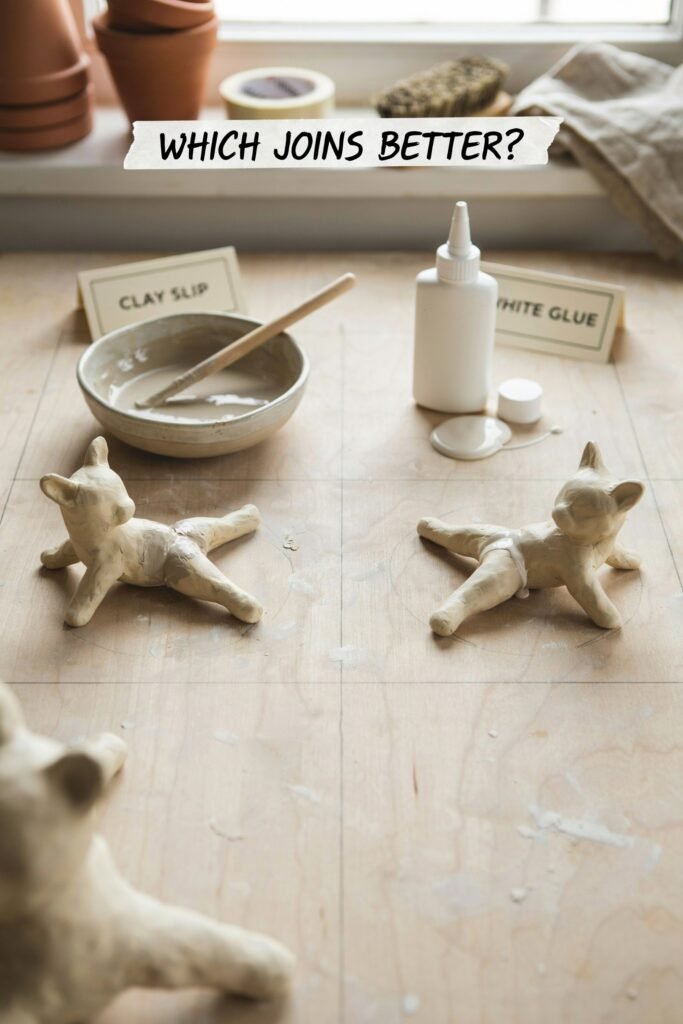
Many beginners ask whether regular glue works instead of slip.
The answer depends on the project.
Clay Slip
Best for:
- Wet clay
- Natural bonding
- Sculpting
- Strong joins
Glue
Best for:
- Fully dry pieces
- Repairs after drying
- Mixed materials
For most clay construction, slip is the better choice.
Frequently Asked Questions
Can I use glue in clay slip?
Some people add small amounts of white glue for extra strength, but pure clay slip usually works perfectly on its own.
Why is my slip lumpy?
Your clay pieces may be too large.
Try:
- Crushing clay finer
- Mixing longer
- Letting it soak more
Can slip dry out?
Yes.
Simply rehydrate with water and stir again.
Can I paint over clay slip?
Absolutely.
Once fully dry, slip can be:
- Sanded
- Primed
- Painted
- Sealed
Is air dry clay slip waterproof?
No.
Most air dry clay remains water-sensitive unless sealed properly.
Final Thoughts
Learning how to make air dry clay slip is one of the simplest but most valuable skills for any clay artist or DIY crafter.
It transforms weak projects into stronger, cleaner, and more professional creations.
The best part is that making slip costs almost nothing and takes only a few minutes.
Once you start using clay slip properly, you will notice:
- Fewer cracks
- Stronger attachments
- Cleaner seams
- Better sculpting results
- More durable crafts
Whether you are making home decor, ornaments, figurines, jewelry, or creative gifts, mastering clay slip will instantly improve your air dry clay projects.
Start simple, experiment with consistency, and enjoy the creative process.
With practice, your clay creations will become smoother, stronger, and far more professional-looking.