
Rose scented candles have always been one of my favorite DIY projects because they instantly make a room feel warm, relaxing, and inviting.
The soft floral fragrance creates a peaceful atmosphere that works beautifully in bedrooms, bathrooms, living rooms, and even home offices.
Unlike many store-bought candles that can be expensive or filled with synthetic ingredients, homemade rose candles allow complete control over the ingredients, fragrance strength, and overall appearance.
The first time I made rose scented candles at home, I was surprised by how simple the process actually was.
With a few basic supplies and a little patience, I created candles that looked professionally made and smelled incredible.
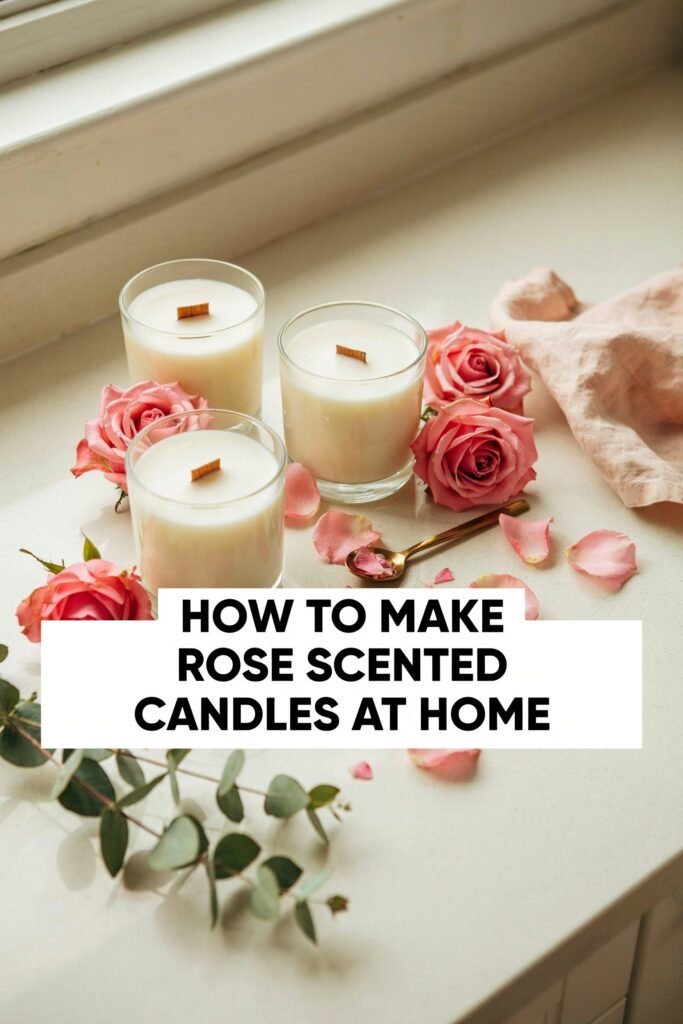
Since then, making homemade candles has become one of my favorite weekend projects because it combines creativity with practicality.
One of the best things about making rose scented candles yourself is the ability to customize them.
You can create romantic candles for special occasions, decorative candles for your home, thoughtful handmade gifts, or even products to sell at local markets and online shops. The possibilities are endless.
In this guide, I will walk through everything needed to make beautiful rose scented candles at home, including ingredients, tools, preparation steps, candle-making instructions, troubleshooting tips, and ways to customize your finished candles.
Why Make Rose Scented Candles at Home?
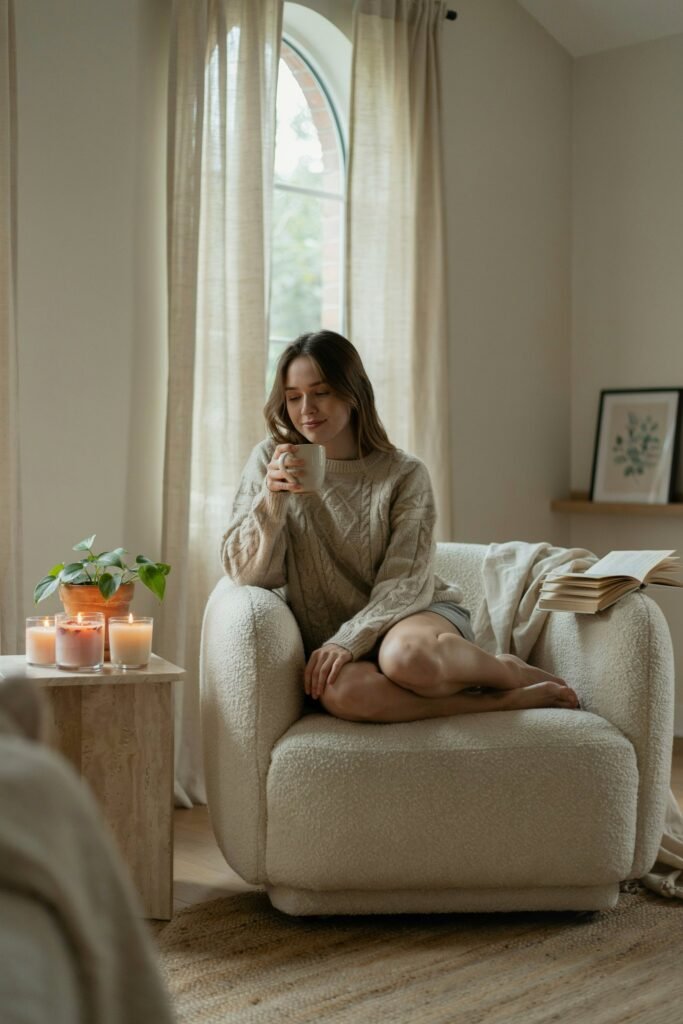
Homemade rose candles offer several advantages over commercial candles.
- Control over ingredients
- Custom fragrance strength
- Cost savings
- Creative freedom
- Beautiful handmade gifts
- Potential small business opportunity
- Reduced exposure to unnecessary additives
Many commercial candles contain synthetic ingredients that may not appeal to everyone.
Creating your own candles allows you to choose high-quality waxes and fragrances while designing candles that fit your personal style.
Ingredients You’ll Need
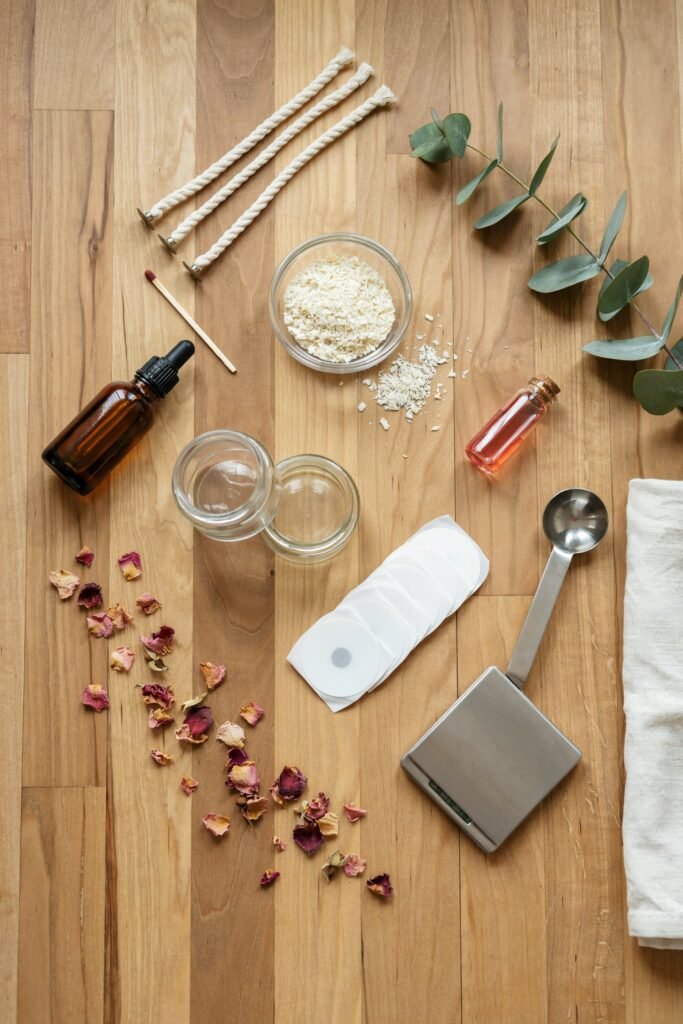
Before starting, gather all ingredients and supplies. Having everything prepared beforehand makes the candle-making process much smoother.
1. Soy Wax Flakes
Smooth-burning natural wax creates clean candles with excellent fragrance retention properties.
2. Rose Fragrance Oil
Rich floral aroma delivers classic rose scent throughout every candle.
3. Candle Wicks
Properly sized wick ensures steady burning and consistent wax melting.
4. Wick Stickers or Glue Dots
Secure wicks firmly inside containers before pouring melted candle wax.
5. Dried Rose Petals
Beautiful decorative addition enhances appearance and complements floral fragrance perfectly.
6. Candle Dye (Optional)
Adds elegant color while helping create visually attractive homemade candles.
7. Glass Candle Jars
Heat-resistant containers safely hold wax while showcasing finished candle designs.
Tools Needed
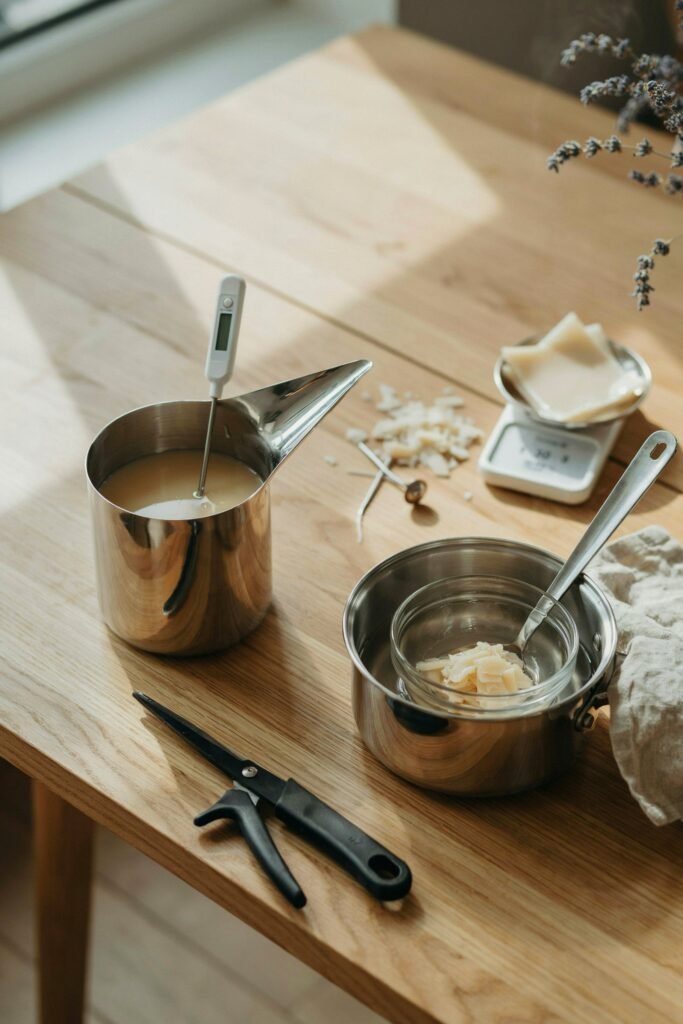
Having the right tools makes candle making much easier and safer.
- Double boiler
- Heat-resistant pouring pitcher
- Thermometer
- Stirring spoon
- Scissors
- Clothespins or wick holders
- Measuring scale
- Paper towels
Understanding Each Ingredient’s Role
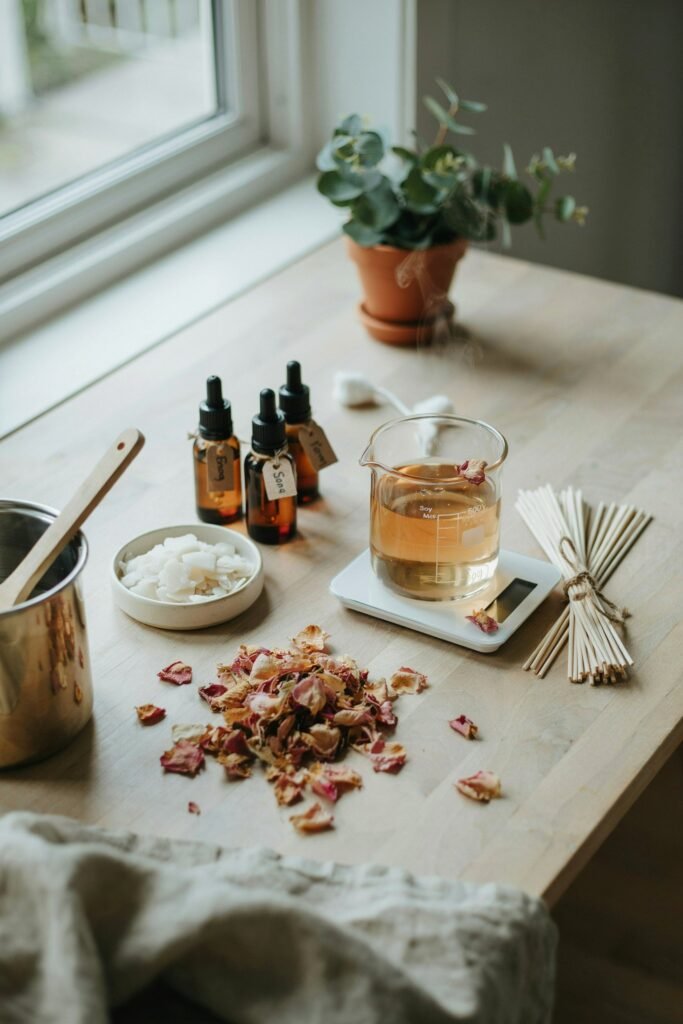
Before making the candles, it helps to understand why each ingredient matters.
Soy Wax
Soy wax is often recommended for beginners because it melts evenly, burns cleanly, and holds fragrance well. It also tends to produce less soot compared to some alternatives.
Rose Fragrance Oil
This ingredient creates the signature scent. High-quality fragrance oils provide a stronger and longer-lasting aroma than lower-quality alternatives.
Candle Wicks
A wick may seem simple, but choosing the correct size is critical. An undersized wick can tunnel through the wax, while an oversized wick may burn too hot.
Dried Rose Petals
Rose petals add visual beauty and make the finished candle feel more luxurious. They can be placed on top of the candle after pouring.
Candle Jars
Proper containers protect the wax, provide stability, and improve the overall appearance of the finished candle.
Step 1: Prepare Your Workspace
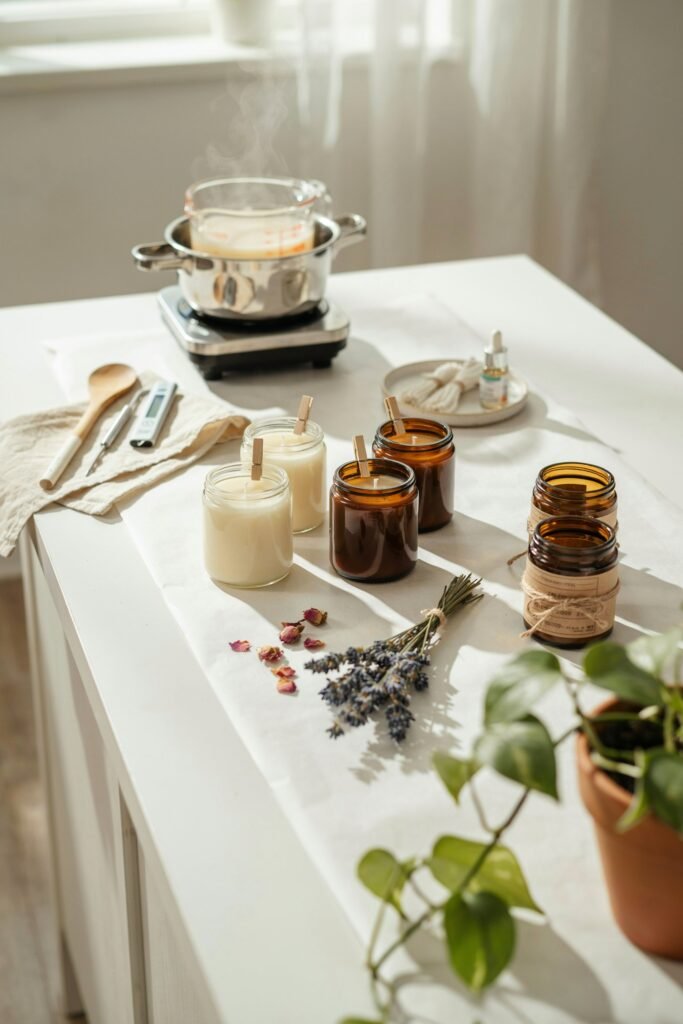
Creating a clean and organized workspace is one of the most important parts of candle making.
I always begin by covering the countertop with newspaper, parchment paper, or a protective mat. Candle wax can be messy once melted, so protecting surfaces saves cleanup time later.
Place all ingredients and tools within easy reach before beginning. Once the wax reaches the proper temperature, you’ll need to work efficiently.
Make sure children and pets are away from the workspace while handling hot wax.
Step 2: Prepare Your Candle Containers
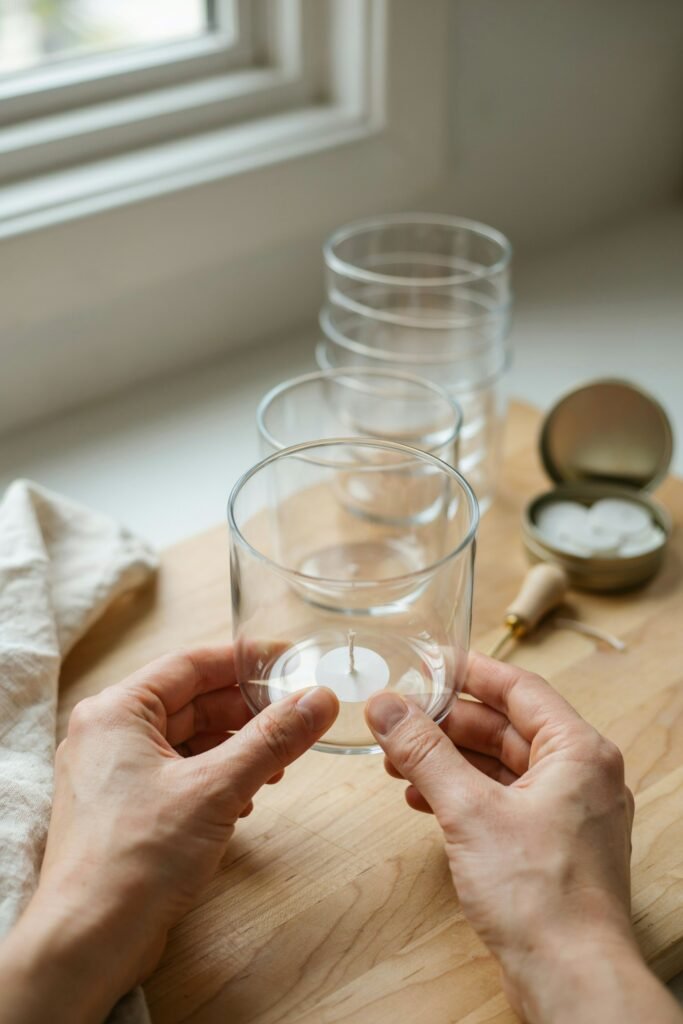
Clean each candle jar thoroughly before use.
Even small amounts of dust or residue can affect how the candle looks once finished.
After cleaning, allow the jars to dry completely.
Next, attach a wick sticker or glue dot to the bottom of each wick tab. Press the wick firmly into the center of the jar.
A centered wick is essential for even burning. Taking a few extra moments here helps prevent future problems.
Once attached, use a wick holder, clothespin, or pencil across the top of the jar to keep the wick upright.
Step 3: Measure the Wax
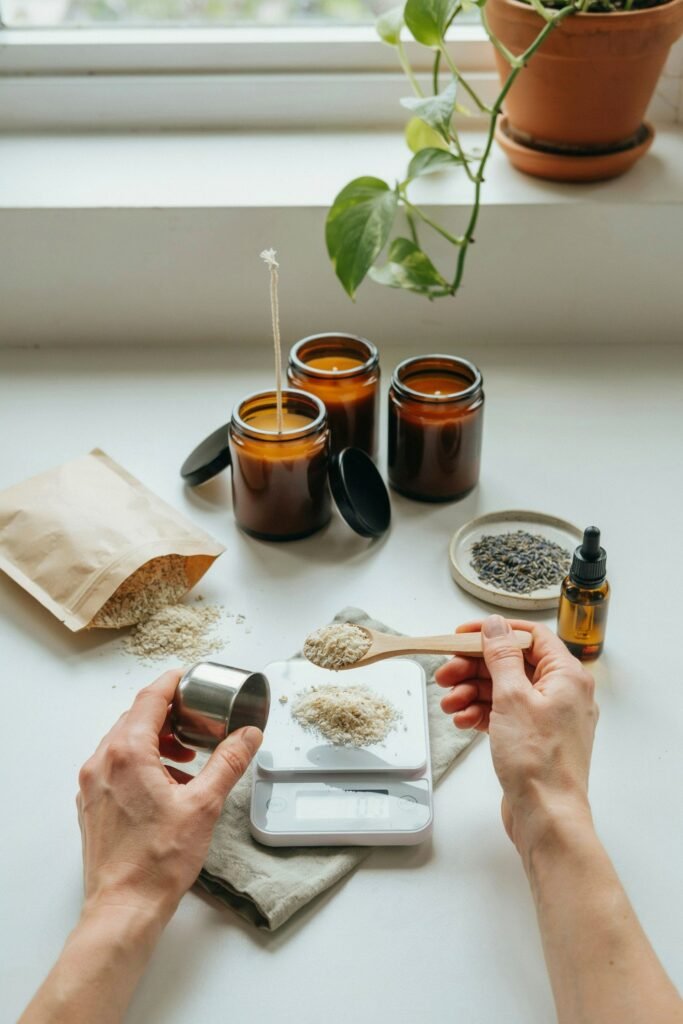
One mistake many beginners make is estimating the amount of wax needed.
An easy method is to fill your candle container with wax flakes and then pour those flakes into a measuring container.
Since wax shrinks slightly when melted, it’s often wise to prepare a little extra.
For multiple candles, repeat the process and combine the measurements.
Accurate measuring helps prevent wasted materials while ensuring enough wax for each container.
Step 4: Melt the Wax Properly
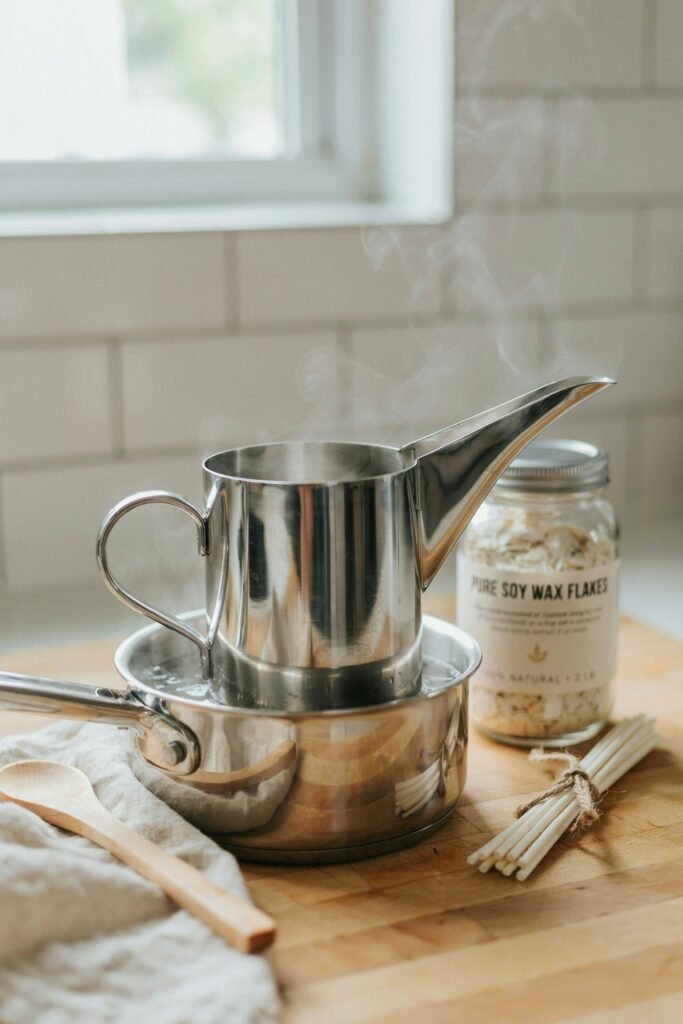
Fill the bottom portion of a double boiler with water and bring it to a gentle simmer.
Place the soy wax into the upper section of the double boiler or a heat-safe pouring pitcher.
Allow the wax to melt slowly.
I avoid rushing this step because overheating can negatively affect fragrance performance.
Stir occasionally while the wax melts.
The texture should become completely smooth with no visible flakes remaining.
Using a thermometer helps monitor temperature and prevents overheating.
Patience during melting often leads to better-looking candles with stronger fragrance throw.
Step 5: Add Rose Fragrance Oil
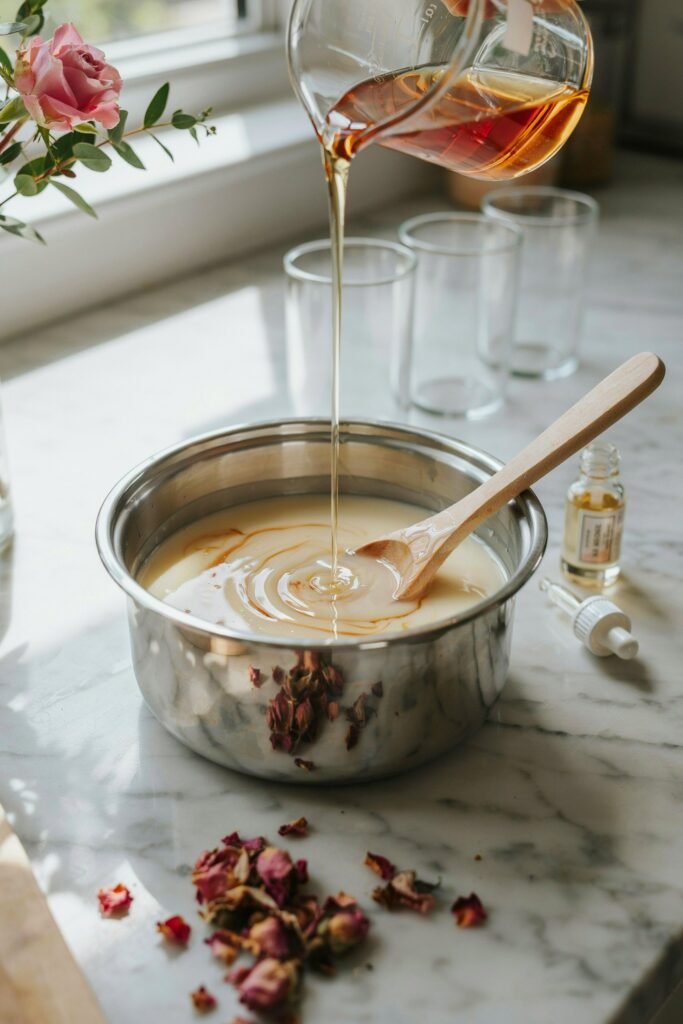
Once the wax reaches the recommended temperature, remove it from heat.
Allow the wax to cool slightly before adding fragrance oil.
Adding fragrance at the proper temperature helps preserve the scent and improves fragrance retention.
Carefully measure the rose fragrance oil according to the manufacturer’s recommendations.
Pour the fragrance oil into the melted wax.
Stir slowly and continuously for approximately two minutes.
I have found that thorough stirring helps distribute the fragrance evenly throughout the candle, creating a more consistent scent experience from top to bottom.
The room will already begin filling with a beautiful rose aroma during this step.
Step 6: Add Color if Desired
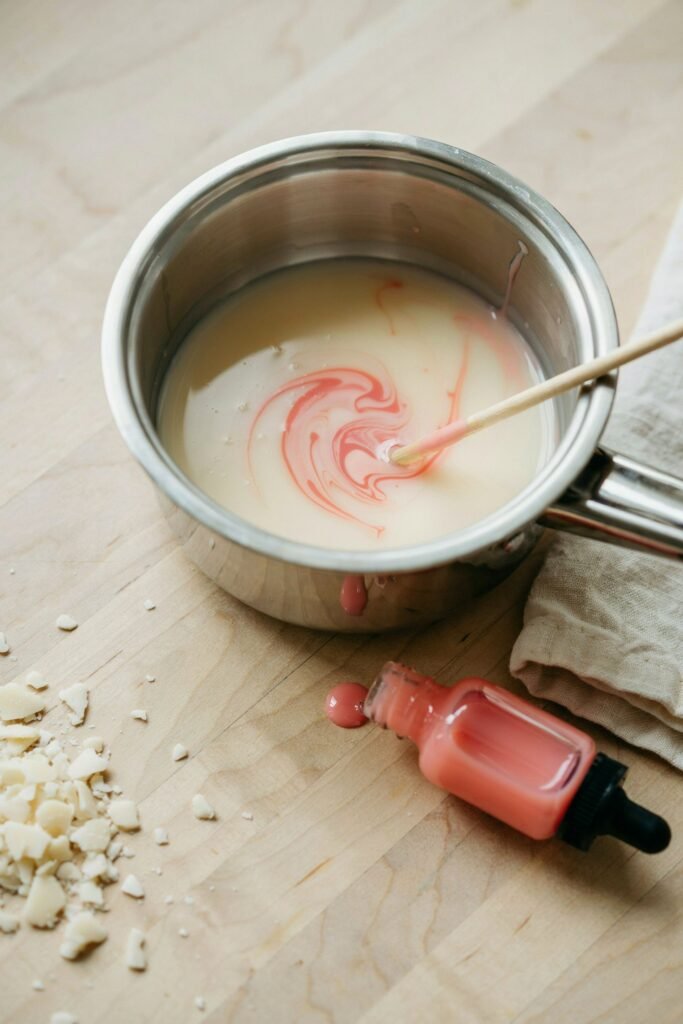
This step is optional but can enhance the appearance of your candles.
For a classic rose-inspired look, many people choose:
- Soft pink
- Dusty rose
- Blush pink
- Cream
- White
- Deep rose red
Add only a small amount of candle dye at first.
The melted wax often appears darker than the finished candle.
Stir thoroughly until the color becomes completely uniform.
Gradually add more dye if a deeper shade is desired.
Remember that subtle colors often create a more elegant and professional-looking candle.
Step 7: Pour the Wax Into Containers
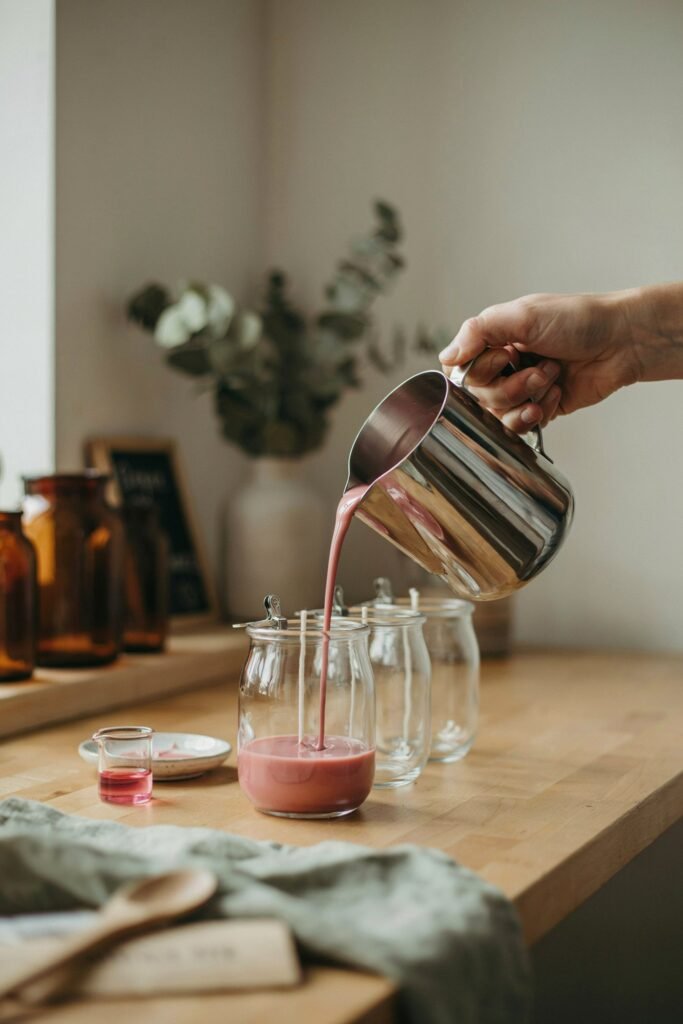
Carefully pour the scented wax into prepared candle jars.
Pour slowly to reduce air bubbles and minimize splashing.
Leave a small amount of space at the top of each container.
Continue checking that the wick remains centered throughout the pouring process.
A centered wick contributes to an even burn and improves the candle’s appearance.
After pouring, avoid moving the jars unnecessarily.
Movement during cooling can create imperfections on the candle surface.
At this stage, the candles will begin transforming from liquid wax into beautiful rose scented creations.
Step 8: Add Dried Rose Petals
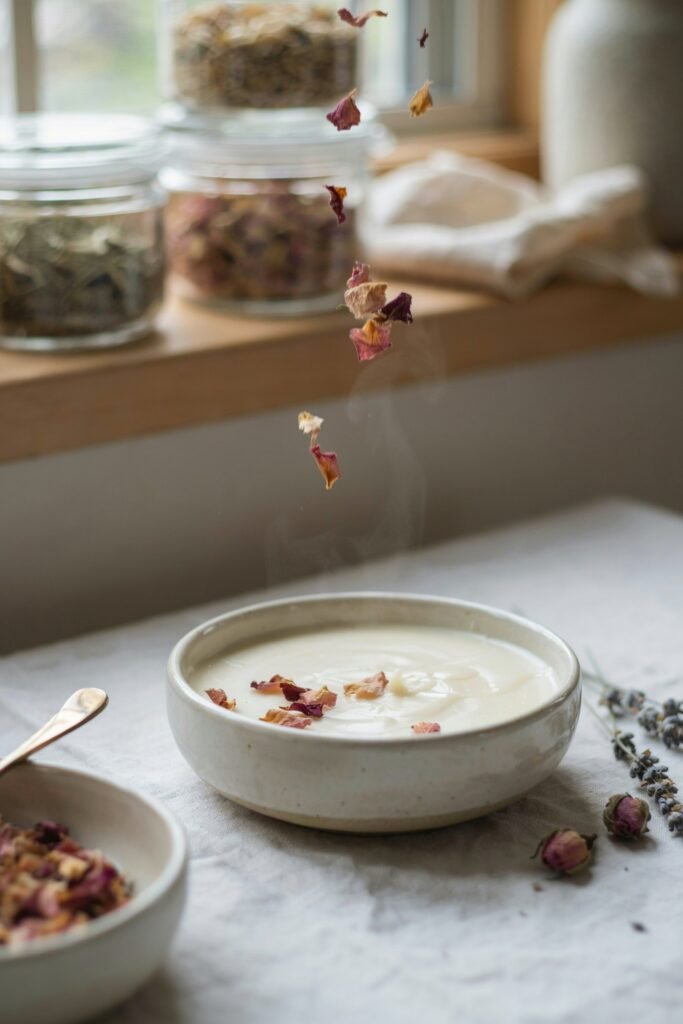
Once the wax has cooled slightly but is still soft, it’s time to add the decorative rose petals.
This is one of my favorite parts because the candle immediately starts looking beautiful and handcrafted.
Sprinkle a small amount of dried rose petals onto the surface of each candle.
Avoid adding too many petals directly around the wick area. While rose petals are attractive, excessive amounts near the flame may interfere with proper burning.
A light scattering usually creates the most elegant appearance.
For a more professional design, place petals around the outer edges of the candle while keeping the center area relatively clear.
The petals will become embedded slightly into the wax as it continues cooling, helping them stay securely in place.
Step 9: Let the Candles Cool Completely
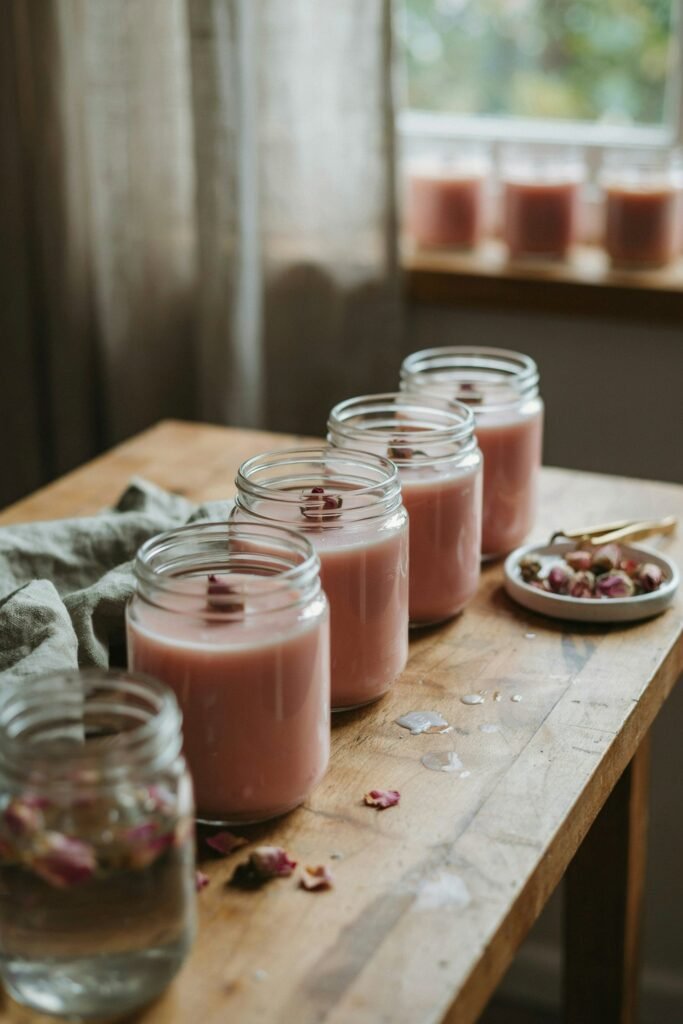
After pouring and decorating, allow the candles to cool naturally.
This step requires patience, but it is extremely important.
Avoid placing candles in the refrigerator or freezer to speed up the process. Rapid cooling can cause cracking, uneven surfaces, and poor fragrance performance.
I usually leave newly poured candles undisturbed for several hours.
Depending on container size and room temperature, cooling may take anywhere from four to twelve hours.
During this stage, the wax changes from liquid to solid and begins forming its final appearance.
If you notice minor imperfections on the surface, don’t worry. Small cosmetic issues are common and can often be corrected later.
Step 10: Trim the Wick
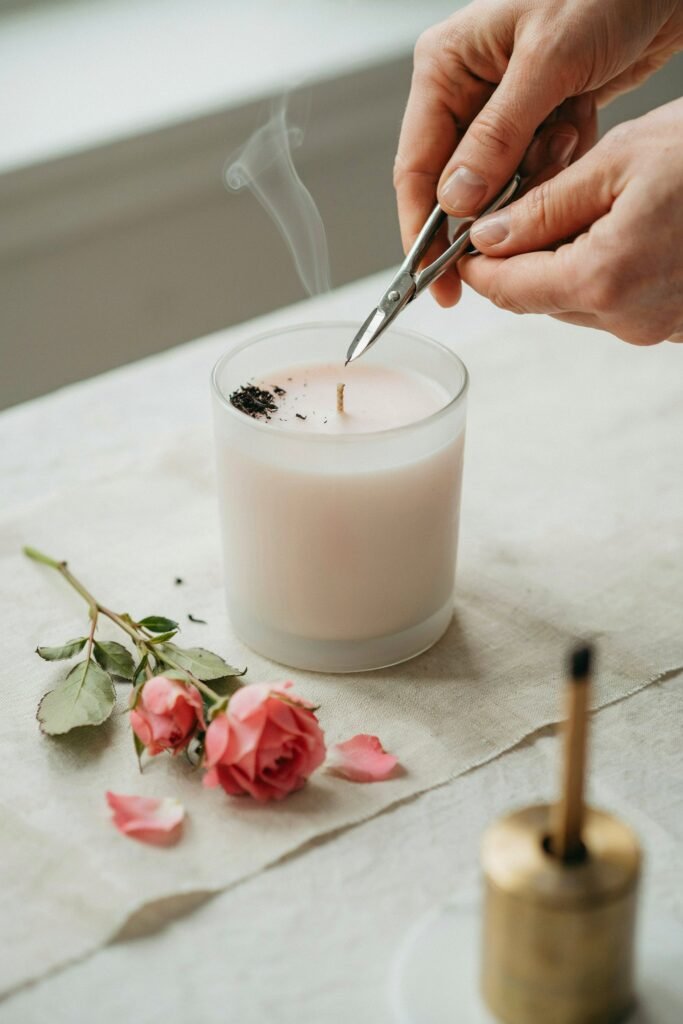
Once the candles have fully hardened, trim the wick.
A properly trimmed wick helps the candle burn safely and efficiently.
Using scissors or a wick trimmer, cut the wick to approximately one-quarter inch above the wax surface.
Avoid leaving the wick too long.
Long wicks can create:
- Excessive smoke
- Larger flames
- Uneven burning
- Faster wax consumption
- Increased soot production
This simple step greatly improves candle performance.
Step 11: Cure the Candles for Stronger Fragrance
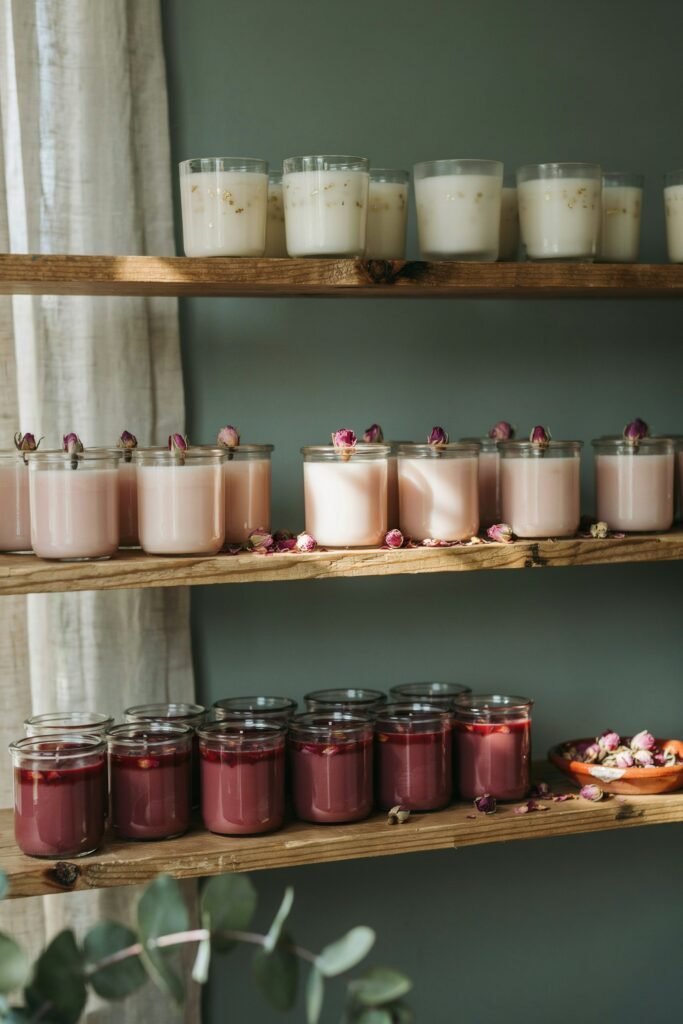
One mistake I made when first learning candle making was burning candles immediately after they hardened.
Although the candles may look finished, they actually continue developing fragrance strength during the curing process.
Curing allows the fragrance oil and wax to bond properly.
For soy candles, I recommend waiting at least one to two weeks before burning.
While it can be difficult to wait, the difference is often noticeable.
Properly cured candles generally provide:
- Stronger scent throw
- Better fragrance distribution
- More consistent performance
- Improved burn quality
Store the candles in a cool location while they cure.
Tips for Creating the Best Rose Scented Candles
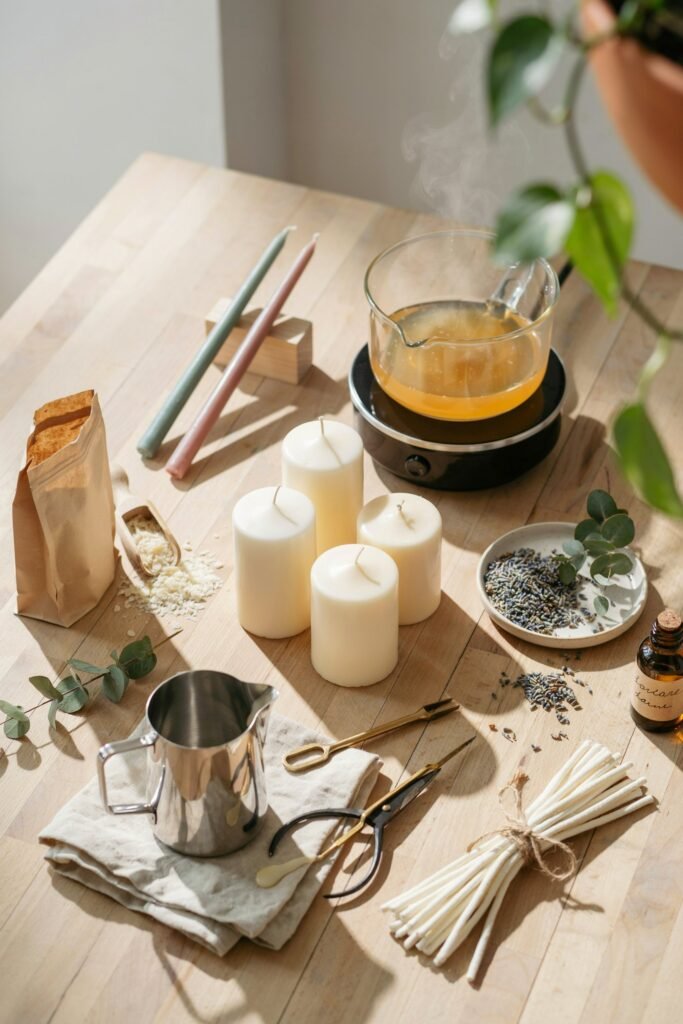
Over time, I’ve learned several techniques that help produce better homemade candles.
Use High-Quality Fragrance Oils
The fragrance oil largely determines how the finished candle smells.
Premium fragrance oils usually provide:
- Better scent strength
- Longer-lasting aroma
- Cleaner fragrance profile
- Improved hot throw
Choosing quality fragrance oil is often worth the extra investment.
Measure Ingredients Carefully
Accurate measurements create consistent results.
Using too little fragrance may produce weak candles, while excessive fragrance can affect performance.
A digital scale helps ensure precision.
Keep the Wick Centered
A centered wick may seem like a small detail, but it dramatically impacts how the candle burns.
Proper centering helps:
- Prevent tunneling
- Promote even melting
- Extend burn time
- Improve appearance
Avoid Overheating Wax
Excessive heat can reduce fragrance effectiveness.
Slow, controlled melting often produces better candles than rushing the process.
Allow Proper Cure Time
Many beginners underestimate the importance of curing.
Giving candles sufficient time to cure often leads to stronger and more enjoyable fragrance performance.
Creative Ways to Customize Rose Candles
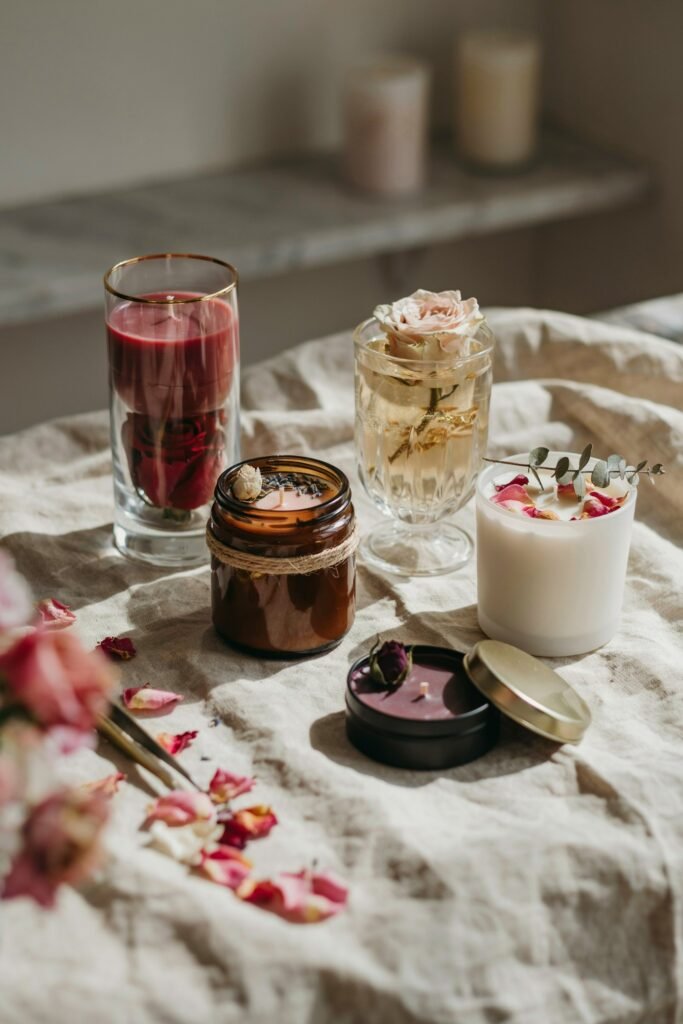
Once you’ve mastered basic rose candles, there are countless ways to customize them.
Rose and Vanilla Candles
Combining rose and vanilla creates a warm floral scent that feels soft and comforting.
Rose and Lavender Candles
Lavender adds relaxing herbal notes that pair beautifully with rose.
Rose and Jasmine Candles
This combination creates a luxurious floral fragrance often found in premium candles.
Rose and Sandalwood Candles
Sandalwood introduces a rich, earthy depth that balances the sweetness of rose.
Rose and Citrus Candles
Lemon, orange, or bergamot can brighten the floral aroma and create a fresher scent profile.
Layered Color Designs
Try pouring different shades of pink in layers for a decorative appearance.
Decorative Labels
Custom labels can transform simple homemade candles into thoughtful gifts or products for sale.
Common Mistakes to Avoid
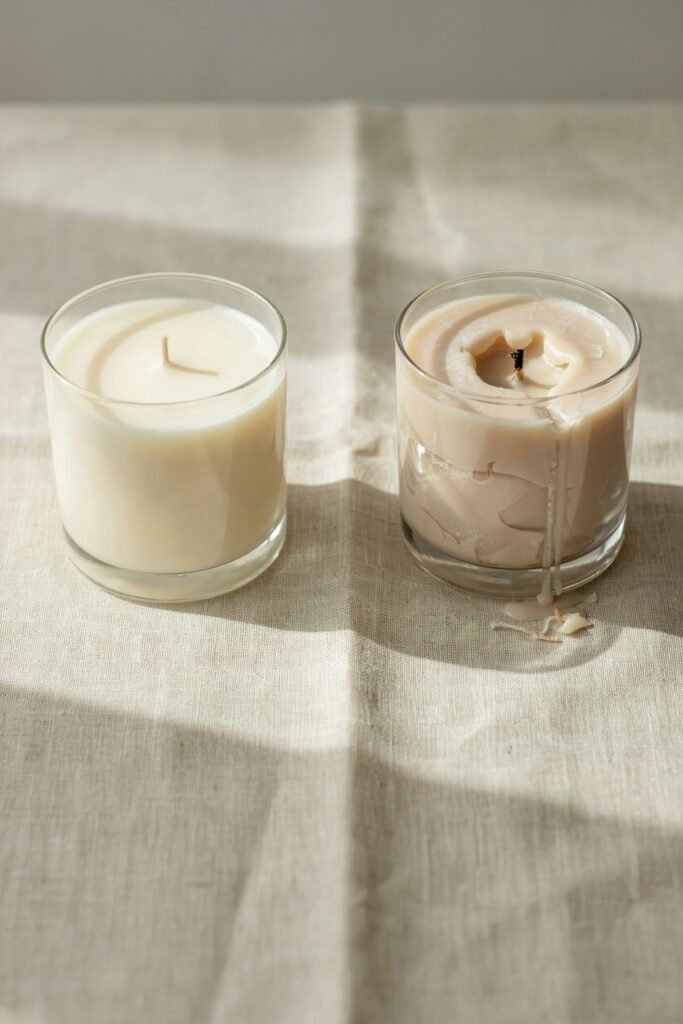
Using the Wrong Wick Size
An improperly sized wick can create multiple problems.
Common issues include:
- Tunneling
- Weak flame
- Excessive soot
- Uneven melting
Always match the wick size to the container diameter.
Adding Too Much Fragrance Oil
More fragrance does not always mean a stronger candle.
Excess fragrance may:
- Affect wax performance
- Cause sweating
- Reduce burn quality
Follow recommended usage rates.
Moving Candles During Cooling
Moving containers while the wax is setting can create surface imperfections.
Allow candles to cool in a stable location.
Skipping Cure Time
Burning candles immediately after hardening often results in weaker fragrance performance.
Patience usually produces much better results.
Overdecorating With Rose Petals
A few petals create elegance.
Too many petals can clutter the design and interfere with safe burning.
How to Store Homemade Rose Candles
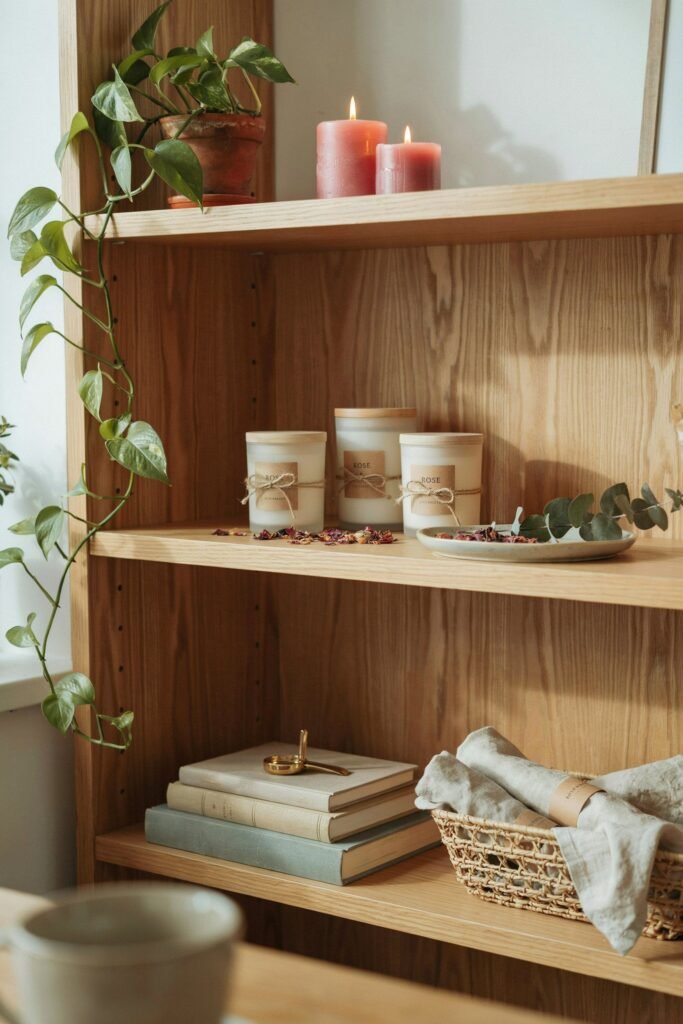
Proper storage helps preserve fragrance and appearance.
Store candles:
- Away from direct sunlight
- In a cool location
- Away from moisture
- Covered when possible
- Away from heat sources
Good storage habits help maintain scent strength for longer periods.
Ways to Use Rose Scented Candles Around the Home
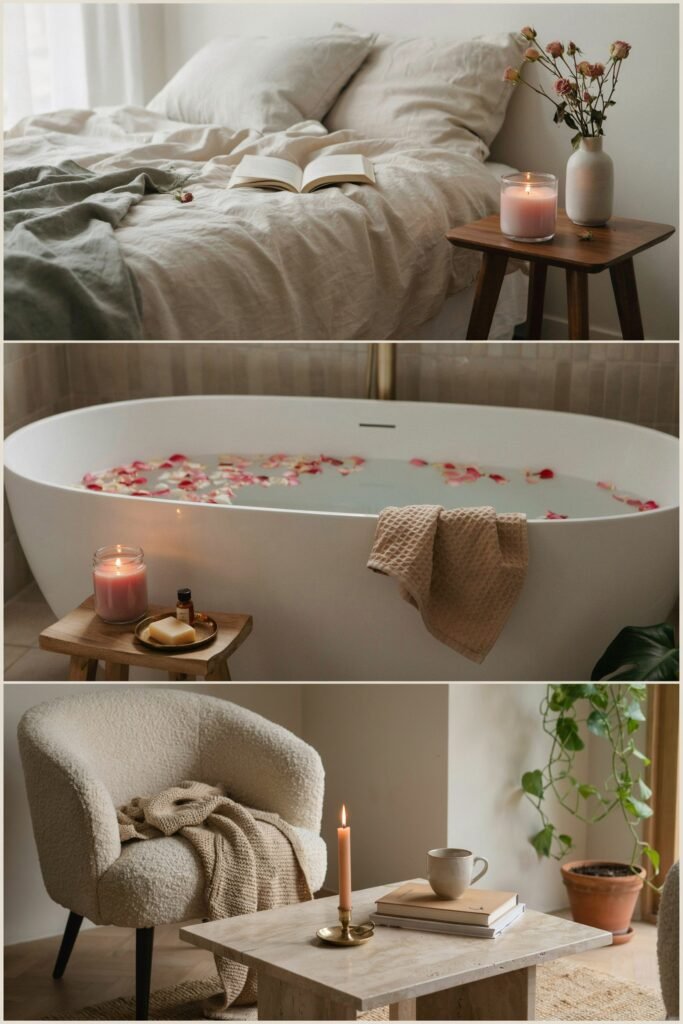
Rose candles can enhance many different spaces.
Bedroom
The floral aroma helps create a cozy and relaxing atmosphere.
Bathroom
A rose candle can make everyday routines feel more luxurious.
Living Room
Soft floral fragrance adds warmth and comfort during gatherings.
Home Office
A pleasant scent can make workspaces feel more inviting.
Guest Room
Homemade candles provide a welcoming touch for visitors.
Gift Ideas Using Homemade Rose Candles
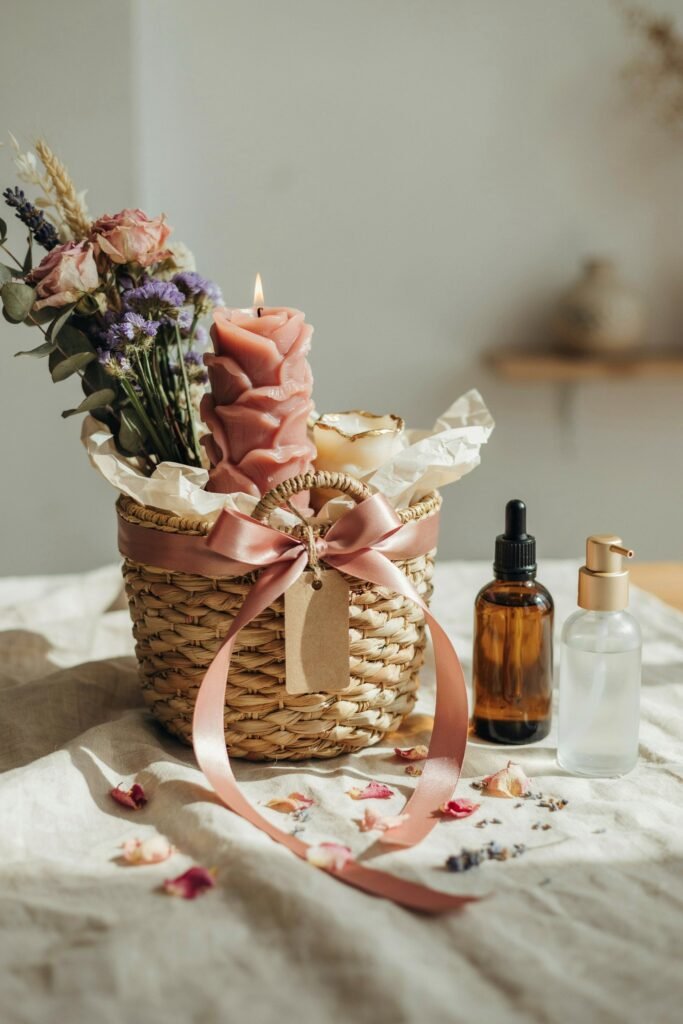
Rose scented candles make excellent gifts because they feel personal and thoughtful.
Consider pairing them with:
- Handmade soaps
- Bath salts
- Face masks
- Body scrubs
- Tea collections
- Gift baskets
- Self-care kits
Adding decorative ribbons and labels can make the presentation even more special.
Frequently Asked Questions
Can I use fresh rose petals?
Dried rose petals are generally recommended because fresh petals contain moisture that may affect candle quality.
Can I use beeswax instead of soy wax?
Yes. Beeswax can be used, although the fragrance and burn characteristics may differ.
How much fragrance oil should I use?
Follow the fragrance manufacturer’s recommendations for your specific wax type.
Why is my candle tunneling?
Tunneling often occurs because of an undersized wick or insufficient burn time during the first use.
Can I sell homemade rose candles?
In many areas, yes. Be sure to follow local regulations and safety labeling requirements.
How long should I burn my candle?
Allow the wax melt pool to reach the container edges during each burn session for best results.
Final Thoughts
Learning how to make rose scented candles at home is a rewarding DIY project that combines creativity, relaxation, and practicality.
With just a few simple ingredients and some patience, you can create beautiful candles that fill your home with the timeless fragrance of roses.
I love making these candles because they are easy to customize, affordable to create, and perfect for gifting.
Whether you’re making one candle for your bedroom or a whole collection for family and friends, the process is enjoyable from start to finish.
By choosing quality ingredients, following each step carefully, and allowing proper curing time, you can create rose scented candles that look professional, smell incredible, and burn beautifully.
Once you make your first batch, you’ll likely discover just how satisfying homemade candle making can be and may even find yourself experimenting with new fragrances, colors, and decorative styles in future projects.