
Rustic farmhouse candles have a timeless charm that instantly make a room feel warm, inviting, and comfortable.
I started making them years ago when I wanted my home to feel cozier without spending a fortune on expensive store-bought décor.
What began as a simple weekend craft quickly became one of my favorite DIY projects.
Unlike modern candles with sleek and polished finishes, rustic farmhouse candles embrace natural textures, imperfect details, and handcrafted beauty.
They look stunning on dining tables, kitchen counters, coffee tables, mantels, and open shelving.
Whether displayed in mason jars, vintage containers, or simple glass vessels, they bring a touch of country-inspired elegance to any space.
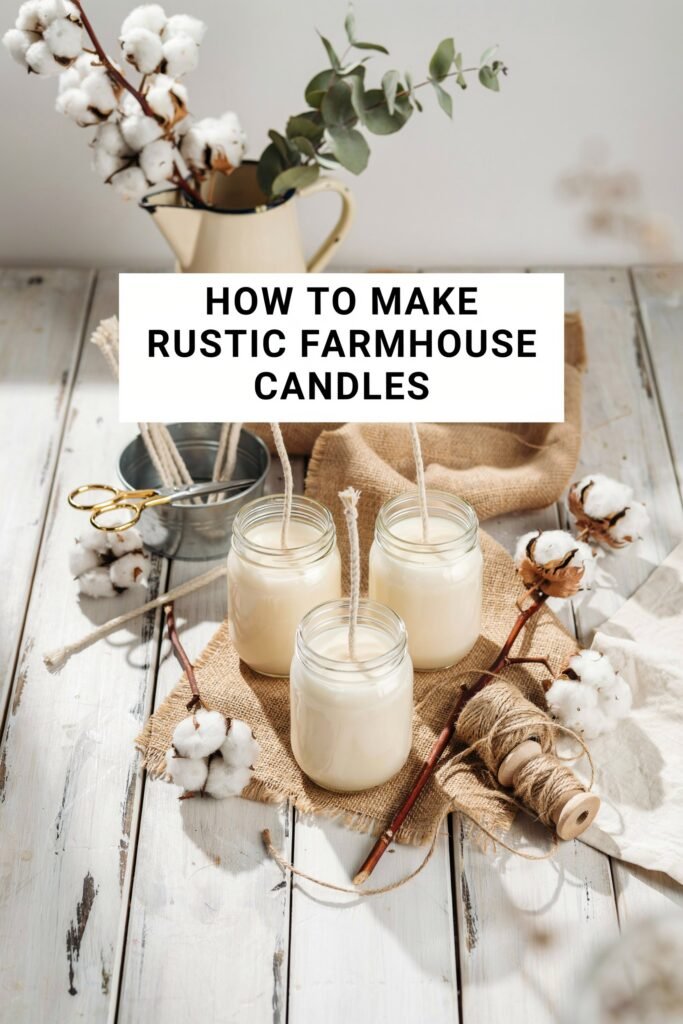
One thing I love most about farmhouse candles is how customizable they are.
You can choose your favorite scents, select natural waxes, and decorate them with rustic elements like twine, dried flowers, burlap, or wooden lids.
The finished candles also make wonderful handmade gifts for family and friends.
In this guide, I’ll walk you through everything I do to create beautiful rustic farmhouse candles from start to finish.
Even if you’ve never made a candle before, you’ll be able to follow along with confidence and create candles that look professionally crafted.
Why Rustic Farmhouse Candles Are So Popular
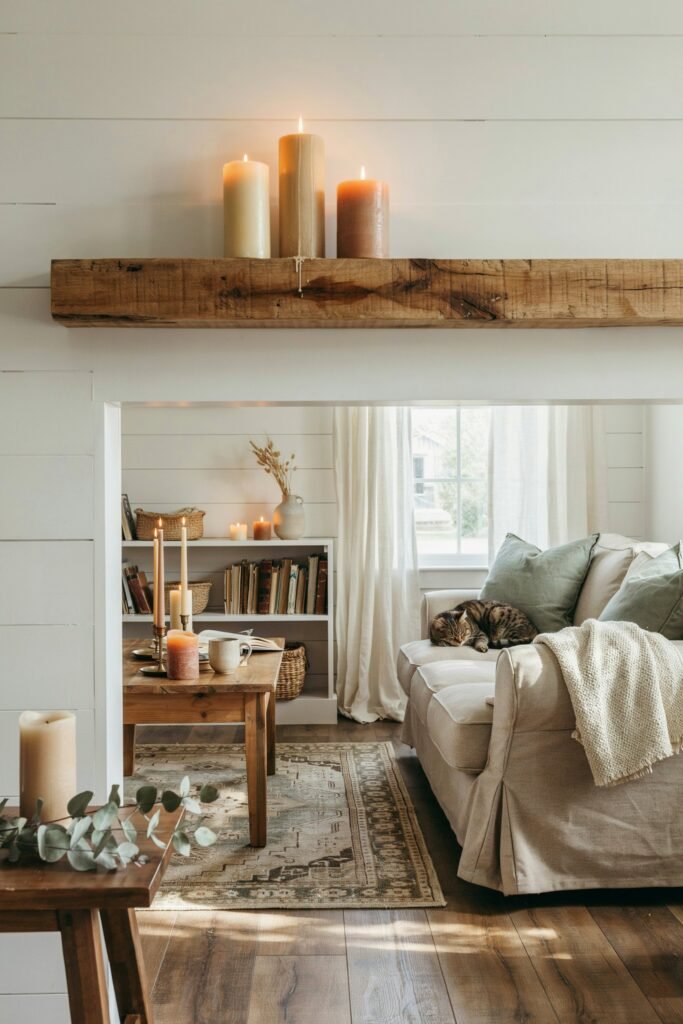
Farmhouse décor continues to be a favorite design style because it combines simplicity, comfort, and natural beauty.
Rustic candles fit perfectly into this aesthetic by adding warmth and character to a room.
Some reasons people love rustic farmhouse candles include:
- Easy to customize
- Affordable to make
- Great for beginners
- Perfect for gifting
- Complements farmhouse décor
- Creates cozy atmosphere
- Uses natural materials
- Makes beautiful seasonal decorations
The handmade appearance is what makes these candles so special.
Small imperfections add personality and authenticity that mass-produced candles simply cannot replicate.
Supplies You’ll Need
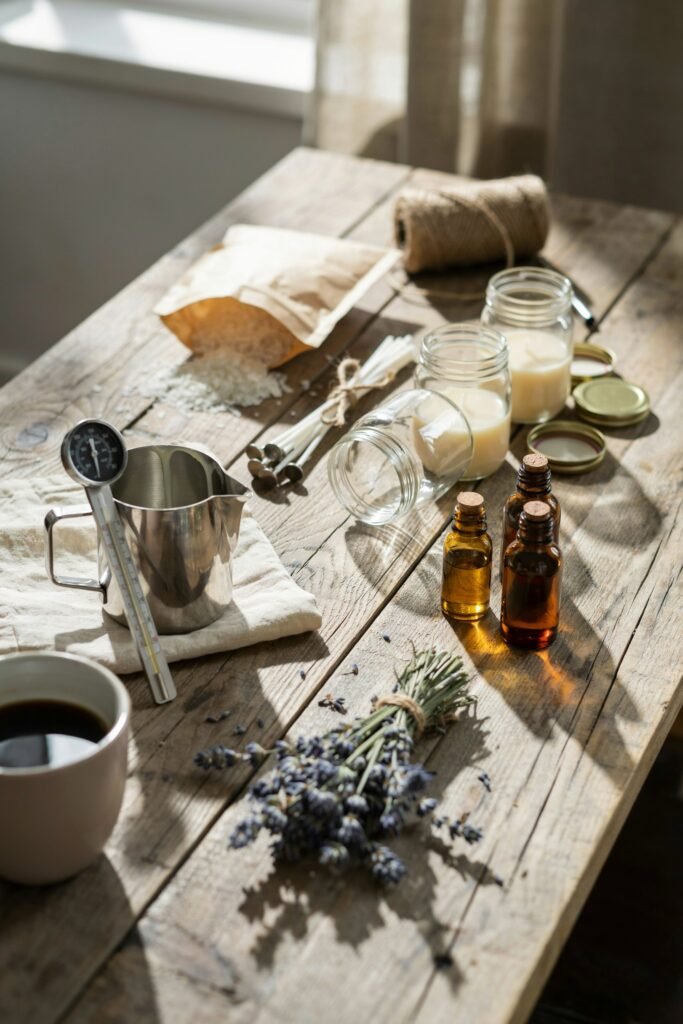
Before getting started, gather all materials and tools so the process runs smoothly.
Soy Wax Flakes
Creamy soy wax creates smooth burns while giving candles a natural look.
Cotton Wicks
Reliable cotton wicks support steady flames and consistent candle performance.
Fragrance Oil
Favorite scents transform simple candles into cozy farmhouse home accents.
Mason Jars
Classic mason jars perfectly complement farmhouse style and rustic charm.
Wick Stickers
Strong adhesive stickers securely hold wicks centered during pouring.
Wick Holders
Simple holders keep wicks straight while candles cool and harden.
Pouring Pitcher
Heat-resistant pitcher makes melting and pouring wax easier and safer.
Thermometer
Accurate temperature readings help achieve proper fragrance and wax performance.
Wooden Spoon
Gentle stirring evenly blends fragrance oils throughout melted candle wax.
Twine or Jute Rope
Natural fibers create charming farmhouse details around finished candle jars.
Dried Flowers
Beautiful dried flowers add rustic decoration without overwhelming candle design.
Choosing the Best Wax for Farmhouse Candles
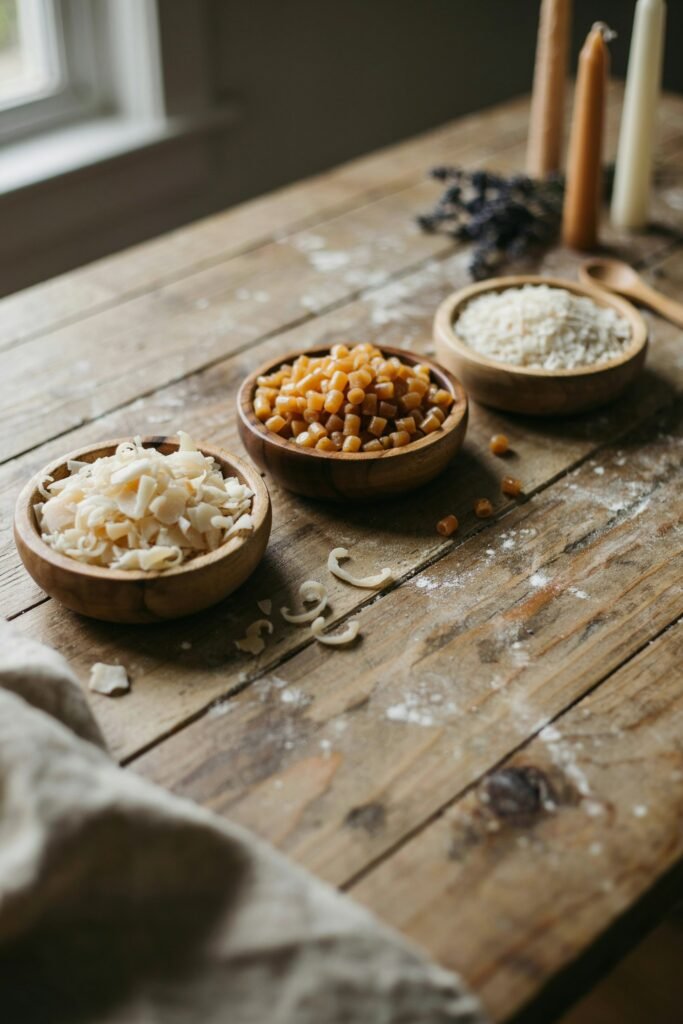
One of the first decisions you’ll make is choosing the wax.
Over the years, I’ve experimented with several types of wax, and each one creates a slightly different appearance.
Soy Wax
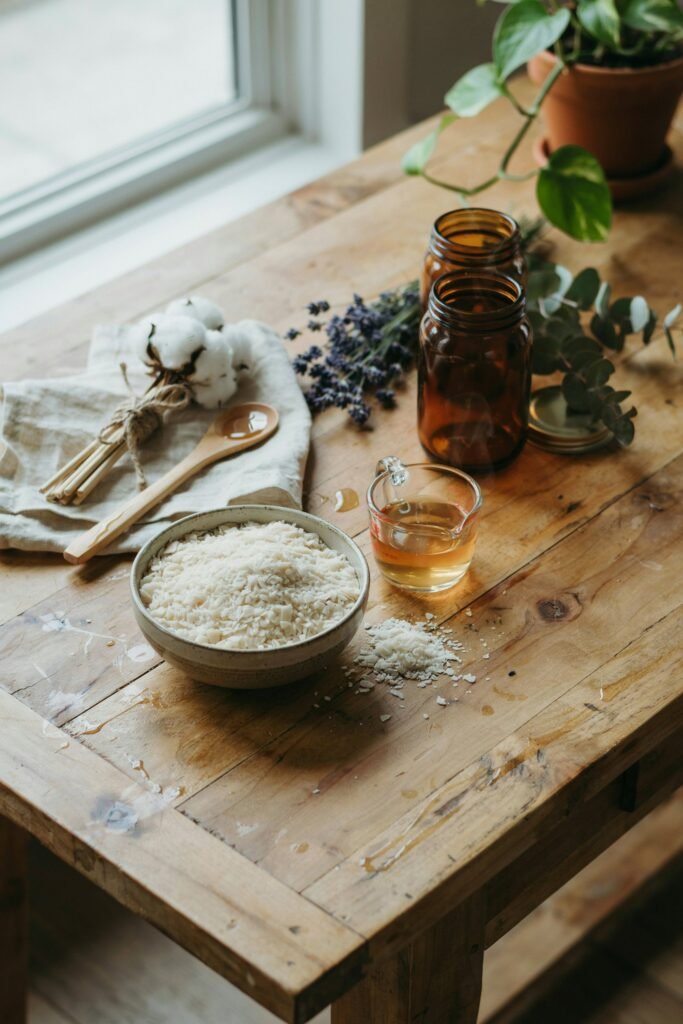
Soy wax remains my favorite option for farmhouse candles.
Benefits include:
- Renewable resource
- Clean burning
- Easy to use
- Excellent fragrance throw
- Creamy rustic appearance
The slightly natural finish of soy wax works beautifully with farmhouse aesthetics.
Beeswax
Beeswax creates gorgeous candles with a natural golden color.
Benefits include:
- Long burn time
- Naturally scented
- Eco-friendly
- Minimal soot production
The warm honey tone pairs wonderfully with rustic décor.
Coconut Wax
Coconut wax provides a luxurious finish and excellent scent performance.
Benefits include:
- Smooth appearance
- Slow burn rate
- Strong scent throw
- Sustainable source
Many premium candle makers use coconut wax blends.
Selecting Rustic Farmhouse Fragrances

The scent you choose plays a huge role in creating the farmhouse atmosphere.
When I make candles for my home, I usually stick with warm and comforting fragrances.
Popular farmhouse scents include:
Vanilla Bean
Soft vanilla creates a welcoming atmosphere that feels warm and relaxing.
Cinnamon Spice
Perfect for fall and winter decorating with cozy country-inspired vibes.
Lavender
A calming floral scent that works beautifully year-round.
Fresh Linen
Clean and comforting fragrance ideal for farmhouse kitchens and living rooms.
Apple Orchard
Sweet apple notes bring rustic country charm into any room.
Cedarwood
Rich woodsy aroma creates depth and warmth in farmhouse spaces.
Honey and Oatmeal
Comforting scent combination that feels natural and homey.
Step 1: Prepare Your Workspace
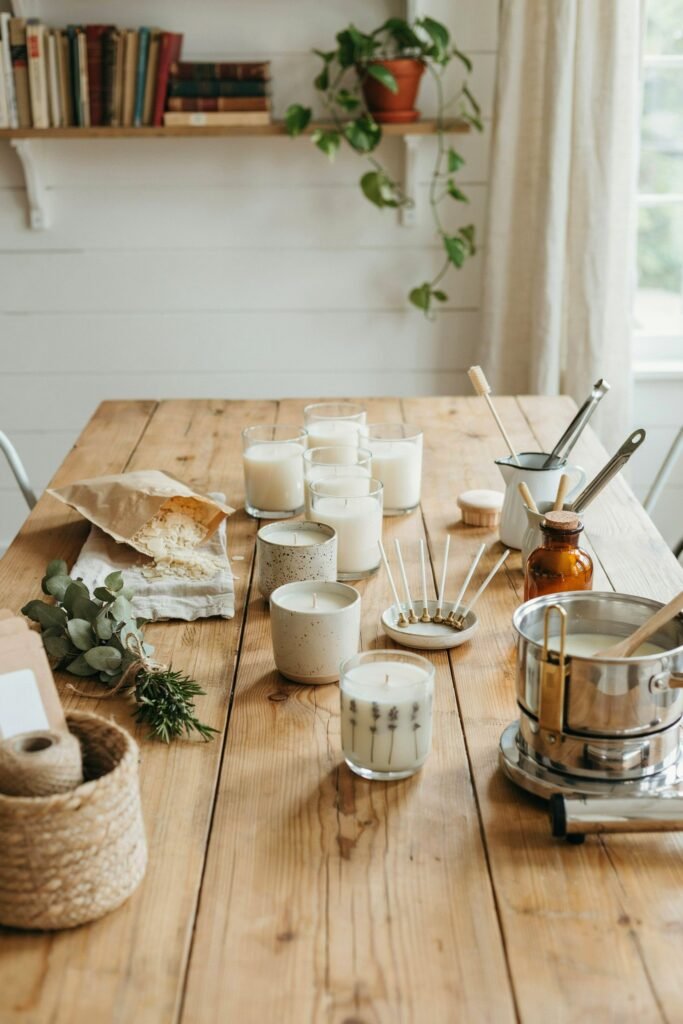
Before melting wax, prepare your work area.
I always cover my table with newspaper or parchment paper because wax spills happen more often than you might think.
Arrange all supplies within reach:
- Wax flakes
- Containers
- Wicks
- Fragrance oils
- Thermometer
- Pouring pitcher
Working in an organized space makes the entire process easier and safer.
Step 2: Secure the Wick
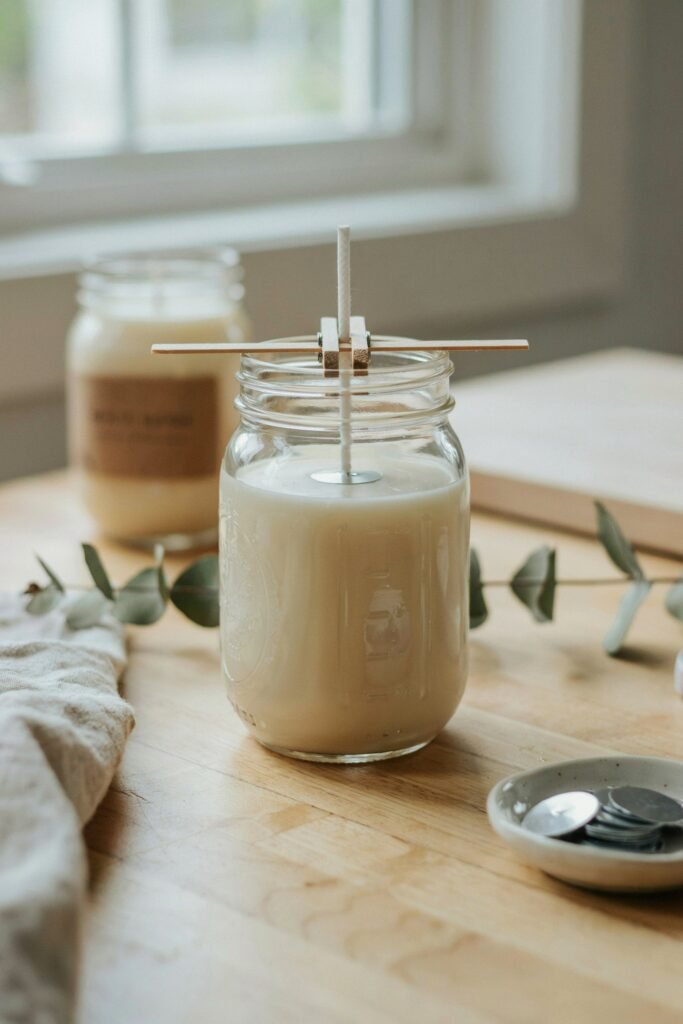
Place a wick sticker on the metal base of the wick.
Press the wick firmly into the center of your container.
Take a moment to make sure the wick is positioned correctly because it affects how the candle burns later.
Once secured, place a wick holder across the top of the jar.
Keeping the wick centered is one of the simplest ways to create professional-looking candles.
Step 3: Measure the Wax
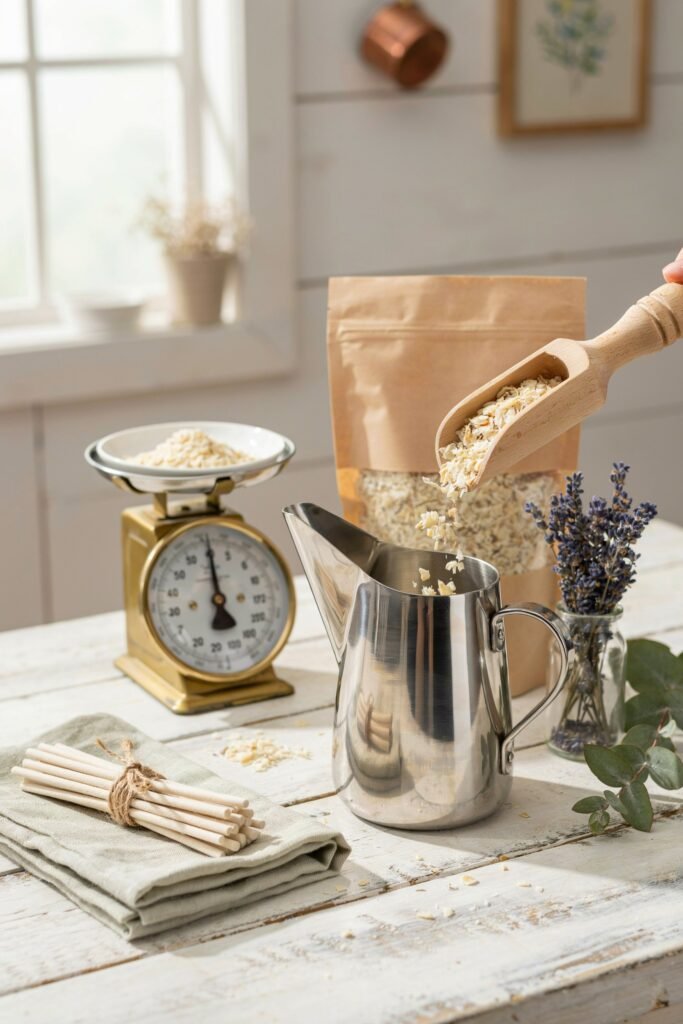
A common beginner mistake is not measuring enough wax.
I usually fill the candle container twice with wax flakes and then pour those flakes into my melting pitcher.
This method provides enough melted wax to fill the container properly after the wax shrinks slightly during cooling.
For larger farmhouse candles, you may need additional wax.
Always measure before melting so you don’t run short halfway through the project.
Step 4: Melt the Wax
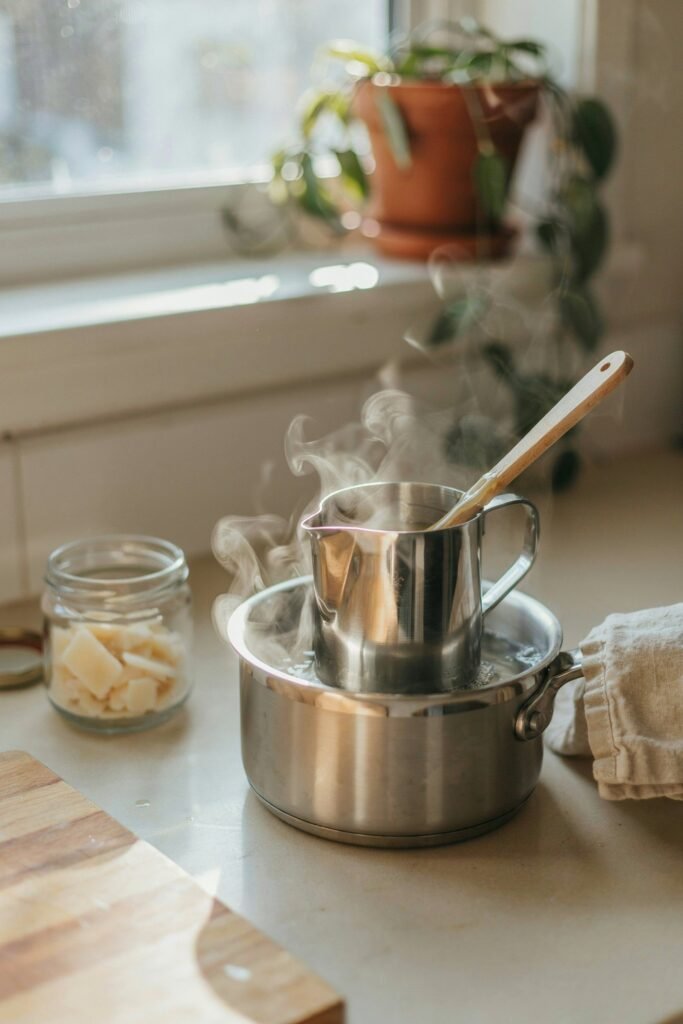
Fill a saucepan with a few inches of water and place it on the stove.
Set your pouring pitcher inside the saucepan to create a double boiler.
Add wax flakes to the pitcher and heat gradually.
Avoid rushing this step.
Slow melting helps preserve wax quality and prevents overheating.
Stir occasionally using a wooden spoon until the wax becomes completely liquid.
Depending on the amount of wax you’re melting, this usually takes around 10 to 20 minutes.
The melted wax should appear smooth and clear with no remaining flakes visible.
Step 5: Monitor the Temperature
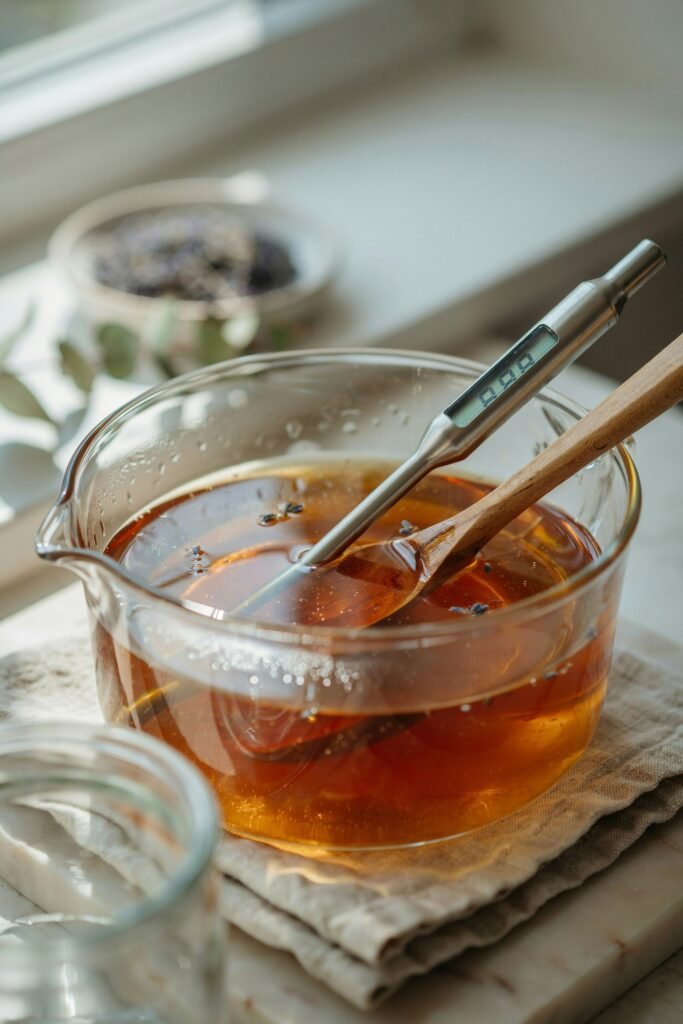
Temperature plays a major role in candle quality.
Using a thermometer helps ensure your wax reaches the proper range before adding fragrance oil.
For most soy waxes, the melting temperature typically falls between 170°F and 185°F.
Always check the manufacturer’s recommendations for your specific wax.
Monitoring temperature carefully helps improve:
- Scent throw
- Surface appearance
- Burn quality
- Wax adhesion
- Overall performance
Skipping this step can lead to frosting, sinkholes, or weak fragrance.
Step 6: Add Fragrance Oil
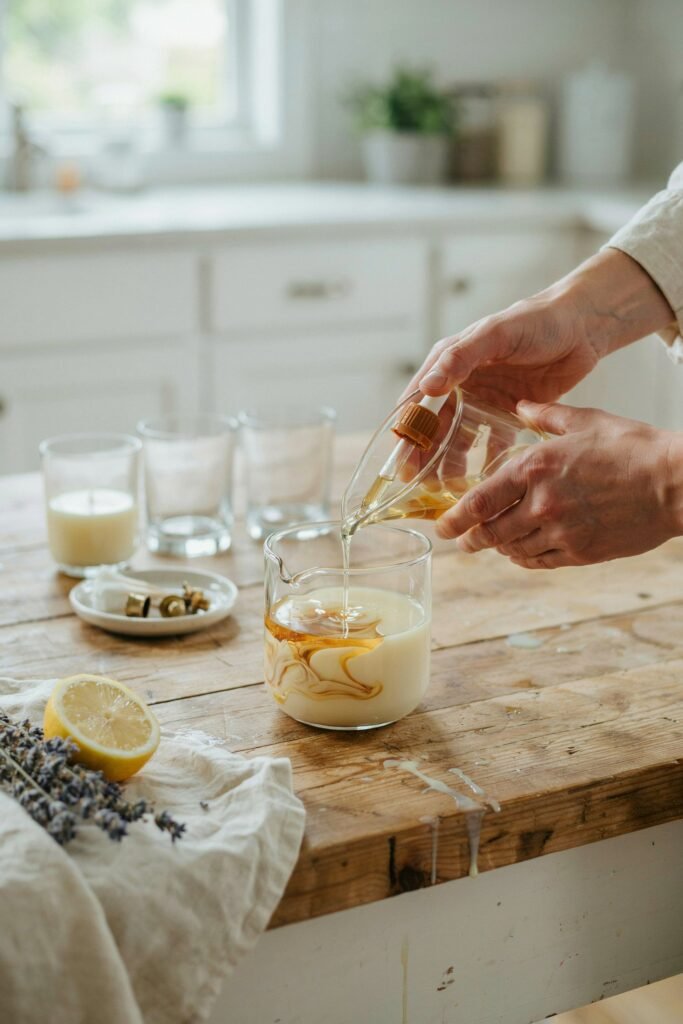
Once the wax reaches the appropriate temperature, remove it from heat.
Slowly add fragrance oil while stirring gently.
I usually stir for about two minutes to ensure the fragrance binds properly with the wax.
This step is important because thorough mixing helps distribute scent evenly throughout the candle.
As the fragrance blends into the wax, you’ll immediately begin noticing the wonderful aroma developing.
The scent becomes even stronger once the candle cures properly after pouring.
Step 7: Allow Wax to Cool Slightly
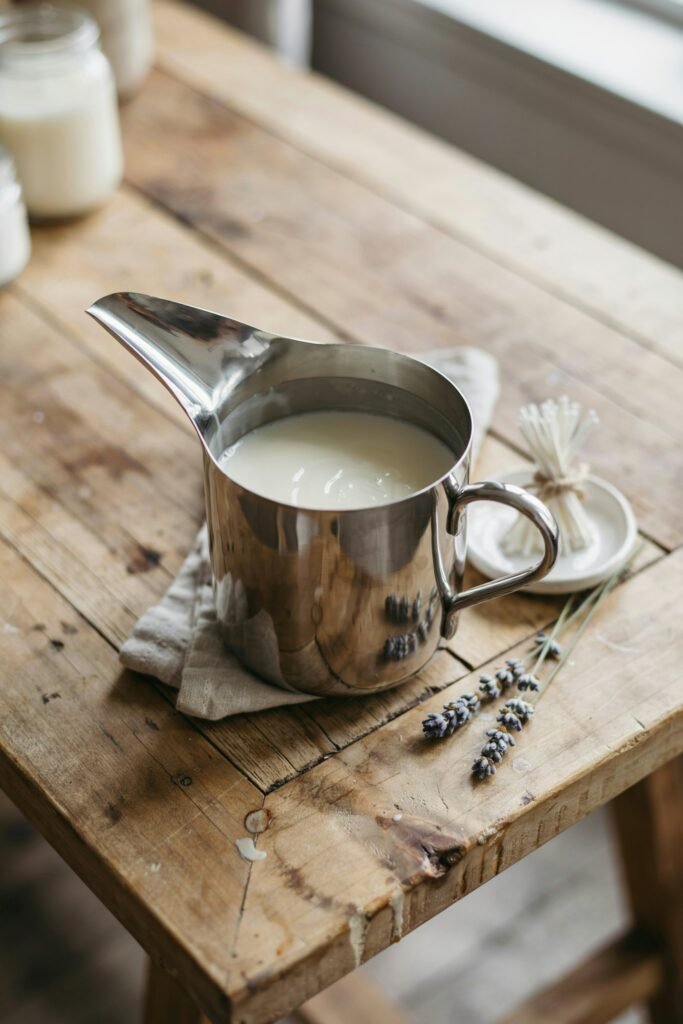
After mixing the fragrance oil, allow the wax to cool slightly before pouring.
Pouring wax that is too hot can sometimes cause:
- Surface cracks
- Excessive frosting
- Uneven cooling
- Poor container adhesion
A slightly cooler pouring temperature often produces a smoother and more attractive farmhouse candle finish.
Step 8: Pour the Wax Into the Container
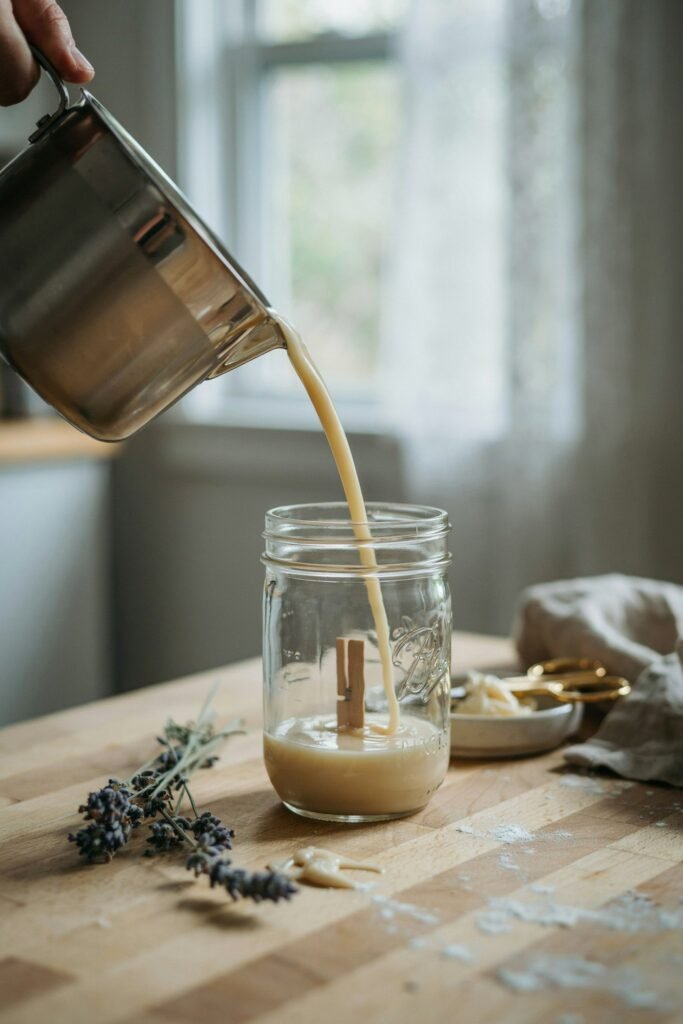
Once the wax has cooled to the recommended pouring temperature, slowly pour it into your prepared mason jar or container.
I like to pour in a steady stream rather than rushing.
This helps reduce air bubbles and creates a cleaner finish.
Leave about ½ inch of space at the top of the container.
This gives the candle a professional appearance and leaves room for decorative touches later.
As the wax settles, double-check that the wick remains centered.
Small adjustments now can prevent burning problems later.
Step 9: Create a Rustic Farmhouse Finish
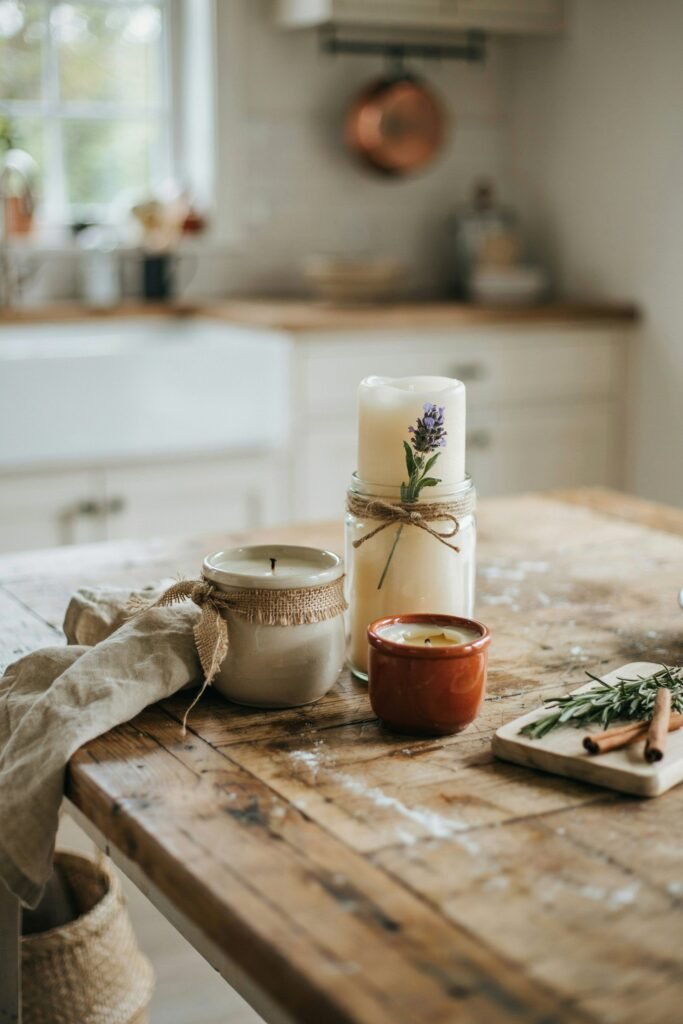
One thing I love about farmhouse candles is that they don’t need to look perfectly smooth.
In fact, a little texture often makes them look more authentic and handmade.
There are several ways to create a rustic finish:
Natural Soy Wax Texture
Allow the candle to cool naturally at room temperature.
The slight frosting and creamy appearance that develops often enhances the farmhouse look.
Layered Rustic Effect
Pour wax in multiple layers, allowing each layer to partially cool before adding the next.
This creates subtle variations that look beautifully handcrafted.
Farmhouse White Finish
Use natural white soy wax without adding dyes.
The clean neutral color pairs perfectly with farmhouse décor.
Distressed Container Style
Wrap jars with twine, burlap, or rustic ribbon to create vintage-inspired charm.
The goal isn’t perfection.
The beauty of farmhouse décor comes from its natural and relaxed appearance.
Step 10: Allow the Candle to Cool Completely
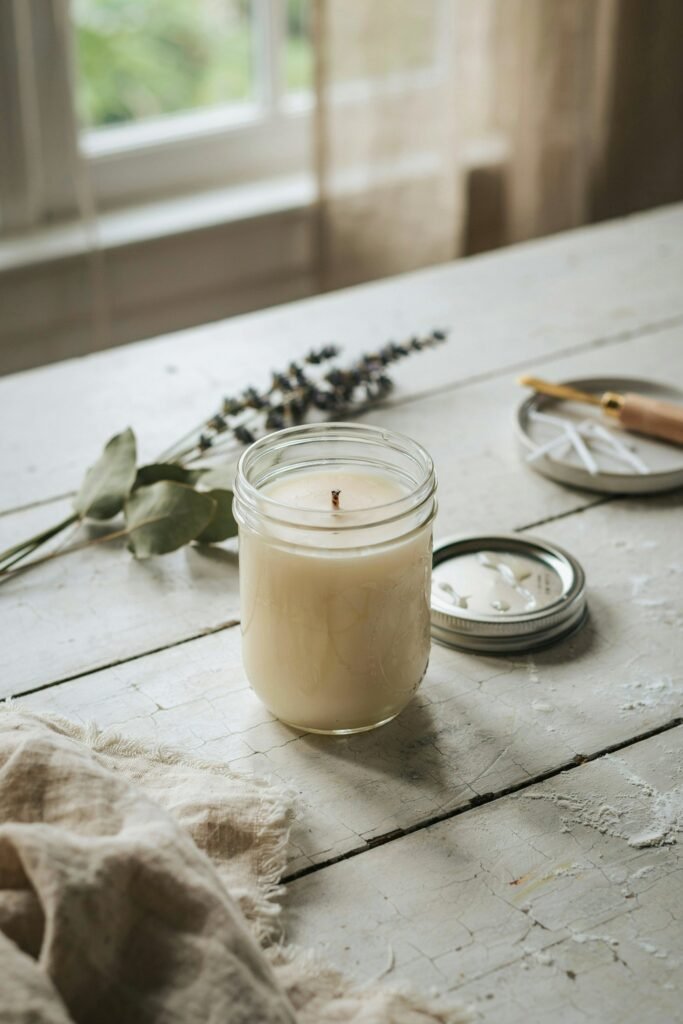
Patience is important during this stage.
Avoid moving the candle while the wax is cooling.
Moving it too early can create:
- Uneven surfaces
- Cracks
- Air pockets
- Crooked wicks
I usually leave candles undisturbed for several hours.
Larger candles may require overnight cooling.
As tempting as it is to touch the wax, allowing it to harden naturally produces the best results.
Step 11: Trim the Wick
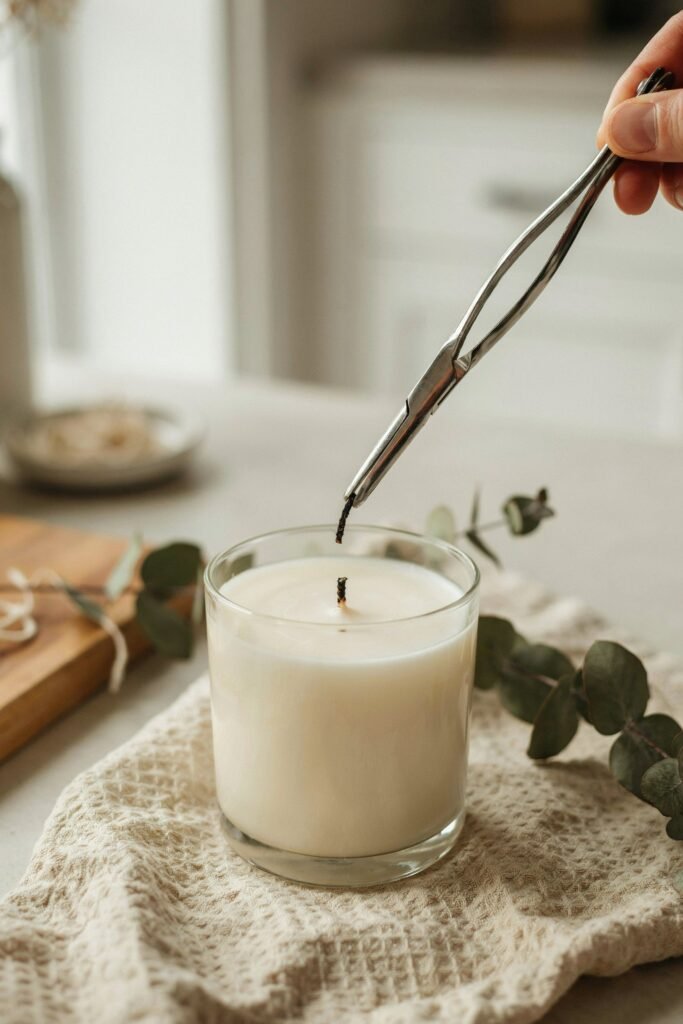
After the candle has completely hardened, remove the wick holder.
Using scissors or wick trimmers, cut the wick to approximately ¼ inch.
This simple step helps:
- Create a cleaner burn
- Reduce smoke
- Minimize soot
- Improve flame stability
Proper wick trimming is one of the easiest ways to improve candle performance.
Step 12: Cure the Candle
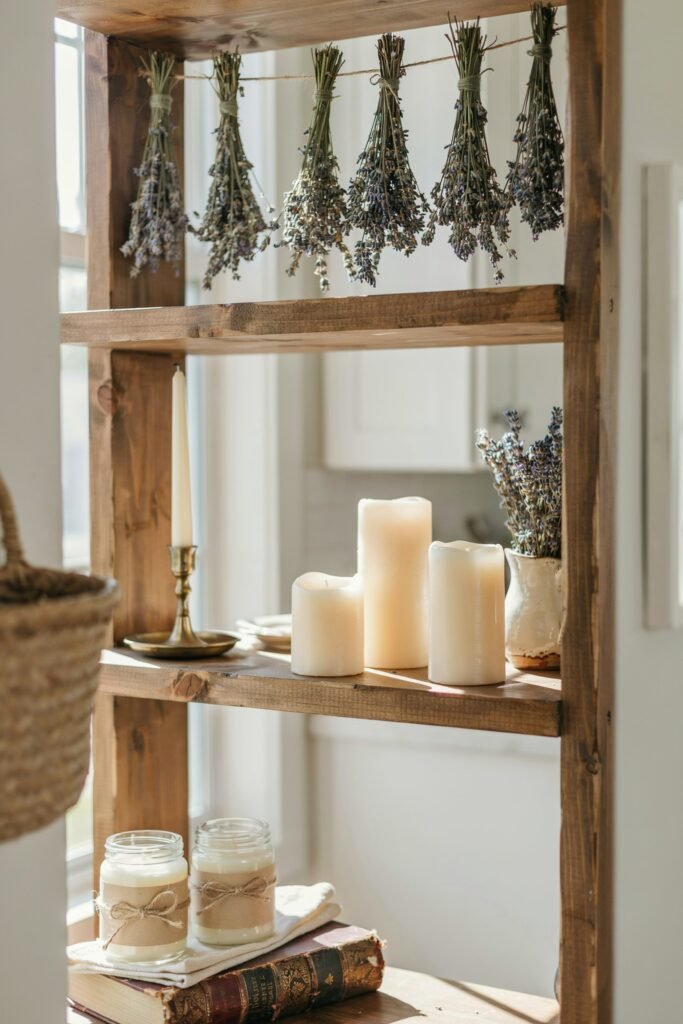
Many beginners skip curing, but I consider it one of the most important steps.
Curing allows the wax and fragrance oil to fully bind together.
For soy candles, I usually wait:
- Minimum: 48 hours
- Preferred: 1–2 weeks
The longer curing period often produces a stronger scent throw when the candle is burned.
Although waiting can be difficult, the improvement in fragrance is usually worth it.
Decorating Rustic Farmhouse Candles
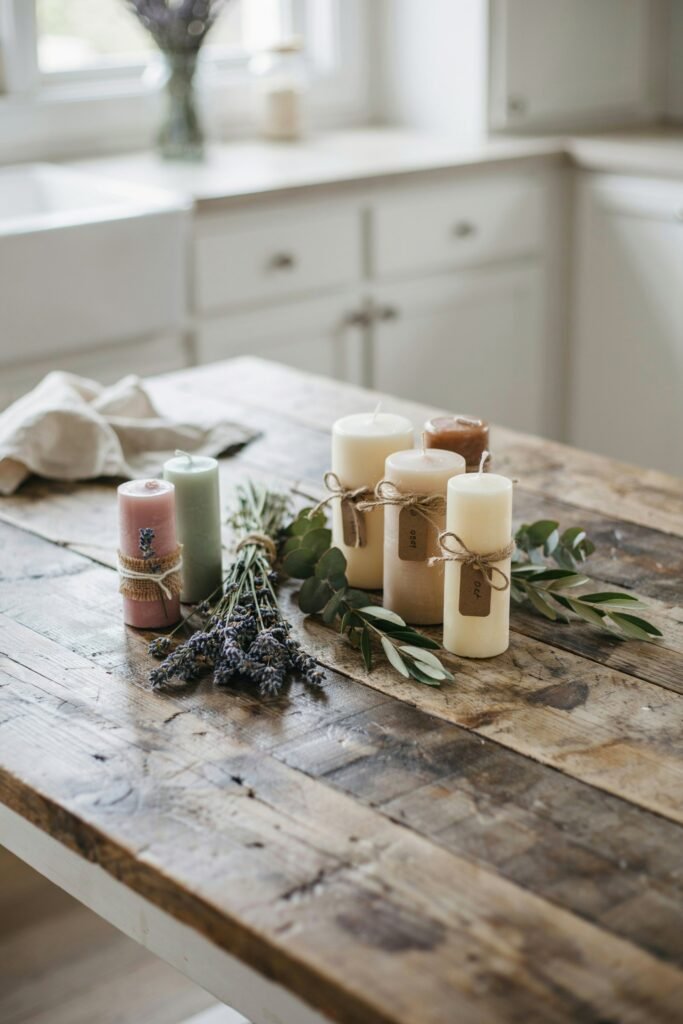
After the candle has cured, it’s time for my favorite part—decorating.
Simple decorative touches can transform a basic candle into a beautiful farmhouse centerpiece.
Wrap With Jute Twine
Jute twine instantly creates rustic charm.
Wrap several layers around the neck of the jar and tie a simple bow.
The natural texture pairs perfectly with farmhouse décor.
Add Dried Lavender
A small bundle of dried lavender tucked beneath twine creates a beautiful handmade appearance.
It also adds a subtle decorative touch without overwhelming the candle.
Use Wooden Tags
Small wooden tags can be personalized with:
- Candle scent
- Family name
- Seasonal greeting
- Gift message
This makes homemade candles even more special.
Add Burlap Accents
Burlap ribbon creates classic farmhouse style.
A simple strip tied around the jar can completely change the candle’s appearance.
Attach Wooden Lids
Wooden lids add warmth and help protect the candle between uses.
They also enhance the rustic aesthetic.
Best Containers for Rustic Farmhouse Candles
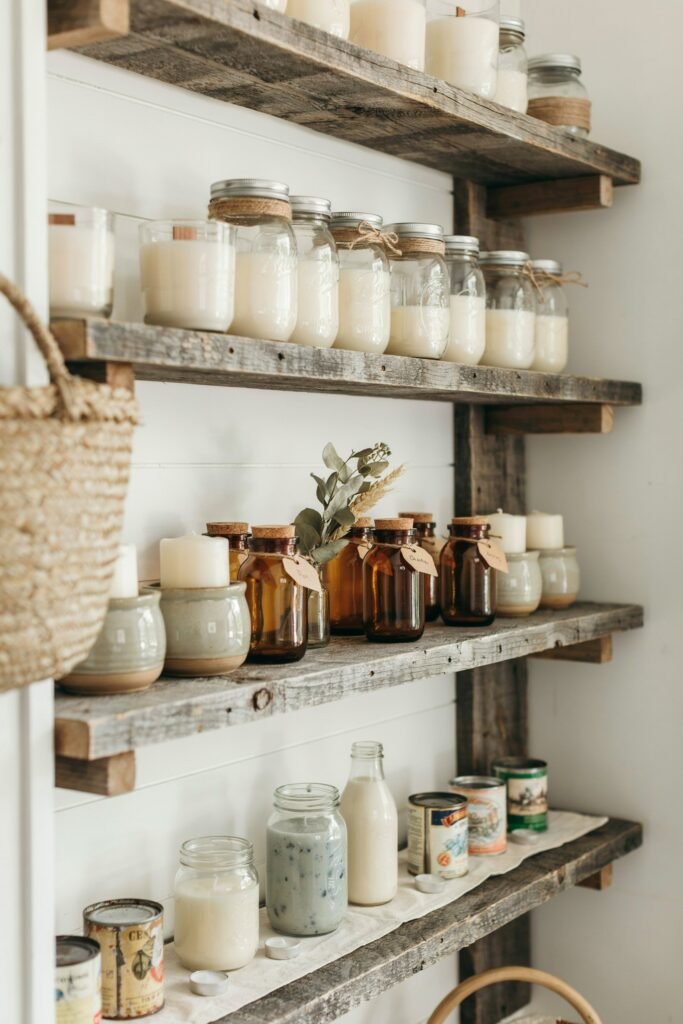
The container you choose can significantly influence the final appearance.
Some of my favorites include:
Mason Jars
The ultimate farmhouse candle container.
Affordable, versatile, and timeless.
Amber Glass Jars
Provide a vintage appearance while protecting fragrance oils from light exposure.
Recycled Glass Jars
An eco-friendly option that adds character and uniqueness.
Ceramic Crocks
Perfect for creating authentic country-style candles.
Vintage Tins
Rustic tins work beautifully in farmhouse kitchens and entryways.
Common Mistakes to Avoid
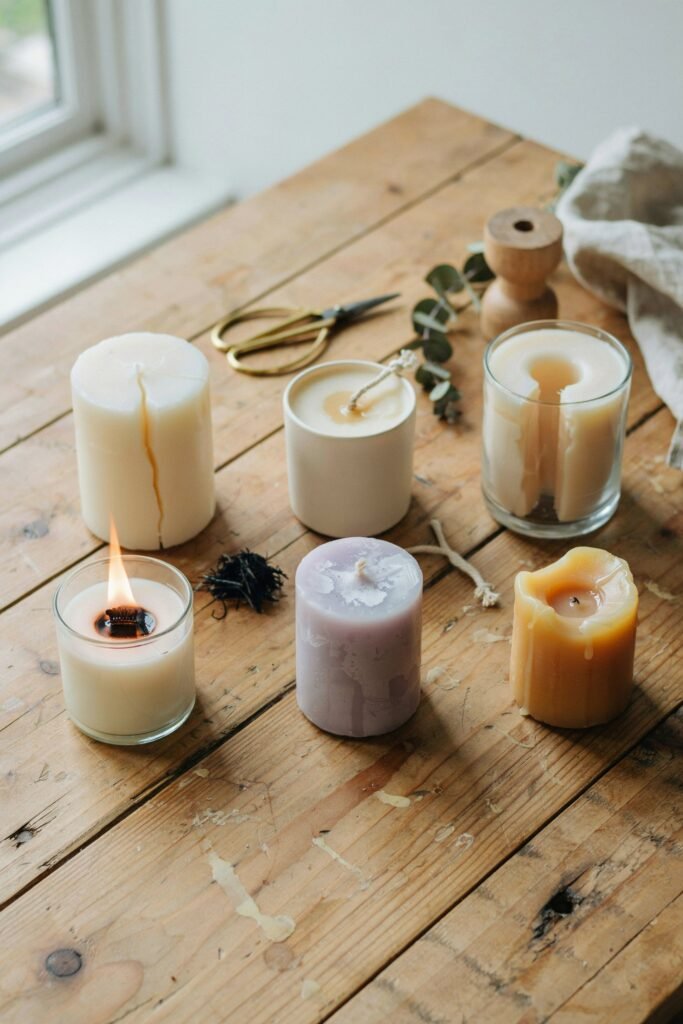
Over the years, I’ve made plenty of candle-making mistakes.
Here are some of the most common issues beginners encounter.
Using Too Much Fragrance Oil
More fragrance doesn’t always mean a stronger candle.
Excess oil can actually interfere with proper burning.
Always follow the wax manufacturer’s fragrance recommendations.
Pouring Wax Too Hot
Overheated wax may lead to:
- Cracking
- Shrinkage
- Frosting
- Uneven surfaces
Monitor temperatures carefully.
Not Centering the Wick
An off-center wick can cause:
- Uneven burning
- Wax tunneling
- Excess leftover wax
Always secure the wick before pouring.
Burning Too Soon
Freshly poured candles need curing time.
Lighting them immediately often results in weaker fragrance performance.
Ignoring Wick Trimming
Long wicks can create:
- Large flames
- Excess soot
- Faster wax consumption
Trim before every burn.
Rustic Farmhouse Candle Scent Combinations
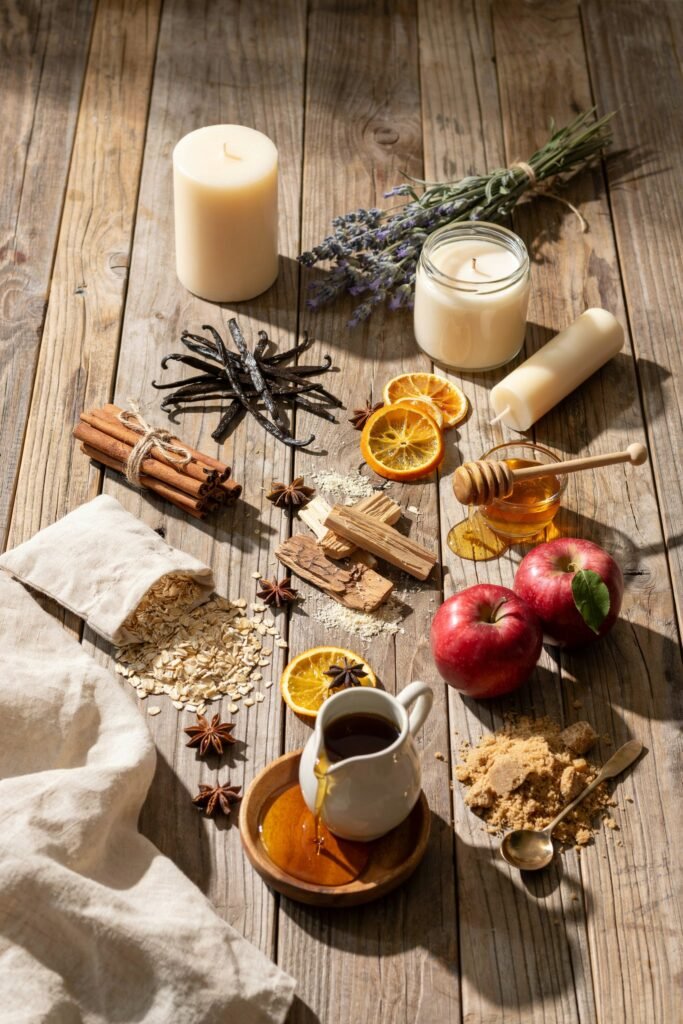
If you’re unsure which fragrances to combine, these blends work wonderfully.
Vanilla and Cinnamon
Warm, comforting, and perfect for cozy evenings.
Lavender and Cedarwood
A relaxing blend with rustic countryside charm.
Apple and Cinnamon Spice
Ideal for autumn decorating.
Honey and Oatmeal
Soft, comforting scent that feels naturally farmhouse-inspired.
Fresh Linen and Cotton
Creates the feeling of a freshly cleaned farmhouse home.
Pumpkin and Vanilla
A favorite during fall and holiday seasons.
Maple and Brown Sugar
Sweet and inviting without being overpowering.
Seasonal Rustic Farmhouse Candle Ideas
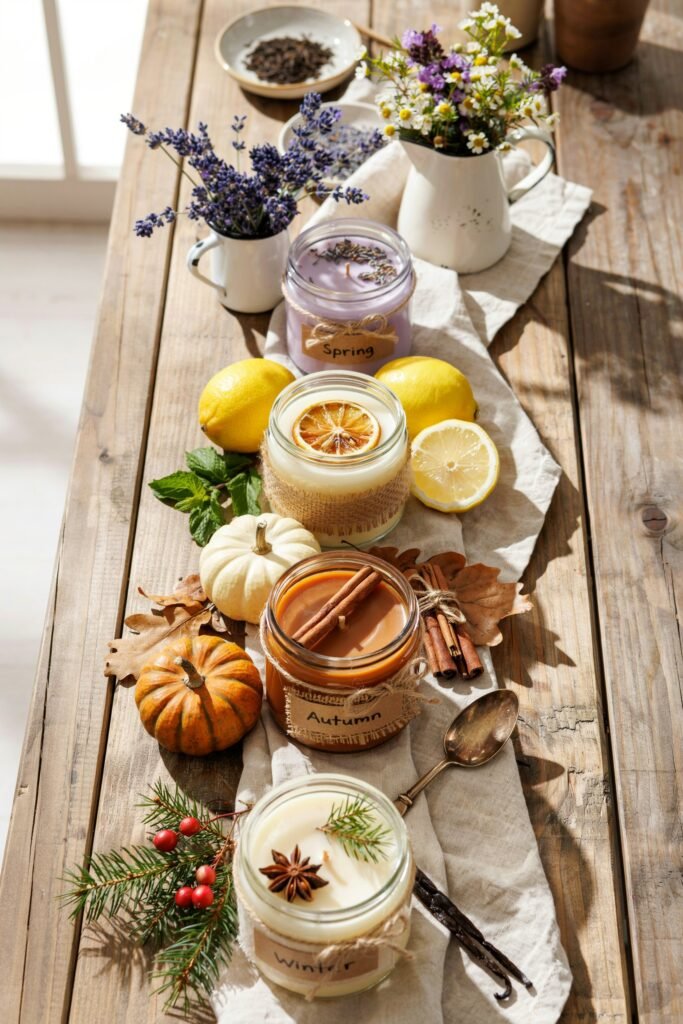
Spring Farmhouse Candle
Decorate with:
- Dried lavender
- Eucalyptus
- Light floral scents
Summer Farmhouse Candle
Choose:
- Lemon
- Fresh linen
- Citrus blends
Fall Farmhouse Candle
Use:
- Cinnamon
- Apple
- Pumpkin fragrances
Winter Farmhouse Candle
Try:
- Vanilla
- Pine
- Cedarwood
- Clove
Seasonal scents help create an inviting atmosphere throughout the year.
How to Style Farmhouse Candles Around Your Home
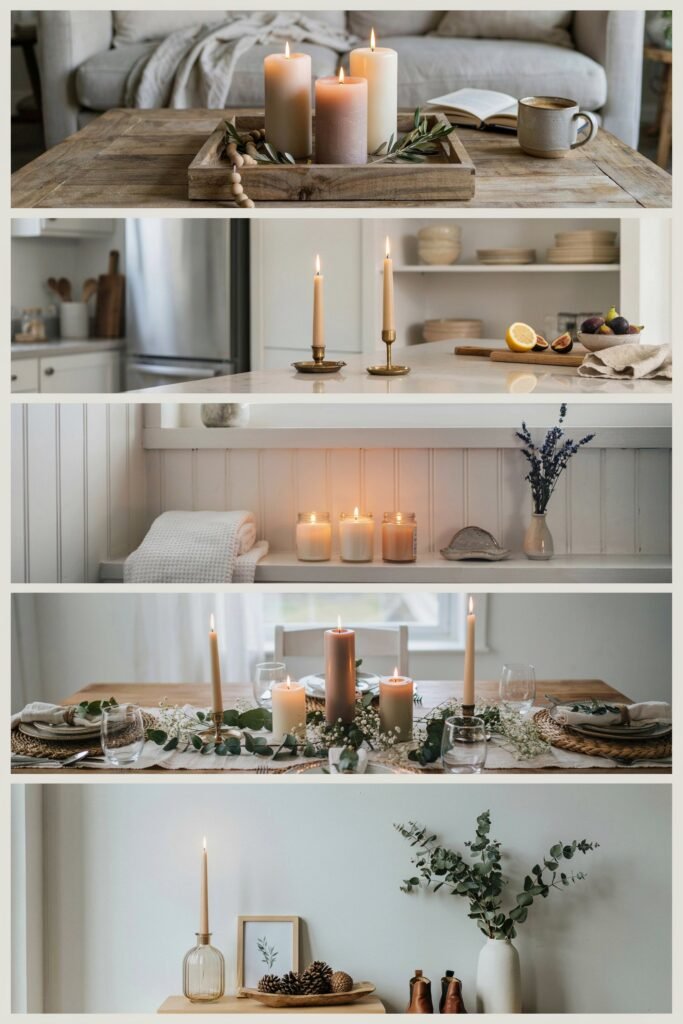
One reason I continue making farmhouse candles is their decorating versatility.
Kitchen Counter Display
Arrange candles on a wooden tray with small greenery accents.
Coffee Table Centerpiece
Combine candles with books, beads, and decorative bowls.
Bathroom Shelf Styling
Place candles near rolled towels for a spa-like atmosphere.
Dining Table Decor
Use multiple candles of varying heights to create visual interest.
Entryway Console Table
A rustic candle welcomes guests immediately upon entering.
Candle Safety Tips
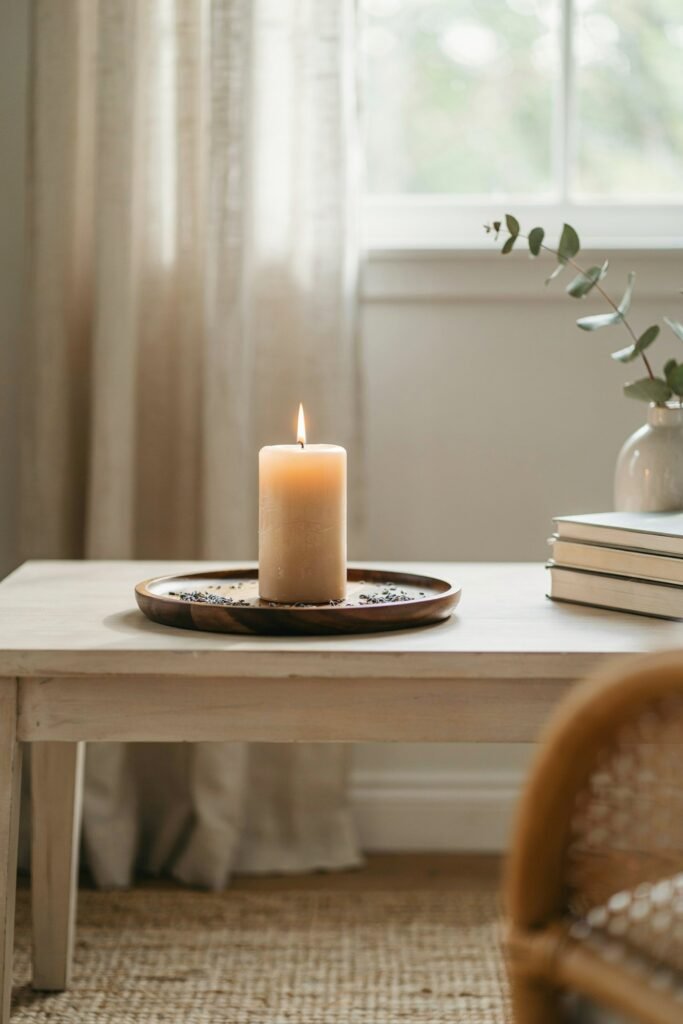
Always follow safe candle-burning practices.
Never Leave Burning Candles Unattended
Extinguish candles before leaving the room.
Keep Away From Children
Place candles in secure locations.
Avoid Drafty Areas
Strong airflow can create uneven burning.
Burn on Heat-Resistant Surfaces
Protect furniture and countertops from heat damage.
Stop Burning Before Wax Runs Out
Leave approximately ½ inch of wax at the bottom.
Frequently Asked Questions
Can beginners make rustic farmhouse candles?
Yes. Farmhouse candles are one of the easiest candle-making projects for beginners.
What wax works best for farmhouse candles?
Soy wax is the most popular choice because of its natural appearance and clean burn.
How long should homemade candles cure?
Most soy candles benefit from curing for one to two weeks.
Why does my candle have a rough surface?
Natural cooling and soy wax frosting often create rustic textures that suit farmhouse styles.
Can I use essential oils instead of fragrance oils?
Yes, but fragrance oils generally provide stronger and more consistent scent performance.
Final Thoughts
Making rustic farmhouse candles has become one of my favorite DIY projects because it combines creativity, practicality, and home décor in a single craft.
Every candle feels unique, and no two turn out exactly alike.
What I enjoy most is how these handmade candles bring warmth and character into a space.
Whether displayed on a kitchen shelf, dining table, coffee station, or fireplace mantel, they create the cozy atmosphere that farmhouse décor is known for.
The best part is that you don’t need expensive equipment or years of experience to get started.
With a few simple supplies, some patience, and a little creativity, you can create beautiful farmhouse candles that look professionally made while reflecting your own personal style.
Once you make your first batch, you’ll likely discover what I did years ago homemade rustic farmhouse candles are every bit as enjoyable to create as they are to display and enjoy throughout your home.