
Painting air dry clay can completely change the look of a finished project.
A simple clay ornament, tray, figurine, or small decorative piece can look much more polished once color and detail are added.
But painting is also one of those stages where small mistakes can become surprisingly noticeable.
I have found that the final result often depends less on having expensive supplies and more on taking a little extra care before and during painting.
When I work with air dry clay, I pay close attention to how dry the piece is, how smooth the surface feels, and how much paint I am putting on the brush.
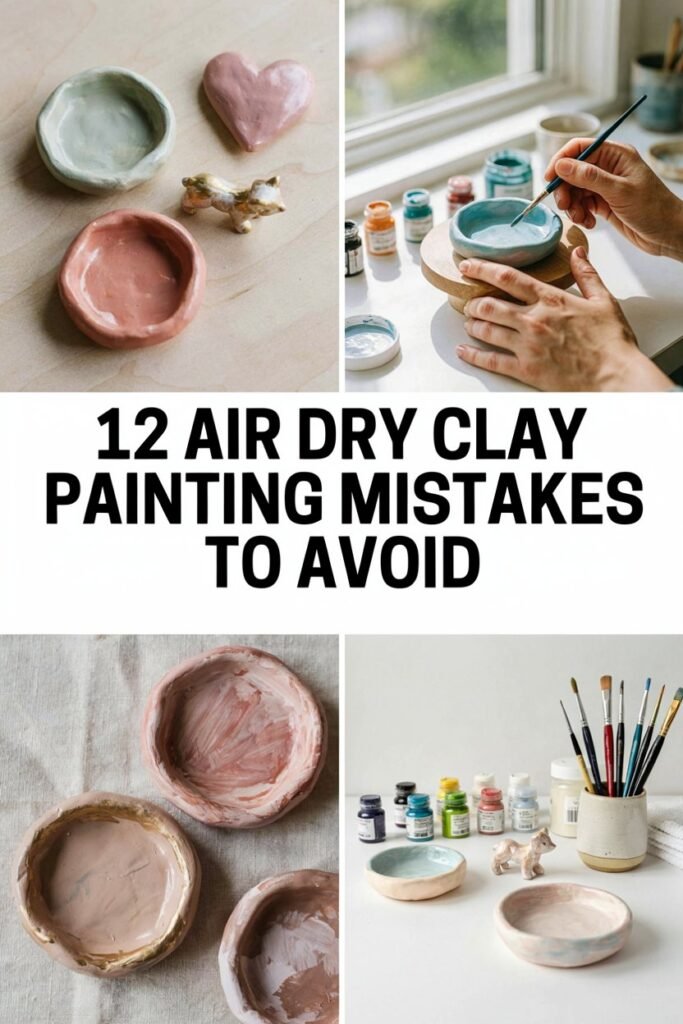
Rushing any of these steps can leave the paint looking streaky, uneven, thick, or easier to damage.
Some problems can also be difficult to correct once several layers of paint have been added.
The good news is that most air dry clay painting mistakes are easy to prevent.
These are the ones I watch for whenever I want a cleaner, smoother, more finished looking result.
Before You Start Painting Air Dry Clay
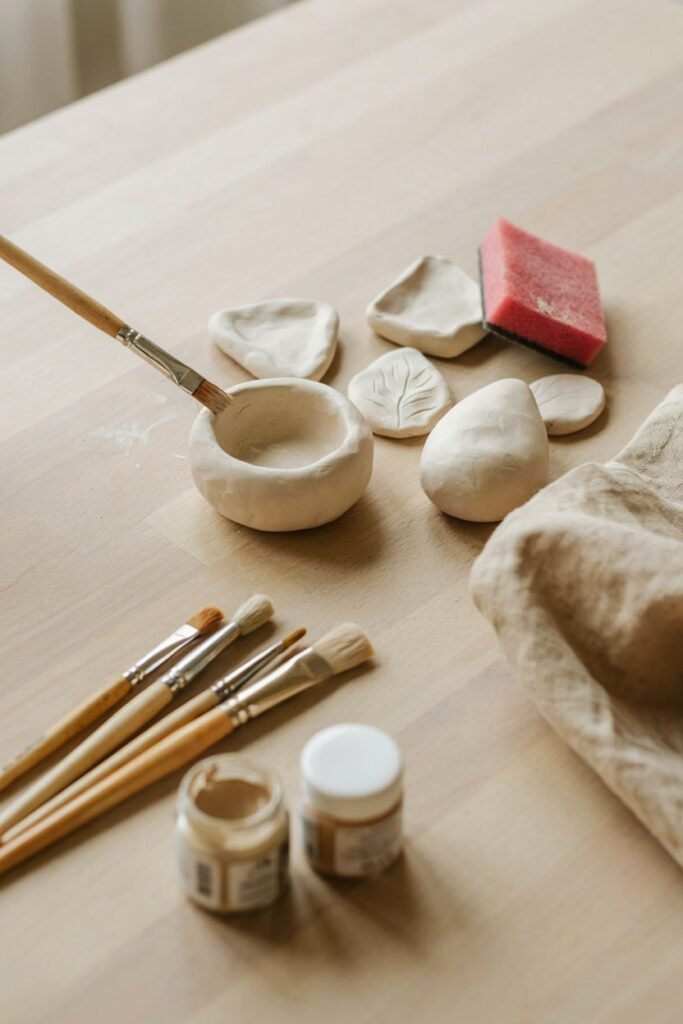
Before reaching for the paint, I like to give the clay one final inspection.
This only takes a few minutes, but it can make a noticeable difference in the finished project.
The clay should be completely dry, especially if the piece is thick.
I also check the surface for fingerprints, loose clay, rough edges, dust, and small imperfections that may become more obvious after painting.
If the surface needs a little smoothing, I deal with that before adding any color. Once paint is covering the clay, fixing those imperfections becomes much more difficult.
I also make sure my brushes are clean and that I have enough space to leave the piece undisturbed while each layer dries.
Having everything ready before painting helps me avoid rushing through the part of the project that actually requires the most patience.
Mistake 1: Painting Air Dry Clay Before It Is Completely Dry
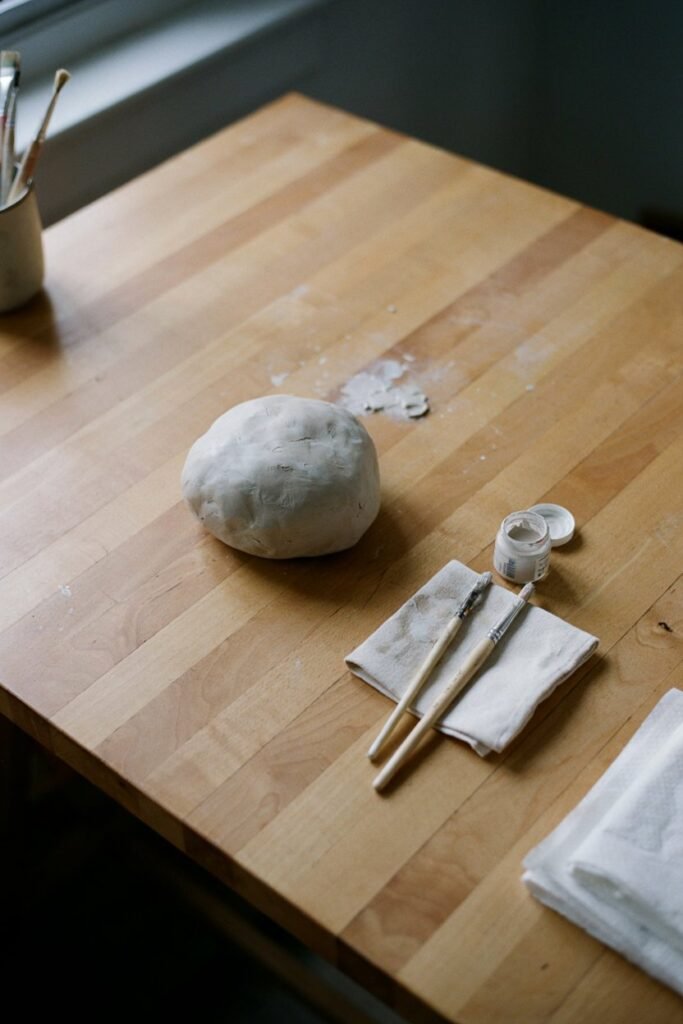
One of the easiest mistakes to make is assuming the clay is ready because the outside feels dry.
Air dry clay can feel firm on the surface while moisture is still present deeper inside the piece.
This is especially important with thicker sculptures, bowls, figurines, and decorative shapes.
I have learned that it is better to give the clay more drying time than to start painting simply because I am eager to see the finished design.
Painting too early can interfere with the drying process and may contribute to an uneven surface or other finishing problems.
The shape and thickness of the project make a big difference in drying time, so I do not rely on one exact number of hours for every project. Instead, I look at the piece itself.
How I Check the Clay Before Painting
I look closely at the entire piece and make sure it feels firm rather than cool or noticeably damp.
I pay particular attention to the thicker sections because these can take longer to dry than thin edges.
If I am unsure, I wait.
That extra waiting time is much easier than having to deal with problems after the paint has already been applied.
A Simple Tip
Do not judge dryness only by the surface. Give thicker pieces additional drying time and make sure the clay feels consistently dry before moving on to painting.
Mistake 2: Skipping Surface Preparation
It is tempting to think that paint will hide small imperfections in air dry clay, but I usually find the opposite.
Paint can actually make bumps, fingerprints, rough patches, and leftover dust more noticeable.
Once a smooth layer of color covers the surface, uneven areas can catch the light and become much easier to see.
This is why I like taking a few minutes to prepare the clay before painting.
It is one of those small steps that does not feel particularly exciting, but it can make the finished piece look considerably cleaner.
I check the front, sides, edges, and underside of the project. If there are rough areas that need attention, I smooth them before painting.
I also remove any loose dust or tiny pieces of clay that could become trapped underneath the paint.
What I Check Before Painting
I look for:
• Fingerprints
• Rough edges
• Small bumps
• Loose pieces of clay
• Dust
• Uneven areas
• Cracks that need attention
I do not try to make every handmade piece perfectly smooth. Some texture is part of the charm of working with air dry clay.
The goal is simply to make sure the surface looks intentional rather than accidentally rough.
Mistake 3: Choosing the Wrong Paint for the Project
Not every type of paint behaves the same way on air dry clay. The paint I choose depends on the look I want, the amount of detail involved, and how I plan to use the finished piece.
For many decorative clay projects, acrylic paint is one of the easiest options to work with. It provides strong color, is widely available, and can be built up in layers.
I especially like having acrylic paint available when I am working on projects that need a solid base color followed by smaller details.
It gives me enough control to change the appearance gradually instead of trying to achieve everything with one heavy layer.
Other paints can have their place too. Watercolor can create softer effects, while paint markers can be useful for very small details, lettering, outlines, or dots. The important thing is to understand that each medium behaves differently.
Think About the Finish You Want
Before choosing your paint, consider whether you want the finished piece to look:
• Soft and muted
• Bright and colorful
• Matte
• Glossy
• Detailed and decorative
• Lightly tinted
Choosing the paint based on the final appearance makes the painting process much easier.
I also recommend testing unfamiliar paint on a small leftover piece of clay whenever possible.
It is much better to discover that you do not like the coverage or finish before painting an entire project.
Mistake 4: Applying Paint Too Thickly
This is one of the mistakes I am most careful about because adding more paint can seem like the quickest way to get strong color.
When I want good coverage, I used to understand the temptation to load the brush and cover the surface in one go.
But a thick layer can make a handmade clay piece look heavy and can hide some of the small details that make the project interesting.
Thick paint can also take longer to dry. If I try to work over it before it has dried properly, I can end up disturbing the surface instead of improving it.
I prefer building color gradually.
A first coat does not always need to look perfect. I would rather apply a controlled layer, allow it to dry, and then decide whether another coat is needed.
How I Apply Paint More Evenly
I put a moderate amount of paint on the brush and avoid saturating it. I spread the paint across the surface rather than repeatedly brushing the same wet area.
If the color needs more coverage, I let the first coat dry before adding another.
This approach takes a little more patience, but I find that the final surface looks much cleaner.
Remember
Two or three controlled thin layers can give a much better result than one very thick layer. The exact number of coats depends on the paint, color, surface, and look you want.
That is especially important when working around raised details or textured sections where thick paint can quickly collect and make the design look less defined.
Mistake 5: Expecting One Coat of Paint to Do Everything
One of the things I have learned with air dry clay is that the first coat does not always tell you what the finished color will look like.
It can be tempting to keep adding paint when the clay is still showing through, especially when you are working with a lighter color.
But repeatedly brushing over wet paint usually does not improve the coverage. It can actually make the surface look more uneven.
I prefer to think of the first coat as the foundation rather than the finished result.
Once I have covered the piece, I leave it alone and let the paint dry properly.
When I come back to it, I can see which areas actually need more coverage. Sometimes a second coat is all it needs.
This is particularly helpful with pale colors. White, cream, pastel pink, light blue, and similar shades can sometimes require more than one layer to look consistent.
How to Get Better Coverage
Start with a reasonably even first coat rather than trying to make it completely opaque.
Allow it to dry.
Look at the piece under good lighting and check for thin areas.
Apply another controlled coat where needed.
If the second coat still looks uneven, give it another layer rather than applying a very thick amount of paint at once.
I find that this approach also helps preserve the little details in the clay.
Instead of covering everything with a heavy layer of paint, I can gradually build the color while still allowing the shape and texture to show through.
Mistake 6: Using Too Much Water With the Paint
Water can be useful when painting, but there is a difference between slightly adjusting the consistency of paint and adding so much water that the paint becomes difficult to control.
This is something I pay attention to because air dry clay can be quite absorbent. If the paint becomes very watery, it may soak into the surface instead of giving the even coverage I want.
Too much water can also make the paint look weak and streaky. Instead of getting a consistent layer of color, I may end up with areas that appear darker and others that look almost transparent.
When I need to make paint a little easier to spread, I prefer making a small adjustment rather than adding a lot of water at once.
Why This Matters
A watery mixture can be especially frustrating when you are trying to paint small details. It can spread farther than expected and make it difficult to keep lines, dots, or edges neat.
For a solid base color, I generally want the paint to have enough body to sit on the surface while still spreading smoothly.
A Simple Painting Habit
Keep a small amount of water nearby for cleaning or making minor adjustments, but do not assume that more water automatically makes paint easier to use.
If your paint is already spreading smoothly, there may be no reason to thin it.
Mistake 7: Forgetting About the Edges and Underside
It is very easy to concentrate on the front of a clay project and forget about everything else.
I have caught myself doing this when working on small decorative pieces.
The main surface gets all the attention because that is what I see while painting, while the edges, back, or underside can quietly remain unfinished.
This becomes noticeable when the finished piece is picked up or viewed from another angle.
For something like a clay ornament, I might want to check both sides. For a small tray or dish, I look around the outer edges and underneath.
For a figurine, I pay attention to areas that are easy to overlook when the piece is sitting on the table.
My Way of Checking the Finished Surface
Once the main color is dry, I slowly turn the piece around instead of immediately moving on to the details.
I check:
• The front
• The back
• The sides
• The edges
• The bottom
• Inside openings or recessed areas
• Areas around raised details
This also helps me notice small areas where the paint may have become too thick or where the clay is still showing through.
Taking a few extra minutes here can make a handmade project feel much more complete.
Mistake 8: Painting Small Details Before the Base Color Is Dry
Small details are usually one of my favorite parts of painting clay.
Adding dots, lines, facial features, flowers, patterns, lettering, or other tiny decorations can completely change the character of a piece.
The problem is that detail work requires a stable base.
If the base coat is still damp, a small brush can disturb it very easily.
Colors can mix together, edges can become blurry, and a detail that looked clean a few seconds earlier can suddenly turn into a smudge.
I have found that slowing down between the larger painting stages makes detail work much easier.
The Order I Prefer
I start with the main base color.
I let it dry completely.
Then I add the larger secondary colors.
I let those areas dry.
After that, I work on the smallest details.
This gives me much more control.
Be Especially Careful With Fine Details
If you are painting eyes, facial features, tiny flowers, lettering, dots, or narrow lines, use a clean brush and work with a small amount of paint.
A brush loaded with too much paint can create a larger mark than intended.
I also like resting my painting hand on the table when working on very small details.
It gives me more stability and makes it easier to control the brush.
If I make a mistake, I do not immediately try to paint over it while everything is still wet.
I let the area dry first and then decide whether I can carefully cover it with the original color.
That little bit of patience can save a lot of frustration.
A Better Way to Think About Layering
One thing that has made painting air dry clay easier for me is thinking about each layer as its own stage rather than trying to finish everything at once.
The base color establishes the overall appearance.
The second layer improves coverage or adds larger sections of color.
The detail layer gives the project its personality.
The final touch ups clean up areas that need a little extra attention.
When I approach the project this way, I am less likely to rush through the painting just because I want to see the finished piece.
Air dry clay projects are usually small enough that a few extra minutes of careful painting can make a noticeable difference in the final appearance.
Mistake 9: Using the Wrong Brush for the Job
The brush you use can make a bigger difference than you might expect.
I have found that painting a large clay surface with a tiny brush can take forever, while trying to paint delicate details with a large brush can make the project unnecessarily difficult.
I like to keep a small selection of brushes nearby instead of trying to use the same one for everything.
A larger, soft brush works well for covering bigger areas because it allows me to spread the paint more evenly.
Smaller brushes are much easier to control when I am working around edges or adding tiny details.
The condition of the brush matters too. A brush with frayed or bent bristles can leave unwanted marks and make fine lines look uneven.
Match the Brush to the Task
For larger areas, I prefer a wider brush that can cover the surface without requiring lots of repeated strokes.
For medium details, a smaller round or flat brush gives me better control.
For very fine lines, dots, lettering, or tiny decorative details, I reach for my smallest suitable brush.
I also avoid putting too much paint on a detail brush. A small amount gives me more control and makes it easier to correct mistakes.
Keep Your Brushes Clean
Paint that has started drying around the bristles can change the way a brush moves across the clay.
I like cleaning my brushes between colors, especially when I am working on a project with several contrasting shades.
This helps keep the colors cleaner and prevents old paint from appearing unexpectedly in a new section.
A little care with the brushes can make painting feel much easier.
Mistake 10: Not Letting the Paint Dry Between Coats
Waiting for paint to dry is probably one of the least exciting parts of a clay project, but it is one of the steps I have learned not to rush.
When a coat looks almost dry, it can be tempting to start painting over it immediately. The surface may appear ready, but the paint can still be soft underneath.
Adding another layer too soon can cause the brush to pull up the previous coat. Instead of creating smoother coverage, I can end up with streaks, patches, or areas where the colors begin mixing together.
This becomes especially noticeable when painting light colors over dark ones or when working with small decorative details.
How I Handle Multiple Coats
I apply the first coat and then leave the piece alone.
Once the surface is dry, I inspect it rather than automatically adding another layer.
If it needs more coverage, I add another thin coat.
Then I allow that layer to dry before doing any detail work.
The exact drying time can vary depending on the type of paint, the thickness of the application, room conditions, and how much paint was used.
Because of that, I prefer judging the actual piece instead of relying on one universal drying time.
Avoid Constantly Touching the Surface
One habit I try to avoid is repeatedly touching the painted area to see whether it is dry.
It is easy to leave fingerprints or disturb a surface that is still slightly soft.
If I need to check, I do it carefully and give the paint more time if there is any doubt.
Mistake 11: Forgetting About the Final Finish
Once the painting is complete, it can be tempting to consider the project finished immediately.
But depending on what I am making, I may want to think about whether the painted surface needs a protective finish.
A suitable sealer can change the appearance of the finished piece and may provide some additional protection against ordinary handling. It can also change the overall look of the colors.
A matte finish gives a softer appearance.
A satin finish provides a little more sheen without looking extremely glossy.
A gloss finish creates a much shinier surface.
I usually think about the appearance I want before choosing a finish rather than automatically using the glossiest option.
Test the Sealer First
This is especially important if the finish is unfamiliar to you.
A sealer can change the appearance of your paint, so testing it on a small leftover piece or an inconspicuous area is a good idea.
I also make sure the paint itself is fully dry before applying another product over it.
Remember What Sealing Does Not Do
A protective coating does not turn air dry clay into fired ceramic.
Air dry clay remains different from kiln fired clay, and a sealer should not automatically be treated as a guarantee that the finished piece is waterproof or suitable for prolonged contact with water.
For decorative projects, I am much more comfortable treating the finished piece as something that should be handled and stored appropriately rather than assuming the coating makes it indestructible.
Mistake 12: Not Testing Your Paint Before Starting the Project
This is one of the simplest mistakes to prevent.
When I am using a new paint, new color, or unfamiliar finishing product, I prefer testing it before committing it to the main project.
This is particularly helpful when the finished piece has already taken a lot of time to shape and smooth.
Discovering that a paint looks completely different from what I expected after covering the entire piece is frustrating.
A small test area can tell me several things.
I can see how well the paint covers the clay.
I can see whether the color looks the way I expected.
I can check whether the paint is easy to control.
I can see how additional coats behave.
I can also test the final finish if I plan to use a sealer.
What I Like to Test
Before starting an important project, I consider testing:
• The paint color
• Coverage
• Paint consistency
• Brush size
• Number of coats
• Final finish
• Sealer compatibility
It only takes a few minutes, but it can prevent a much bigger problem later.
How to Fix Common Air Dry Clay Painting Problems
Even when you are careful, painting does not always go exactly as planned. The good thing is that many common problems can be corrected without starting the entire project again.
Paint Looks Streaky
Streaks can happen when the paint is too thin, the brush is overloaded, the surface is uneven, or the paint has been worked over too many times while wet.
I usually let the existing layer dry completely first.
Then I look at the surface again.
If the color simply needs better coverage, another controlled coat may be enough. I avoid trying to fix streaks by repeatedly brushing over wet paint because that can make the surface even more uneven.
Paint Looks Patchy
Patchiness is often easier to correct than it looks.
First, allow the existing paint to dry. Then apply another thin layer over the affected area.
If the problem is caused by an uneven clay surface, additional paint may not completely solve it.
In that situation, it can be better to carefully smooth the surface before repainting if the project allows it.
Paint Is Peeling
Peeling can have several causes, including poor surface preparation, a coating that does not adhere well, or applying another layer before the previous one has properly dried.
I would not simply paint over loose or peeling areas.
Instead, I would remove the loose material as carefully as possible, inspect the surface, and prepare it again before repainting.
If you are using a new combination of clay, paint, and sealer, testing the materials together beforehand can help prevent this problem.
Details Look Blurry
If tiny details have become blurry, the most likely problem is that the layers underneath were not completely dry or too much paint was used.
I prefer waiting until the area is completely dry before attempting a correction.
Sometimes the easiest solution is to repaint the surrounding base color and then carefully recreate the detail using a smaller brush.
The Paint Looks Too Thick
If the surface has become noticeably heavy or textured because too much paint was applied, allow it to dry completely before deciding what to do next.
Depending on the project, you may be able to carefully smooth the affected area and repaint it with thinner coats.
Prevention is much easier here, which is why I prefer building color gradually instead of trying to achieve complete coverage immediately.
How I Paint Air Dry Clay for a Smoother Finish
After working through these common mistakes, my painting process is fairly simple.
I start with completely dry clay.
I inspect the surface and smooth anything that needs attention.
I remove dust before picking up the paintbrush.
I begin with the main color and avoid putting too much paint on the brush.
I let the first coat dry.
Then I add another coat if the coverage needs improvement.
Once the base is finished, I work on the larger secondary details.
After those areas are dry, I move on to the smallest details.
Finally, I inspect the entire piece from different angles and touch up any areas that need attention.
If I want to use a protective finish, I wait until the paint is properly dry and test the finish whenever I am working with an unfamiliar product.
The biggest difference is usually patience. I do not try to finish every part of the painting in one sitting simply because the clay itself is already finished.
Tips for Getting a Cleaner Painted Finish
A smooth painted clay project usually comes down to several small habits rather than one special technique.
Start With a Good Surface
Painting cannot always hide rough clay. Preparing the surface first gives the paint a better foundation.
Use Controlled Amounts of Paint
It is easier to add another coat than to deal with an unnecessarily thick one.
Let Each Layer Dry
This is particularly important when working with several colors or small details.
Use the Right Brush
A brush that matches the size of the area gives you much more control.
Keep Your Colors Clean
Clean brushes help prevent unwanted color mixing.
Step Back and Inspect the Piece
I like turning the finished project around and looking at it from different angles. Small areas that were easy to miss while painting often become obvious this way.
Do Not Chase Perfection
One thing I appreciate about air dry clay is that it is handmade. Small variations are part of the finished piece.
I focus on creating a clean and intentional result rather than trying to make every handmade project look factory perfect.
Air Dry Clay Painting Checklist
Before painting:
• Make sure the clay is completely dry
• Smooth rough areas
• Remove dust and loose clay
• Prepare clean brushes
• Choose suitable paint
• Test unfamiliar materials
While painting:
• Start with thin coats
• Avoid excessive water
• Allow each layer to dry
• Use smaller brushes for details
• Check the edges and underside
• Avoid repeatedly brushing wet paint
After painting:
• Inspect the entire piece
• Touch up uneven areas
• Allow the paint to dry completely
• Consider whether a protective finish is appropriate
• Test the finish before using it on an important project
Frequently Asked Questions
Can You Paint Air Dry Clay Before It Is Completely Dry?
It is better to wait until the clay is completely dry before painting a finished piece.
Thicker clay projects can take longer to dry internally even when the outside feels firm.
What Paint Is Best for Air Dry Clay?
Acrylic paint is a popular choice for many decorative air dry clay projects because it provides good coverage and is available in a wide range of colors.
Other paints can also be useful depending on the effect you want.
How Many Coats of Paint Does Air Dry Clay Need?
There is no single number that works for every project.
The number of coats depends on the paint color, consistency, clay surface, and amount of coverage you want.
I usually prefer several controlled thin coats rather than one heavy coat.
Why Is My Paint Peeling Off Air Dry Clay?
Peeling can be related to surface preparation, paint compatibility, or applying products before previous layers have dried properly.
Remove loose paint, inspect the surface, and make sure the materials are compatible before repainting.
Can You Use Watercolor on Air Dry Clay?
Watercolor can be used for certain decorative effects, but it behaves differently from opaque acrylic paint.
If you want strong, solid coverage, acrylic paint is generally a more practical choice.
Do You Need to Seal Painted Air Dry Clay?
Not every project needs to be sealed.
A suitable protective finish can be useful for decorative pieces that will be handled, and it can also change the appearance of the paint.
Always consider the intended use of the project before choosing a sealer.
Can Sealed Air Dry Clay Get Wet?
A sealer may provide some surface protection, but it does not make air dry clay equivalent to fired ceramic. I avoid treating sealed air dry clay as completely waterproof and would not use it for situations involving prolonged water exposure unless the specific materials and manufacturer instructions clearly support that use.
Final Thoughts
Painting is one of the stages where an air dry clay project really starts to come together.
The color can bring out small details, make simple shapes more interesting, and give a handmade piece a completely different personality.
At the same time, I have found that the best results usually come from resisting the urge to rush.
Letting the clay dry properly, preparing the surface, using controlled amounts of paint, and giving each layer enough time to dry can make the process much easier.
You do not need a huge collection of supplies to get a nice finish.
A suitable paint, a few clean brushes, a prepared clay surface, and a little patience can go a long way.
If your paint does not look perfect on the first coat, do not assume the project has gone wrong.
Let it dry, look at it again, and decide what it actually needs. Sometimes another thin coat is all that is necessary.
For me, that is one of the most useful lessons with air dry clay painting.
A clean finished piece is usually not about doing everything perfectly the first time.
It is about giving each stage enough attention to build on the one before it.