How to Protect Air Dry Clay From Moisture, Cracks and Damage
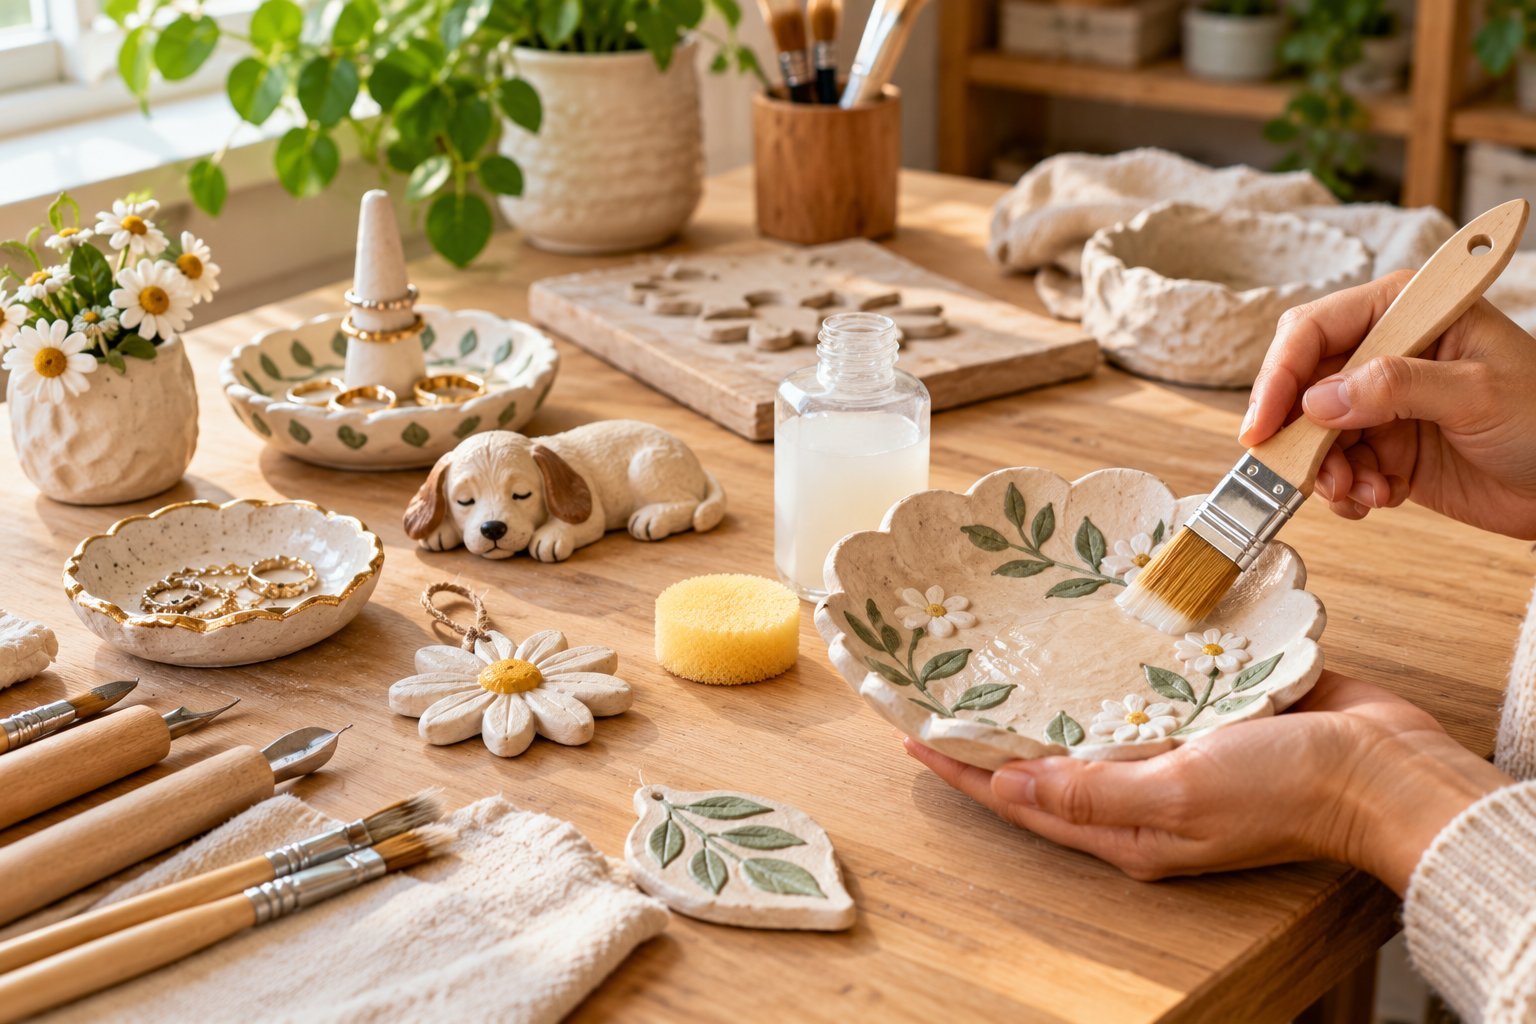
Air dry clay is one of my favorite materials for making decorative pieces because I can turn a simple lump of clay into beautiful trinket dishes, ornaments, jewelry holders, miniature sculptures, and personalized gifts without needing a pottery kiln.
But there is one thing I have learned about working with this material: creating something beautiful is only part of the process. Knowing how to protect it afterward is just as important.
Air dry clay can crack while drying, absorb moisture from the environment, chip when handled roughly, or become damaged when it is stored incorrectly.
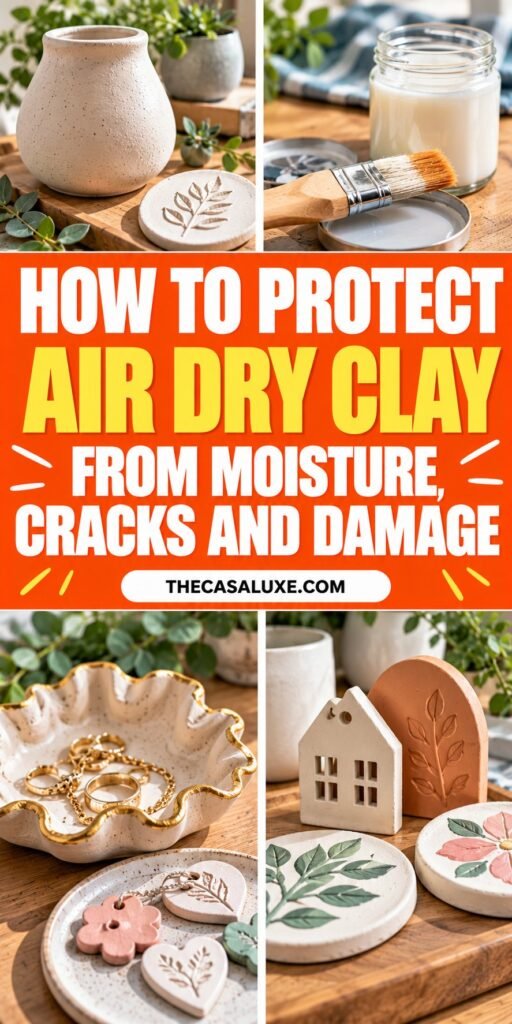
Even a carefully made project can develop problems if it is sealed before it has dried completely or left somewhere damp.
The good news is that many of these problems are preventable. With the right drying method, a suitable sealant, careful handling, and proper storage, you can help your finished clay projects stay attractive for much longer.
In this guide, I will explain how to protect air dry clay from moisture, cracks, and everyday damage, including what to do before your project dries, how to seal it properly, and which mistakes to avoid.
Why Air Dry Clay Needs Protection
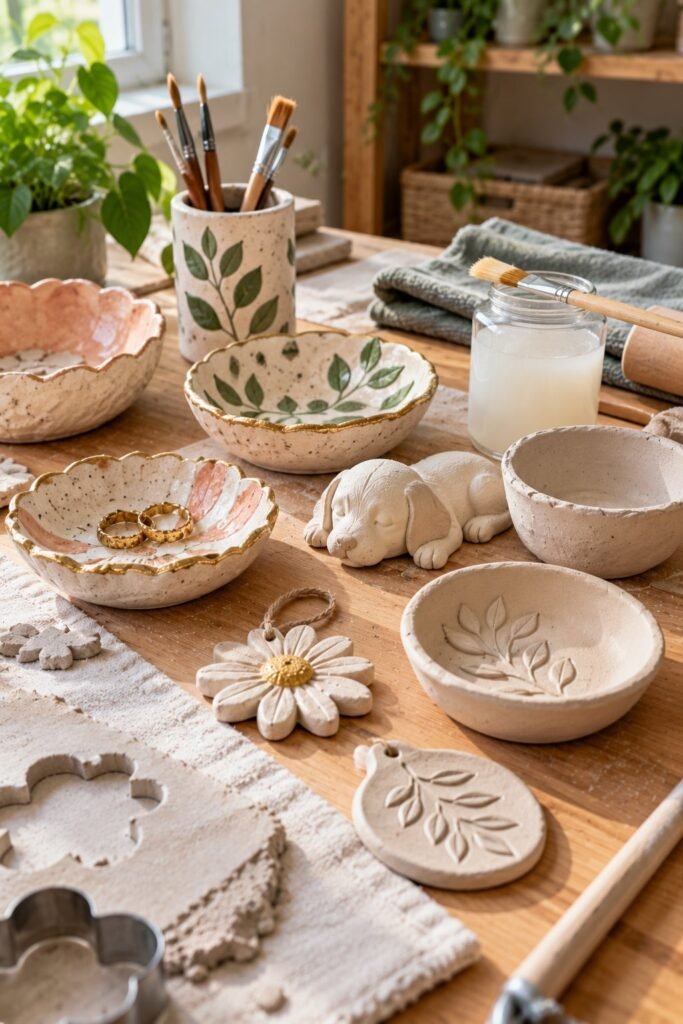
Air dry clay hardens as moisture evaporates from the material. Unlike traditional pottery clay, which is fired in a kiln to become ceramic, ordinary air dry clay does not go through that firing process.
This difference matters because a dried air dry clay project can still be porous and vulnerable to water. It may feel hard on the outside, but that does not mean it can withstand soaking, frequent washing, or prolonged exposure to damp conditions.
I always think about protecting air dry clay in three stages: preventing damage while making the piece, allowing it to dry properly, and protecting the finished surface.
Each stage serves a different purpose.
During the making stage, you want to avoid weak joints, uneven thickness, and excessive water. During drying, you want moisture to leave the clay gradually and evenly. Once the project is completely dry, you can apply a suitable finish to reduce moisture absorption and protect the surface.
It is important to understand that sealing does not make every air dry clay project completely waterproof. Most sealants provide some level of surface protection, but the results depend on the clay, the finish, the application, and the conditions in which the piece is used.
For that reason, I recommend treating ordinary air dry clay creations as decorative items rather than using them to hold drinking water, serve food, or withstand regular washing.
1. Let Your Air Dry Clay Dry Completely Before Sealing
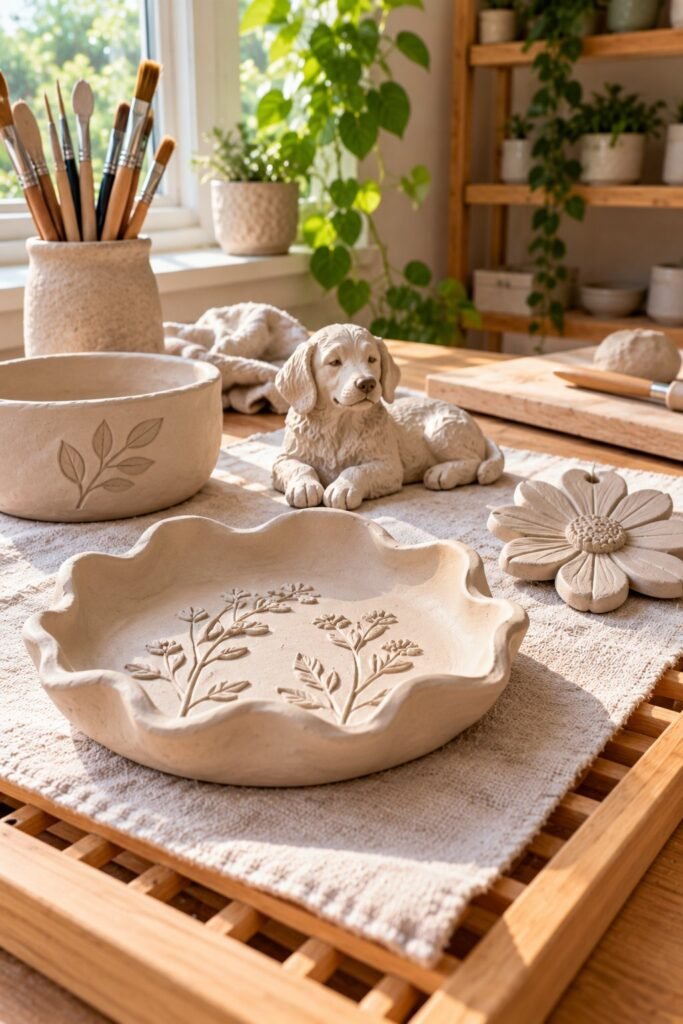
One of the most important things you can do to protect air dry clay is allow it to dry completely before applying paint, varnish, or another protective coating.
It can be tempting to finish a project as soon as the surface feels firm. However, the inside may still contain moisture, especially if the piece is thick or has several layers.
If you seal the clay too early, you may trap moisture beneath the finish. This can interfere with the appearance and performance of the coating and may contribute to other problems as the piece continues to dry.
How to tell when air dry clay is ready for sealing
I would look at several signs rather than relying on a single drying time.
Check the color. Many air dry clay products become lighter as they dry. If parts of your project remain darker than others, they may still contain moisture. This depends on the clay’s original color and formulation, so color alone is not a perfect test.
Check the thickness. A thin ornament may dry much faster than a solid sculpture, chunky jewelry dish, or thick decorative bowl. Larger pieces usually need more time.
Check the manufacturer’s instructions. Different clay brands have different recommended drying times. Some small projects may dry within a couple of days, while thicker pieces can take longer.
Check the environment. High humidity, limited airflow, and cool conditions can slow drying. A project that dries quickly in one room may take considerably longer in another.
When in doubt, give the piece additional drying time rather than rushing to paint or seal it.
For example, if I were making a thick trinket dish, I would check the underside as carefully as the top. The bottom can remain damp when it sits against a surface that restricts airflow.
Where should you dry air dry clay?
Choose a clean, well ventilated indoor area away from direct sunlight, radiators, heaters, and other strong heat sources. Rapid or uneven drying can increase the risk of cracking.
Place your creation on a suitable surface that allows it to dry gradually. For a flat item, you may need to turn it carefully once it has firmed up enough to handle without distorting it.
Avoid placing a damp project directly on a surface that could stick to it or trap moisture underneath.
My main rule is simple: do not rush the drying process just because you want to move on to decorating. A little patience at this stage can save you from having to repair a damaged piece later.
2. Dry Your Clay Slowly to Prevent Cracks
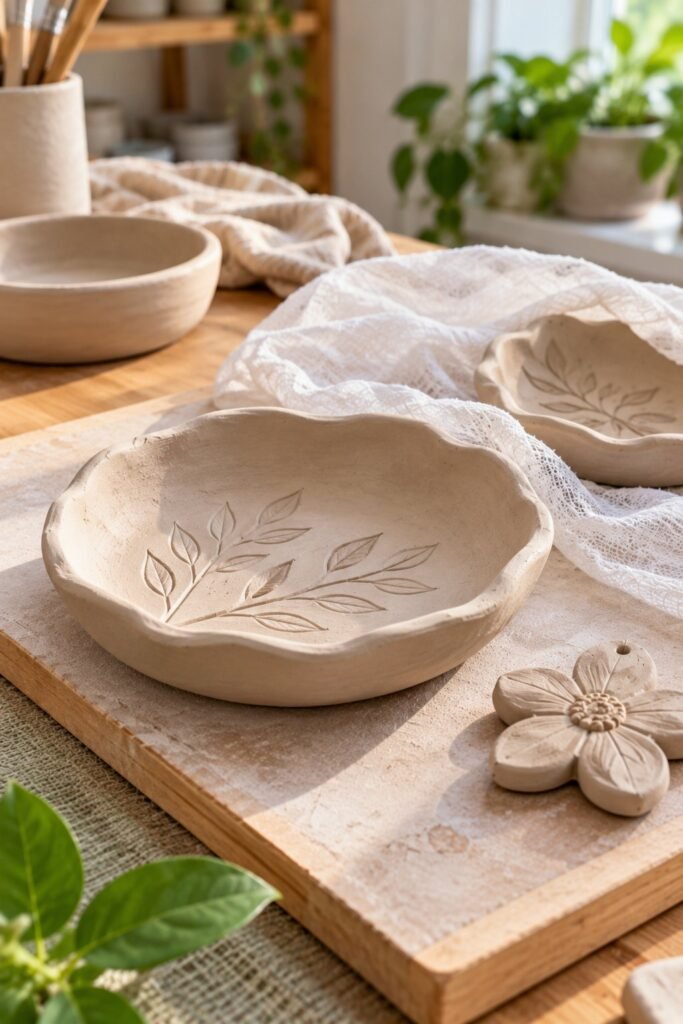
Cracking is one of the most frustrating problems with air dry clay. You can spend time smoothing the surface and shaping every detail, only to discover a split along the side or around the base.
One common cause is uneven drying. As moisture evaporates, the clay shrinks. If one area dries and shrinks faster than another, stress can develop and cause cracks.
This is why I would rather let a project dry gradually than try to speed things up with a hairdryer or direct sunlight.
Keep your clay away from direct heat
Avoid placing freshly shaped clay beside a heater, under intense sunlight, or in a hot, dry airflow. These conditions can dry the outer surface too quickly while the interior remains moist.
Instead, leave the piece in a stable indoor environment and allow air to circulate naturally.
You do not need to keep moving the project from place to place. In fact, frequent handling while the clay is still soft can distort its shape or create marks.
Cover the project loosely when appropriate
For some projects, especially larger pieces, loosely covering the clay with plastic during the early drying stage can slow moisture loss and help the piece dry more evenly.
The cover should not be sealed tightly around the project indefinitely. The goal is to slow drying, not prevent moisture from escaping.
Check the clay regularly and gradually remove the cover as the piece becomes firmer and begins drying more evenly. Follow the specific instructions supplied with your clay because different formulations can behave differently.
Turn flat projects carefully
Flat ornaments, small dishes, and other slab based creations can sometimes dry unevenly if one side remains against a table for too long.
Once the piece is firm enough to handle safely, turning it can help expose the underside to air. Do this gently to avoid bending or cracking the clay.
If the project is still soft, leave it in place until it can support its own shape.
Keep the thickness reasonably consistent
A project with a very thin edge and a thick center may dry at different rates in different areas. That difference can increase the risk of cracking or warping.
When making a dish or ornament, aim for reasonably even thickness throughout the main body. Delicate details can still be added, but they should be attached carefully and allowed to dry without being forced into position.
For larger sculptures, consider building a hollow form or using an appropriate flexible support instead of creating an unnecessarily thick, solid mass of clay.
The exact thickness depends on the project and the clay brand. Follow the manufacturer’s recommendations rather than assuming one measurement works for every product.
3. Use the Right Amount of Water While Working
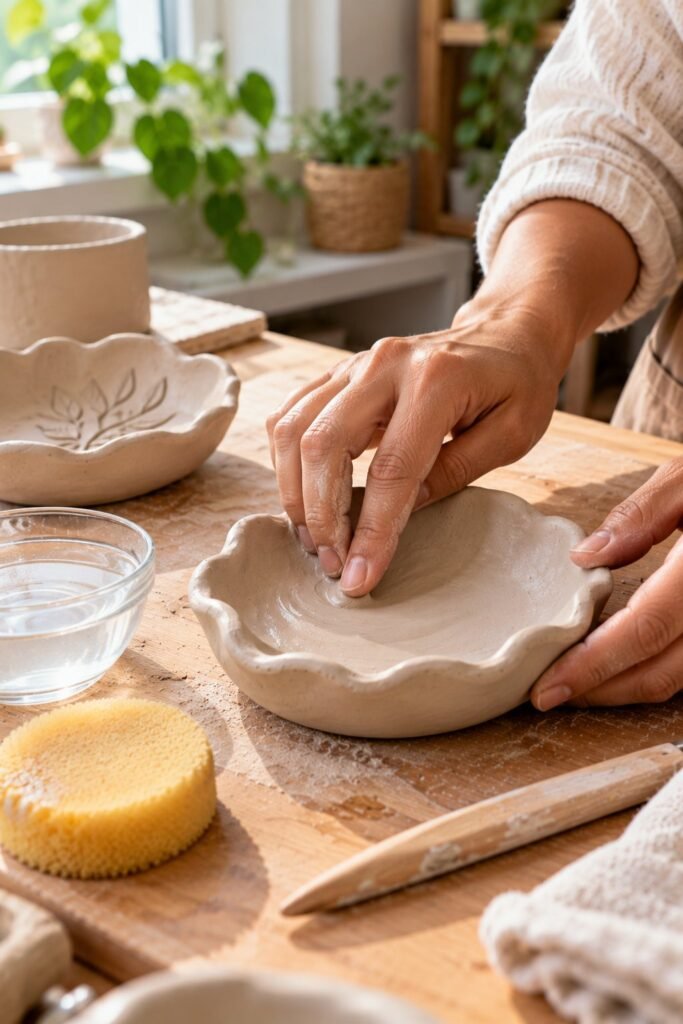
Water helps make many types of air dry clay easier to shape and smooth. It can also help join separate pieces when used correctly.
However, adding too much water can make the clay overly soft and increase drying problems. Excess water must evaporate before the project becomes fully stable, and that can contribute to uneven shrinkage.
I would use water sparingly rather than repeatedly wetting the entire surface.
How to smooth clay without making it too wet
If you notice a rough area or small fingerprint marks, try smoothing the surface with a slightly damp fingertip or sponge. Use only enough moisture to improve the finish.
If the clay starts feeling sticky, floppy, or unusually soft, stop adding water and give it time to firm up before continuing.
For small cracks that appear while the clay is still workable, a tiny amount of fresh clay mixed with a little water may help fill the damaged area. Press the material into the crack and smooth it carefully, then allow the repaired project to dry slowly.
A repair made while the clay is still damp is often easier than trying to reshape a fully hardened piece.
Join separate pieces carefully
When attaching handles, decorative flowers, raised details, or other additions, avoid simply pressing the new piece against a smooth, dry surface and hoping it will stay attached.
For many air dry clay products, lightly roughening the joining surfaces and using a small amount of compatible clay slip can help create a better connection. Clay slip is a soft mixture of clay and water used to help join clay pieces.
Press the parts together carefully and smooth the seam without flooding it with water.
Allow the joint to dry gradually. Large additions and weak joins can become points where cracks develop, especially if the attached pieces have different thicknesses.
Always follow your clay manufacturer’s joining instructions, because the best method can vary by formulation.
4. Choose a Suitable Sealant for Air Dry Clay
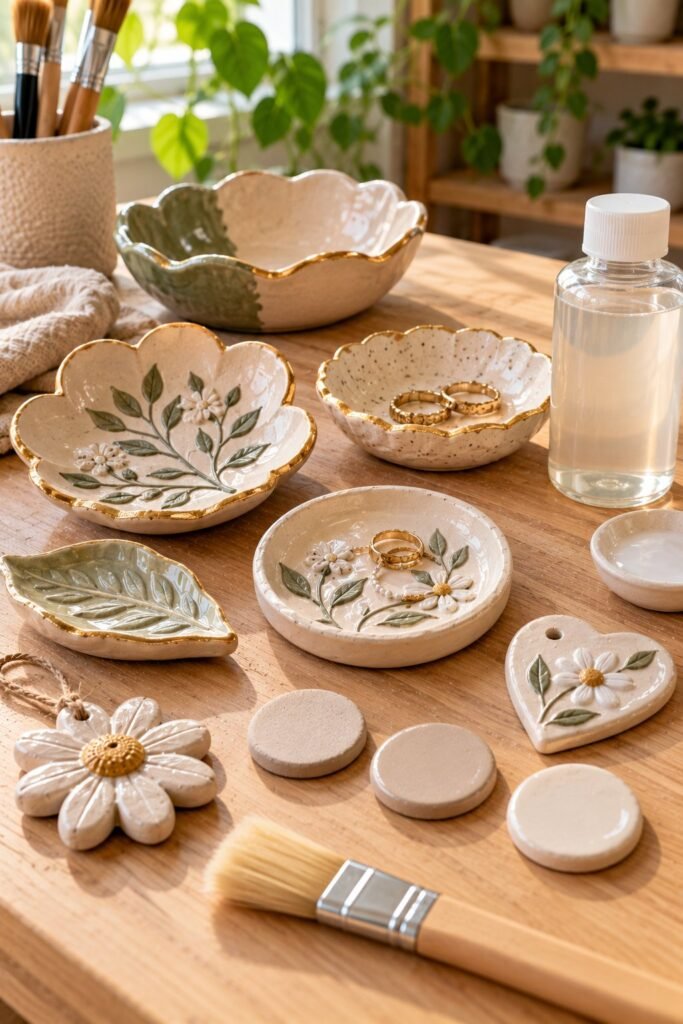
Once your project has dried completely, applying a suitable sealant can help protect its surface against light moisture, dust, handling, and ordinary wear.
However, not every varnish or coating works equally well on every clay product. Some finishes may change the color, create unwanted shine, or react poorly with the paint beneath them.
For this reason, I would test the chosen finish on a small sample or an inconspicuous area before coating an important project.
Acrylic varnish
Acrylic varnish is a common option for protecting decorative air dry clay projects. Depending on the product, it may be available in gloss, satin, or matte finishes.
A gloss finish creates a shiny appearance, while a matte finish provides a softer look. Satin sits somewhere between the two.
Choose a product that specifically states it is suitable for your clay and any paint you have used. Apply it according to the label, allowing each coat to dry for the recommended period.
Water based sealants
Some water based sealants are suitable for decorative clay projects and can be easier to apply or clean up than certain solvent based alternatives.
However, a water based coating can interact differently with particular paints and surfaces. Test compatibility first and follow the manufacturer’s directions.
Do not assume that every clear craft coating will provide the same level of protection.
Resin coatings
Some crafters use compatible resin products to create a smooth, glossy finish on selected decorative pieces. Resin can require careful mixing, application, ventilation, and protective equipment, depending on the product.
It is not automatically the best choice for every project. Consider whether the extra work is appropriate for the item you are making, and follow all product safety instructions.
A resin coating also does not guarantee that a poorly dried or structurally weak clay piece will remain undamaged.
Does sealing make air dry clay waterproof?
No, not reliably. A suitable sealant can reduce moisture absorption, but ordinary air dry clay should not be assumed to be fully waterproof.
Water may enter through an uncoated underside, a pinhole, a crack, a thin spot, or a damaged finish. Prolonged exposure can still cause problems.
For this reason, I would use sealed air dry clay for decorative objects, jewelry holders, ornaments, and other suitable indoor projects. I would not rely on it for a vessel that must hold water or an item that will be washed frequently.
The most important thing to remember is that a sealant protects the surface. It cannot replace proper drying or fix a weak structure.
5. Apply Sealant in Thin, Even Coats
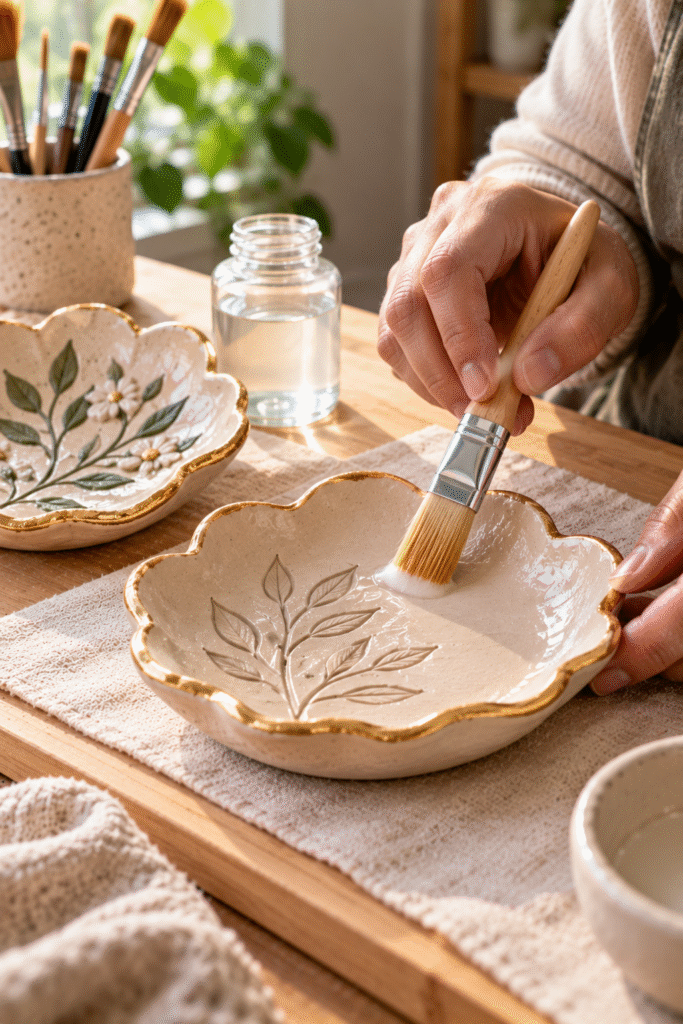
Choosing a suitable sealant is important, but how you apply it also makes a difference. A thick, uneven layer can leave visible brush marks, create puddles around details, or produce an inconsistent finish.
I prefer applying several thin coats when the product instructions allow it rather than trying to cover the entire project with one heavy layer.
How to seal air dry clay properly
- Make sure the clay is completely dry. Check the thickest parts and the underside before applying anything.
- Remove dust and loose particles. Use a clean, dry, soft brush or cloth. Avoid soaking the clay to clean it.
- Test your sealant. Apply it to a sample of the same clay and paint, if possible, to check the finish and compatibility.
- Apply a thin coat. Use a suitable brush or applicator and spread the product evenly without leaving puddles.
- Allow the coat to dry. Follow the manufacturer’s recommended drying time before applying another layer.
- Add further coats if needed. Some products require more than one coat to provide their intended finish. Follow the label rather than assuming that more coats always mean better protection.
- Let the final coating cure. Drying and curing are not always the same. Follow the product instructions before handling the project heavily or putting it into use.
Pay attention to edges, small details, and the underside. If you coat only the visible top, moisture may still enter through unprotected areas.
Avoid applying sealant to a piece that is still damp, and work in the ventilation conditions specified by the product manufacturer.
6. Protect Air Dry Clay From Humidity and Damp Conditions
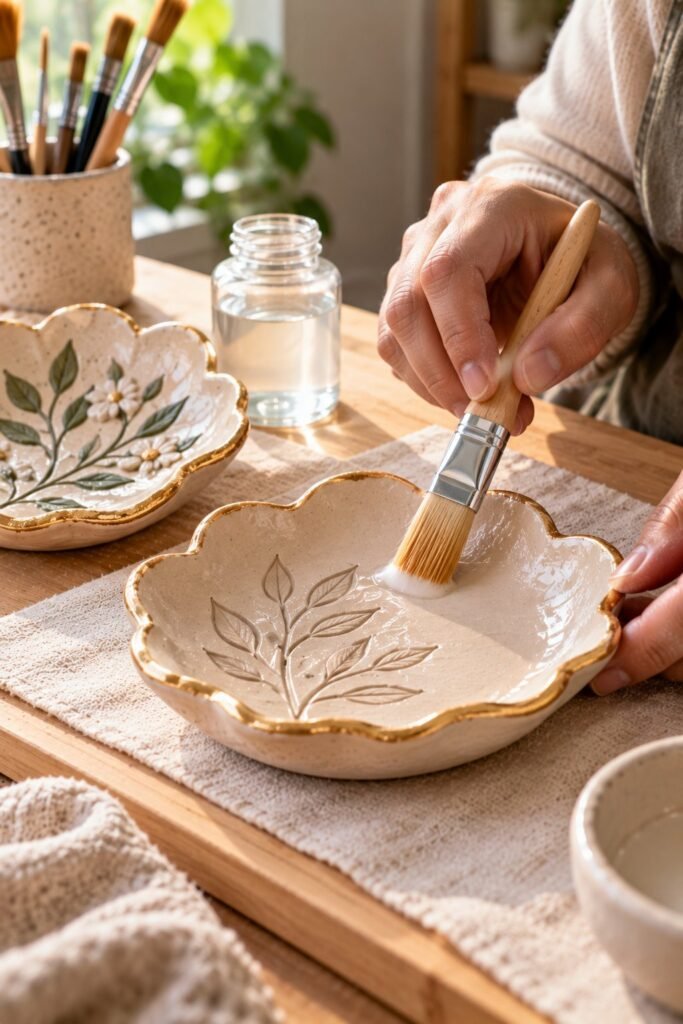
Even after a project has dried and been sealed, its surroundings can affect how well it lasts.
Air dry clay is generally more vulnerable to moisture than fired ceramic. In a humid room, an unsealed or poorly sealed piece may absorb moisture from the air, especially if the surface is porous or the protective coating has been damaged.
This does not mean you need to keep every clay creation in an airtight container forever. It means you should be thoughtful about where you display and store your work.
Keep finished projects away from water
Avoid placing decorative clay pieces directly beside sinks, showers, bathtubs, or areas where water regularly splashes.
A trinket dish may look beautiful on a bathroom counter, but a constantly damp environment may be unsuitable for an ordinary air dry clay piece.
If you want to display a clay ornament in a kitchen or bathroom, choose a location away from steam, splashes, and direct contact with water. Make sure the sealant is suitable for the intended environment, while remembering that it does not make the item waterproof.
Avoid damp storage areas
Basements, poorly ventilated cupboards, damp garages, and areas with recurring condensation may not be suitable for storing clay crafts.
Choose a clean, dry indoor space with reasonably stable conditions. If you keep several pieces together, leave enough room between them to prevent rubbing and accidental chipping.
For valuable or delicate creations, a protective display cabinet can reduce dust and accidental contact.
Be careful with outdoor displays
Ordinary air dry clay is generally better suited to indoor decorative use than prolonged outdoor exposure.
Rain, condensation, temperature changes, and direct sunlight can damage the clay or its coating. Even a well-sealed item may deteriorate if left outdoors for extended periods.
If you want to make garden ornaments or other pieces that will remain outside, choose a material specifically designed for outdoor use rather than relying on a standard air dry clay project and varnish alone.
7. Paint Your Clay Only After It Has Dried Properly
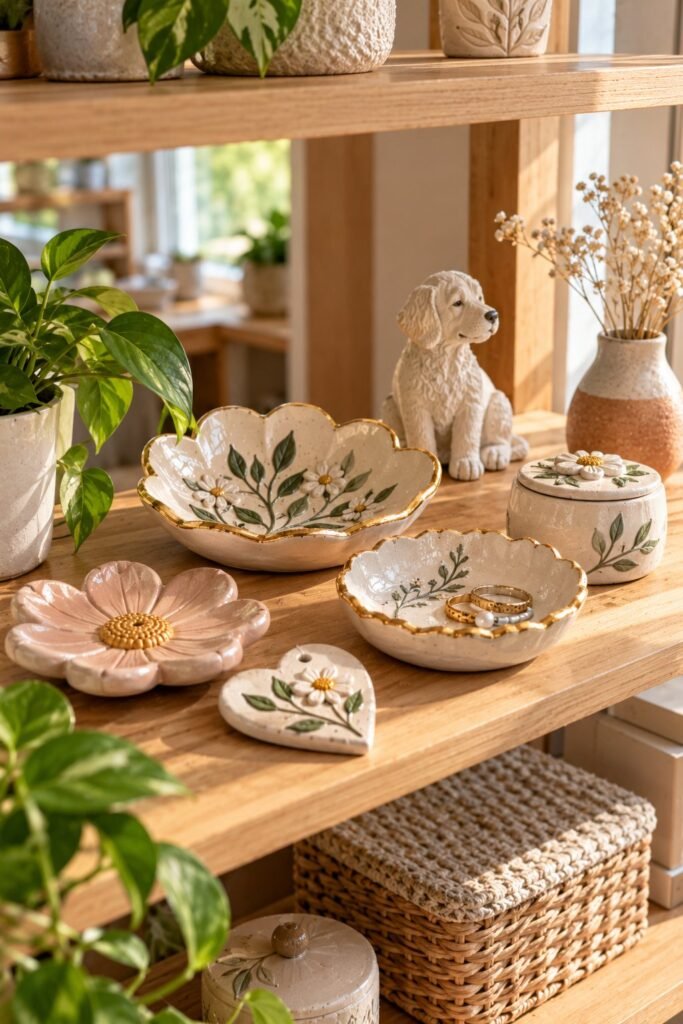
Paint can give air dry clay a beautiful finish, but it is important to use compatible products and allow the clay to dry before decorating.
Painting too early can interfere with moisture escaping from the clay. Depending on the paint and clay formulation, it may also produce uneven color, poor adhesion, or a finish that changes as the clay continues to dry.
Which paint works well on air dry clay?
Acrylic paint is a common choice for decorative clay crafts because it comes in many colors and can be applied with brushes, sponges, or other suitable tools.
For example, you can use acrylic paint to create:
- Minimalist trinket dishes.
- Decorative clay flowers.
- Personalized ornaments.
- Small animal sculptures.
- Painted jewelry holders.
- Seasonal home decorations.
Before painting, remove loose dust and check that the clay is fully dry. Apply the paint in manageable layers and allow each layer to dry according to its instructions.
If you plan to add a clear coating afterward, make sure the paint and sealant are compatible.
How to prevent paint from peeling
Peeling can happen for several reasons, including a dusty surface, incompatible products, insufficient drying, or excessive moisture exposure.
To reduce the risk, start with a clean, fully dried surface. Avoid handling the piece excessively while painting, and allow the paint to dry completely before applying a compatible sealant.
Do not use a coating simply because it is labeled clear or waterproof. Check that it is suitable for the materials in your project and follow the directions carefully.
8. Handle Finished Clay Pieces Carefully to Prevent Chips and Breaks
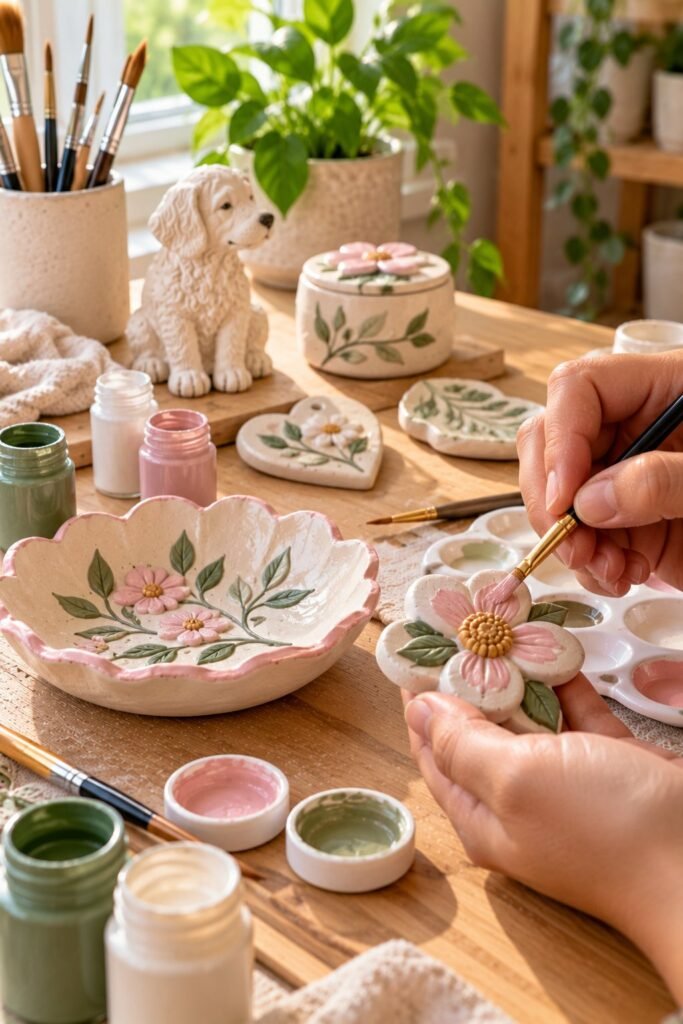
Air dry clay can become hard without becoming as strong as fired ceramic. Thin edges, narrow handles, small protruding details, and delicate attachments can be especially vulnerable to damage.
This is worth considering before you even begin shaping your project.
For example, a shallow decorative dish with a reasonably thick base may be more durable in ordinary handling than a piece with an extremely thin rim and several fragile extensions.
Design with durability in mind
When making air dry clay crafts, consider how the finished item will be handled.
Avoid unnecessarily thin sections. Extremely thin edges can chip more easily. Follow the clay manufacturer’s guidance for suitable thicknesses.
Strengthen joins. Make sure attached details have a suitable contact area and are joined using the method recommended for your clay.
Smooth sharp or weak edges. Rough, fragile edges can break more easily during handling and packaging.
Keep the intended use realistic. A decorative ring dish is not designed to withstand the same treatment as a heavy-duty storage container.
Use both hands when moving delicate pieces
Once the clay has dried, lift larger or delicate creations from underneath rather than gripping a thin edge or handle.
If you are moving a wide dish, sculpture, or decorative tray, support the base with both hands. Avoid picking it up by an attached decoration.
This simple habit can help prevent accidental breakage, especially when a project contains several delicate parts.
9. Store Air Dry Clay Crafts Properly
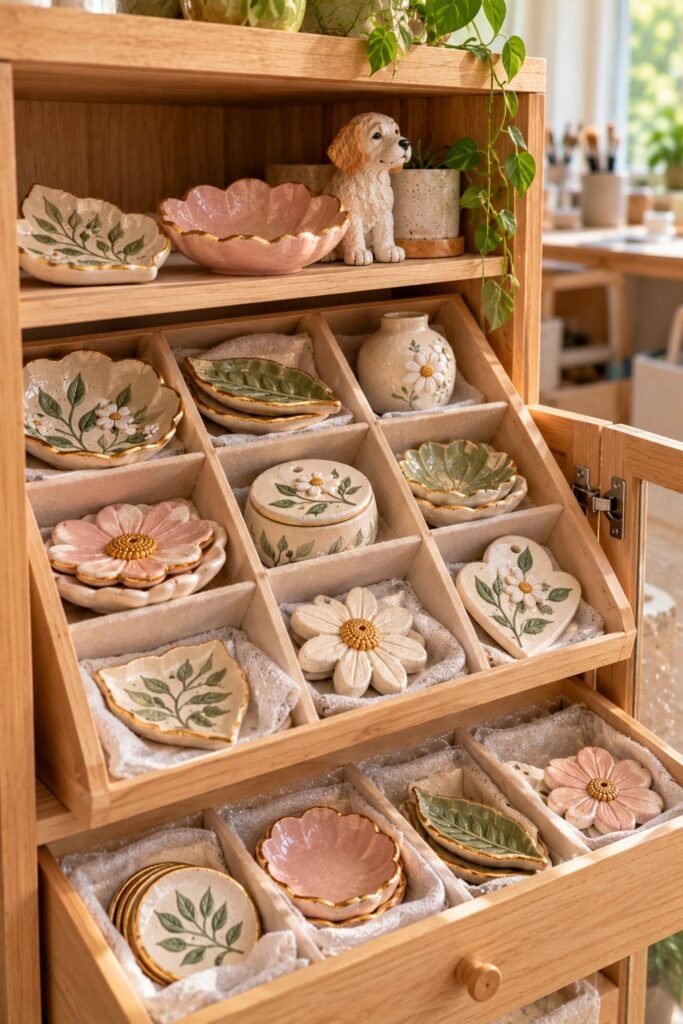
Storage is just as important as sealing when you want your finished projects to remain in good condition.
A clay piece can become scratched, chipped, dusty, or broken if it is stored loosely with heavier objects. Even a well-sealed surface can be damaged by friction or impact.
Choose a dry, protected storage location
Keep finished projects in a clean indoor space away from dampness, excessive heat, and direct sunlight.
For small ornaments, jewelry dishes, and other delicate pieces, a cabinet or drawer with individual compartments can help prevent accidental contact.
Avoid stacking clay items directly on top of one another. If you need to store several pieces together, place a soft, clean protective layer between them.
Wrap delicate pieces before moving them
If you need to transport your clay creations, wrap each item individually with a suitable protective material. Use enough cushioning to reduce movement inside the box.
For pieces with fragile protruding details, add extra protection around those areas without putting pressure on them.
Choose a box that leaves enough space for cushioning while preventing the item from moving around excessively.
If you sell your clay creations, test your packaging method before shipping valuable or delicate orders. A package that looks attractive may still offer inadequate protection during handling.
Keep dust away from the surface
Dust can settle on textured clay, painted decorations, and glossy finishes. Use a soft, dry brush to remove it gently.
Avoid scrubbing the surface or using a wet cloth unless the particular clay and coating are known to tolerate that cleaning method.
If a piece needs regular cleaning, consider whether ordinary air dry clay is the right material for that purpose.
10. Repair Small Cracks Before They Become Bigger Problems
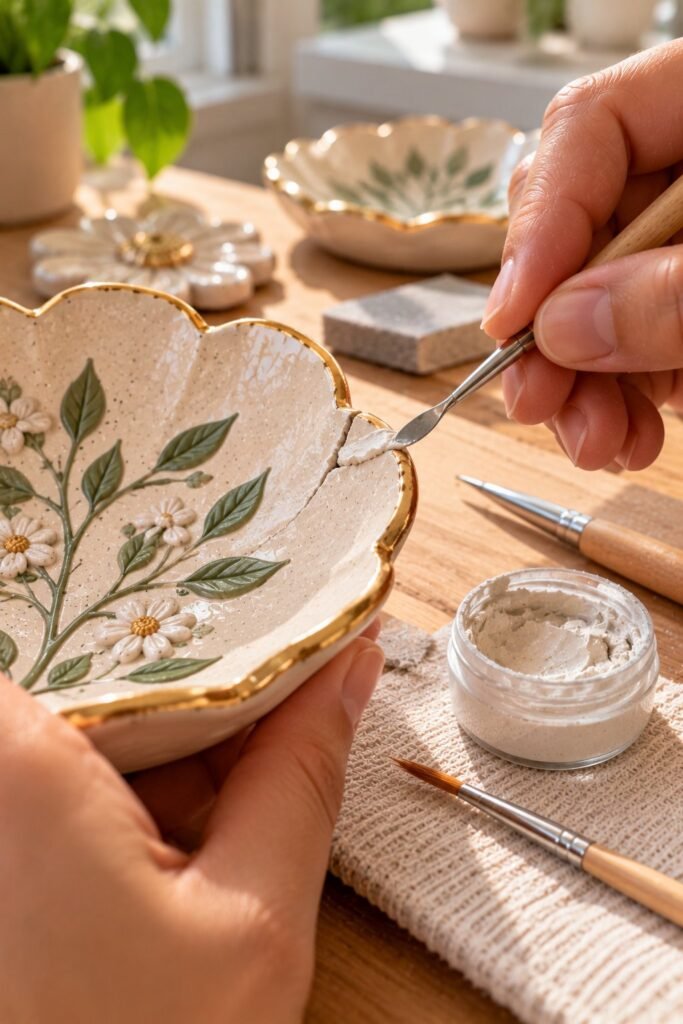
Not every crack means your project is ruined. Small cracks that appear while the clay is still damp may sometimes be repaired by gently working in a little compatible clay and smoothing the surface.
However, the best repair method depends on when the crack appears, how deep it is, and whether the surrounding material is stable.
How to repair a crack in damp clay
If the clay is still workable, gently press a small amount of fresh clay into the crack. Use a suitable tool or slightly damp fingertip to blend the material into the surrounding surface.
Do not flood the area with water. Too much moisture can soften the clay excessively and contribute to uneven drying.
After repairing the crack, allow the project to dry gradually. Check the repaired area as it dries, because a crack caused by uneven thickness or stress may reopen.
How to repair a crack in completely dry clay
Repairing fully hardened clay can be more difficult. A compatible repair product may be suitable for some small surface cracks, but it may not restore the original strength of the piece.
For a decorative project, you might be able to use a suitable filler, adhesive, or clay repair product recommended for the materials involved. Test the repair method first, especially if the piece is painted or sealed.
Allow the repair to dry or cure fully before refinishing the surface. You may need to sand a compatible filler gently, repaint the area, and apply a suitable sealant.
Avoid sanding materials without checking the manufacturer’s safety guidance, and use appropriate protection when necessary.
When should you avoid repairing a damaged piece?
If a project has a deep structural crack, several large splits, or a loose part that supports weight, a cosmetic repair may not make it safe to use.
Do not rely on a repaired clay item for food, liquids, or any purpose where failure could cause injury or damage. For an important decorative piece, it may be better to preserve it for display or remake it using a stronger design.
11. Avoid These Common Mistakes When Protecting Air Dry Clay
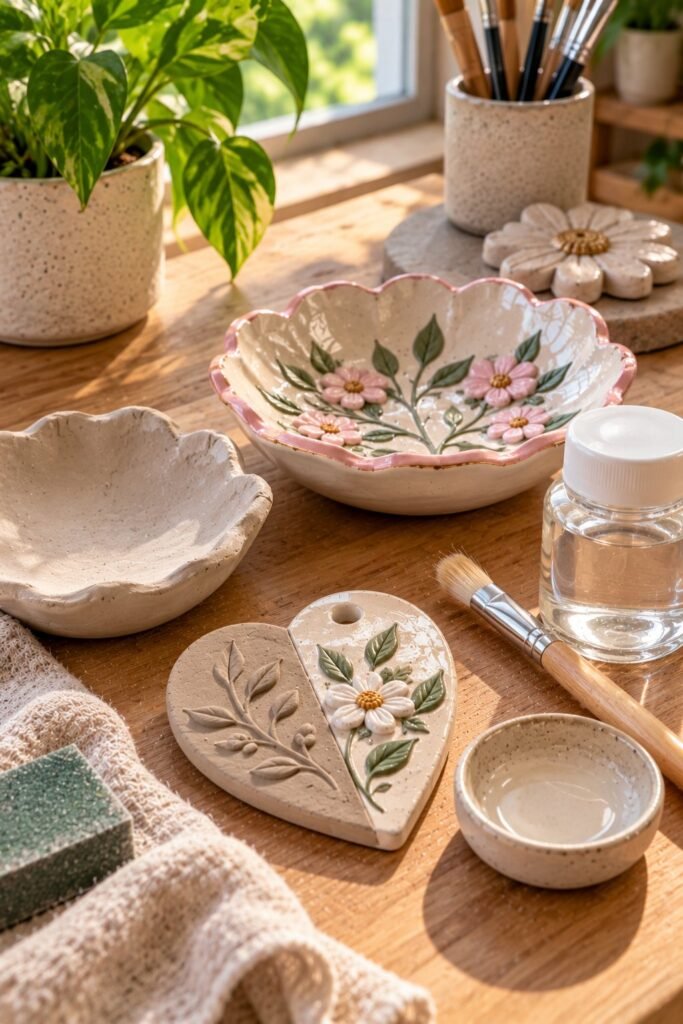
A few common habits can shorten the life of an otherwise beautiful clay creation.
Sealing before the clay is dry
This is one of the main mistakes to avoid. A surface that feels dry does not always mean the entire project is ready for sealing.
Allow sufficient drying time based on the clay’s thickness, the environment, and the manufacturer’s instructions.
Using too much water
Excess water can soften the clay and make drying more difficult. Use only what you need to smooth the surface or join pieces.
Drying the project too quickly
Direct sunlight, strong heat, or intense airflow can encourage uneven drying. Choose a stable indoor environment and allow moisture to escape gradually.
Assuming varnish makes the piece waterproof
A clear finish may improve resistance to light moisture, but it does not turn ordinary air dry clay into fired ceramic.
Keep finished pieces away from soaking, frequent washing, and prolonged damp conditions.
Applying too much sealant at once
Heavy coats can leave streaks, puddles, and uneven patches. Apply the product according to its instructions and allow the recommended drying time between coats.
Storing clay creations carelessly
Loose storage can lead to scratches, chips, and broken details. Use a dry space and protect delicate pieces individually.
Choosing the wrong material for the project
If an item must hold water, withstand repeated washing, or remain outdoors in changing weather, ordinary air dry clay may not be the best choice. Consider a material designed for those conditions instead.
Frequently Asked Questions
Can air dry clay get wet after it has been sealed?
A suitable sealant can help reduce moisture absorption, but the level of protection varies by product and application. Brief contact with moisture may be tolerated by some finishes, but you should not assume that a sealed air dry clay item can be soaked or washed safely.
How many coats of sealant should I apply to air dry clay?
The correct number depends on the sealant and the intended use. Some products specify one coat, while others recommend multiple thin coats. Follow the product label and allow the required drying time between applications.
Why is my air dry clay cracking while drying?
Cracks can develop when different areas dry and shrink at different rates. Uneven thickness, excessive water, weak joins, rapid drying, and the clay formulation can all contribute. Try using consistent thickness, joining pieces carefully, and drying the project gradually.
Can I use Mod Podge to seal air dry clay?
Some crafters use Mod Podge on decorative clay projects, but its suitability and moisture resistance depend on the specific product and intended use. Check the manufacturer’s instructions, test it on a sample, and do not assume that it makes the clay waterproof.
Can I put air dry clay in water?
Ordinary air dry clay should not be submerged in water. It can absorb moisture and soften or deteriorate, even when it has been painted or coated. Use a material designed for water-holding applications if your project needs to remain in contact with water.
Can I make air dry clay waterproof with resin?
A compatible resin coating may provide a more protective surface for certain decorative projects, but it does not guarantee complete waterproofing under every condition. The clay must be properly dried, the coating must be applied correctly, and the finished item must be suitable for its intended use.
How should I clean sealed air dry clay?
Start with a soft, dry brush to remove dust. Before using a damp cloth or cleaning product, check whether the clay and coating can tolerate it. Avoid soaking the piece or scrubbing aggressively.
Can I leave sealed air dry clay outside?
Ordinary air dry clay is generally not recommended for long-term outdoor exposure. Rain, humidity, temperature changes, and sunlight can damage the clay or coating. Use a material specifically designed for outdoor conditions if you need a permanent garden decoration.
How do I stop air dry clay from breaking?
Use an appropriate design with reasonably even thickness, make strong joins, avoid fragile protruding details, dry the clay gradually, and handle finished pieces carefully. Sealing can protect the surface, but it cannot compensate for a weak structure.
Final Thoughts
Protecting air dry clay from moisture, cracks, and damage starts long before you apply a sealant. The way you shape the clay, the amount of water you use, and the conditions in which you dry it all influence how well the finished piece holds up.
I would focus on three priorities: let the clay dry completely, use a compatible protective finish, and store the finished creation in a dry, protected location. These steps can help reduce common problems and keep decorative projects looking attractive for longer.
It is also worth remembering that no single sealant can solve every problem. Ordinary air dry clay remains different from fired ceramic, so choose projects that suit the material and avoid exposing finished pieces to conditions they were not designed to withstand.
With careful preparation, patience, and the right finishing products, you can enjoy your air dry clay creations for much longer without rushing the process or relying on a coating to do all the work.