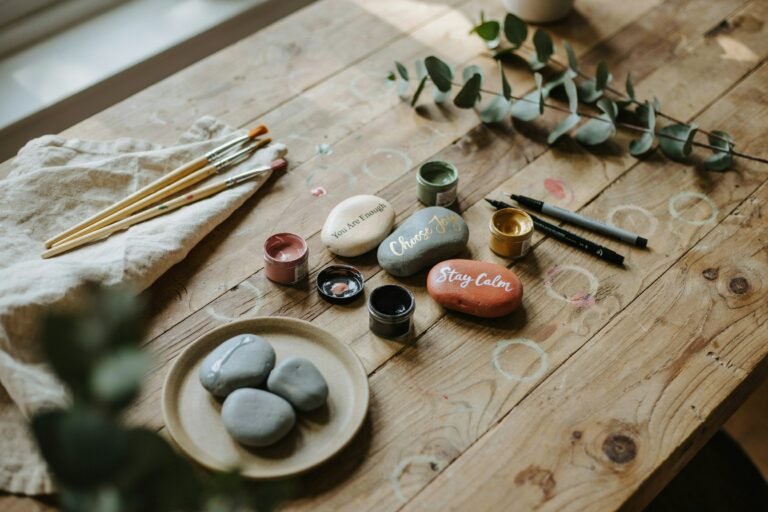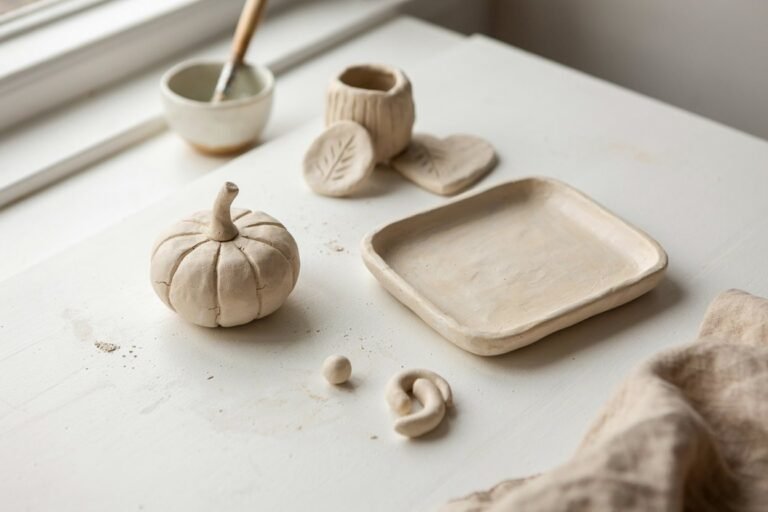
DIY Air Dry Clay Projects Made Simple: Easy Crafts to Make at Home
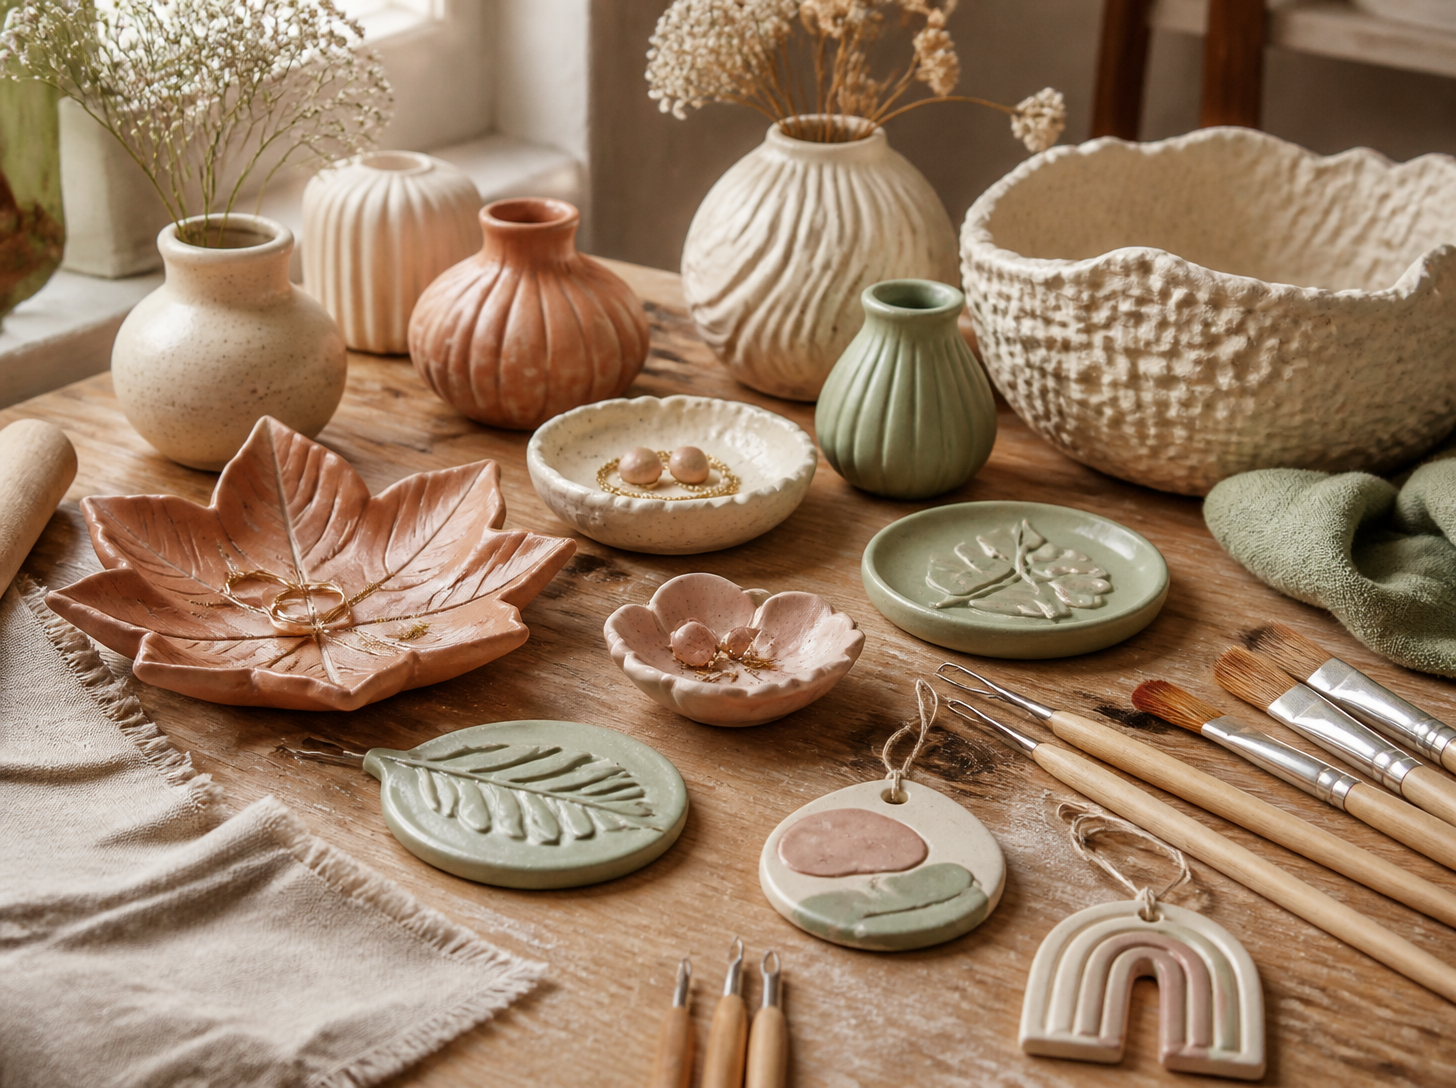
Air dry clay is one of those craft materials that makes it easy to turn simple ideas into beautiful handmade decorations.
You don’t need a pottery wheel, a kiln, or an expensive collection of tools to get started. With a little clay, a clean work surface, and a few basic supplies, you can make everything from decorative bowls and jewelry dishes to candle holders, plant pots, and thoughtful handmade gifts.
What I particularly like about air dry clay is how flexible it is. You can keep your projects simple with natural finishes, experiment with different shapes, or add paint and decorative details to make each piece your own.
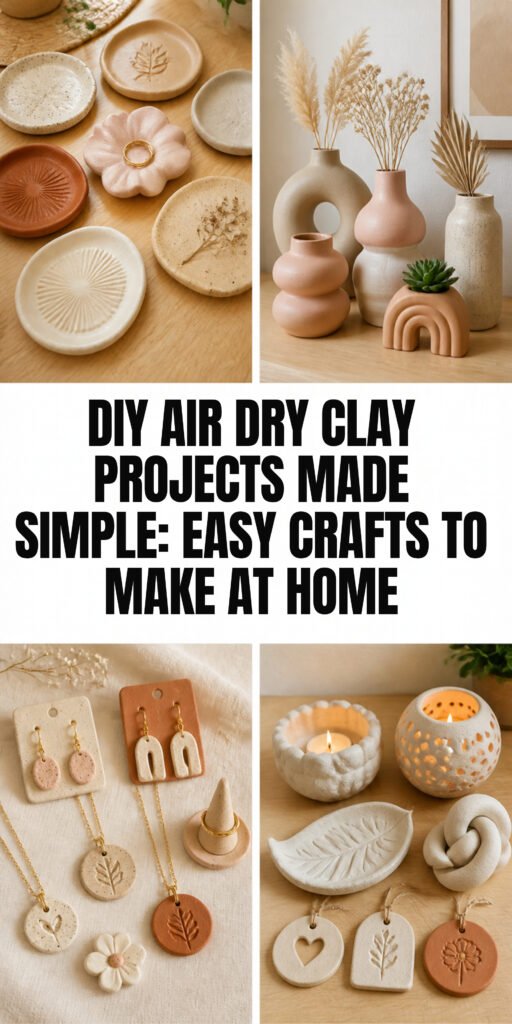
It’s also a lovely activity when you want to spend a quiet afternoon making something useful instead of buying another mass-produced decoration.
Whether you’re completely new to clay crafting or already enjoy DIY projects, there are plenty of ideas you can try at home. Some take less than an hour to shape, while others need a little more time for drying, painting, and finishing.
In this guide, I’ll share easy DIY air dry clay projects, the supplies you’ll need, beginner-friendly techniques, and practical tips for getting better results. I’ll also explain how to avoid common mistakes so your finished crafts look attractive and last longer.
1. Why Air Dry Clay Is Perfect for Beginner DIY Projects
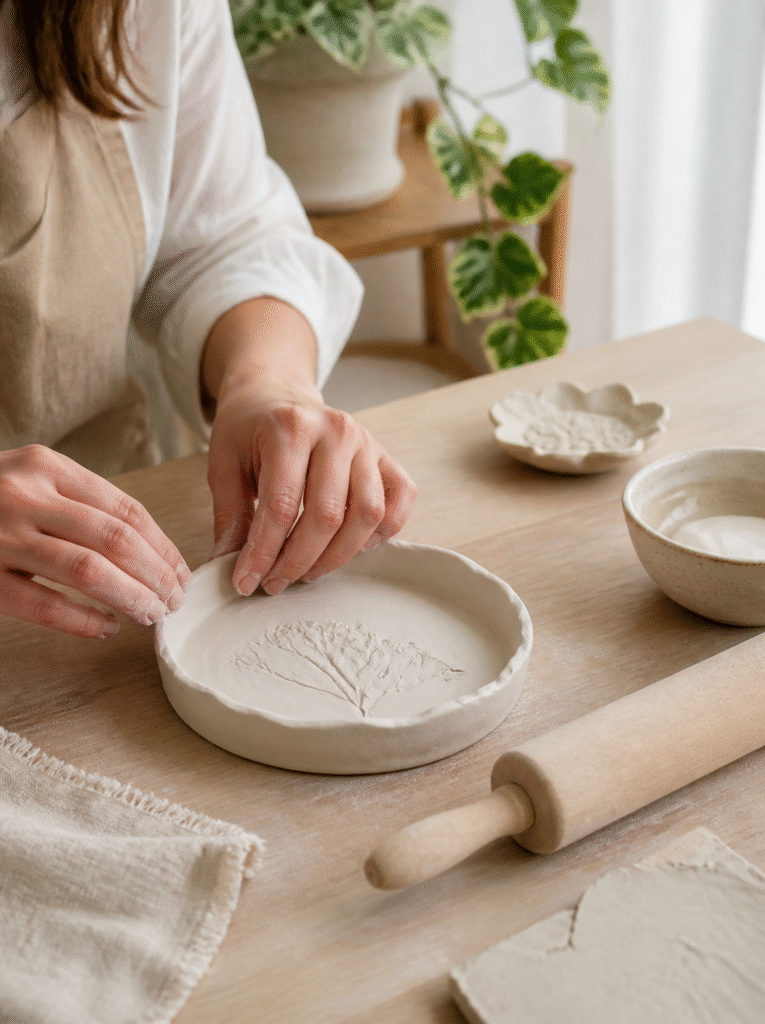
If you’ve never worked with clay before, air dry clay is a convenient material to start with.
Unlike traditional pottery clay, it doesn’t require a kiln to harden. You simply shape your project and leave it to dry naturally according to the manufacturer’s instructions.
This makes it suitable for people who want to try pottery-inspired crafts without investing in specialized equipment.
There are several reasons I think air dry clay is worth keeping in your craft supplies.
You Don’t Need Expensive Equipment
Most beginner projects require only a few basic items, such as a rolling pin, a craft knife, parchment paper, and a small bowl for shaping.
You can even use some ordinary household items as texture tools, provided they are clean and suitable for the project.
It’s Easy to Customize
Air dry clay can be shaped into different forms, stamped with patterns, textured with leaves, and painted after drying.
You can create neutral decorative pieces for a minimalist home or colorful crafts that match your seasonal decorations.
It’s Suitable for Many Small Home Projects
You can make decorative trays, ring dishes, ornaments, wall decorations, miniature sculptures, and many other small items.
The possibilities are wide enough that you can experiment with different ideas without needing a completely new set of supplies for every project.
It’s a Lovely Way to Make Handmade Gifts
A handmade clay item can feel more personal than something purchased from a store.
You can make small jewelry dishes for friends, personalized ornaments for family members, or decorative pieces for birthdays and seasonal celebrations.
Just remember that ordinary air dry clay is generally best for decorative projects rather than items that need to hold food or water.
2. Essential Supplies for DIY Air Dry Clay Projects
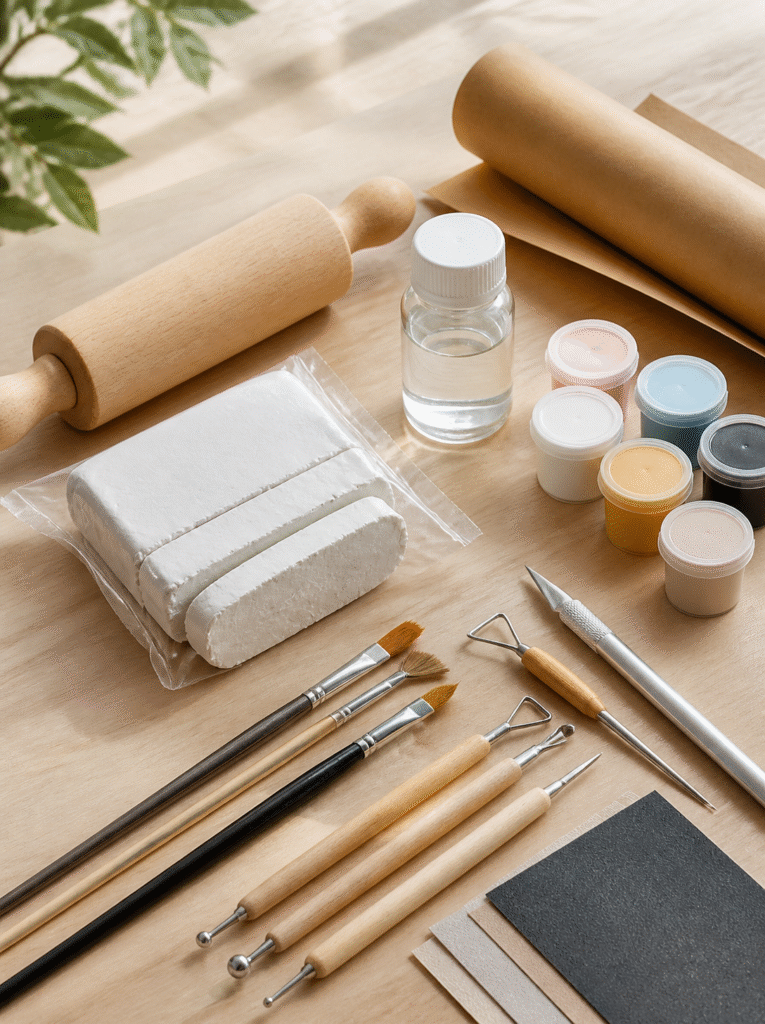
Before choosing your first project, gather a few basic supplies.
You don’t need to purchase everything available in a craft store. Start with the essentials and add more tools as you become comfortable working with clay.
Air Dry Clay
This is the main material you’ll need.
Air dry clay is available in different colors and textures. White clay is especially useful for beginners because it provides a clean base for painting and decorating.
Choose a clay that is easy to knead and suitable for the type of crafts you want to make.
Rolling Pin
A small rolling pin helps flatten clay into an even sheet.
You can use a dedicated craft rolling pin or a clean household rolling pin reserved for crafting.
Craft Knife
A craft knife helps you cut clean edges and create different shapes.
Use it carefully and work on a protected surface.
Parchment Paper or Craft Mat
This prevents the clay from sticking to your table and makes it easier to lift your projects after shaping.
Small Bowls and Molds
Small bowls are useful for shaping jewelry dishes, decorative trays, and curved clay pieces.
You can also use suitable silicone molds for creating repeatable shapes and patterns.
Sandpaper
Fine-grit sandpaper helps smooth rough edges once the clay has dried completely.
Acrylic Paint and Paintbrushes
If you want colorful projects, acrylic paint is a convenient option for decorating many air dry clay crafts.
You can choose earthy tones, pastels, metallic shades, or whatever colors suit your home.
Clear Sealer
A compatible clear sealer can help protect the finished surface and painted details.
However, sealing does not automatically make air dry clay waterproof or food-safe. Always check the product instructions.
3. Prepare Your Clay Before Starting
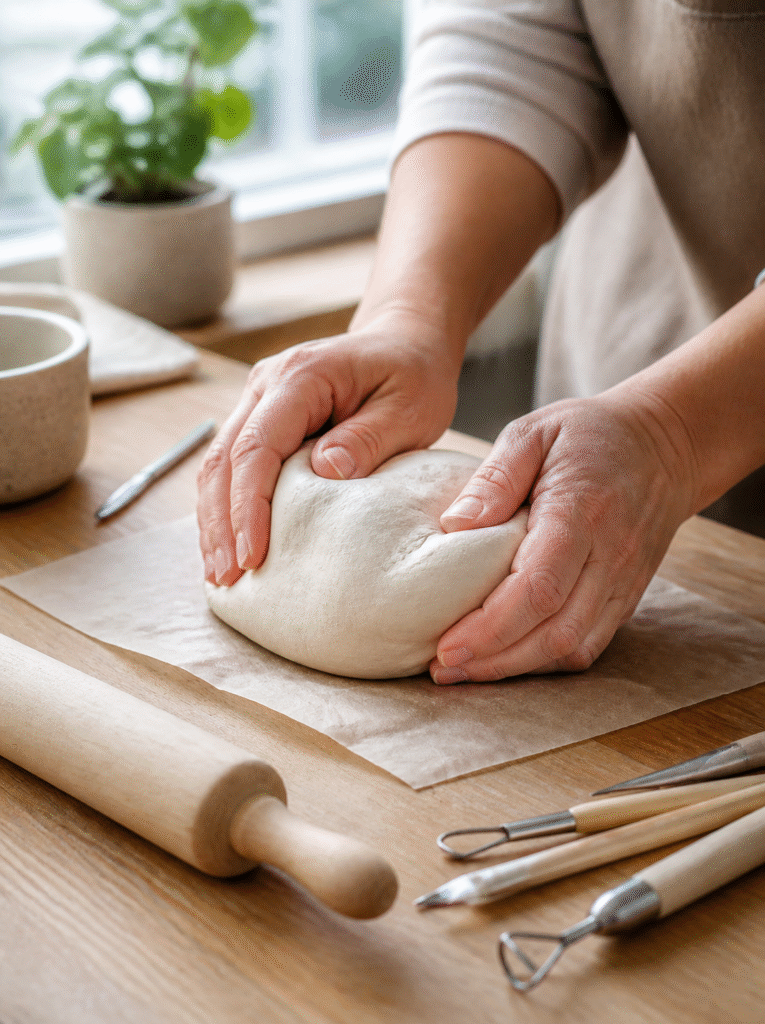
Good preparation makes a noticeable difference in how your finished projects look.
Before shaping anything, take a portion of clay and knead it gently with your hands.
This helps soften the material and makes it easier to work with.
If the clay feels too stiff, follow the manufacturer’s instructions for conditioning it. Avoid adding too much water because excess moisture can make the clay sticky and difficult to control.
How to Prepare Air Dry Clay
- Clean your work surface and cover it with parchment paper or a suitable craft mat.
- Remove the amount of clay you need for your project.
- Knead it gently until it feels smooth and flexible.
- Remove any small pieces of debris.
- Keep unused clay covered in an airtight container or its original packaging.
- Work with the prepared clay before it begins to dry.
Keep the Thickness Consistent
One of the most common beginner mistakes is rolling some areas too thin while leaving others too thick.
Uneven thickness can cause different parts of a project to dry at different rates, increasing the risk of cracking or warping.
For many small decorative projects, a thickness of approximately 5 to 7 millimeters is a useful starting point, although the ideal thickness depends on the clay brand and the design.
If you’re making a small dish, for example, try to keep the center and edges relatively even.
4. DIY Air Dry Clay Jewelry Dishes
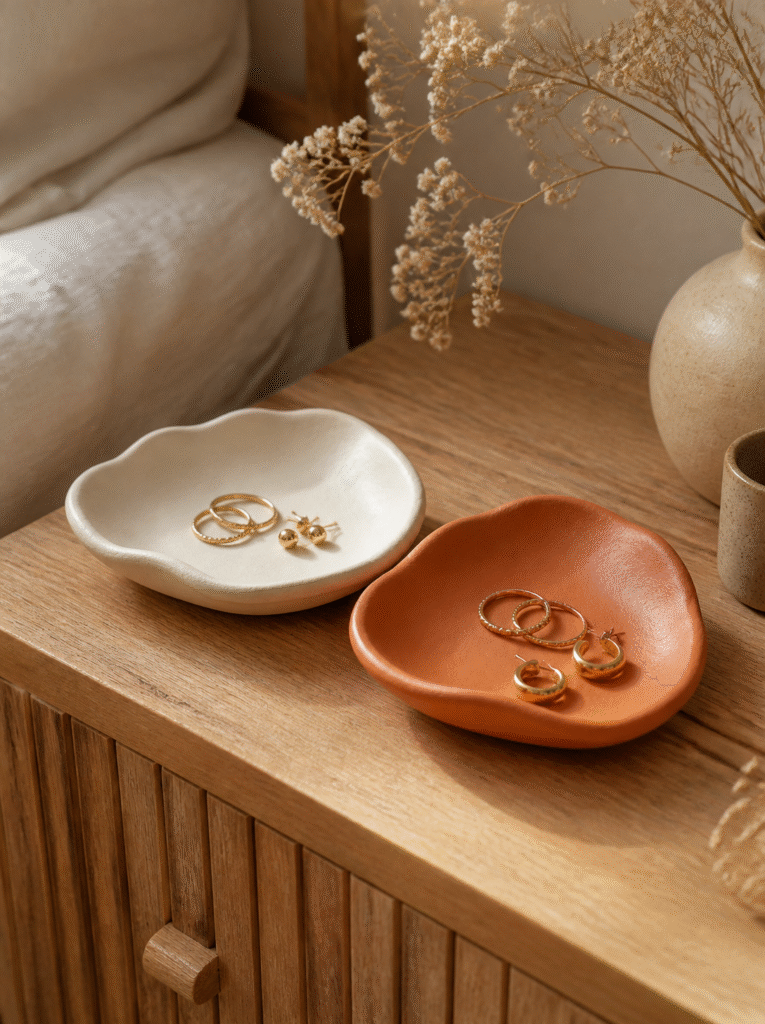
<escape> </escape>One of the easiest projects to start with is a small clay jewelry dish.
These little dishes are useful for storing rings, earrings, bracelets, and other small accessories. They also look beautiful on bedside tables, dressers, and bathroom vanities.
You can make them in simple round shapes or experiment with leaves, flowers, hearts, and irregular organic designs.
What You’ll Need
- Air dry clay
- Rolling pin
- Small bowl
- Craft knife
- Fine sandpaper
- Acrylic paint
- Clear compatible sealer
How to Make It
- Knead your clay until it feels smooth.
- Roll it into an even sheet.
- Cut out your preferred shape using a craft knife.
- Place the clay inside a small bowl lined with parchment paper.
- Gently press the center down to create a shallow curve.
- Allow the dish to dry completely according to the clay manufacturer’s instructions.
- Smooth rough edges with fine sandpaper.
- Paint and decorate it if desired.
- Apply a compatible sealer once the paint is dry.
Decorating Ideas
You can keep the dish plain white for a minimalist look or use terracotta, cream, sage green, and soft pink.
Metallic gold details around the edges can also create an elegant finish.
If you enjoy nature-inspired crafts, try pressing a real leaf into the clay before cutting out the shape. This creates a natural vein pattern that makes the dish look more detailed.
5. DIY Air Dry Clay Trinket Trays
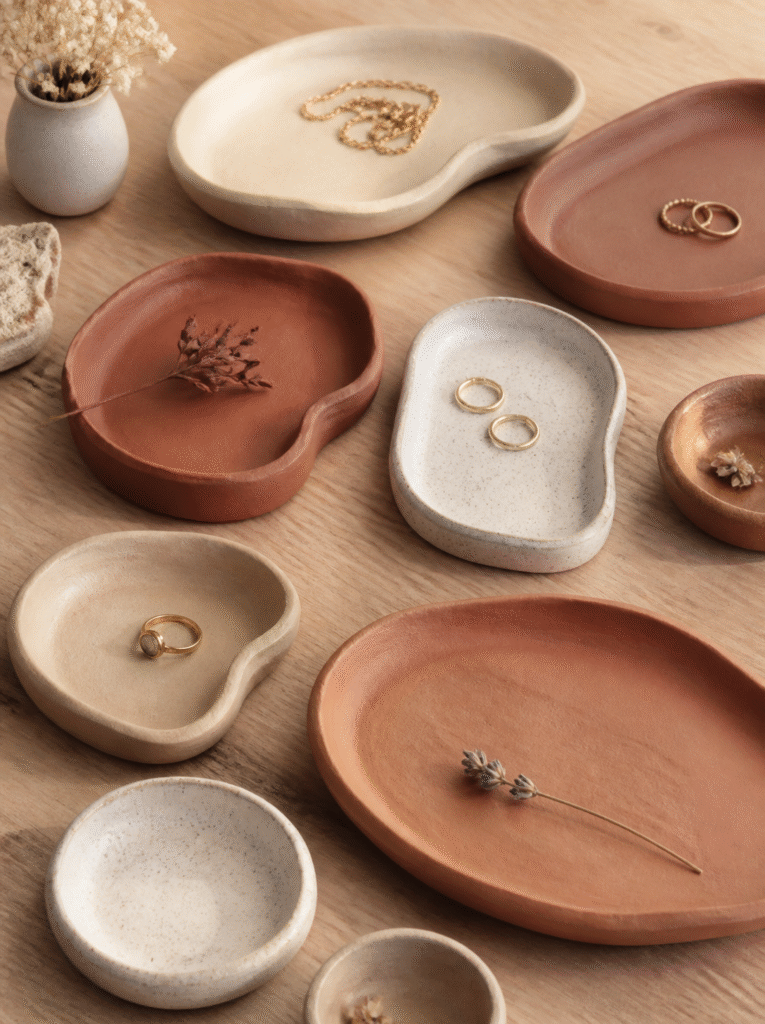
Trinket trays are another practical project, especially if you want something slightly larger than a jewelry dish.
They can be used to organize keys, hair accessories, small decorative items, and everyday essentials.
I particularly like irregular-shaped trays because they look handmade without requiring perfect measurements.
How to Make a Clay Trinket Tray
Start by rolling out a sheet of clay to an even thickness.
Cut it into a rounded rectangle, oval, or organic shape.
Gently lift the edges to create a shallow tray. You can use your fingertips or a suitable rounded tool to smooth the curves.
If you want a textured design, press a piece of fabric, lace, or a textured craft tool lightly into the clay before shaping it.
Allow the tray to dry completely on a flat, supported surface.
Once dry, sand the edges gently and apply your preferred paint and finish.
Styling Ideas
- Make a cream tray for a bedroom dresser.
- Create a terracotta tray for rustic home decor.
- Use a soft green finish for a natural look.
- Add gold-painted edges for a more decorative appearance.
Keep these trays for dry decorative storage rather than food or liquids.
6. DIY Air Dry Clay Candle Holders
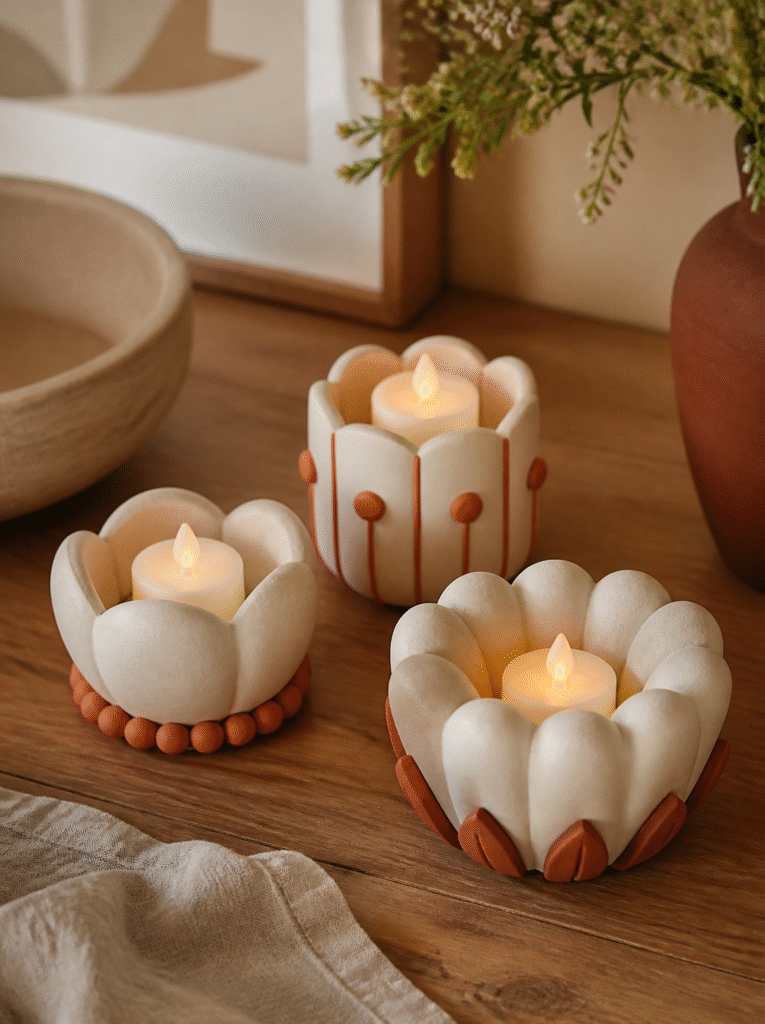
A handmade candle holder can add a lovely decorative touch to a coffee table, shelf, or dining area.
You can create simple sculptural designs or make a small holder shaped like a flower, star, or rounded pedestal.
However, candle holders require extra care because ordinary air dry clay may not be suitable for direct exposure to heat or an open flame.
For this reason, I recommend making a decorative holder for an appropriately sized battery-operated LED candle rather than placing a burning candle directly on or inside an untested clay piece.
How to Make a Decorative Clay Candle Holder
- Take a portion of air dry clay and knead it until smooth.
- Roll it into a thick, even piece.
- Shape the clay into a small rounded base.
- Create a shallow recess suitable for an LED candle.
- Smooth the surface with your fingers or a suitable sculpting tool.
- Allow the piece to dry completely.
- Sand any rough areas.
- Paint it in your preferred color.
- Add a compatible clear finish if desired.
Decoration Ideas
You can create a minimalist cream holder, a textured terracotta design, or a small flower-shaped decoration.
A group of different-sized holders can look especially attractive when arranged together on a decorative tray.
Make sure the LED candle fits securely and that the clay piece remains stable on a flat surface.
7. DIY Air Dry Clay Plant Pots
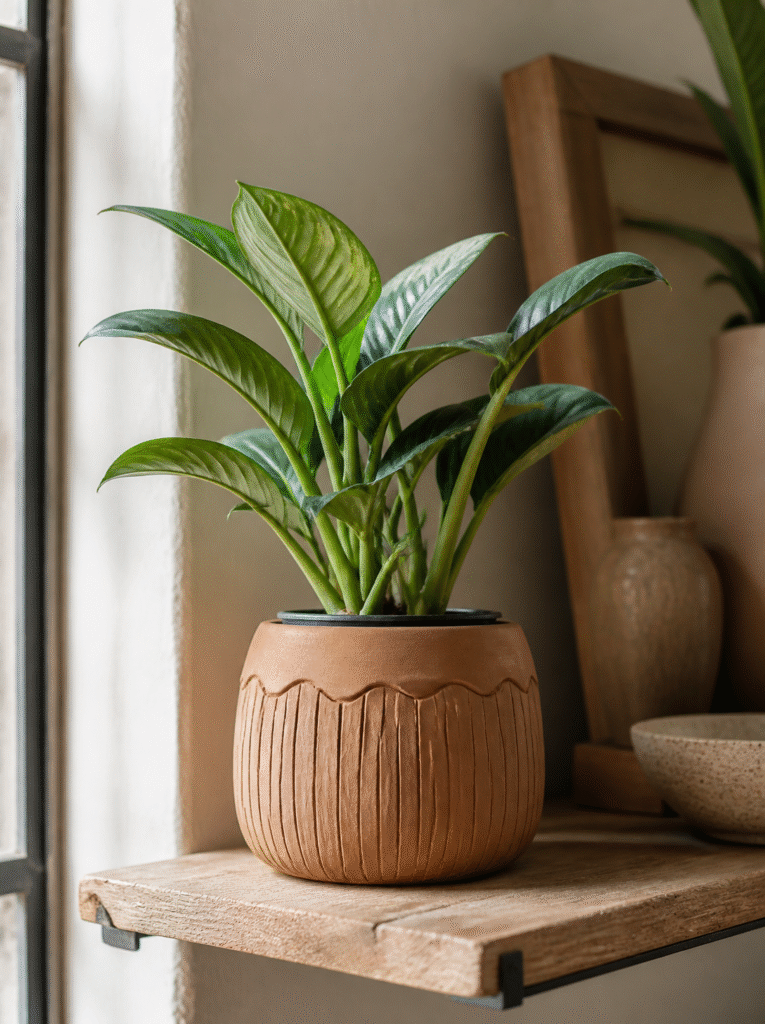
If you enjoy decorating your home with plants, making small air dry clay plant pots is another project worth trying.
These little pots can look beautiful on shelves, desks, and windowsills. You can experiment with different shapes, textured finishes, and earthy colors to create decorations that complement your home.
For this project, I recommend making a decorative outer pot for an existing plastic nursery pot rather than planting directly into untreated air dry clay. Ordinary air dry clay isn’t waterproof, and prolonged contact with damp soil can damage it.
What You’ll Need
- Air dry clay
- Rolling pin
- Craft knife
- Small container or mold
- Sandpaper
- Acrylic paint
- Clear compatible sealer
How to Make It
- Knead the clay until it becomes smooth and flexible.
- Roll it into an even sheet.
- Cut a rectangular piece for the sides of your pot.
- Shape the clay around a suitable mold or container.
- Create a separate circular clay base.
- Carefully join the sides and base using the clay manufacturer’s recommended joining method.
- Smooth the seams gently.
- Allow the pot to dry completely.
- Sand the edges and decorate it with acrylic paint.
Decorating Ideas
You can create a natural terracotta finish, paint simple white patterns, or use a soft beige color for minimalist decor.
Small geometric patterns and textured surfaces also look attractive.
Once finished, place a separate waterproof nursery pot inside the clay cover. This keeps the clay away from wet soil and excess water.
8. DIY Air Dry Clay Wall Hangings
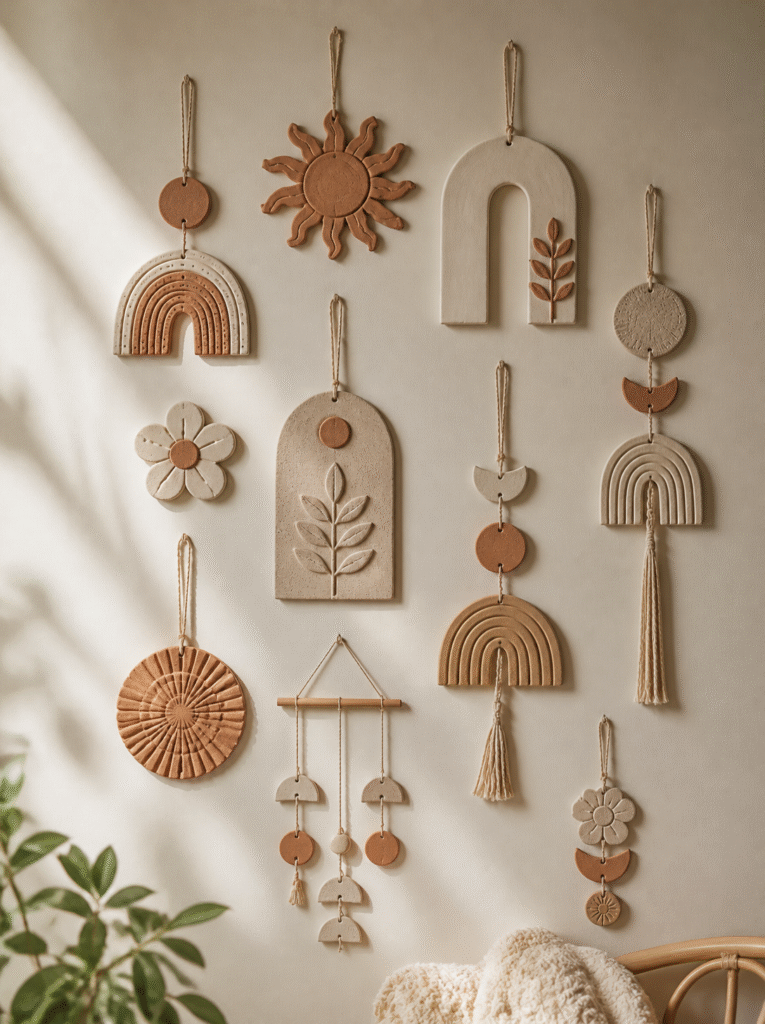
Clay wall hangings are a lovely way to add handmade decorations to an empty wall.
You can create simple geometric shapes, abstract designs, flowers, or nature-inspired patterns.
They are also relatively easy to customize because you can choose the shape, color, and texture.
How to Make a Clay Wall Hanging
- Roll your clay into a flat sheet.
- Cut out your preferred shapes using a craft knife or cookie cutters.
- Add texture using a leaf, lace fabric, or sculpting tool.
- Make a small hanging hole near the top while the clay is still soft.
- Smooth the edges carefully.
- Allow the pieces to dry completely on a flat surface.
- Sand any rough edges.
- Paint and seal the decorations.
Make sure the hanging hole is large enough for the cord or string you intend to use.
Avoid placing it too close to the edge because the clay may become fragile around the opening.
Design Ideas to Try
- Minimalist arches in neutral colors.
- Small floral shapes.
- Abstract sun and moon decorations.
- Textured leaf designs.
- Geometric wall ornaments.
You can also make several pieces in different sizes and arrange them together to create a small gallery-style display.
For heavier decorations, use suitable wall fixings and avoid relying on a thin piece of clay or string alone to support the weight.
9. DIY Air Dry Clay Christmas Ornaments
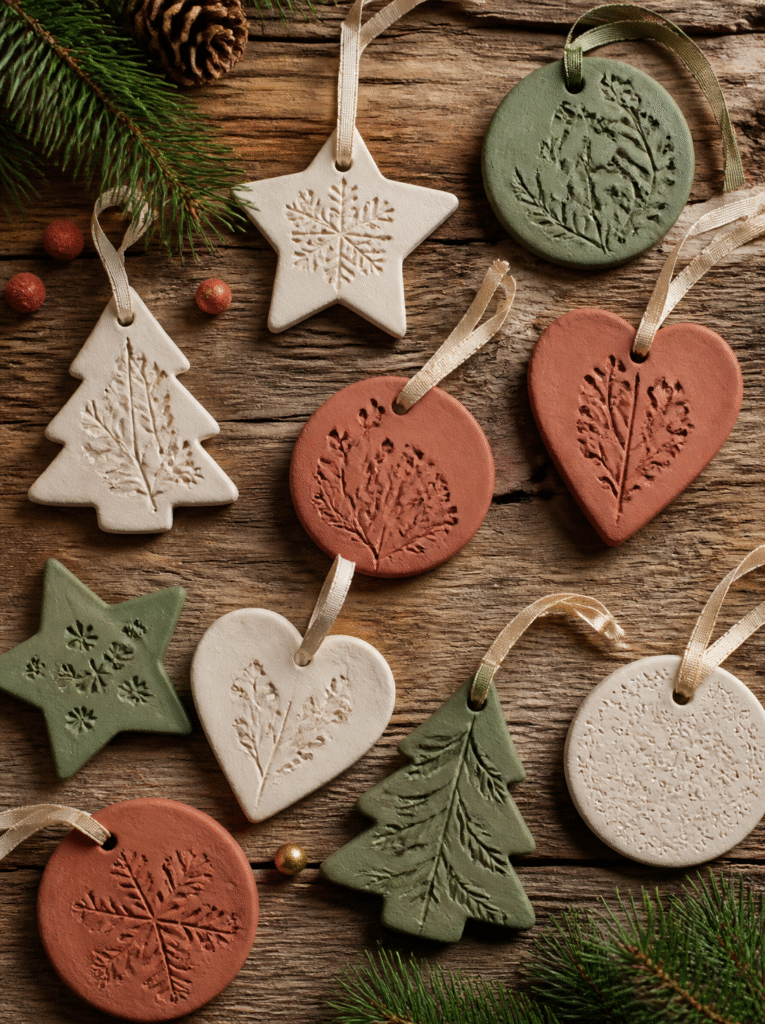
If you enjoy seasonal crafts, clay ornaments are a simple way to create personalized decorations for your home.
You can make them using cookie cutters, small sculpting tools, and a little creativity.
Although Christmas is a popular time to make them, the same technique works for birthdays, weddings, and other celebrations.
What You’ll Need
- Air dry clay
- Rolling pin
- Cookie cutters
- Drinking straw or suitable hole-making tool
- Ribbon or twine
- Acrylic paint
- Small paintbrush
How to Make Them
- Roll out the clay into an even sheet.
- Use cookie cutters to create stars, hearts, trees, circles, or other shapes.
- Make a small hole near the top of each ornament.
- Add patterns using stamps or sculpting tools.
- Leave the ornaments flat while they dry.
- Turn them only when firm enough to handle.
- Sand rough edges once completely dry.
- Paint and decorate them.
- Thread ribbon or twine through the holes after the finish has dried.
Easy Decoration Ideas
You can paint the ornaments white and add gold details for an elegant look.
For a more rustic appearance, use terracotta, beige, or muted green.
You can also press leaves or textured fabric into the clay before cutting the shapes to create interesting patterns.
If you’re making several ornaments, try keeping them within the same color palette so they look coordinated when displayed together.
10. DIY Air Dry Clay Coasters

Clay coasters are another attractive project, especially if you enjoy handmade table decorations.
You can make them round, square, oval, or irregularly shaped.
However, ordinary air dry clay is porous and may not withstand repeated exposure to condensation or spills. Treat these as decorative pieces unless your clay and finishing products are specifically rated for the intended use.
How to Make Clay Coasters
- Knead your clay until smooth.
- Roll it into an even sheet.
- Cut out circles or squares using a suitable cutter.
- Smooth the edges with your fingers.
- Add texture using a stamp or patterned material.
- Allow the pieces to dry completely on a flat surface.
- Sand the edges gently.
- Paint and finish according to the product instructions.
Coaster Design Ideas
Minimalist Cream Coasters
Use warm white or ivory paint for a simple, understated look.
Terracotta Coasters
Choose earthy orange and brown tones for rustic home decor.
Marble-Inspired Coasters
Blend small amounts of contrasting clay colors gently to create a marble-like pattern.
Geometric Coasters
Use simple lines and shapes to create a modern decorative appearance.
If you want coasters for regular drink use, choose a material and finish specifically suitable for moisture and heat rather than assuming ordinary air dry clay will be durable enough.
11. DIY Air Dry Clay Mini Vases
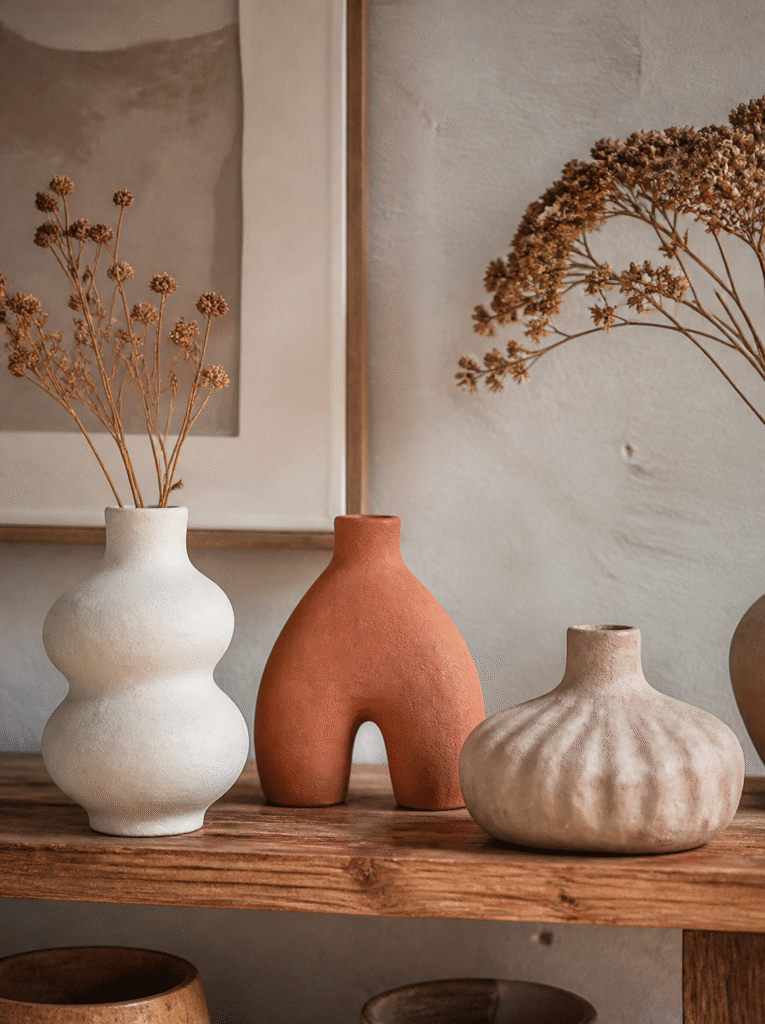
Mini clay vases are beautiful decorative pieces for shelves, desks, and side tables.
You can make them in different shapes, from simple rounded designs to tall, narrow forms.
For beginners, I recommend starting with a small decorative vase rather than attempting a large, complicated structure.
How to Make a Mini Clay Vase
- Take a portion of clay and knead it until smooth.
- Roll it into a thick sheet.
- Shape the clay around a suitable mold.
- Add a separate clay base if your design requires one.
- Join the pieces carefully using the manufacturer’s recommended method.
- Smooth the surface and seams.
- Allow the vase to dry completely.
- Sand any rough areas.
- Paint and decorate it.
Ways to Decorate Your Mini Vase
You can create a textured finish using a sculpting tool or leave the surface smooth for a minimalist appearance.
Some lovely color options include:
- Warm beige.
- Soft white.
- Terracotta.
- Muted sage green.
- Dusty pink.
- Chocolate brown.
These vases look especially attractive when arranged in groups of different heights.
Important: Ordinary air dry clay vases should be treated as decorative containers. Don’t fill them with water or use them to hold fresh flowers directly. You can place a separate waterproof container inside if you want to display fresh flowers.
12. DIY Air Dry Clay Gift Tags
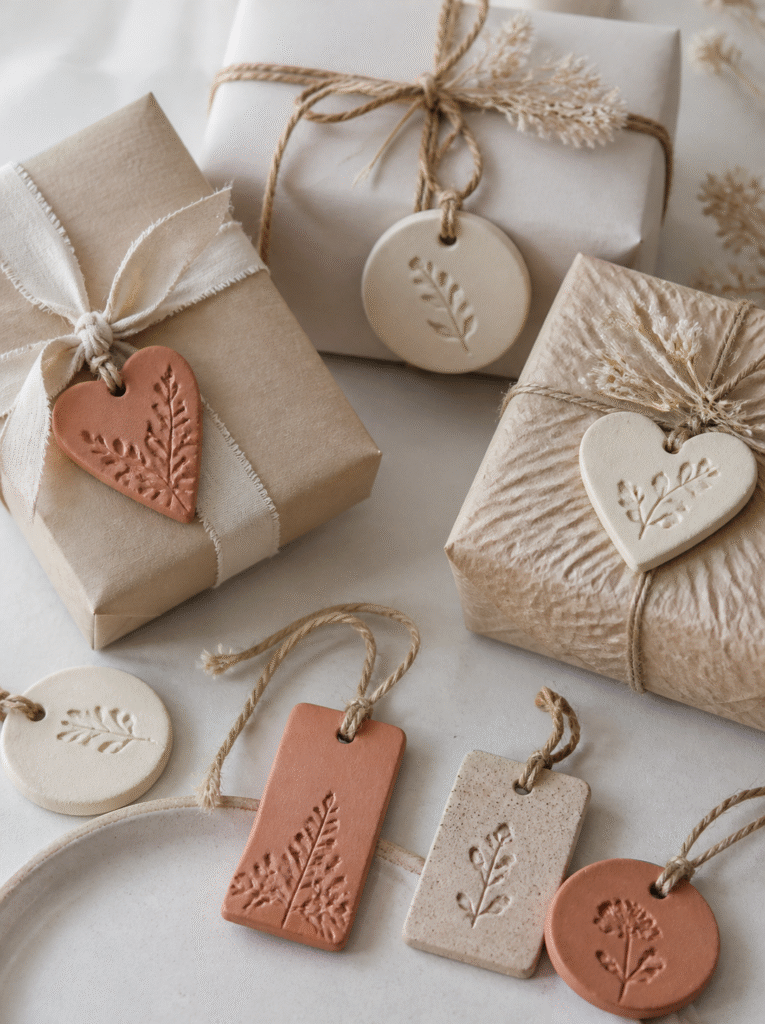
If you enjoy making handmade gifts, clay gift tags are a small project that can make ordinary packaging feel more personal.
You can create them for birthdays, Christmas, weddings, baby showers, and other special occasions.
They are also a good way to use leftover clay from larger projects.
How to Make Clay Gift Tags
- Roll out a small amount of clay.
- Cut it into circles, rectangles, hearts, or other shapes.
- Make a small hole near one edge.
- Add a name, initial, or simple decorative pattern using a suitable stamping tool.
- Leave the tags to dry completely.
- Sand the edges gently.
- Paint them if desired.
- Thread ribbon or twine through the hole.
For a simple finish, leave the clay in its natural color and add a small ribbon.
You can also use metallic paint to highlight initials or decorative details.
These little tags can be attached to gift boxes, handmade baskets, and wrapped presents.
13. DIY Air Dry Clay Incense Holders
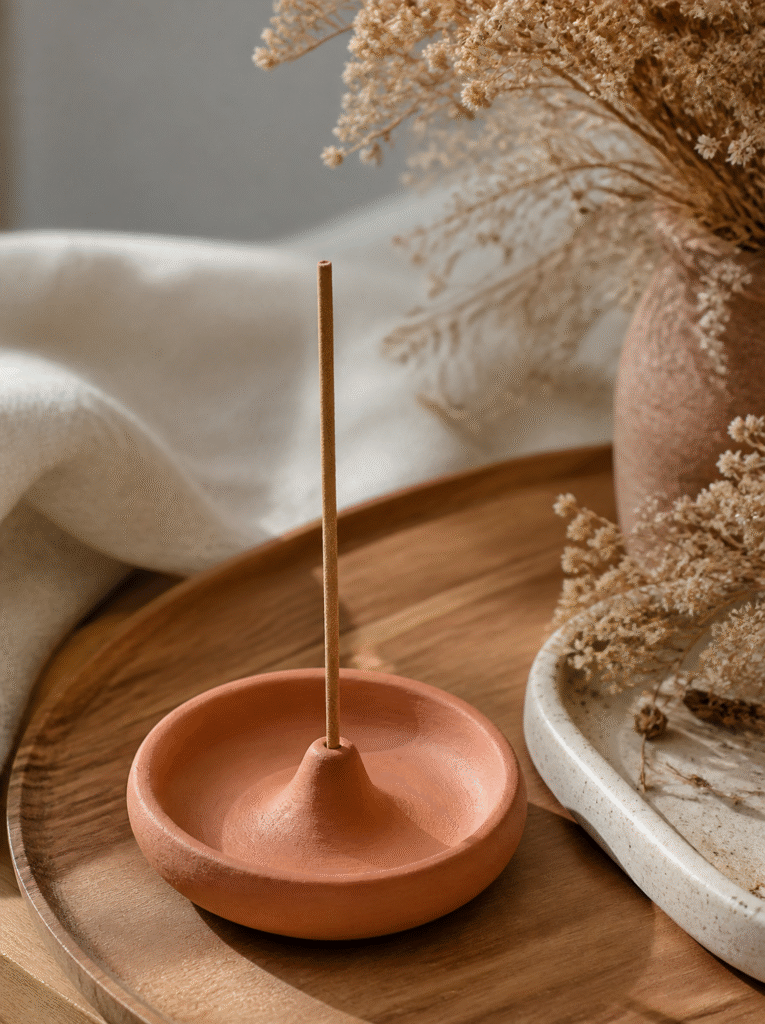
A small decorative incense holder is another interesting project for anyone who enjoys making practical-looking home accessories.
You can create a simple flat design with a small opening for an incense stick, or make a longer decorative shape.
However, this project needs extra caution because burning incense produces heat and ash. Ordinary air dry clay is not automatically heat-resistant or fireproof.
For a safer beginner project, make a decorative holder designed for an unlit incense stick or use a separate, properly rated heat-resistant insert and ash-catching surface. Never assume that a coat of acrylic paint or sealer makes clay suitable for burning incense directly.
How to Make a Decorative Clay Incense Holder
- Knead your clay until smooth.
- Roll it into a small, even sheet.
- Cut it into an oval or rectangular shape.
- Smooth the edges.
- Create a decorative indentation or opening while the clay is soft.
- Allow it to dry completely.
- Sand the edges carefully.
- Paint and decorate it.
You can make simple cream, terracotta, or marble-inspired designs to match your home decor.
14. How to Dry Air Dry Clay Projects Without Cracking
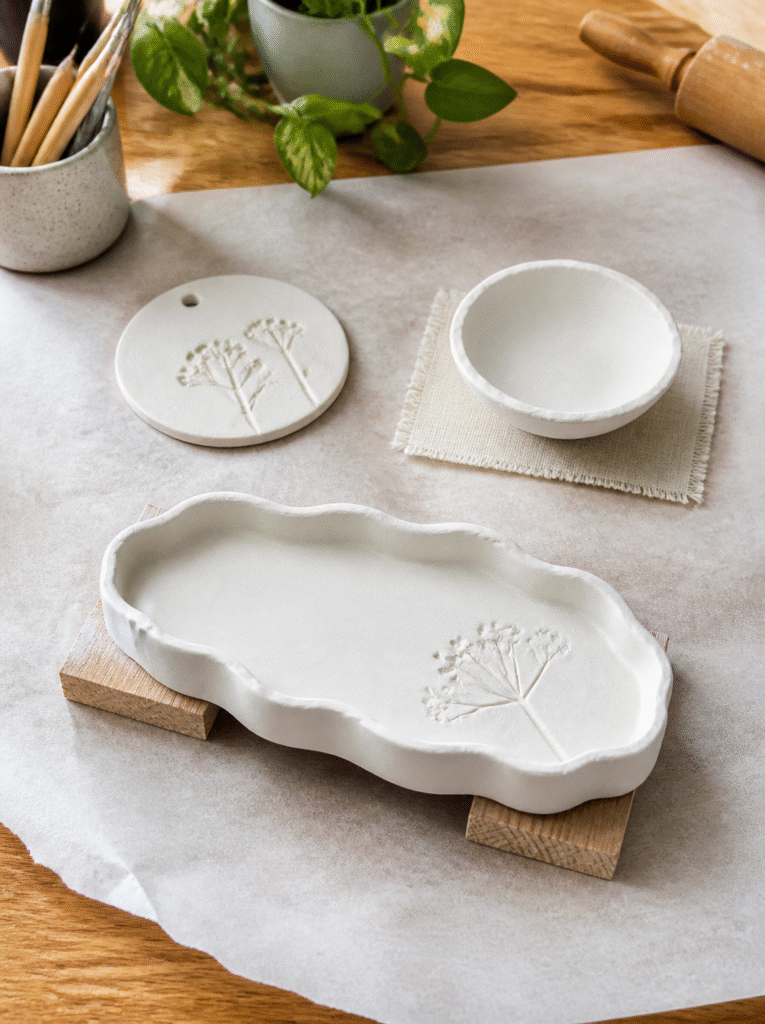
Drying is one of the most important parts of working with air dry clay.
You might shape a beautiful project, only to discover small cracks after leaving it to dry. This can be frustrating, especially when you’ve spent time adding texture and decorative details.
The good news is that a few simple habits can help reduce the risk.
Keep the Thickness Even
Try to maintain consistent thickness throughout your project.
Very thin edges and thick centers may dry at different rates, which can contribute to cracking.
Allow Gradual Drying
Place your project in a dry, well-ventilated area away from direct heat and strong sunlight.
Avoid using a hair dryer, heater, or oven to force the clay to dry quickly unless the manufacturer specifically provides an approved process.
Support Delicate Shapes
Curved dishes, small bowls, and other shaped pieces may need support while drying.
Use an appropriate mold or bowl to help maintain the intended shape.
Don’t Handle It Too Early
Air dry clay may feel hard on the outside before the inside has completely dried.
Follow the manufacturer’s drying instructions and allow extra time when necessary.
Store Unused Clay Properly
Keep leftover clay sealed in its original packaging or an airtight container.
Exposure to air can make unused clay dry out before you have a chance to work with it.
15. How to Paint and Finish Air Dry Clay Crafts
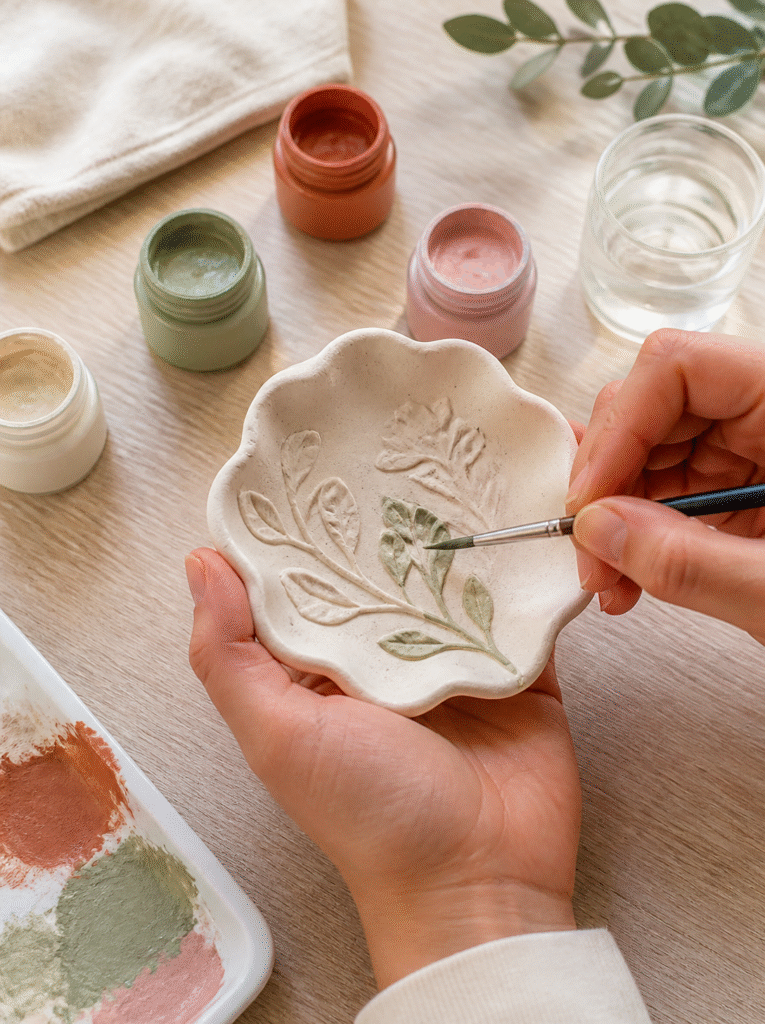
Painting is where you can give your finished projects a completely different appearance.
A simple clay dish can become a beautiful decorative accessory with a little color and careful finishing.
Before painting, make sure the clay is completely dry.
Choose Suitable Acrylic Paint
Acrylic paint is a convenient choice for many decorative air dry clay projects.
You can use one solid color or combine several shades to create a more detailed finish.
Apply Thin Coats
Instead of applying one thick layer, use thin coats and allow each one to dry properly.
This helps prevent the paint from looking uneven or covering delicate surface details.
Experiment With Different Finishes
Here are a few combinations worth trying:
- Cream paint with subtle gold details.
- Terracotta with dark brown accents.
- White with muted sage green.
- Soft pink with a matte finish.
- Beige with a natural stone-inspired pattern.
Apply a Compatible Sealer
Once the paint has dried, you can apply a compatible clear sealer if your project needs additional surface protection.
Choose between matte, satin, and glossy finishes depending on the appearance you want.
Always follow the product instructions. Ordinary sealers do not automatically make air dry clay waterproof, heatproof, or food-safe.
16. Common Mistakes to Avoid When Working With Air Dry Clay
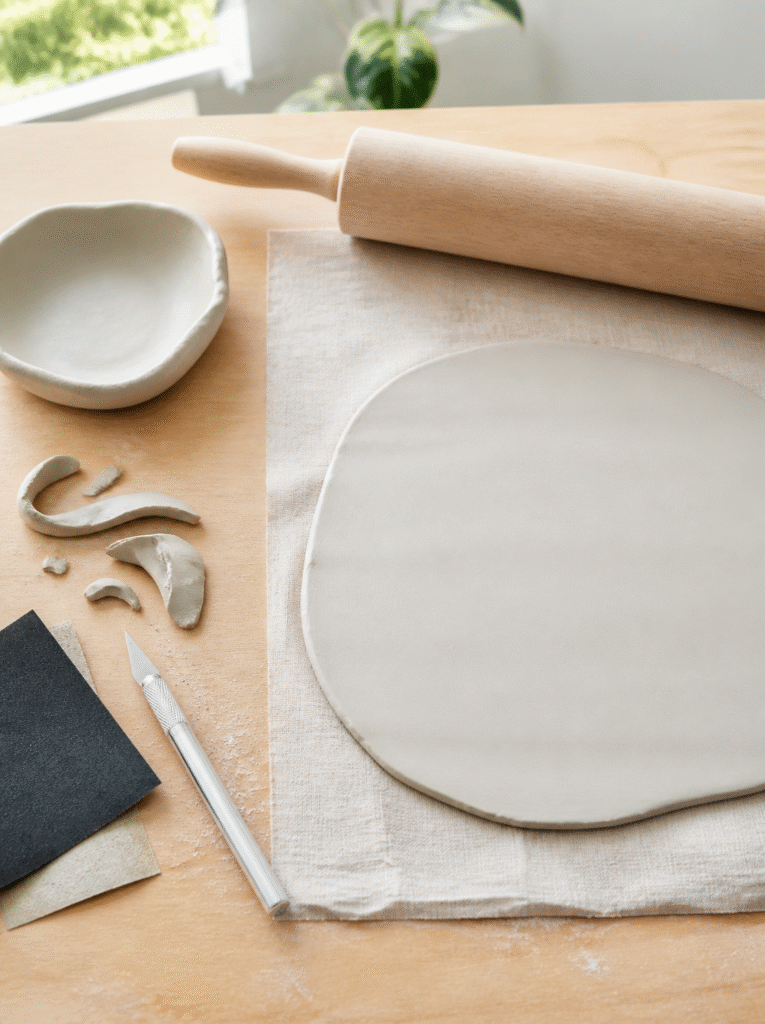
Even simple clay projects can become frustrating when you don’t understand how the material behaves.
Here are some mistakes I would avoid when starting out.
Using too much water
Adding excessive water can make clay sticky and difficult to shape. Use only what the manufacturer’s instructions recommend.
Rolling the clay too thin
Thin pieces are more fragile and may crack during drying or handling.
Making uneven shapes
Uneven thickness can cause different sections to dry at different rates.
Rushing the drying process
Air dry clay needs time to harden naturally. Avoid placing it directly beside heaters or using excessive heat.
Painting before the clay is completely dry
Trapped moisture can affect the finish. Allow the entire piece to dry before painting.
Applying too much sealer
Thick layers can create an uneven surface and hide small decorative details.
Using ordinary clay crafts for food or water
Air dry clay is generally not suitable for food contact or holding water. Use it for decorative purposes unless the complete material and finish system is specifically certified for that use.
Frequently Asked Questions About DIY Air Dry Clay Projects
What Can I Make With Air Dry Clay at Home?
You can make jewelry dishes, trinket trays, decorative plant pot covers, wall hangings, Christmas ornaments, gift tags, mini vases, and many other decorative items.
Is Air Dry Clay Good for Beginners?
Yes. It is convenient for beginners because it doesn’t require a pottery kiln. You can shape it with simple tools and allow it to harden naturally.
How Long Does Air Dry Clay Take to Dry?
Drying time depends on the brand, thickness, humidity, and temperature. Some small projects may dry within a day, while thicker pieces can take several days. Follow the manufacturer’s instructions.
Can I Use Air Dry Clay Without a Rolling Pin?
Yes. You can use another clean, smooth cylindrical object reserved for crafting. The important thing is to create an even sheet without leaving deep marks.
Can I Paint Air Dry Clay?
Yes. Many air dry clay projects can be decorated with acrylic paint after they have dried completely.
Does Air Dry Clay Crack Easily?
It can crack if it dries too quickly, has uneven thickness, or is stretched while being shaped. Proper preparation and gradual drying can help reduce the risk.
Can I Make Air Dry Clay Waterproof?
A compatible sealer can offer some surface protection, but ordinary air dry clay is not automatically waterproof. It should not be used to hold water or wet soil.
Can I Use Air Dry Clay for Food?
Ordinary air dry clay is generally not suitable for food contact. Unless the clay, paint, and finish are specifically certified for food use, keep finished pieces decorative.
What Is the Best Paint for Air Dry Clay?
Acrylic paint is a convenient option for many decorative projects. Apply it after the clay is completely dry and use a compatible sealer if needed.
Can I Make Air Dry Clay Crafts Without Special Tools?
Absolutely. You can start with a rolling pin, parchment paper, a craft knife, a small bowl, and your hands. More specialized tools can be added as you become comfortable with the material.
Final Thoughts: Start With Simple Air Dry Clay Projects
Air dry clay is a wonderful material for anyone who enjoys making handmade decorations without investing in complicated equipment.
You can start with a small jewelry dish or trinket tray and gradually experiment with more detailed projects such as wall hangings, ornaments, mini vases, and decorative plant pot covers.
I would recommend beginning with one or two simple designs rather than trying to make everything at once. This gives you time to understand how the clay feels, how it responds to shaping, and how long it takes to dry.
Once you become comfortable with the basics, you can experiment with different colors, textures, and finishes to create pieces that suit your home.
The best part is that every project gives you another opportunity to make something personal. Whether you’re decorating your own space or creating thoughtful handmade gifts, these DIY air dry clay projects are a lovely place to start.