How to Condition Polymer Clay So It Never Cracks
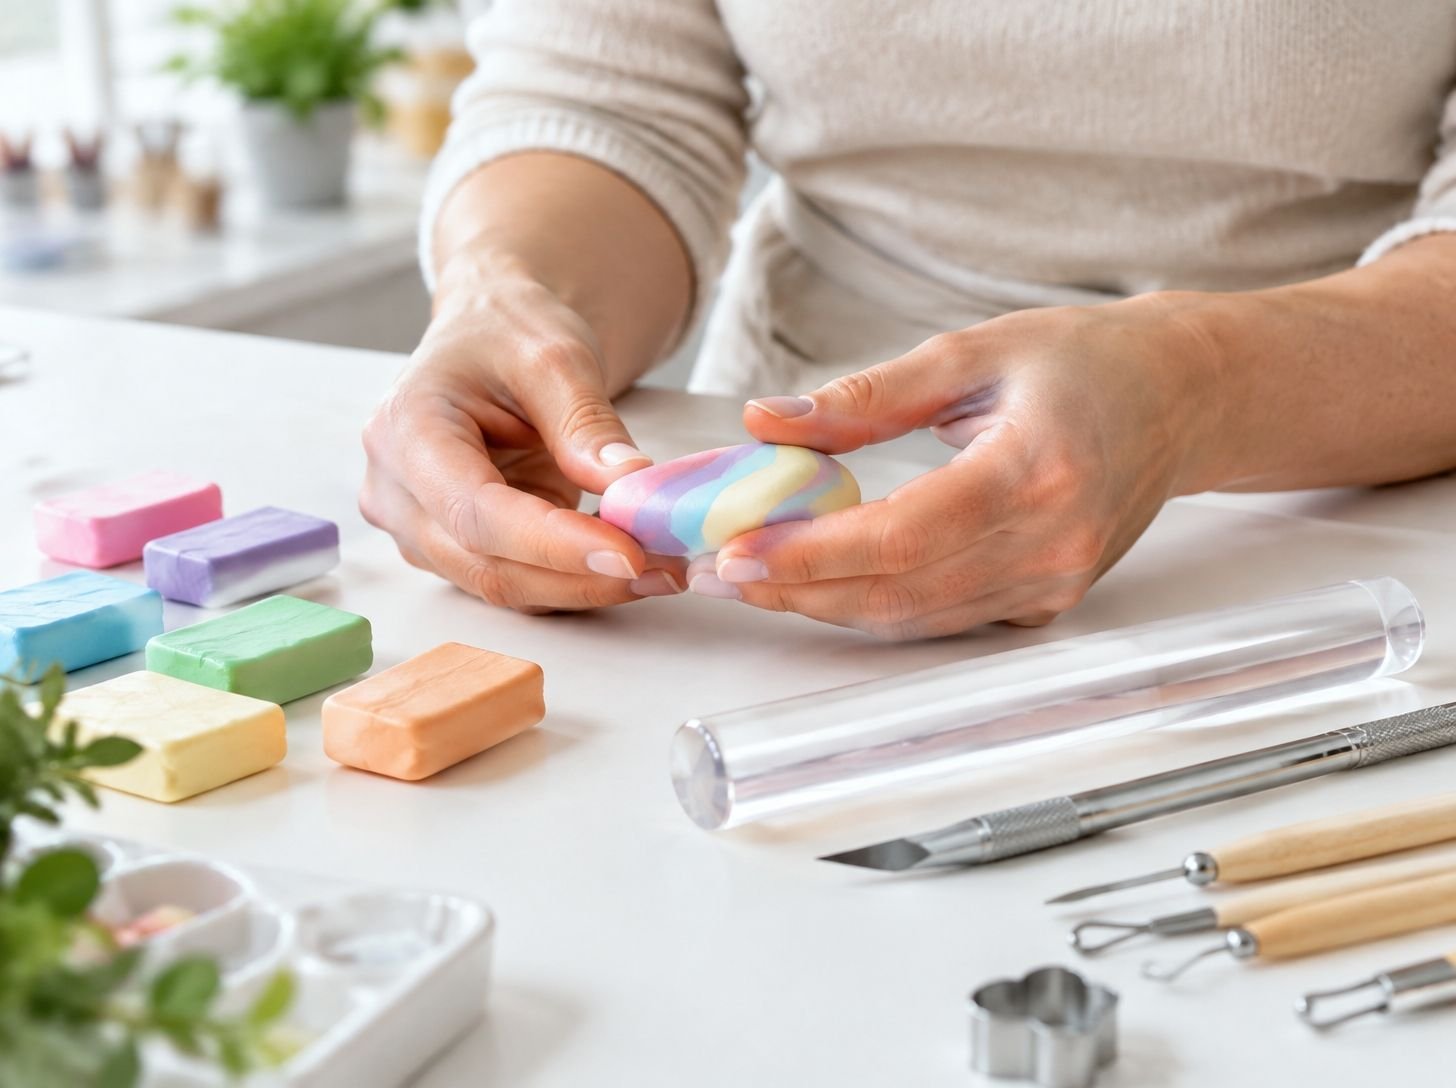
If you have ever spent time shaping a beautiful polymer clay project only to discover cracks appearing while you work or after baking, you know how frustrating it can be.
You carefully choose your colors, shape your design, smooth the surface, and get everything ready for the oven. Then something goes wrong, and the finished piece does not look the way you imagined.
One of the most common reasons polymer clay becomes difficult to work with is poor conditioning. Polymer clay needs to be softened, warmed, and worked properly before you start shaping it.
When it is too firm, crumbly, or unevenly conditioned, it may develop cracks, break apart, or become difficult to blend.
I believe conditioning is one of the most important skills to learn before experimenting with polymer clay jewelry, ornaments, miniature decorations, or other handmade crafts.

The good news is that conditioning does not have to be complicated. With the right techniques, a little patience, and a few useful tools, you can make your clay smooth, flexible, and easier to shape.
In this guide, I will show you how to condition polymer clay properly, recognize when it is ready to use, avoid common mistakes, and prepare it for baking.
Although no conditioning method can guarantee that clay will never crack, properly conditioned clay greatly reduces problems caused by stiffness and poor preparation.
Why Is Conditioning Polymer Clay Important?

Conditioning polymer clay means working the material until it becomes soft, flexible, smooth, and evenly pliable.
When you first open a new package, the clay may feel firm or slightly stiff. This is especially common with older clay, clay stored in cool conditions, or certain firm polymer clay brands.
You cannot always expect clay to be ready for shaping straight out of the package. It needs to be worked so that its ingredients are evenly distributed and the material becomes easier to manipulate.
Proper conditioning makes several parts of crafting easier.
It helps prevent cracks during shaping. Firm clay can split when you bend, roll, or stretch it. Conditioning makes the material more flexible.
It improves blending. If you enjoy mixing colors or creating gradients, conditioned clay is easier to combine evenly.
It creates smoother surfaces. Well-conditioned clay is easier to roll, flatten, and shape without leaving rough edges or crumbly areas.
It makes shaping easier. Whether you are making beads, earrings, miniature food, or decorative ornaments, soft and workable clay gives you better control.
It improves consistency. Properly conditioned clay is less likely to have hard sections mixed with soft sections.
However, remember that conditioning is only one part of preventing cracks. Baking temperature, baking time, clay thickness, and the quality of the material also matter.
1. Choose the Right Polymer Clay Before You Begin
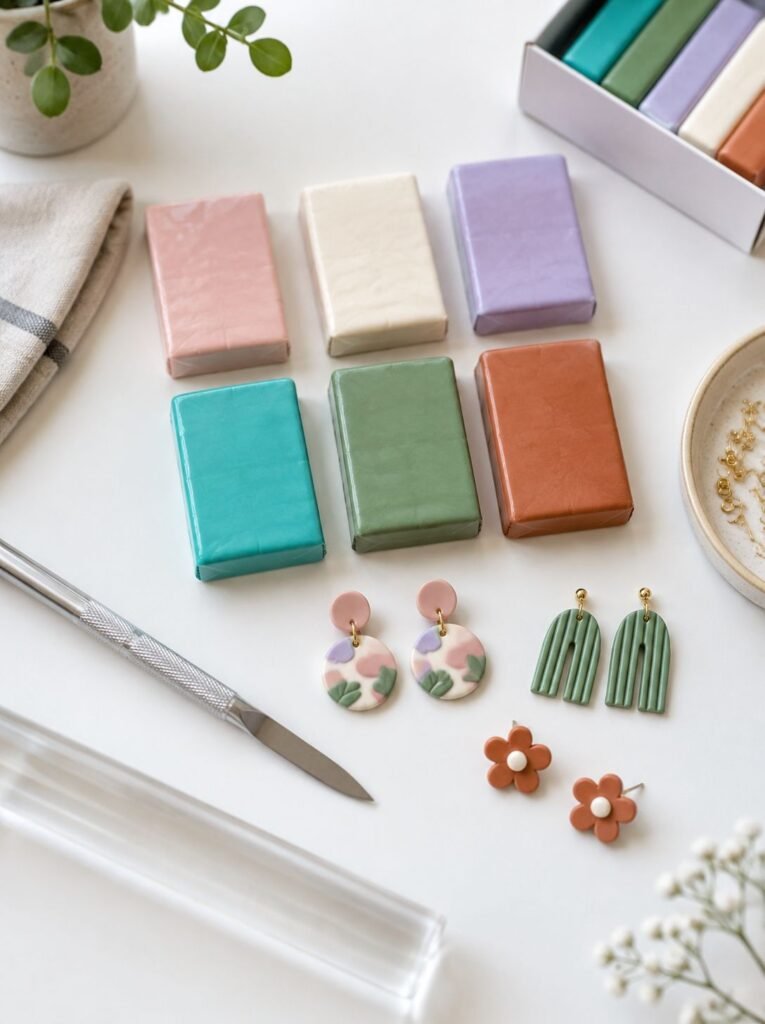
Before conditioning your clay, make sure you are working with a suitable product.
Polymer clay comes in different formulations, and some brands are naturally softer than others. Certain types are designed for detailed sculpting, while others are better suited to jewelry, beads, and general crafting.
If you are a beginner, choosing a clay that is reasonably easy to condition can make the entire process less frustrating.
Some popular options include:
- Sculpey Premo: A versatile polymer clay commonly used for jewelry, decorative pieces, and detailed projects.
- FIMO Soft: A relatively soft option that is popular among beginners and general crafters.
- FIMO Professional: A firmer formulation that offers good control for detailed work.
- Sculpey Soufflé: A lightweight clay with a suede-like finish that is useful for certain jewelry and decorative projects.
- Kato Polyclay: A firmer clay often preferred by experienced makers who want to work with detailed designs.
You do not need to purchase every type. Start with one suitable clay and learn how it behaves before experimenting with different brands.
I would also recommend checking the packaging for the manufacturer’s instructions. Different polymer clay formulations can have different handling and baking requirements.
My beginner tip: Avoid buying large quantities of several colors before you understand how a particular brand feels. Start with a few basic colors, practice conditioning them, and see which consistency you prefer.
2. Let Cold Polymer Clay Reach Room Temperature

One simple mistake is trying to condition polymer clay immediately after taking it from a cold storage area.
Cold clay often feels harder and less flexible, which can make it difficult to knead or roll. You might assume that something is wrong with the clay when it simply needs time to warm up.
Before conditioning, remove the clay from its packaging and allow it to sit at a comfortable room temperature.
You do not need to use excessive heat. Simply allowing it to warm naturally can make the conditioning process easier.
Here is what I recommend:
- Remove the clay from its original packaging.
- Cut it into smaller manageable pieces if necessary.
- Place it on a clean work surface.
- Allow it to rest at room temperature.
- Check whether it has become easier to press and manipulate.
Avoid placing polymer clay directly on a radiator, heating element, or other high-temperature surface. Excessive heat can affect the material and may cause problems before you even begin crafting.
If the clay remains firm after reaching room temperature, you can move on to the next conditioning method.
3. Cut the Clay Into Smaller Pieces
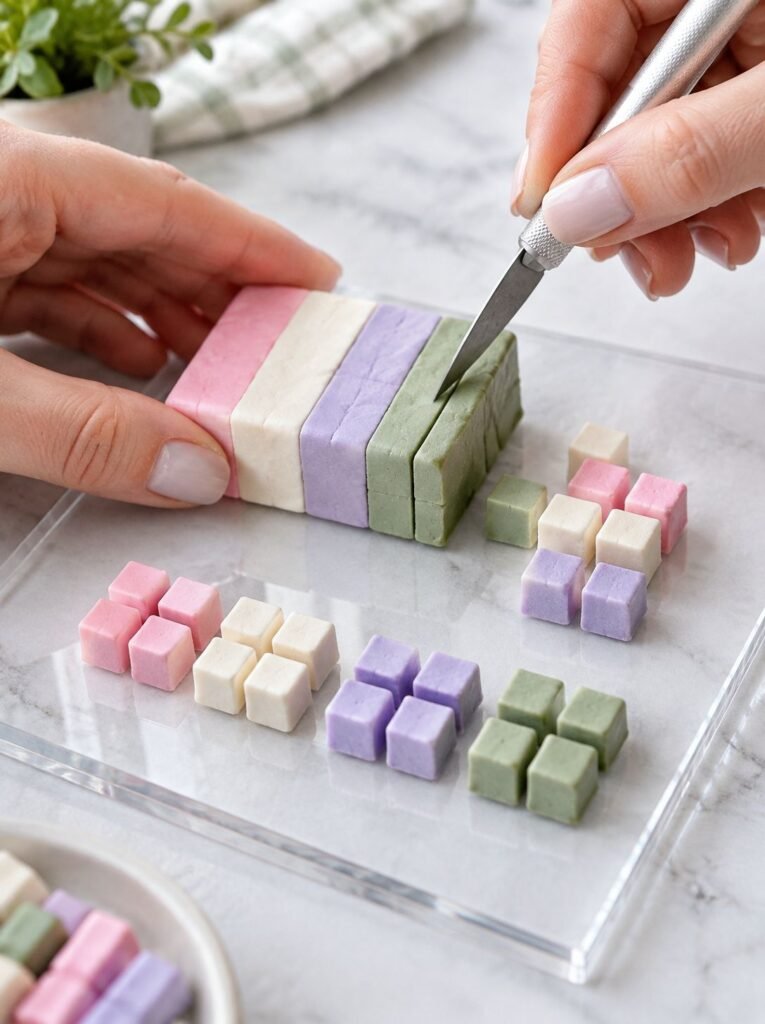
If your polymer clay is particularly firm, trying to condition the entire block at once can make the process unnecessarily difficult.
Instead, divide it into smaller pieces.
Smaller portions are easier to knead, fold, and manipulate with your hands. They also allow you to work through the clay more evenly.
I find this especially useful when opening a fresh block or working with clay that has been stored for a long time.
How to do it:
- Place the clay on a clean cutting surface.
- Use a suitable clay blade to cut it into smaller sections.
- Separate the pieces so they are easier to handle.
- Take one portion at a time.
- Begin pressing and folding the clay until it becomes more flexible.
You can use a dedicated polymer clay blade or another appropriate cutting tool.
Be careful when handling sharp blades, and keep them away from children and pets.
Do not rush this stage. Breaking the clay into smaller portions makes the next steps easier and gives you more control over the consistency.
4. Knead the Polymer Clay With Your Hands
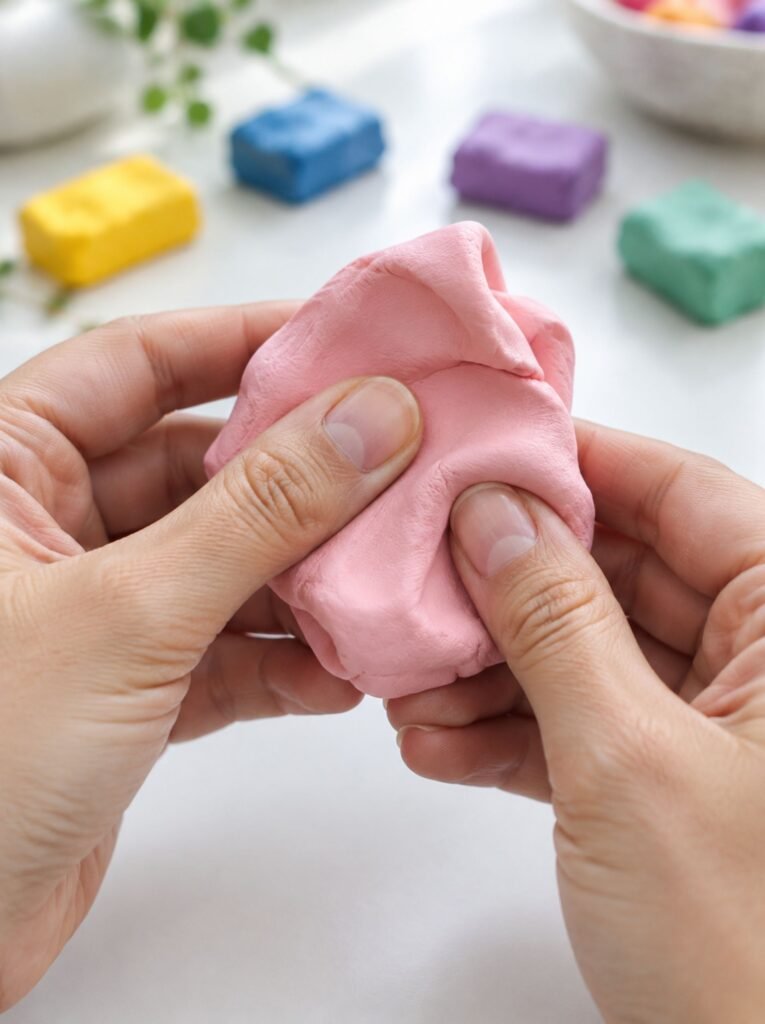
Hand kneading is one of the simplest ways to condition polymer clay, especially when you are working with small quantities.
The warmth from your hands helps soften the material while the repeated pressing and folding makes it more workable.
Start by taking a small piece of clay and pressing it between your fingers and palms. Fold it over, press it again, and repeat the process.
At first, the clay may feel stiff or resistant. That is normal, particularly if it is a firm formulation.
Continue working it gently rather than trying to force it into shape.
Follow these steps:
- Take a small piece of polymer clay.
- Press it between your fingers.
- Fold the clay in half.
- Press and roll it again.
- Repeat until the texture becomes smoother and more flexible.
- Check for hard sections or crumbly areas.
If you are conditioning a large quantity, divide it into manageable portions rather than tiring your hands by working with one oversized block.
The goal is to achieve a consistent texture throughout the clay.
Do not add water or ordinary household oils to make polymer clay softer. These substances can interfere with the material and affect the finished result.
5. Use an Acrylic Roller to Flatten and Fold the Clay

Once your clay begins to soften, an acrylic roller can help you condition it more evenly.
This tool is especially useful if you are making polymer clay earrings, beads, pendants, or flat decorative pieces.
Start by placing the clay on a clean, smooth work surface. Press it gently with the roller until it forms a flat sheet.
Fold the sheet in half and roll it again.
Repeat this process several times, changing the direction of the folds when necessary.
A simple rolling method:
- Place your clay on a clean work surface.
- Flatten it using an acrylic roller.
- Fold the flattened sheet in half.
- Roll it out again.
- Repeat until the clay feels smooth and flexible.
Try to keep the thickness reasonably even as you roll. This makes it easier to identify any areas that still feel stiff.
An acrylic roller is particularly useful because it provides a smooth surface without introducing unnecessary texture.
If you regularly work with polymer clay, this is one of the basic tools worth keeping in your craft supplies.
6. Use a Pasta Machine for More Even Conditioning
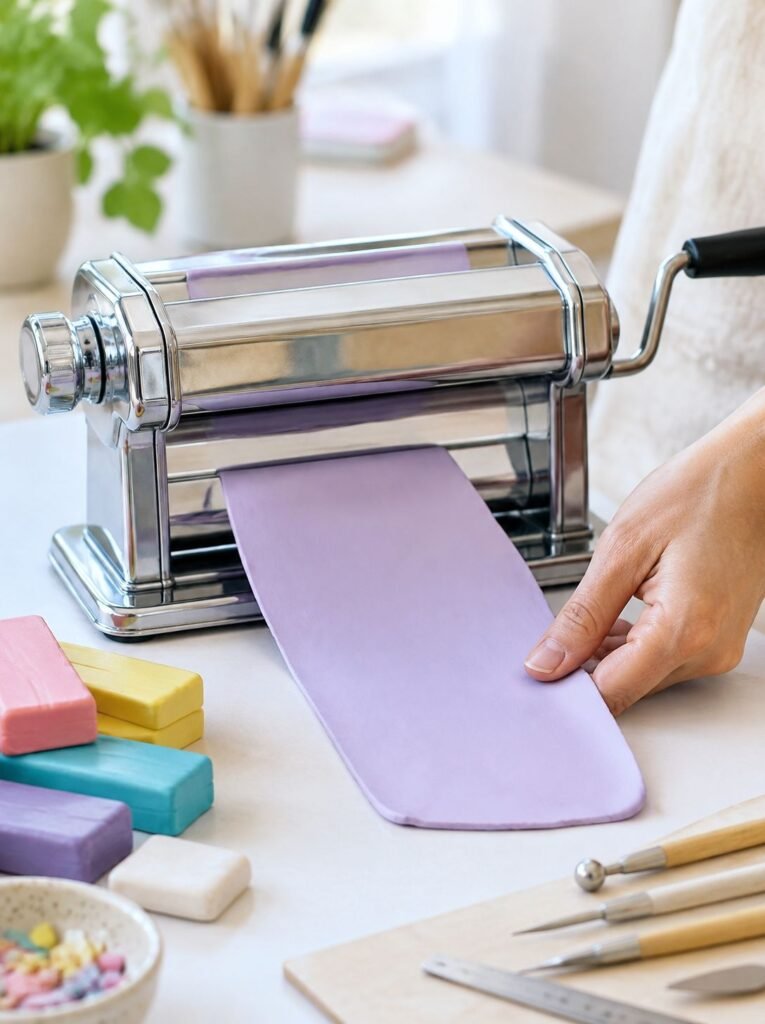
If you plan to work with polymer clay regularly, a dedicated pasta machine can make conditioning much easier.
A pasta machine allows you to pass clay through adjustable rollers, producing sheets of relatively even thickness. It can save time when working with larger quantities or preparing multiple colors for one project.
It is especially useful for:
- Polymer clay earrings.
- Layered clay designs.
- Color blending.
- Thin decorative sheets.
- Marbled clay patterns.
- Repeated craft projects.
How to condition clay with a pasta machine:
- Start with a small piece of clay that has been softened slightly by hand.
- Flatten it enough to fit through the rollers.
- Set the machine to its widest setting.
- Pass the clay through slowly.
- Fold the resulting sheet in half.
- Feed it through again.
- Repeat until the clay becomes smooth and flexible.
For consistent conditioning, keep the folded edges oriented appropriately as you feed the clay through, following the machine’s instructions.
Avoid forcing large or extremely hard pieces through the rollers. This can strain the machine and may damage its rollers.
Important: Keep a pasta machine dedicated to polymer clay. Do not use a machine that will later be used to prepare food. Polymer clay tools and equipment should remain separate from kitchen equipment.
By the end of this process, your clay should feel much easier to work with and should no longer have the stiff, crumbly texture it had when you started.
7. Use a Clay Softener for Hard or Crumbly Polymer Clay
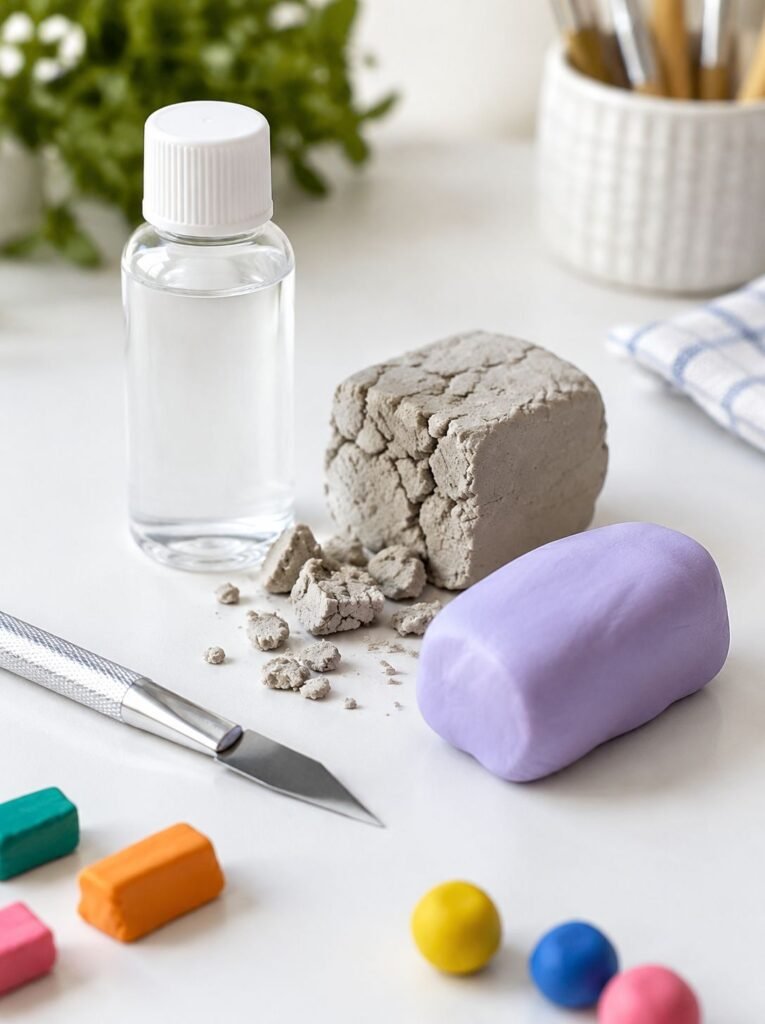
Sometimes polymer clay remains stiff even after you have tried kneading, rolling, and folding it. This can happen with older clay or certain firm formulations.
If your clay is extremely hard or crumbly, a polymer clay softener may help restore its workability.
Clay softeners are specially designed products that can be mixed into polymer clay to make it softer and easier to condition.
The important thing is to use them sparingly. Adding too much can make the clay sticky, weak, or difficult to handle.
How to use polymer clay softener:
- Break your clay into smaller pieces.
- Add a very small amount of the recommended softener.
- Knead the clay thoroughly.
- Check its consistency before adding more.
- Continue working it until it becomes smooth and flexible.
You can also use a small amount of compatible liquid polymer clay, depending on the manufacturer’s instructions and the condition of your material.
Avoid adding water, cooking oil, lotion, or ordinary household moisturizers. They are not suitable substitutes for products designed specifically for polymer clay.
If your clay is old, contaminated, or has become unusually sticky, adding softener may not solve the problem. It may be better to replace it.
8. Use a Little Fresh Clay to Improve the Texture

Another useful technique is mixing firm polymer clay with a small amount of fresh, softer clay.
This can help when you have an older block that is difficult to condition but is not completely unusable.
The fresh clay introduces a more workable consistency, making the mixture easier to knead and shape.
I would start with a small test portion rather than mixing an entire block immediately.
Try this method:
- Break the firm clay into small pieces.
- Take a small amount of fresh polymer clay.
- Combine the two materials.
- Knead them together until the texture becomes consistent.
- Test the mixture by rolling and bending it gently.
Make sure both clays are compatible polymer clay products. Different formulations can have different firmness levels and baking requirements, so check the manufacturer’s instructions before combining them.
This method is particularly useful if you have leftover clay from previous projects and want to make it usable again.
9. Use a Clay Conditioning Machine for Large Projects
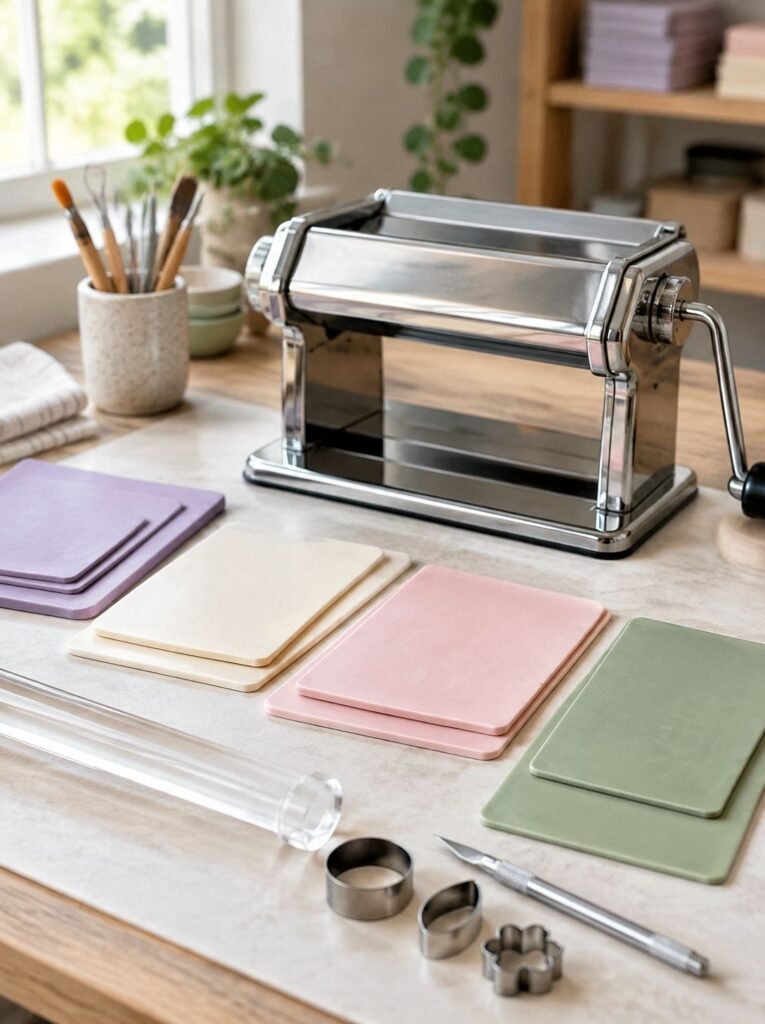
If you regularly make polymer clay jewelry, decorative pieces, or several items at once, a dedicated clay conditioning machine can make your work much easier.
Although a basic acrylic roller is useful, a conditioning machine gives you more control over the thickness and consistency of your clay.
It is particularly helpful when you need to prepare several sheets of clay for one project.
Here is how I would use one:
- Begin with clay that has been softened slightly by hand.
- Flatten it enough to pass through the machine.
- Start with the widest roller setting.
- Pass the clay through slowly.
- Fold it and feed it through again.
- Gradually work toward the thickness required for your project.
Avoid forcing hard, thick blocks through the rollers. Doing so can strain the machine or damage the clay.
Keep your machine clean and dedicated to polymer clay. Never use it for food preparation afterward.
If you are just starting out, you do not need to buy an expensive machine immediately. An acrylic roller and good hand-conditioning technique are enough for many small projects.
10. Test Your Clay Before Starting Your Project

One of the easiest ways to avoid problems is to test your polymer clay before using it for your actual design.
Even if the surface looks smooth, the clay may still contain firm or crumbly areas that become noticeable when you start shaping it.
A quick test can help you identify problems early.
Try these simple checks:
The bending test: Roll a small piece into a thin strip and bend it gently. Properly conditioned clay should bend without immediately breaking or developing obvious cracks.
The rolling test: Roll a small piece into a smooth ball. Look for rough patches, splits, or crumbly areas.
The flattening test: Press a small piece into a flat sheet. The surface should look reasonably even rather than separating into dry-looking pieces.
The folding test: Flatten a small sheet and fold it gently. If it splits immediately, it may need more conditioning.
Do not expect every polymer clay formulation to feel identical. Some are naturally firmer than others.
The purpose of these tests is to check that your clay is workable and consistent before you spend time creating something more complicated.
11. Avoid Overworking Your Polymer Clay

Conditioning is important, but that does not mean you should keep working the clay indefinitely.
Once your polymer clay becomes smooth, flexible, and easy to shape, it is generally ready for your project.
Overworking very soft clay can make it warm, sticky, and difficult to handle. This can be particularly frustrating when making detailed earrings, miniature decorations, or pieces that require clean edges.
If the clay becomes too soft, place it on a clean surface and allow it to rest briefly. You can also use a suitable cooling method recommended by the clay manufacturer.
For clay that is excessively soft or sticky, a compatible product designed to firm polymer clay may help. Follow its instructions carefully.
Signs your clay may be too soft include:
- It sticks excessively to your fingers.
- It loses its shape immediately after handling.
- It becomes difficult to cut cleanly.
- Fingerprints appear very easily.
- Thin pieces stretch when you try to lift them.
The goal is to find a comfortable working consistency, not the softest possible texture.
12. Bake Your Conditioned Polymer Clay Correctly

Even perfectly conditioned polymer clay can crack, become brittle, or develop other problems if it is not baked correctly.
This is why baking deserves just as much attention as conditioning.
Polymer clay is designed to harden through baking at a temperature recommended by its manufacturer. It does not dry like air-dry clay.
Using the wrong temperature or baking for too little time can affect the strength of the finished piece.
Here are some important baking tips:
- Read the baking instructions on your specific clay packaging.
- Use an oven thermometer to check the actual oven temperature.
- Preheat your oven before placing the project inside.
- Follow the recommended baking time for the thickness of your piece.
- Place your work on a suitable baking surface.
- Avoid exposing the clay to direct heating elements.
- Allow the finished piece to cool before handling it extensively.
Do not assume that every polymer clay brand uses the same baking temperature or baking time.
Also, avoid guessing based on the appearance of the clay. Polymer clay can remain relatively flexible when warm, and some pieces become firmer after cooling.
Use a dedicated craft oven or equipment that will not be used for food preparation, and follow the manufacturer’s safety instructions.
Common Polymer Clay Conditioning Mistakes to Avoid
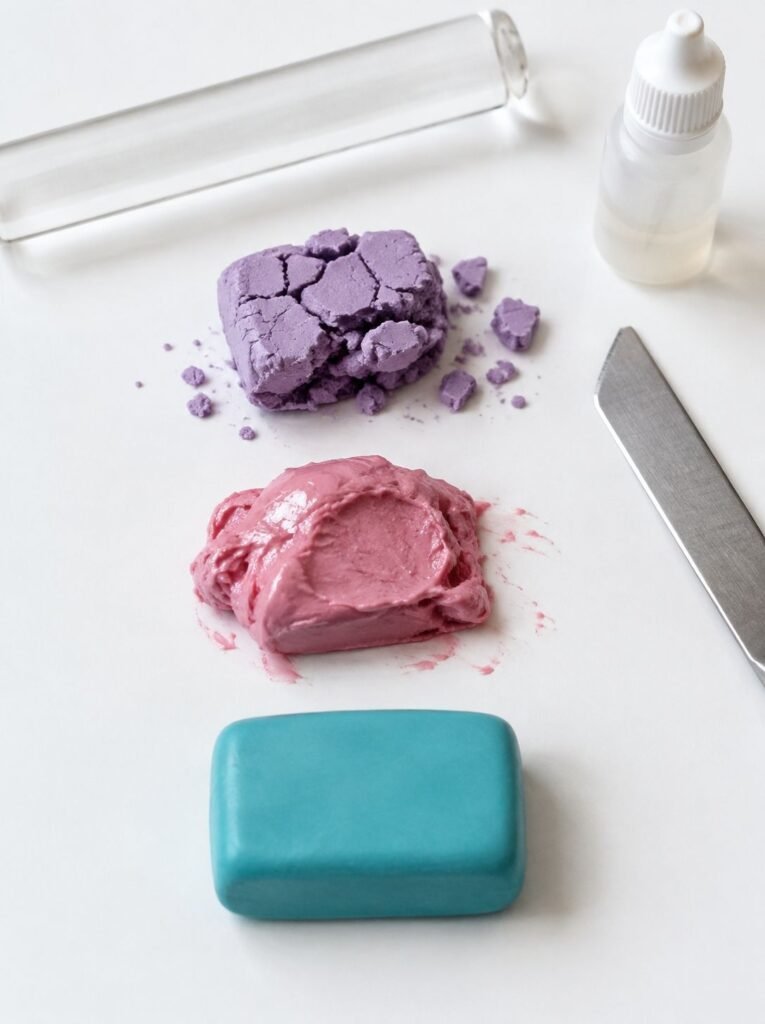
Sometimes the problem is not the clay itself but the way it is being handled.
Here are a few mistakes I would avoid when preparing polymer clay.
Adding Too Much Softener
It can be tempting to add more softener when the clay feels difficult to work with. However, too much can make the material sticky and difficult to shape.
Start with a tiny amount and gradually adjust the consistency.
Using Water to Soften Polymer Clay
Polymer clay is not water-based, so adding water is not the right way to condition it.
Use hand kneading, an acrylic roller, a conditioning machine, or a compatible clay softener instead.
Skipping the Conditioning Process
Trying to shape hard, unconditioned clay can result in rough surfaces, splitting, and difficulty joining separate pieces.
Take the time to prepare your material before starting your design.
Using Excessive Heat
Do not place polymer clay directly on a heater or use uncontrolled high temperatures to soften it.
Gentle handling and suitable conditioning tools are safer ways to improve its consistency.
Baking at the Wrong Temperature
A correctly conditioned piece can still become damaged if the oven temperature is too high or too low.
Always follow the instructions for your specific clay brand and use an oven thermometer.
How to Store Polymer Clay So It Stays Soft
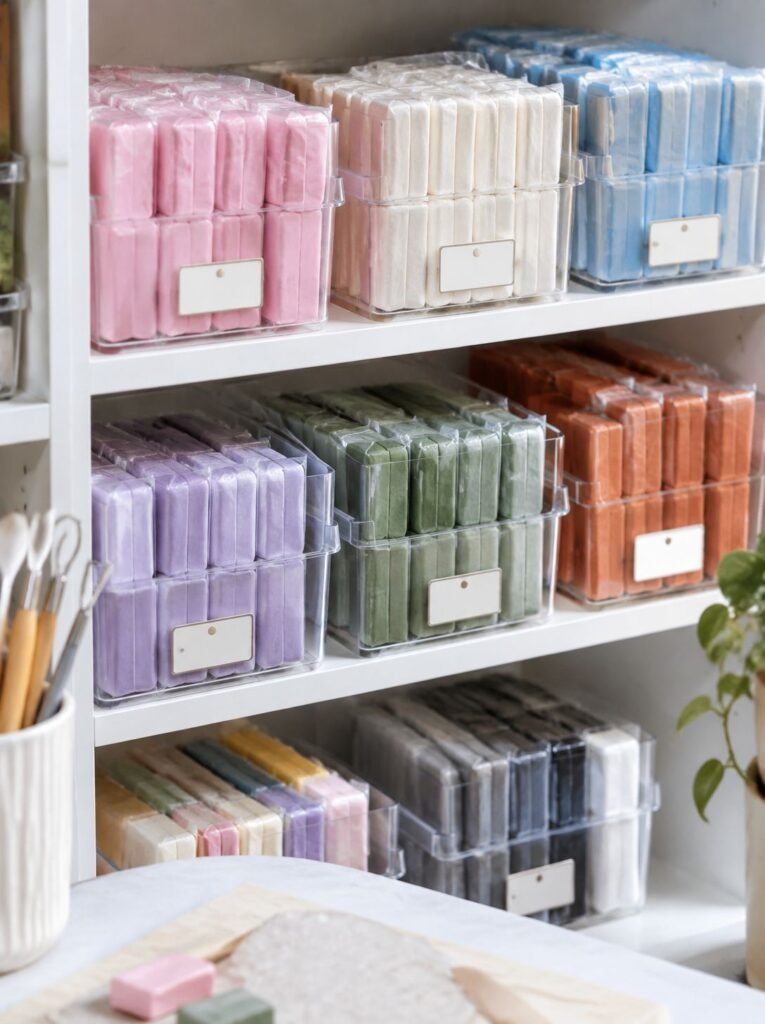
Proper storage can make your next crafting session much easier.
If polymer clay is exposed to dust, dirt, or incompatible materials, it can become difficult to work with. Good storage also helps keep different colors organized and prevents accidental contamination.
My recommended storage habits include:
- Keep unused clay in its original packaging when possible.
- Store it in a cool, dry place away from direct sunlight.
- Use suitable airtight containers or protective wrapping.
- Keep different colors separated.
- Protect clay from dust, lint, and pet hair.
- Keep it away from heat sources.
- Label leftover pieces so you know which colors and formulations you have.
Avoid storing polymer clay in containers made from materials that may react with it. Check that your storage materials are suitable for polymer clay.
You should also keep your clay away from food, children, and pets when it is not being used.
Frequently Asked Questions
1. How long should I condition polymer clay?
There is no fixed conditioning time because different brands and formulations have different firmness levels.
Some soft clay may become workable within a few minutes, while firmer or older clay can take longer.
Instead of focusing on the clock, check the texture. Your clay should feel smooth, flexible, and consistent before you start shaping it.
2. Why does my polymer clay crack when I bend it?
Polymer clay may crack when it is too firm, insufficiently conditioned, or old.
Try cutting it into smaller pieces and kneading it thoroughly. If it remains crumbly, consider using a compatible polymer clay softener according to the manufacturer’s instructions.
Also, avoid bending extremely thin pieces sharply.
3. Can I condition polymer clay without a pasta machine?
Yes. You can condition polymer clay entirely by hand.
Knead it, press it, fold it, and roll it with an acrylic roller until it becomes smooth and flexible.
A pasta machine is convenient, but it is not essential for beginners.
4. Can I use baby oil to soften polymer clay?
I would not recommend using baby oil or ordinary household oils as a conditioning solution.
These products are not specifically formulated for polymer clay and can change its consistency in unpredictable ways.
Use a compatible polymer clay softener instead.
5. How do I know when polymer clay is properly conditioned?
Properly conditioned clay should be smooth, flexible, and easy to manipulate.
It should not feel excessively hard or crumble when you roll it. A small bending and folding test can help you check whether it is ready.
6. Can old polymer clay be conditioned again?
Often, yes. Older polymer clay may become firm or crumbly, but it can sometimes be restored through careful conditioning.
Break it into smaller pieces, knead it, and use a compatible softener if necessary.
However, clay that is contaminated or severely deteriorated may not be suitable for crafting.
7. Why does my polymer clay crack after baking?
Cracking after baking can have several causes, including incomplete conditioning, uneven thickness, insufficient baking, incorrect oven temperature, or stress in the design.
Check your clay manufacturer’s baking instructions and use an oven thermometer. For thicker projects, make sure the baking time is appropriate for the thickest section.
8. Should polymer clay be hard or soft before baking?
It should be firm enough to hold its shape but flexible enough to be shaped without crumbling or splitting.
It should not be excessively sticky or so soft that it loses its shape.
Final Thoughts
Learning how to condition polymer clay properly can make a huge difference in the quality of your handmade projects.
You do not need expensive equipment to get started. A clean work surface, an acrylic roller, patience, and the right conditioning technique are enough for many beginner projects.
I would start by cutting your clay into smaller pieces, warming it naturally to room temperature, and kneading it until the texture becomes smooth and flexible. If you work with polymer clay regularly, a dedicated pasta machine can make the process faster and more consistent.
Remember that conditioning is only one part of preventing cracks. Proper shaping, even thickness, suitable storage, and correct baking are equally important.
Take your time preparing the clay before you start creating. It makes the whole crafting process easier and gives you a much better chance of producing smooth, durable polymer clay pieces.