The Best Way To Seal And Glaze Air Dry Clay
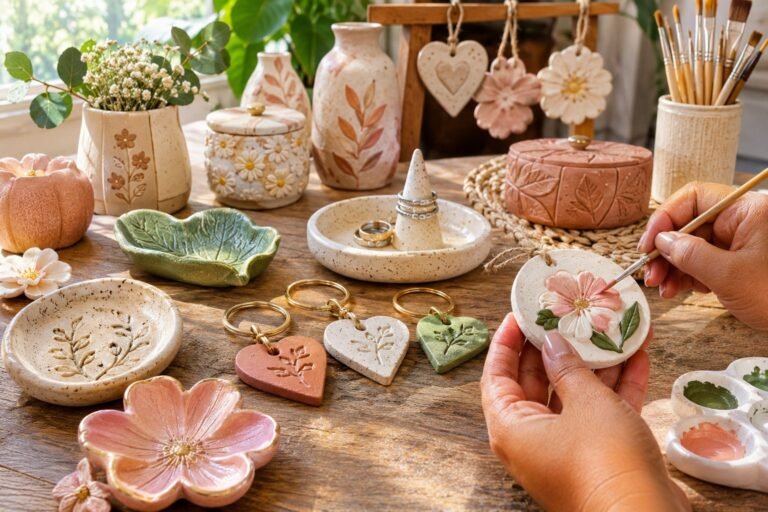
Air dry clay is one of my favorite materials for creating decorative pieces at home because it is affordable, easy to shape, and does not require a pottery kiln. You can turn it into beautiful trinket dishes, jewelry holders, small vases, candle holders, ornaments, and other handmade decorations.
However, getting your project to look finished is only part of the process. You also need to think about how to protect the surface so it stays attractive after painting and handling.
That is where sealing and glazing come in. The right finish can give your clay a smooth, glossy appearance, protect painted details, and help reduce moisture absorption.
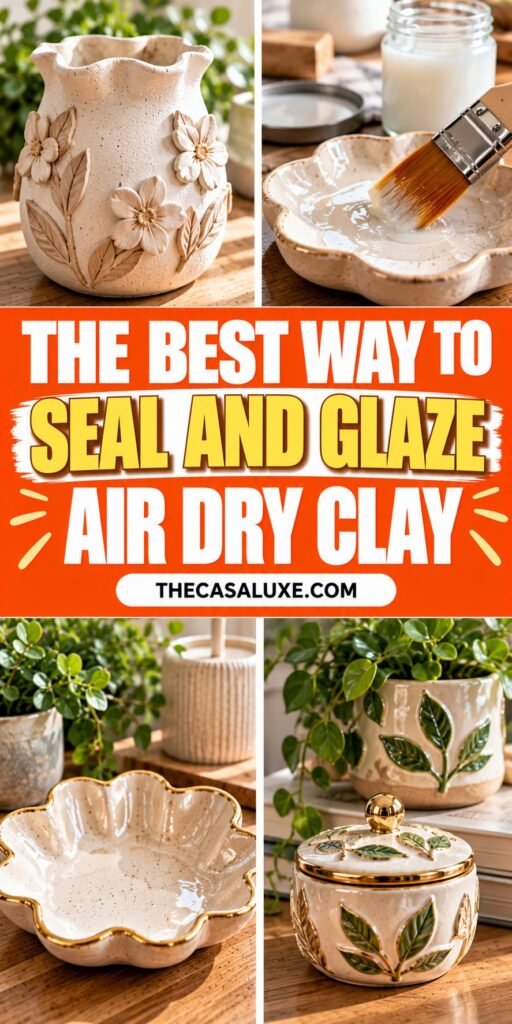
The challenge is knowing which product to use and how to apply it without leaving brush marks, cloudy patches, or a sticky surface.
In this guide, I will explain the difference between sealing and glazing air dry clay, the finishes worth considering, how to prepare your project, and the mistakes that can ruin an otherwise beautiful piece. I will also explain what these finishes can and cannot protect your clay from.
Why You Should Seal and Glaze Air Dry Clay

Air dry clay hardens as moisture evaporates from the material. Unlike traditional pottery clay, it does not go through kiln firing, so it does not become vitrified or naturally waterproof.
This is why a finished clay project can still absorb moisture even when it looks completely dry. If you leave it unprotected, the surface may become dirty more easily, painted details can be vulnerable to wear, and occasional contact with moisture can damage the piece.
Applying a suitable sealer helps create a protective surface layer. Depending on the product you choose, it can also improve the appearance of your project.
Here are some reasons I recommend finishing air dry clay properly.
1. It Helps Protect Your Clay From Moisture
Air dry clay is porous, which means it can absorb water. A suitable clear sealer helps reduce how easily moisture reaches the surface.
This is particularly useful for decorative trinket dishes, jewelry holders, ornaments, and small decorative containers that may occasionally be exposed to damp hands or light splashes.
However, there is an important distinction: sealing does not make ordinary air dry clay completely waterproof. Even a well-sealed project should not be submerged in water or used as a regular drinking or serving vessel.
2. It Protects Painted Designs
If you have spent time painting your clay creation, you probably want the colors to stay looking fresh.
A clear acrylic varnish or compatible craft sealer can help protect painted surfaces from everyday handling, dust, and minor scuffs. This is especially helpful for colorful ornaments, decorative trays, and handmade clay accessories.
Always allow acrylic paint to dry completely before applying your clear finish. Applying a sealer too early can cause unwanted streaks or interfere with the paint underneath.
3. It Creates a More Finished Appearance
One of the biggest differences a good finish makes is the overall appearance of your project.
Unsealed air dry clay usually has a natural, somewhat chalky appearance. Depending on the finish you choose, you can transform that surface into something more polished.
For example:
- Matte sealer gives your project a soft, natural appearance.
- Satin sealer creates a gentle sheen without looking overly shiny.
- Gloss varnish produces a brighter, reflective surface.
- High gloss glaze can create a smooth finish that resembles glazed ceramic.
You do not have to use a shiny finish on every project. Sometimes a simple matte coating looks much more attractive, especially on neutral colored home decorations.
4. It Makes Finished Projects Easier to Clean
A sealed surface is generally easier to wipe than exposed, porous clay. Dust and light surface dirt can often be removed with a soft, dry or slightly damp cloth, depending on the product used.
This does not mean you should wash your clay decorations under running water. Keep cleaning gentle and avoid soaking them.
Sealing vs. Glazing Air Dry Clay: What Is the Difference?
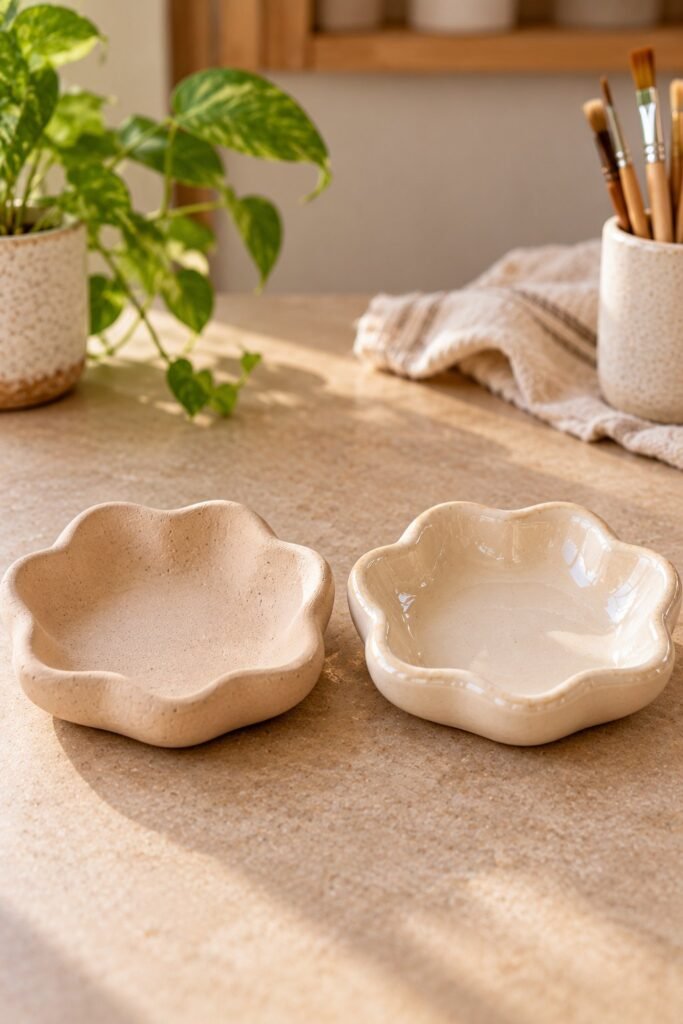
These two terms are often used interchangeably in craft tutorials, but they do not mean exactly the same thing.
Understanding the difference helps you choose the right product instead of buying several finishes that do essentially the same job.
What Does Sealing Air Dry Clay Mean?
Sealing means applying a protective coating over your dried clay. The purpose is to create a barrier that helps reduce moisture absorption and protects the surface.
Common products used for sealing include:
- Clear acrylic varnish
- Acrylic spray sealer
- Water based craft sealer
- Mod Podge
- Suitable polyurethane finishes
Some products are available in matte, satin, and gloss versions, so you can choose the appearance you prefer.
For most small indoor clay projects, I would start with a compatible clear acrylic varnish or a sealer specifically designed for air dry clay.
What Does Glazing Air Dry Clay Mean?
Glazing, in traditional pottery, involves applying a special coating to ceramic ware and firing it in a kiln. The heat transforms the glaze into a durable glasslike surface.
Air dry clay does not undergo that process, so you cannot create a true kiln fired ceramic glaze using ordinary craft varnish.
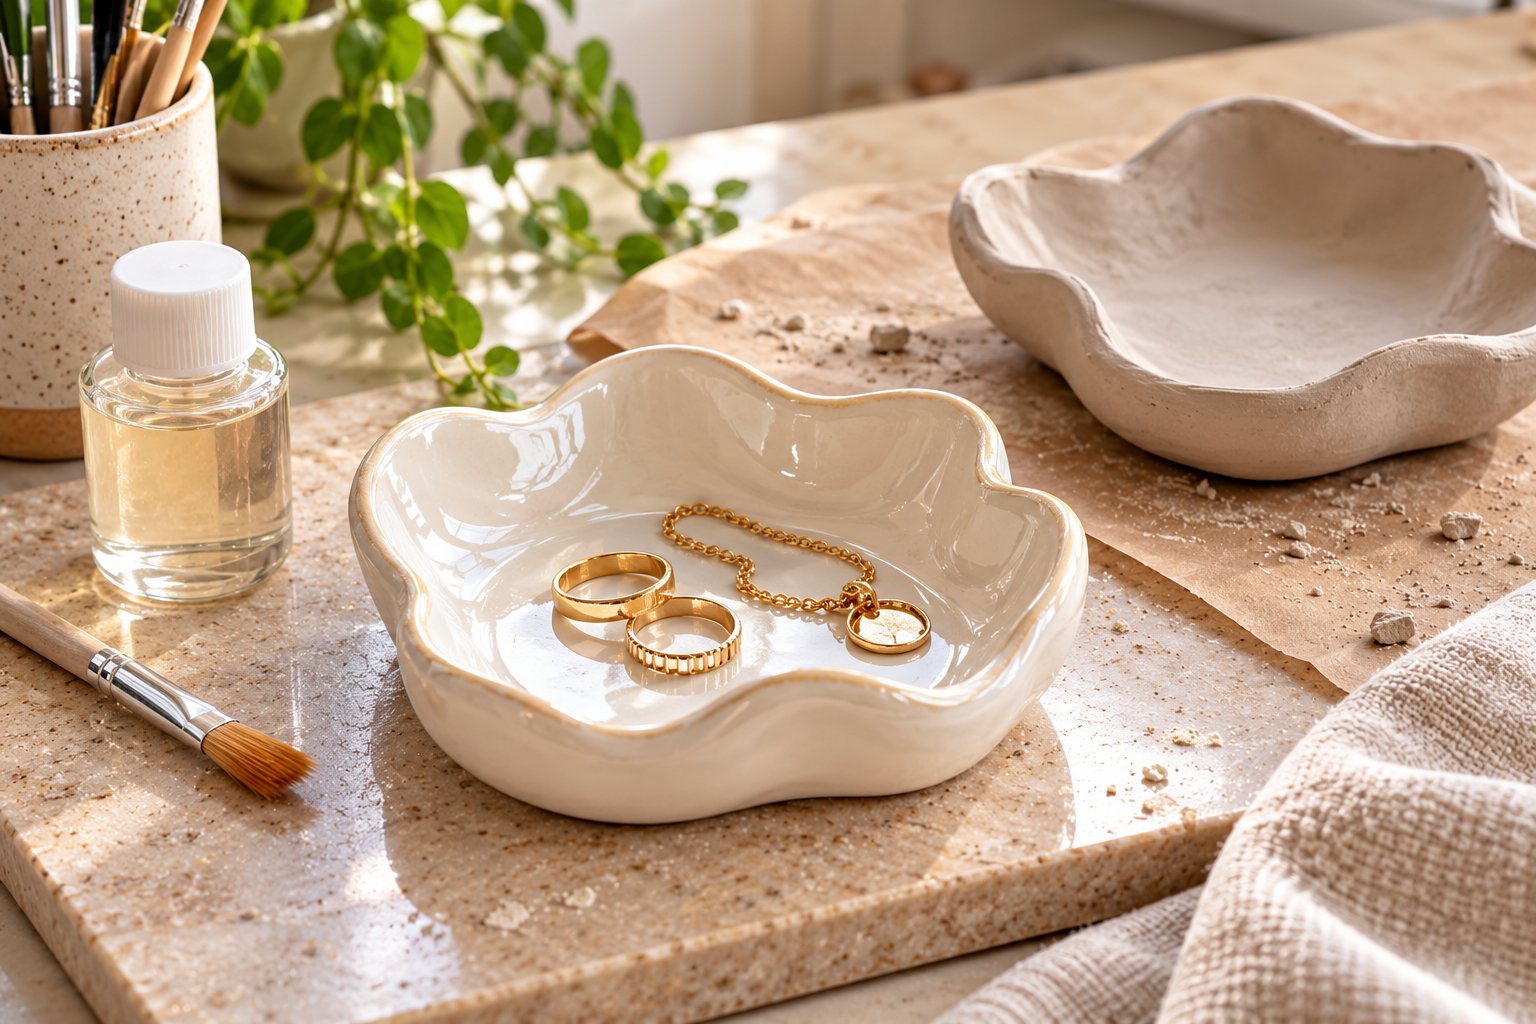
Instead, when people talk about glazing air dry clay, they usually mean applying a glossy clear finish that gives the project a similar visual effect.
Products such as gloss acrylic varnish, gloss craft glaze, and certain resin coatings can help achieve this appearance.
The result can look beautiful, but it is important not to confuse a glossy decorative finish with the performance of fired ceramic glaze.
Which One Should You Use?
It depends on the final appearance and purpose of your project.
If you want to protect a painted ornament or decorative tray, a clear acrylic sealer is a practical starting point.
If you want a shiny, ceramic inspired appearance, choose a compatible gloss varnish or craft glaze.
If you want a natural finish without much reflection, choose matte or satin varnish.
For most beginners, a clear water based acrylic varnish is a good first product to try because it is available in different finishes and is relatively straightforward to apply.
The Best Sealers and Glazes for Air Dry Clay
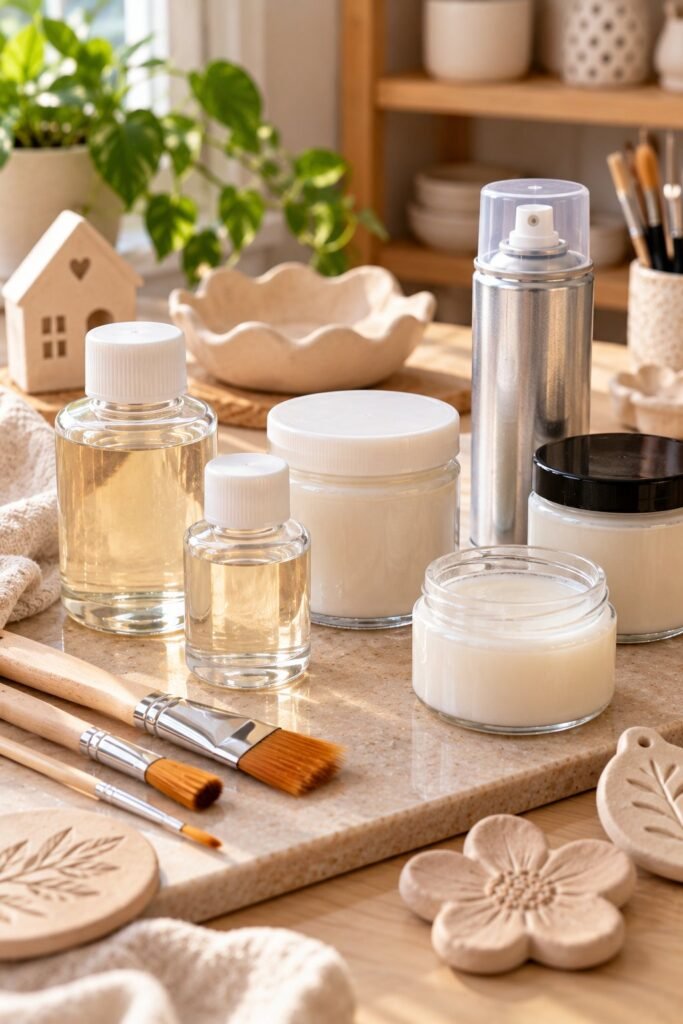
There is no single product that works perfectly for every clay project. A small decorative ornament has different finishing requirements from a frequently handled trinket dish or a piece with several layers of acrylic paint.
Here are the main options worth considering.
1. Clear Acrylic Varnish
Clear acrylic varnish is one of the most practical choices for finishing air dry clay.
It is available in different finishes, including matte, satin, and gloss. You can apply many brush on versions with a soft synthetic brush, while spray versions are useful for reaching textured areas and intricate details.
Why I like this option:
- It is relatively easy to apply.
- It comes in several finish options.
- It can help protect painted surfaces.
- It works well for many indoor decorative projects.
Best for: Painted ornaments, decorative trays, clay wall art, jewelry holders, and small sculptures.
Choose a product that specifically states it is suitable for your clay and paint combination. Always test it on a small sample first.
2. Acrylic Spray Sealer
Acrylic spray sealer is another useful option, particularly when you want to avoid visible brush strokes.
Instead of brushing a liquid coating over the clay, you apply a fine mist across the surface. This can be helpful when working with textured decorations, detailed ornaments, and pieces with small corners.
Spray sealers are commonly available in matte, satin, and gloss finishes.
Why consider it:
- It can provide an even finish when applied correctly.
- It reaches areas that may be difficult to brush.
- It reduces the risk of brush marks.
- It is convenient for small decorative pieces.
Best for: Detailed ornaments, textured clay decorations, and projects where a smooth surface finish is important.
Use spray products outdoors or in a well ventilated area, following the manufacturer’s safety instructions. Keep the can at the recommended distance and apply light coats rather than spraying heavily in one spot.
3. Mod Podge
Mod Podge is a popular craft product that can work as an adhesive and protective finish for suitable decorative clay projects.
It comes in different versions, including matte and gloss. It is particularly convenient if you already have it in your craft supplies.
For air dry clay, it can help protect painted surfaces and create a decorative finish. However, it should not be treated as a waterproof coating.
Why consider it:
- It is beginner friendly.
- It is available in different finishes.
- It can be used on many painted craft projects.
- It is useful for simple indoor decorations.
Best for: Small decorative dishes, ornaments, painted clay crafts, and projects that will not experience frequent moisture exposure.
One thing to remember is that some Mod Podge finishes can remain tacky under certain conditions, particularly when coats are too thick or humidity is high. Allow enough drying time and test the product before using it on a valuable project.
4. Polyurethane Varnish
Polyurethane varnish is another option when you want a more durable protective coating.
It is available in different formulations and finishes. Some water based versions dry clear, while certain oil based products can develop an amber tone over time.
Before using polyurethane on air dry clay, check that the specific product is compatible with your clay and paint. Follow the manufacturer’s directions for preparation, ventilation, application, and curing.
Why consider it:
- Some formulations provide a tougher surface coating.
- It is available in different sheen levels.
- It can be useful for decorative pieces that receive regular handling.
Best for: Decorative projects that need a more durable surface finish, provided the product is suitable for the materials involved.
5. Epoxy Resin
If you want a thick, highly glossy surface, epoxy resin is another option.
Unlike ordinary brush on varnish, epoxy resin creates a thicker coating when properly mixed and applied. It can give a clay project a glasslike appearance.
However, resin requires more preparation and care. You must measure and mix the components according to the manufacturer’s instructions, protect your work surface, and use the required protective equipment.
It can also produce drips around the edges if you apply too much.
Why consider it:
- It creates a high gloss appearance.
- It can produce a smooth, thick coating.
- It is useful for certain decorative projects where a glasslike finish is desired.
Best for: Decorative artwork, display pieces, and selected projects where a thick glossy finish is part of the design.
Epoxy resin does not turn the underlying air dry clay into fired ceramic. Do not assume a resin coated clay object is suitable for food contact, drinking, or prolonged water exposure.
Matte, Satin, or Gloss: Which Finish Looks Best?
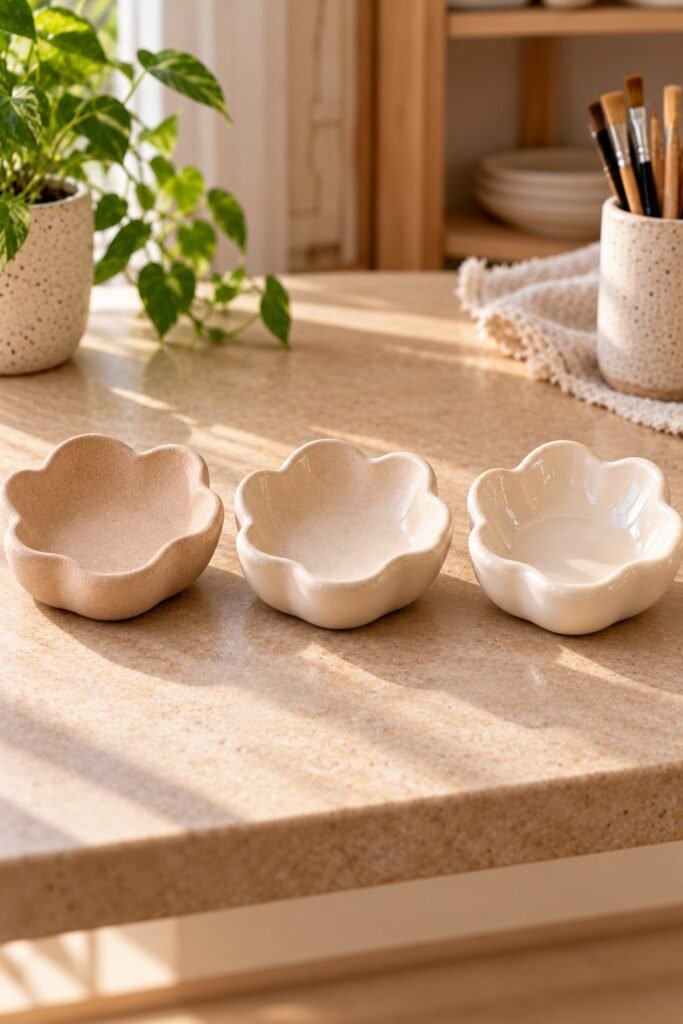
Choosing the right finish can completely change how your finished clay project looks.
I recommend deciding on the appearance before buying your sealer because applying the wrong finish can change the entire look of your design.
Matte Finish
A matte finish has little to no shine. It keeps the natural appearance of the clay and works particularly well with minimalist home decorations.
Choose matte if you are making:
- Neutral colored trinket dishes
- Minimalist clay ornaments
- Textured wall decorations
- Natural looking clay sculptures
- Simple jewelry holders
Satin Finish
Satin sits between matte and gloss. It adds a subtle sheen without producing a highly reflective surface.
It is a good middle ground if you want your clay project to look polished but not overly shiny.
Choose satin for decorative trays, small sculptures, painted ornaments, and clay accessories.
Gloss Finish
Gloss varnish produces a shiny surface that reflects more light. It can make painted colors appear more vibrant and give decorative clay pieces a polished appearance.
Choose gloss if you want:
- A ceramic inspired look
- Shiny decorative ornaments
- Glossy jewelry dishes
- Brightly painted clay decorations
- A smooth, reflective finish
My recommendation is to use matte or satin for understated home decor and gloss when you want your finished project to stand out.
What You Need Before Sealing Air Dry Clay
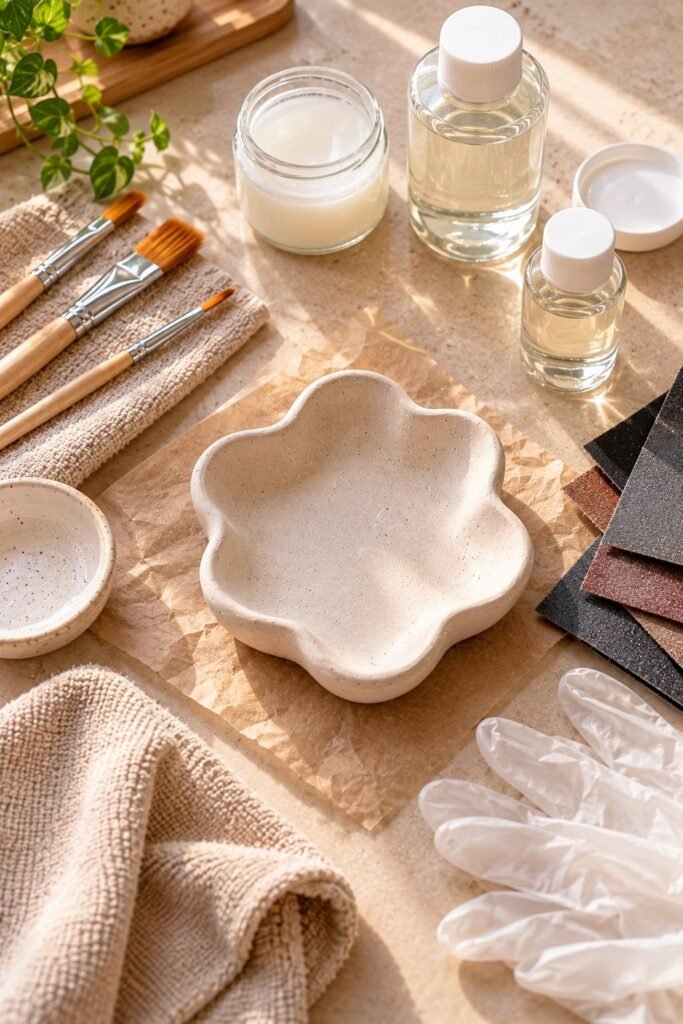
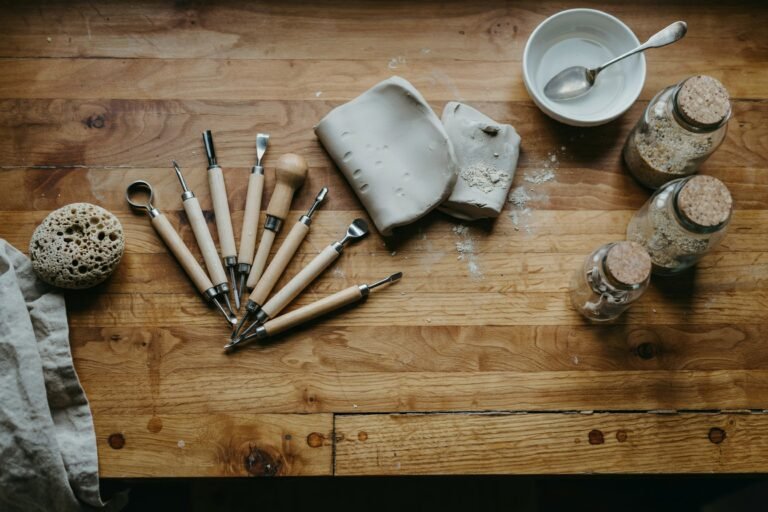
Before applying any finish, gather your materials. Having everything ready makes the process easier and helps prevent dust, fingerprints, and unnecessary handling while the coating is being applied.
Here is what I recommend preparing:
- Fully dried air dry clay: Your project must be completely dry before sealing.
- Clear acrylic varnish or suitable sealer: Choose matte, satin, or gloss depending on the appearance you want.
- Soft synthetic paintbrush: Useful for applying liquid varnish evenly.
- Fine sandpaper: Helps smooth rough edges and small surface imperfections.
- Soft dry cloth or brush: Removes dust before applying the finish.
- Protective work surface: Prevents varnish or resin from damaging your table.
- Disposable gloves when appropriate: Follow the product label for handling and protective equipment.
If you are using a spray sealer, you may not need a paintbrush, but you will need a suitable ventilated working area.
How to Prepare Air Dry Clay Before Sealing
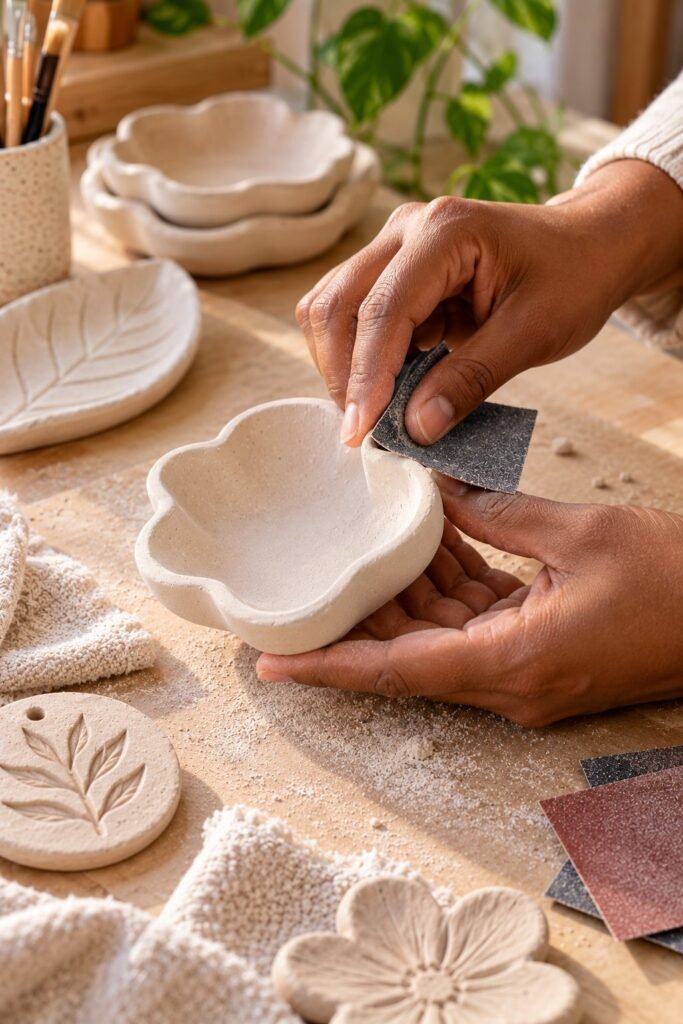
This is one of the most important parts of the entire process. Even an excellent sealer can produce a disappointing result if the clay underneath is still damp, dusty, or uneven.
I would rather spend extra time preparing a piece than rush into applying a finish and discover that the surface has become cloudy or uneven.
1. Make Sure the Clay Is Completely Dry
Never seal air dry clay simply because the outside feels hard.
Thicker pieces can retain moisture inside even when their surfaces appear dry. If you apply a coating too early, you may interfere with the remaining moisture escaping from the clay.
Drying time depends on the thickness, size, clay brand, and surrounding conditions. Some projects may dry within a few days, while thicker pieces can take considerably longer.
Check the manufacturer’s drying recommendations and allow additional time when necessary.
2. Smooth Rough Edges
Once the clay is completely dry, inspect the surface for rough areas, uneven edges, and small imperfections.
Use fine sandpaper to smooth these areas gently. You do not need to remove large amounts of material. The goal is simply to make the surface look more consistent.
Wear suitable dust protection and avoid breathing in clay dust. Clean the work area carefully after sanding.
3. Remove Dust and Loose Particles
Dust can become trapped beneath the clear coating, leaving tiny bumps or an uneven appearance.
Use a soft dry brush or clean cloth to remove loose particles from the surface, including corners and detailed areas.
Make sure the piece is clean before moving to the next step.
4. Paint Your Clay If Desired
If you want to add color, now is the time to do it.
Acrylic paint is a popular choice for decorating air dry clay because it is available in many colors and is easy to work with.
Apply thin, even layers and allow each layer to dry according to the paint manufacturer’s instructions.
You can use one solid color, create patterns, add small decorative details, or leave some of the natural clay visible.
5. Test Your Sealer Before Applying It
Before applying a new varnish or glaze to your finished project, test it on a small leftover clay sample painted with the same paint.
This helps you identify possible problems such as discoloration, cloudy patches, paint lifting, or unwanted stickiness before they affect your main project.
A little testing can save you from having to redo hours of work.
How to Seal Air Dry Clay Step by Step
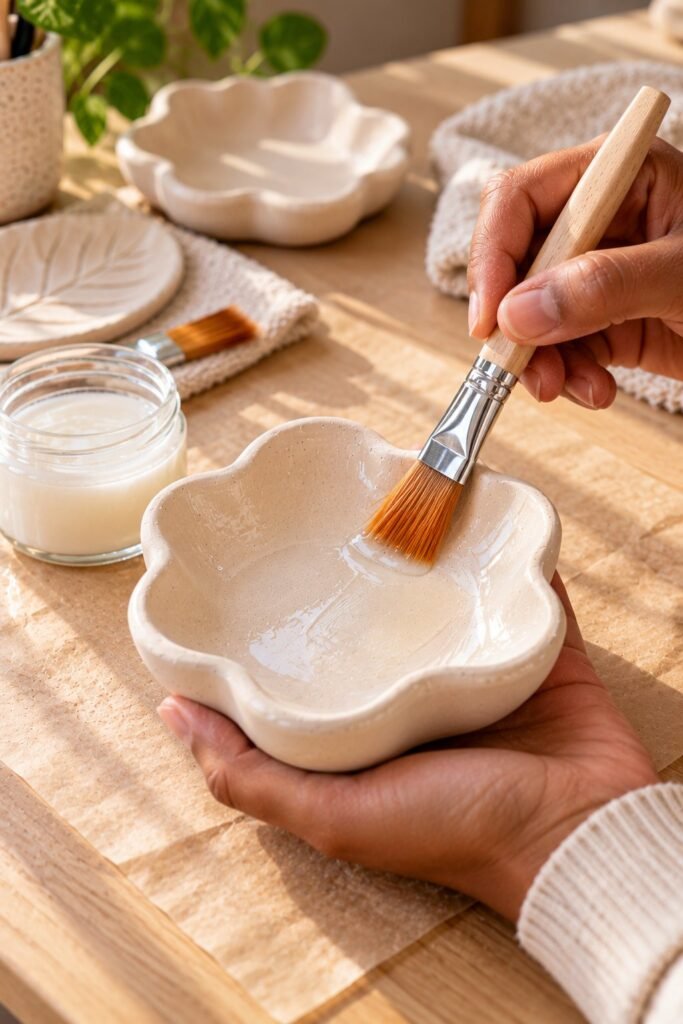
Once your clay is completely dry, smooth, and free from dust, you can move on to applying the protective finish.
The process is not complicated, but I recommend taking your time. Applying several thin coats usually produces a more consistent result than trying to cover the entire project with one thick layer.
Here is how I would approach it.
Step 1: Choose the Right Sealer
Start by deciding what you want your finished project to look like.
If you prefer a natural appearance, choose a matte varnish. For a subtle sheen, satin is a good option. If you want a shiny finish, choose a compatible gloss varnish.
Check the product label to confirm that it is suitable for your clay and paint. Different products have different drying times and application instructions.
Step 2: Protect Your Work Area
Place your clay project on a clean surface covered with a protective sheet or disposable material.
Make sure the area is free from dust because particles can settle on wet varnish and become trapped in the finish.
If you are using a spray sealer, work in a suitable ventilated area and follow the manufacturer’s instructions about protective equipment and safe application.
Step 3: Apply the First Thin Coat
For brush on varnish, use a clean, soft synthetic brush.
Dip only the tip into the product and remove excess varnish before applying it. Start with one side of the clay project and move the brush gently across the surface.
Try to use smooth, consistent strokes. Avoid repeatedly brushing over areas that have already started to dry because this can leave visible marks.
Pay attention to edges, corners, and detailed areas. These parts can be easy to miss.
If you are using spray sealer, hold the can at the distance recommended on the label and apply a light, even mist. Avoid concentrating the spray in one spot.
Step 4: Allow the First Coat to Dry
This is where patience matters.
Do not apply another coat simply because the surface looks dry. Follow the recommended recoat time on the product packaging.
Some finishes need only a short drying period between coats, while others require longer.
Keep the project in a clean, dust free area while it dries.
Step 5: Apply Additional Thin Coats
Once the first coat is ready for recoating, apply another thin layer if the product instructions allow it.
Two or more coats may be appropriate depending on the product, the surface, and the level of protection you want.
Avoid applying too much varnish around the edges because it can collect and create thick, uneven areas.
Allow every coat to dry according to the manufacturer’s instructions.
Step 6: Let the Finish Cure
Drying and curing are not necessarily the same thing.
A coating may feel dry to the touch before it has reached its full hardness. Check the manufacturer’s recommended curing time before handling the project heavily or placing objects on it.
Once fully cured, inspect the entire surface for missed spots, cloudy patches, or uneven areas.
How to Glaze Air Dry Clay for a Glossy Finish
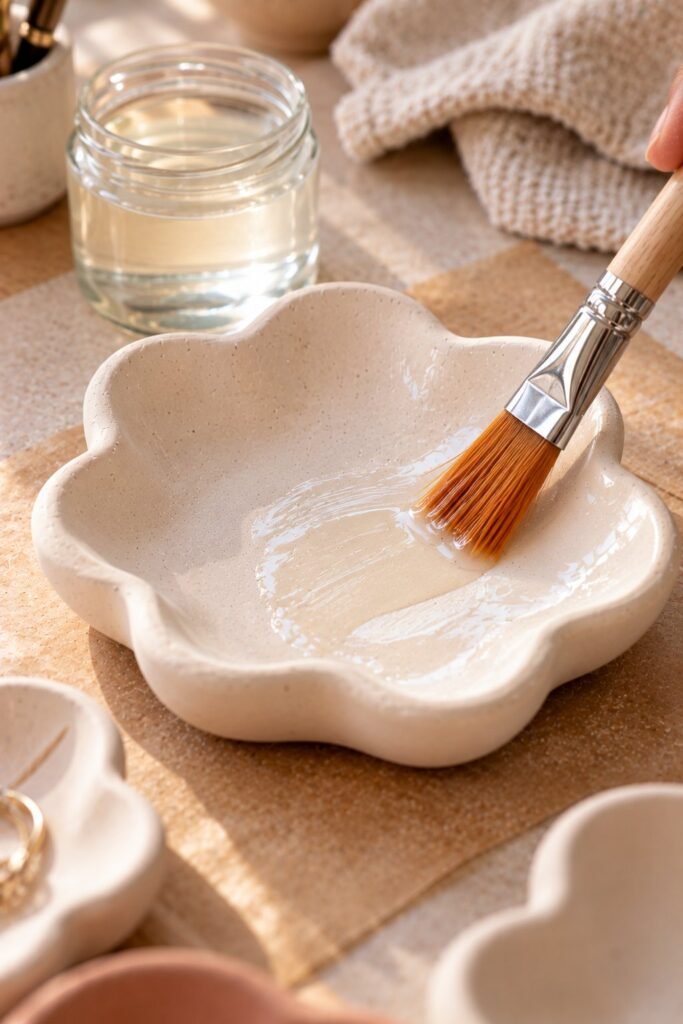
If you want your air dry clay to look more like glazed ceramic, a clear gloss finish is usually the easiest place to start.
You do not need a pottery kiln to create a shiny decorative surface. A compatible gloss varnish or craft glaze can give your project a polished appearance.
Here is how to achieve that look.
1. Start With a Smooth Clay Surface
Gloss finishes reflect light, which means they can make small imperfections more noticeable.
Before applying the product, inspect your clay for scratches, fingerprints, dents, and rough patches.
Smooth the surface gently with fine sandpaper if necessary, then remove all dust.
2. Make Sure the Paint Is Completely Dry
If you have painted your project, allow the paint to dry fully before applying the gloss coating.
Applying varnish over wet paint can cause streaking, uneven coverage, or other unwanted reactions.
It is also worth testing the combination on a spare piece of clay before working on your finished project.
3. Apply a Thin Gloss Layer
Use a compatible gloss varnish and apply it evenly with a soft brush, following the product directions.
Try not to overload the brush. A thick layer can produce drips, bubbles, and uneven patches.
For a spray product, apply light overlapping passes rather than holding the spray in one place.
4. Allow It to Dry Before Adding Another Coat
Follow the recommended recoat time.
If you want a stronger glossy appearance, additional coats may help, provided the manufacturer permits them.
Remember that more product does not automatically mean a better result. Several carefully applied thin coats are generally easier to control.
5. Inspect the Final Appearance
After the final coat has dried and cured, look at your project under natural light.
Check whether the surface has an even shine and whether any areas have been missed.
If the finish looks consistent, allow the piece to remain undisturbed for the full curing period before using or displaying it.
How Many Coats of Sealer Should You Apply to Air Dry Clay?
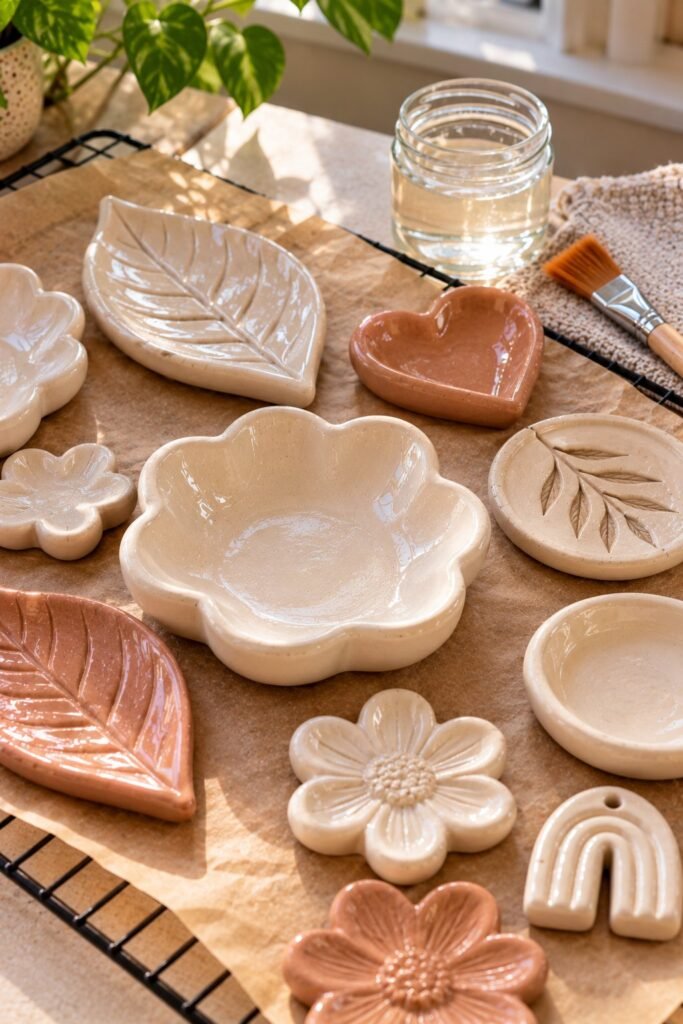
There is no universal number because different sealers have different formulations and coverage instructions.
For many decorative projects, two thin coats can be a reasonable starting point if the manufacturer allows multiple coats.
However, some products are designed to provide the desired finish in one application, while others may recommend additional layers.
Consider these factors:
- The type of sealer: Follow the product’s recommended number of coats.
- The surface texture: Rough or detailed surfaces may need more careful coverage.
- The paint underneath: Painted pieces may require a compatible protective coating.
- The intended use: A decorative ornament has different requirements from a frequently handled display piece.
Do not keep adding coats just to make a piece waterproof. A thicker layer of varnish does not turn ordinary air dry clay into waterproof ceramic.
How to Seal Air Dry Clay Without Brush Marks
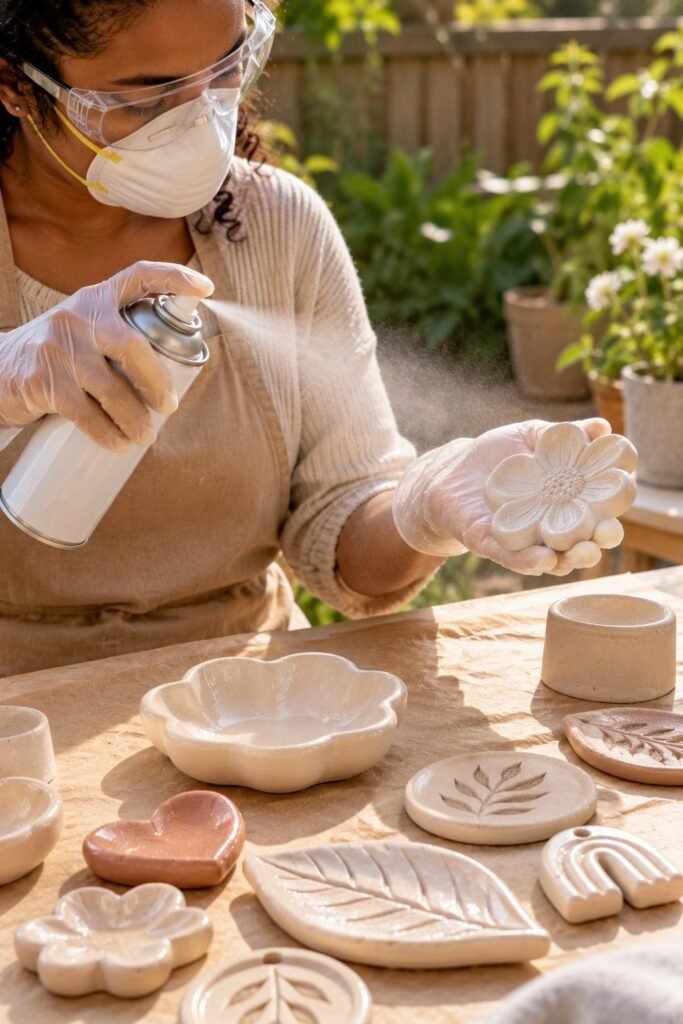
Brush marks can make an otherwise beautiful project look unfinished. Fortunately, there are a few ways to reduce them.
Use a Soft Synthetic Brush
A soft, good quality synthetic brush can help distribute liquid varnish more evenly.
Avoid brushes with loose bristles because they may leave hairs behind in the coating.
Do Not Apply Too Much Product
A heavily loaded brush can leave thick lines and uneven patches.
Start with a small amount and spread it gently across the surface. It is easier to add another thin coat than to correct a thick, uneven layer.
Work in One Direction
Use steady strokes and try to avoid repeatedly going over the same area.
This is particularly important with products that dry quickly because brushing over a partially dried coating can leave visible marks.
Consider a Spray Sealer
If you struggle to achieve an even finish with a brush, a suitable acrylic spray sealer may be easier to apply.
It can be especially helpful for pieces with textured surfaces, small details, or complicated shapes.
Follow the recommended spray distance and apply light coats in a ventilated area.
Common Problems When Sealing and Glazing Air Dry Clay
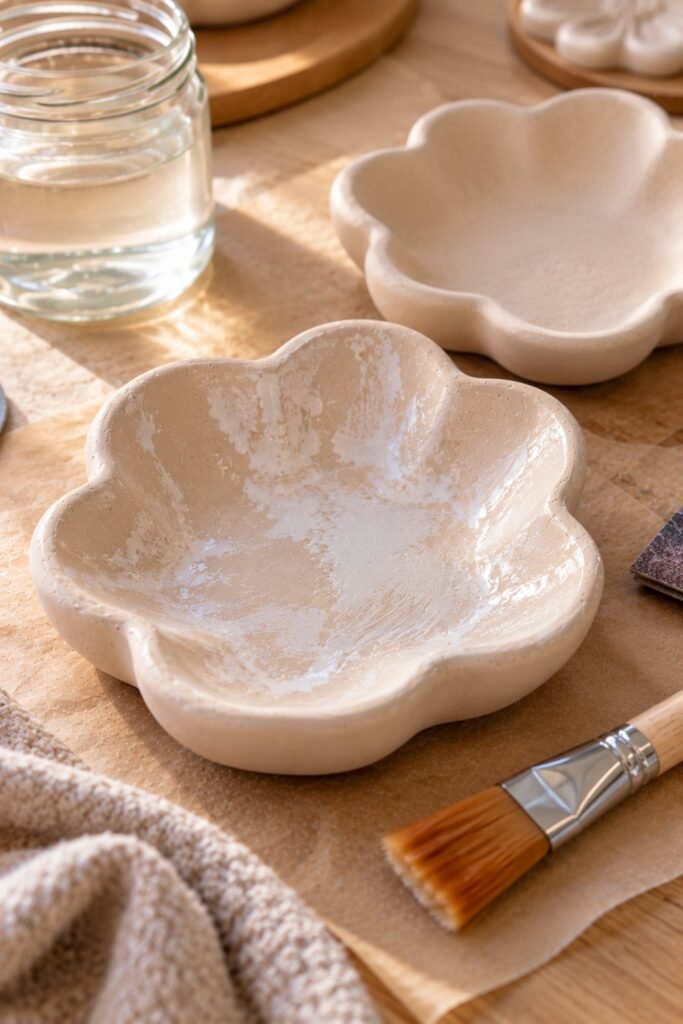
Even when you follow the instructions carefully, you may occasionally run into problems. The good news is that many finishing issues have straightforward explanations.
Why Is My Sealed Air Dry Clay Still Sticky?
A sticky surface can happen for several reasons.
You may have applied the coating too thickly, not allowed enough drying time, or used a product that is incompatible with the paint or clay.
Humidity and temperature can also affect drying.
What to do:
- Move the project to a clean, well ventilated area that meets the product’s recommended drying conditions.
- Allow additional time for the coating to dry and cure.
- Avoid touching the surface repeatedly.
- Check the manufacturer’s instructions before applying another layer.
If the coating remains sticky after the recommended curing period, the product may not be suitable for the materials underneath. Adding more varnish is unlikely to solve the problem.
Why Does My Varnish Look Cloudy?
Cloudiness can develop when a coating is applied too heavily, exposed to unsuitable conditions, or applied over a surface that is not completely dry.
Some matte finishes also naturally have a cloudy appearance when wet but become clearer as they dry.
What to do:
Give the coating the full recommended drying and curing time before deciding that something has gone wrong.
If the cloudiness remains, check the product instructions. Do not immediately apply another layer because this could make the problem worse.
Why Are There Bubbles in My Gloss Finish?
Bubbles can appear when varnish is shaken excessively, applied too thickly, or brushed too vigorously.
What to do:
- Stir products gently if the label recommends stirring.
- Avoid overloading your brush.
- Apply thin, even coats.
- Avoid brushing repeatedly over the same wet area.
If bubbles have already dried into the coating, follow the manufacturer’s guidance for correcting the finish. Sanding and recoating may be possible with some products, but not all coatings respond well to this treatment.
Why Is My Clay Cracking After Sealing?
Cracks that appear after sealing may have started during the original drying process.
Air dry clay can crack if it dries unevenly, if thick and thin sections shrink at different rates, or if the project was not properly constructed.
Sealer does not repair structural cracks.
For future projects, build pieces with more consistent thickness, avoid unnecessarily thick sections, and allow the clay to dry gradually.
Why Does My Gloss Finish Have Uneven Shiny and Dull Areas?
Uneven gloss can happen when some parts receive more product than others.
This is common around corners, edges, and textured surfaces.
Apply the coating carefully and make sure the entire surface receives consistent coverage. If the product allows another coat, a thin additional layer may help even out the appearance.
Can You Make Air Dry Clay Waterproof?
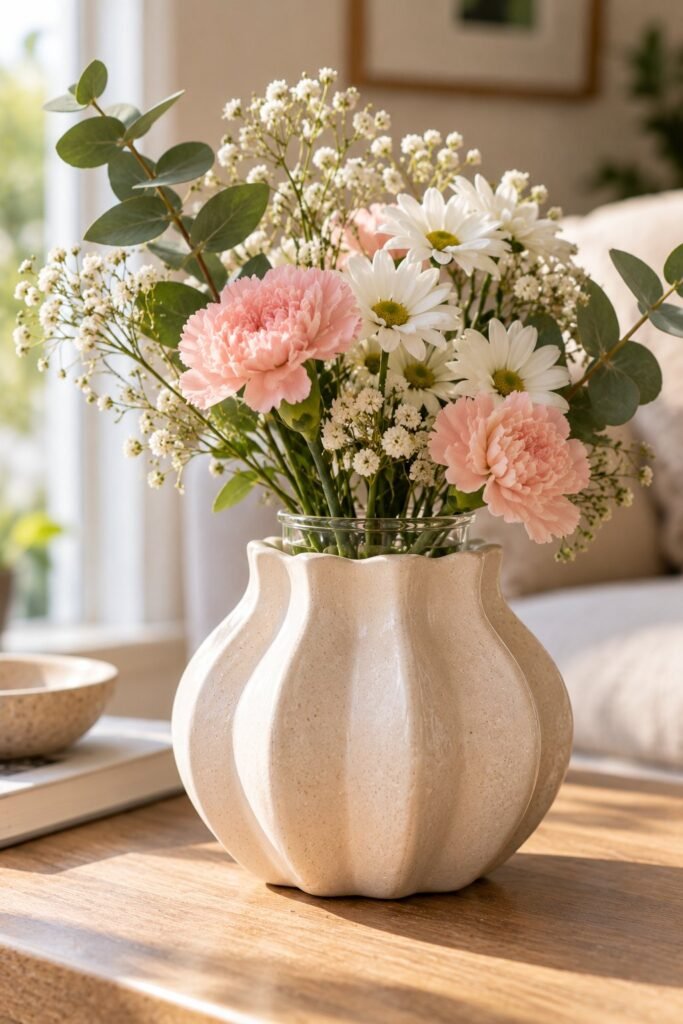
This is one of the most important questions to understand before finishing a clay project.
The short answer is that ordinary air dry clay cannot be made reliably waterproof simply by applying a craft sealer.
A suitable varnish, acrylic sealer, or resin coating can reduce moisture exposure, but the clay itself remains different from kiln fired ceramic.
Even when the surface looks glossy and feels smooth, moisture can potentially enter through:
- Small scratches or damaged areas
- Uncoated edges and undersides
- Tiny gaps in the protective coating
- Cracks that develop during handling
- Areas where the finish has worn away
For this reason, I recommend using sealed air dry clay for decorative purposes rather than everyday items that need regular washing or prolonged water exposure.
If you are making a vase, you can use it as an outer decorative cover for a separate watertight glass or plastic container. This keeps water away from the clay.
Can You Seal Air Dry Clay Before Painting?
You generally do not need to seal ordinary air dry clay before painting it.
In most cases, the simpler approach is to allow the clay to dry completely, smooth the surface if needed, paint it, and then apply a compatible clear finish.
Some projects may benefit from a primer or surface preparation product, but that depends on the clay, paint, and finish being used.
If you apply a sealer before painting, it may change the surface and affect how well the paint adheres.
Always test unfamiliar combinations on a spare piece first.
Can You Use Mod Podge to Make Air Dry Clay Waterproof?
Mod Podge can provide a decorative protective finish for suitable craft projects, but it should not be considered a waterproof solution for air dry clay.
It may help protect painted surfaces from light handling and minor moisture exposure, depending on the formula and application.
However, it does not make ordinary air dry clay suitable for soaking, washing under running water, or holding water.
For projects that need frequent water exposure, choose a material specifically designed for that purpose.
Can You Use Resin Over Air Dry Clay?
Yes, certain epoxy resin systems can be applied over completely dry air dry clay, provided the resin manufacturer confirms compatibility with the underlying materials.
Resin is particularly useful when you want a thick, glossy decorative coating.
However, preparation is important. The clay must be completely dry, the surface must be clean, and the resin must be measured and mixed accurately.
Follow all safety instructions, including ventilation and protective equipment. Keep resin away from skin and avoid using ordinary craft resin for food contact unless the specific product is expressly certified for that intended use.
Also remember that resin coating does not make the underlying clay suitable for every environment or purpose.
How to Maintain Sealed Air Dry Clay Projects

Once you have finished your project, a little care can help preserve its appearance.
Here are a few simple habits I recommend:
- Keep it away from water: Avoid soaking or washing sealed clay decorations.
- Clean gently: Use a soft, dry cloth to remove dust.
- Avoid harsh cleaners: Strong cleaning chemicals may damage the finish.
- Protect it from scratches: Do not drag heavy objects across the surface.
- Keep it away from extreme conditions: Excessive heat, dampness, and direct weather exposure can damage the clay or its coating.
- Inspect the finish occasionally: Look for peeling, cracks, or worn areas, particularly on pieces that are handled regularly.
If the coating becomes damaged, follow the manufacturer’s recommendations for surface preparation and recoating.
Frequently Asked Questions About Sealing and Glazing Air Dry Clay
What Is the Best Sealer for Air Dry Clay?
A clear acrylic varnish is a practical starting point for many indoor decorative projects. It comes in matte, satin, and gloss finishes.
The best choice depends on your clay, paint, desired appearance, and the manufacturer’s compatibility instructions.
What Is the Best Way to Make Air Dry Clay Shiny?
Use a compatible gloss acrylic varnish or craft glaze designed for decorative surfaces. Apply thin, even coats and allow each one to dry according to the product instructions.
Does Air Dry Clay Need to Be Sealed?
Sealing is not essential for every decorative project, but it is useful when you want to protect painted surfaces, reduce moisture absorption, or achieve a particular finish.
Can I Use Clear Nail Polish on Air Dry Clay?
Clear nail polish is not my first recommendation for finishing larger clay projects. It is designed for nails rather than broad craft surfaces and may produce an uneven finish or react poorly with some paints.
A suitable craft varnish is generally a more practical option.
Can I Use PVA Glue to Seal Air Dry Clay?
Some people use diluted PVA glue as a basic craft coating, but results vary depending on the formula and the surface.
It should not be treated as a reliable waterproof sealer. For a more predictable finish, choose a product specifically designed for sealing craft projects.
How Long Should I Wait Before Sealing Air Dry Clay?
Wait until the clay is completely dry throughout, not just hard on the outside. Drying time depends on the thickness of the project, the clay brand, and the surrounding conditions.
Once dry, follow the recommended instructions for the paint and sealer you are using.
Can I Apply Gloss Varnish Over Acrylic Paint?
Yes, many clear gloss varnishes are compatible with fully dried acrylic paint. However, compatibility depends on the specific products.
Test the combination on a spare piece before applying it to your finished project.
Will Sealer Stop Air Dry Clay From Cracking?
No. Sealer can protect the surface, but it cannot prevent structural cracks caused by uneven drying, poor construction, or movement in the clay.
The best way to reduce cracking is to prepare and dry the clay properly before applying any finish.
Final Thoughts: The Best Way to Seal and Glaze Air Dry Clay
Sealing and glazing are two finishing steps that can make a noticeable difference to your air dry clay projects. They help improve the appearance of handmade decorations and provide a protective surface that can reduce moisture absorption and everyday wear.
For most beginners, I would start with a clear acrylic varnish. It is available in matte, satin, and gloss finishes, making it easy to choose a look that suits your project.
If you want a natural appearance, go with matte. If you prefer a gentle sheen, choose satin. If you want a glossy, ceramic inspired finish, a compatible gloss varnish or craft glaze is a good option.
The most important thing is not to rush the process. Make sure your clay is completely dry, remove dust, allow paint to dry, apply thin coats, and give the final finish enough time to cure.
And remember, even a beautifully sealed air dry clay project is not automatically waterproof or food safe. Treat finished pieces as decorative items unless the materials and coating are specifically certified for another use.
With the right preparation and finish, you can give your handmade clay decorations a much more polished appearance and help them stay beautiful for longer.