How to Glaze Air Dry Clay for a Smooth, Glossy Finish
Getting a smooth, glossy finish on air dry clay takes more than brushing on a shiny coating. The surface needs to be properly prepared, the right finish must be chosen, and each layer needs enough time to dry or cure.
Skip one of these steps, and you may end up with brush marks, cloudy patches, sticky spots, or a finish that peels away after handling.
I find that the best results come from treating glazing as the final stage of the project rather than a quick step at the end.
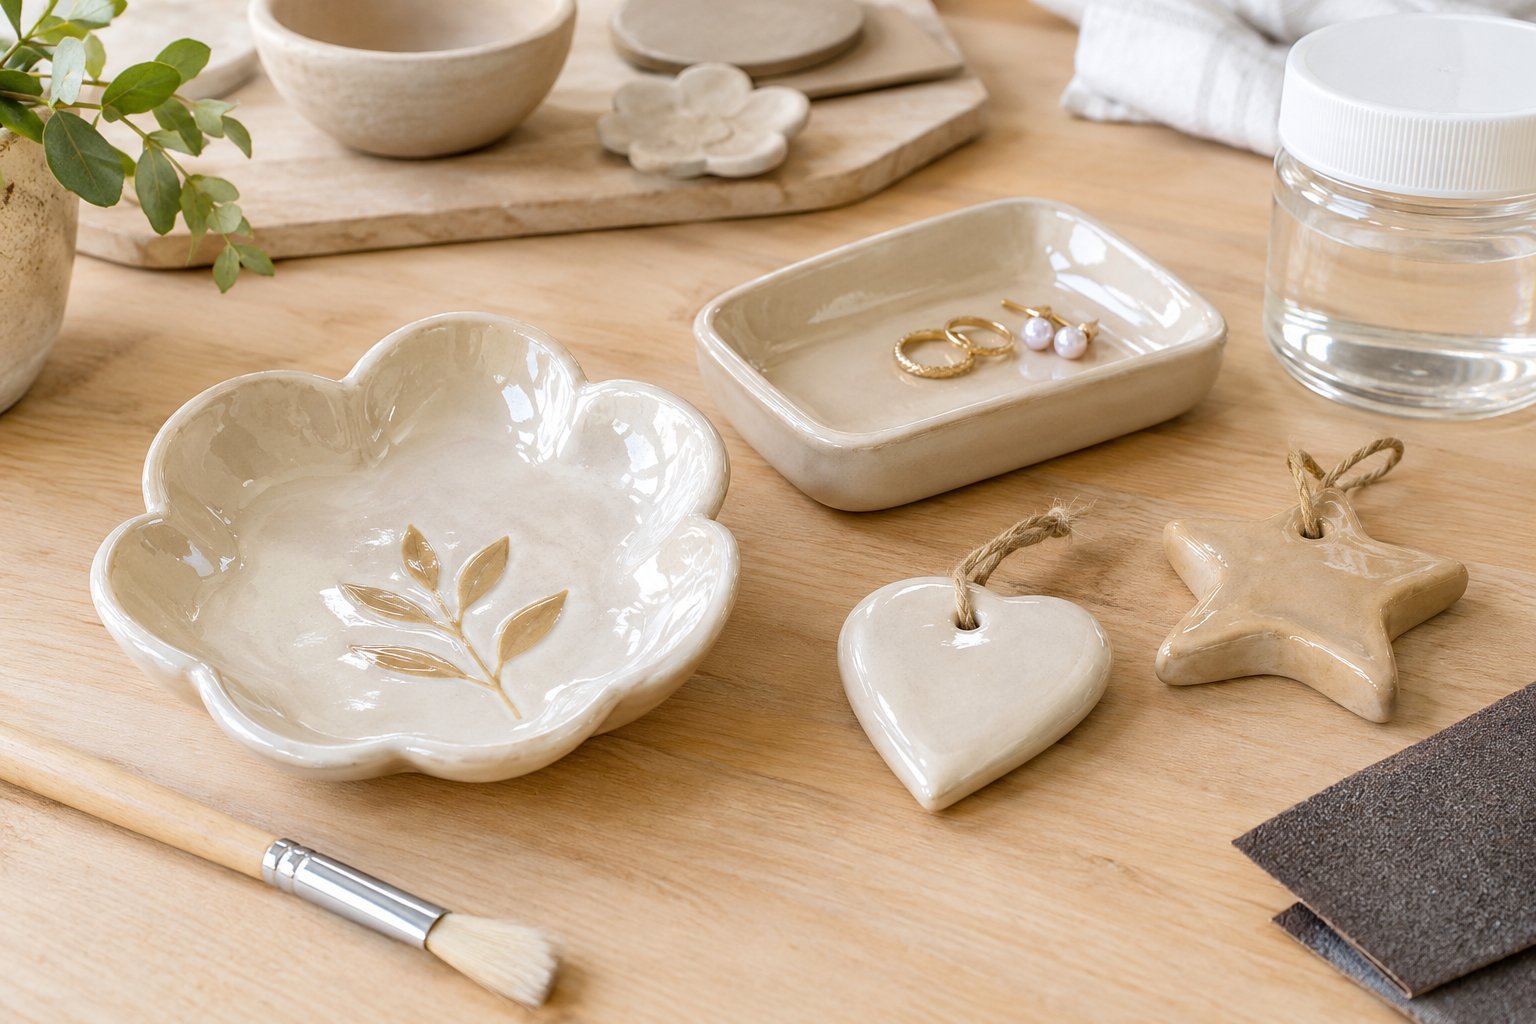
A little sanding, careful dust removal, and applying thin, even coats can make an ordinary clay trinket dish, jewelry holder, ornament, or decorative sculpture look much more polished.
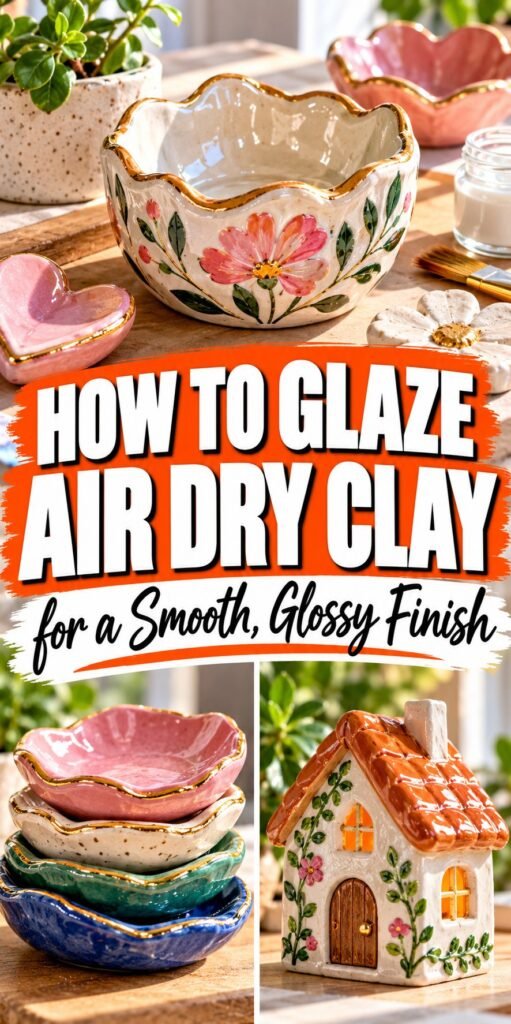
It is also important to understand that air dry clay is different from kiln-fired ceramic clay. Most air dry clay projects cannot be made waterproof or food-safe simply by applying a glossy coating.
The right product can improve the appearance, protect the painted surface, and make decorative pieces easier to wipe clean, but it does not turn the clay into fired pottery.
In this guide, I’ll explain how to glaze air dry clay, which finishes work best, how to avoid common problems, and what to do when you want a glass-like shine.
What Does Glazing Air Dry Clay Actually Mean?
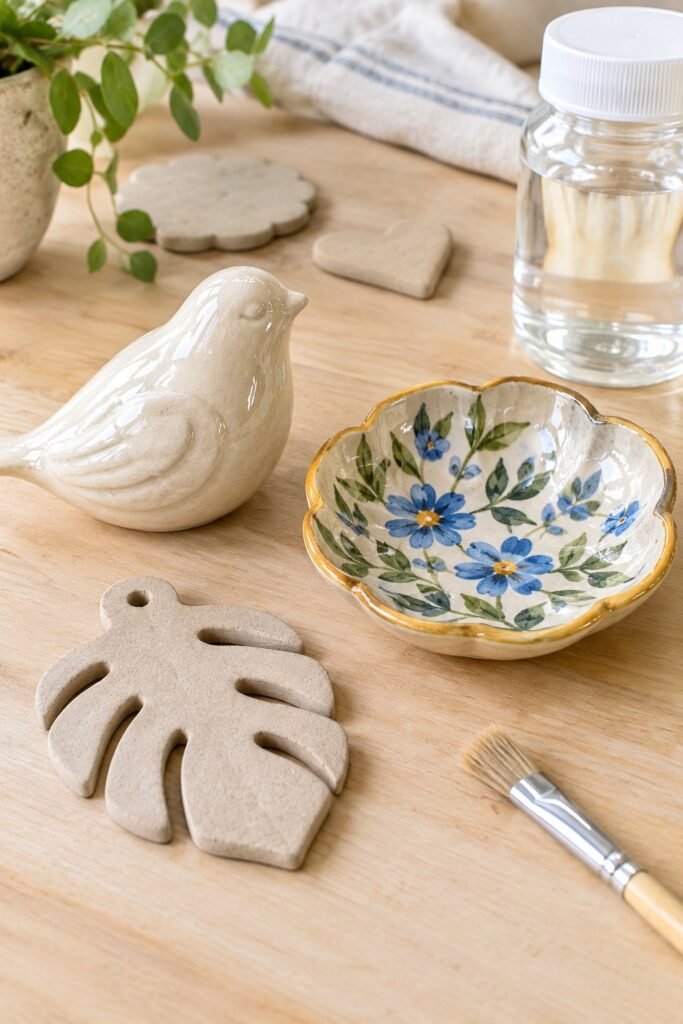
Before choosing a product, it helps to understand what people mean when they say they want to glaze air dry clay.
Traditional ceramic glaze is designed for pottery that is fired in a kiln at high temperatures. Air dry clay hardens through drying rather than kiln firing, so ordinary ceramic glaze will not work as intended on it.
Instead, you generally use a clear acrylic sealer, gloss varnish, water-based polyurethane approved for the project, or another compatible clear coating to create a shiny finish.
These products form a protective layer over the clay or its paint. Depending on the product, the finish may look satin, glossy, or highly reflective.
Some are better for small decorative ornaments, while others are more suitable for frequently handled items.
The best option depends on what you have made and how you plan to use it.
For example, a decorative clay pendant may need a durable clear coating, while a small sculpture displayed on a shelf may only need a simple acrylic gloss varnish.
A painted trinket dish may benefit from a compatible clear finish that helps protect the paint from light scratches.
Keep the intended use in mind throughout the process. A glossy surface is not automatically waterproof, heat-resistant, scratch-proof, or safe for direct contact with food.
1. Choose the Right Glossy Finish for Air Dry Clay
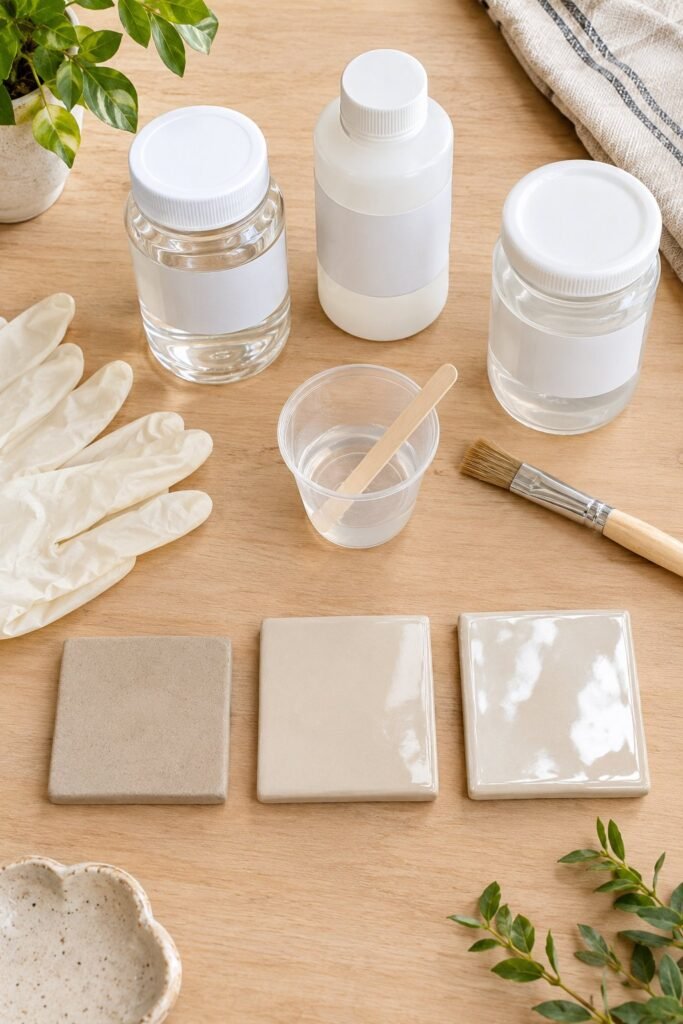
The finish you choose has a major effect on how your project looks and how well it holds up. Before buying a product, check that its label specifically supports your clay, paint, and intended use.
Acrylic Gloss Varnish
Acrylic gloss varnish is a popular option for decorative air dry clay projects, especially pieces painted with acrylic paint. It is available in brush-on and spray formats, making it useful for different shapes and surface details.
Brush-on varnish gives you control over where the coating goes, which can be helpful for trinket dishes, ornaments, and flat decorative pieces. Spray varnish can provide a more even coating on intricate sculptures, although it requires suitable ventilation and careful application according to the label.
Acrylic varnish is a practical starting point when you want a clear, shiny finish without a complicated process. However, products vary in flexibility, durability, water resistance, and curing time, so do not assume every varnish offers the same protection.
Gloss Mod Podge or Similar Craft Sealers
Gloss craft sealers, including products such as Mod Podge Gloss, can add shine and help protect painted decorative projects. They are especially convenient for ornaments, small sculptures, and craft pieces that will be displayed indoors.
These products are usually straightforward to apply with a soft brush. The main challenge is avoiding thick layers, visible brush marks, and trapped air bubbles. Follow the manufacturer’s drying instructions and test the product on a spare clay piece before coating a finished project.
A craft sealer may not offer the same durability as a coating specifically formulated for tougher wear, so consider how frequently the object will be handled.
Water-Based Polyurethane
A compatible water-based polyurethane can provide a clear, durable finish for certain decorative clay projects. Some formulations create a smooth, glossy surface and may offer better resistance to everyday handling than a basic craft sealer.
Check the label before use because not every polyurethane product is suitable for every clay type or acrylic paint. Test for compatibility, and apply only as directed. Allow the coating to cure fully before handling the project regularly.
For beginners, this is an option worth considering when durability matters, but a simple acrylic gloss varnish may be easier to work with for a small ornament or decorative sculpture.
Resin for a Glass-Like Finish
Clear epoxy resin can create a deep, highly reflective finish that resembles glass. It is often used for decorative trays, pendants, and other projects where a thick, glossy surface is part of the design.
Resin requires more preparation than ordinary varnish. You need to follow the product’s mixing ratios, working time, ventilation requirements, protective equipment instructions, and curing schedule. Some resins also require the project to be level while the coating sets.
Air dry clay must be completely dry before resin is applied. Porous clay may absorb resin or release air bubbles, so a compatible sealing layer may be necessary first. Test the complete process on a sample rather than risking a finished piece.
Resin does not automatically make an air dry clay object suitable for food contact, prolonged water exposure, or outdoor use. Those claims depend on the specific product and the entire construction of the item.
Which Finish Should You Choose?
| Finish | Best use | Main consideration |
|---|---|---|
| Acrylic gloss varnish | Painted ornaments and sculptures | Easy, practical option for decorative projects |
| Gloss craft sealer | Small indoor crafts | May show brush marks if applied too heavily |
| Compatible water-based polyurethane | Pieces needing a tougher clear coat | Check compatibility and full curing requirements |
| Clear epoxy resin | Deep, glass-like decorative shine | Requires careful preparation and handling |
My recommendation: For a first air dry clay project, start with a compatible acrylic gloss varnish. It is usually easier to apply in thin layers than resin and works well for many painted decorative pieces.
2. Make Sure the Clay Is Completely Dry Before Glazing
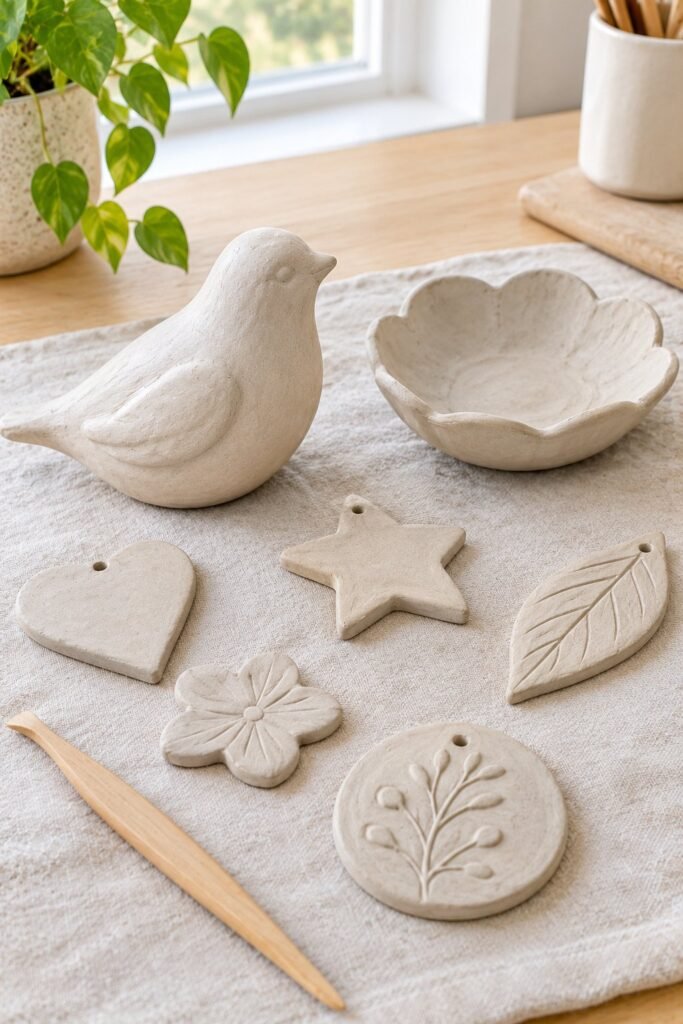
One of the biggest mistakes is sealing air dry clay before all the moisture has escaped. The outside may feel hard while the center is still damp, particularly on thick sculptures, solid ornaments, or pieces with heavy bases.
When moisture becomes trapped beneath a coating, it can contribute to cloudy areas, poor adhesion, cracking, or other finish problems. Even if the surface looks dry, the inside may need more time.
Drying time depends on the clay brand, thickness, room temperature, humidity, and airflow. A thin ornament may dry relatively quickly, while a thick piece can take several days or longer.
How to Check Whether Your Clay Is Dry
Start by checking the manufacturer’s drying recommendations. Then inspect the project carefully.
- Check the thickest areas. Thick sections and solid bases generally take longer to dry than thin edges.
- Look for darker patches. Areas that remain darker or feel noticeably cooler than the surrounding surface may still contain moisture, although appearance alone cannot confirm dryness.
- Check the weight and firmness. A piece that is still changing noticeably as it dries may need more time.
- Allow additional drying time. When in doubt, leave the project in a dry, ventilated space and check it again before sealing.
Place the clay on a suitable surface that allows air to circulate around it. If the underside sits flat against a table, turn the piece carefully as it dries, provided it is firm enough to handle without deforming.
Avoid trying to speed up the process with excessive heat. A radiator, direct high heat, or an unsuitable oven can cause uneven drying, warping, or cracking. Follow the clay manufacturer’s instructions instead.
Helpful tip: Do not use gloss varnish to hide damp patches or surface flaws. Let the piece dry thoroughly first, because a clear coating can make imperfections more noticeable rather than concealing them.
3. Sand the Surface for a Smooth, Professional Finish
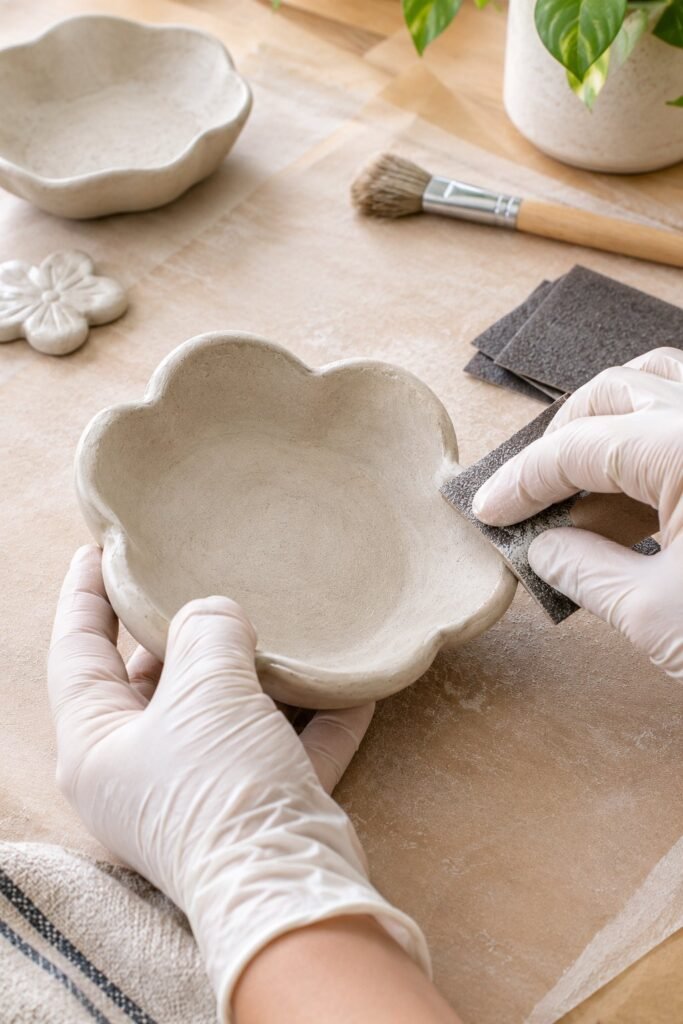
A glossy coating reflects light, which means it can highlight bumps, scratches, fingerprints, and uneven edges that were barely noticeable on the uncoated clay. Preparing the surface before sealing is one of the most effective ways to improve the final result.
Once the clay is completely dry, inspect it under bright light. Look for rough edges, raised fingerprints, tiny bumps, and visible tool marks. You do not need to make every handmade piece perfectly uniform, but removing unwanted roughness can help the finish look cleaner.
How to Sand Air Dry Clay
Use fine-grit sandpaper suitable for the clay and the level of correction needed. Start with a slightly coarser fine grit only when you need to smooth a noticeable rough area, then move to a finer grit for the final pass. The exact grit depends on the clay and how much material needs to be removed.
Work gently, using light pressure and small circular movements on curved surfaces. For flat surfaces, use even strokes to avoid creating dips. A sanding sponge can be useful around rounded edges and awkward shapes.
Wear suitable dust protection and follow the clay manufacturer’s safety guidance when sanding. Work in a well-ventilated area, avoid breathing the dust, and clean the work area carefully afterward. Do not sand a wet or damp clay piece.
If you have already painted the clay, use extra care. Aggressive sanding can remove the paint or leave visible marks. For painted pieces, it is usually better to smooth the raw clay before applying paint.
What If You Find Small Cracks or Dents?
Small surface imperfections may be repairable with a compatible clay filler or a little fresh clay, depending on the product and the size of the defect. Any repair must dry fully before you sand and seal it.
Deep cracks or weak sections may indicate a structural problem rather than a cosmetic flaw. A glossy coating will not reliably repair a damaged piece, so address the underlying issue before continuing.
Remove All Dust Before Applying the Finish
After sanding, use a soft, clean brush or a suitable lint-free cloth to remove the dust. Pay attention to corners, recessed details, and the underside of the piece.
Avoid wiping the clay with a wet cloth unless the clay and coating manufacturers confirm that this is suitable. Some air dry clay surfaces soften when exposed to water.
A smooth, clean surface gives your chosen finish a better chance of looking even and adhering properly.
4. Paint the Clay Before Applying a Clear Gloss Coat
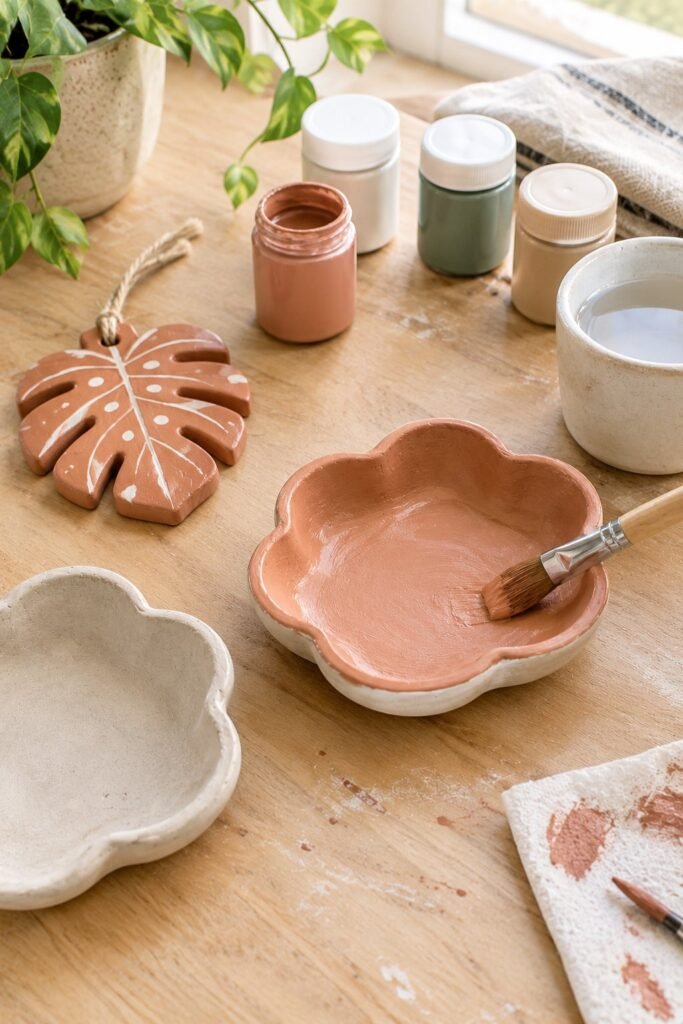
If you want a colored, polished finish, paint the clay before applying the clear sealer. Acrylic paint is commonly used for decorative air dry clay because it is available in many colors and works with a wide range of compatible varnishes.
Make sure the clay is dry and free from dust before painting. Apply the paint in thin, even coats rather than trying to achieve complete coverage in one thick layer.
Allow each coat to dry according to the paint manufacturer’s instructions. Dark colors, highly textured surfaces, and areas where paint has collected in creases may require additional attention.
How to Get an Even Painted Surface
Use a soft, good-quality brush for broad surfaces and a smaller brush for details. Avoid repeatedly brushing over paint that has begun to dry, as this can create streaks or pull the previous layer.
If your design needs several colors, let each color dry before applying the next. Masking or carefully painting within defined areas can help create clean edges on geometric ornaments, miniature houses, and decorative dishes.
Before applying the gloss coat, check that the paint is fully dry and compatible with the varnish or sealer. Some coatings can react with particular paints, so test the combination on a sample piece whenever possible.
You can also leave the natural clay color visible and apply a compatible clear gloss coating directly, if the product allows it. This gives the project a simple, polished appearance without adding paint.
Helpful tip: Test the complete sequence on a small leftover piece of the same clay. Paint, varnish, and resin can change the color or appearance of a surface, and a sample lets you check the result before finishing your main project.
5. Apply the First Coat of Gloss Varnish
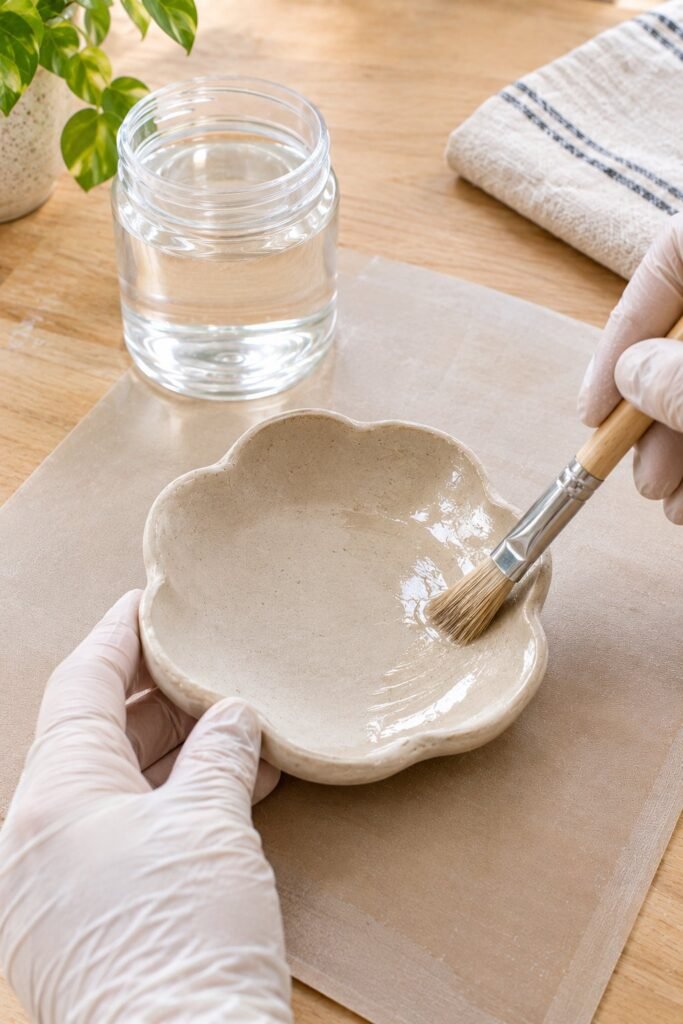
Once the clay is completely dry, smooth, clean, and painted if desired, you can begin applying your clear gloss finish. The first coat creates the foundation for the shine, so take your time instead of trying to make the surface look glassy immediately.
Before starting, read the product label to confirm that the varnish is compatible with your clay and paint. Stir brush-on products gently if instructed, rather than shaking them vigorously, since introducing air bubbles can affect the finish.
How to Apply Gloss Varnish
- Place the clay piece on a clean, level surface protected with a suitable covering.
- Use a soft, clean brush that is appropriate for the product.
- Pick up a small amount of varnish and spread it in a thin, even layer.
- Work carefully around edges, corners, and raised details, checking that the coating does not collect in recessed areas.
- Leave the piece undisturbed for the recommended drying time.
Try to maintain consistent brush strokes and avoid repeatedly going over areas that have started to dry. Doing so can leave streaks or create uneven patches.
For a small trinket dish or ornament, work across one section at a time. For a rounded sculpture, rotate the piece only when the coated areas can be supported without touching the wet finish. If necessary, coat different sections in stages according to the product instructions.
Why Thin Coats Work Better
A thick layer may look impressive while wet, but it can dry unevenly, collect in corners, or remain soft beneath the surface. Thin coats generally give you better control and make it easier to build an even finish.
The first coat may look less shiny than you expected. That is normal with many products, especially when the clay or paint is slightly textured. Allow it to dry completely before deciding whether another layer is needed.
Helpful tip: Keep a clean, dry brush nearby for catching an accidental drip while the coating is still workable. Do not keep brushing the same spot once the varnish begins to set.
6. Add Additional Coats for a Deeper Gloss
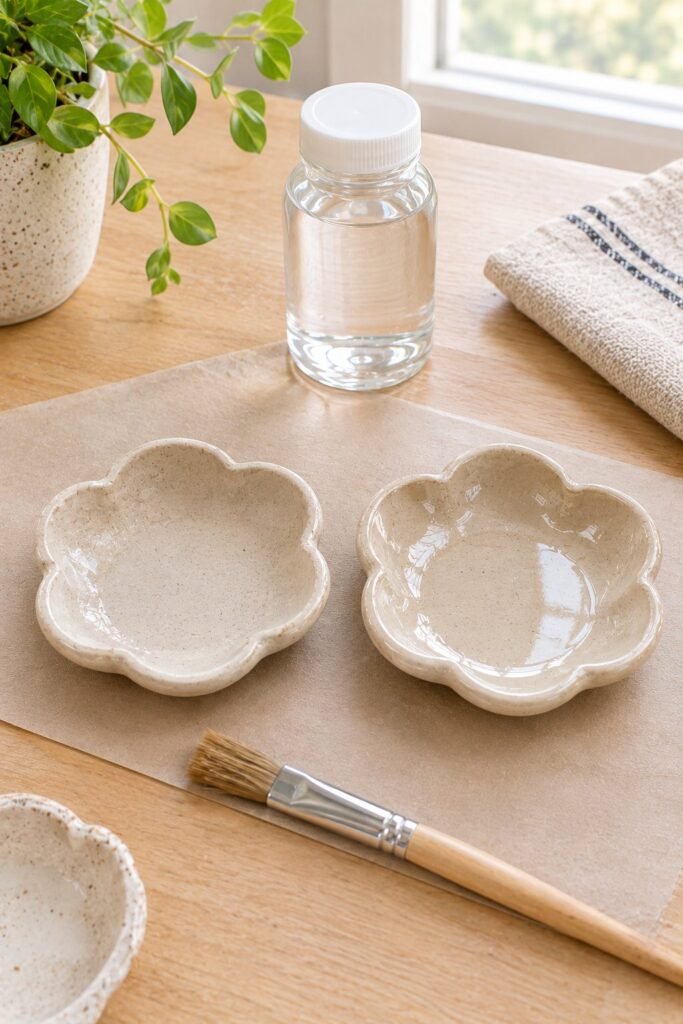
A single coat may be enough for a lightly shiny finish, but many projects benefit from two or more thin layers. Additional coats can create a more uniform sheen and help cover small differences in the first application.
The number of coats depends on the product, the surface, and the appearance you want. Follow the manufacturer’s instructions rather than applying a fixed number of layers to every project.
How to Build Up the Shine
Allow the first coat to dry for the recommended time. If the label permits sanding between coats and the surface has developed tiny bumps, use an appropriate fine abrasive very lightly. Remove all sanding dust before applying the next coat.
Apply the next layer using the same thin, even technique. Avoid concentrating extra varnish on the edges or repeatedly brushing over a section that is beginning to dry.
Inspect the piece under good lighting between coats. Turn it slowly and look for dull patches, missed areas, drips, or places where the finish has pooled. Correct problems only in the manner recommended by the product manufacturer.
For a decorative ornament, two thin coats may produce the look you want. A larger piece with a textured surface may require a different approach, while a resin finish follows its own preparation and application process.
How Long Should You Wait Between Coats?
Drying and curing times vary widely. Some water-based varnishes become touch-dry relatively quickly, but they may need substantially longer to reach their intended durability. Resin products can have longer curing schedules.
Do not confuse a surface that feels dry with a coating that is fully cured. Follow the product instructions for recoating, handling, and final use.
Helpful tip: If the first coat has visible streaks, do not try to hide them immediately under a heavy second layer. Let the surface dry, assess whether gentle smoothing is permitted, and then apply the next coat carefully.
7. Get a Glass-Like Finish With Clear Epoxy Resin
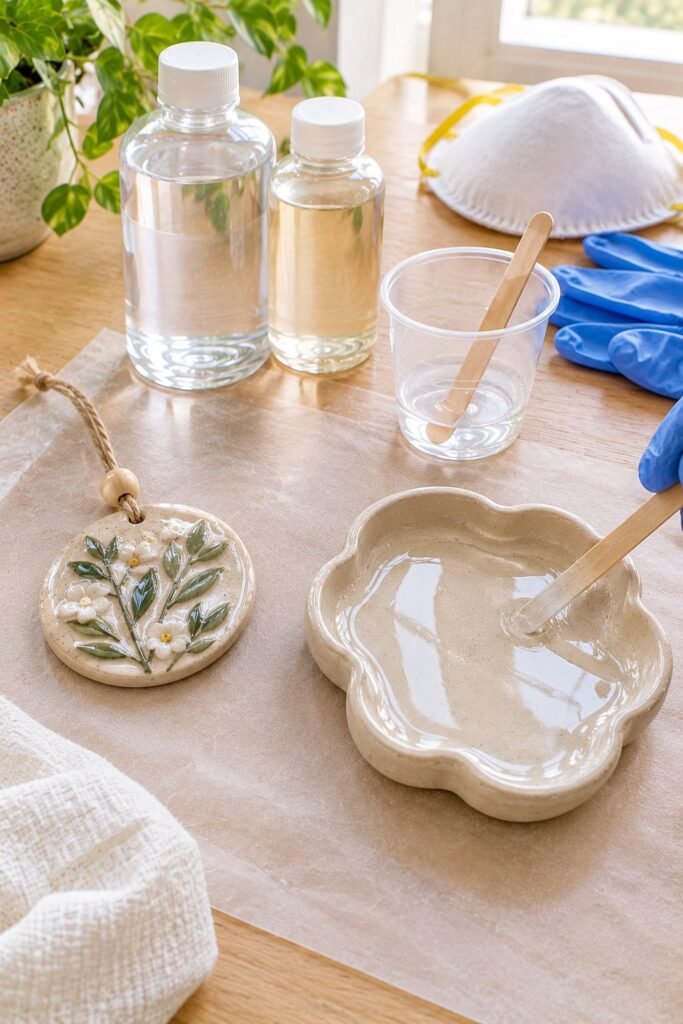
If your goal is a deep, highly reflective surface, clear epoxy resin can produce a more glass-like appearance than many ordinary craft varnishes.
It is especially popular for decorative pendants, small display pieces, and selected clay projects where a thicker clear layer suits the design.
However, resin requires more preparation and careful handling. It is not automatically the best choice for every piece of air dry clay.
Prepare the Clay Before Using Resin
The clay must be fully dry and structurally sound. Because air dry clay is porous, the first layer of resin may soak into the surface or release bubbles. Depending on the resin and clay, a compatible sealer or barrier coat may be necessary.
Check the resin manufacturer’s instructions to confirm that it can be used over your chosen clay, paint, and sealer. Test the complete combination on a spare piece first.
Prepare a level work surface and protect it against spills. Use the protective equipment and ventilation specified by the manufacturer, and follow the exact mixing ratio. Incorrect proportions can prevent the resin from curing properly.
Apply the Resin Carefully
Mix the resin and hardener exactly as directed. Avoid vigorous mixing that introduces excess air, while still ensuring the components are thoroughly combined according to the instructions.
Apply the resin in the permitted thickness and spread it evenly over the intended surface. Keep an eye on the edges to prevent unwanted drips, and follow the product’s instructions for removing bubbles.
Do not use a flame or heat gun unless the resin manufacturer explicitly permits that method and provides suitable safety instructions.
Leave the project level and undisturbed for the specified curing period. Protect it from dust and accidental contact while it sets.
Is Resin Better Than Gloss Varnish?
Not necessarily. Resin can provide greater visual depth, but it is more involved to apply, and mistakes can be harder to correct. Acrylic gloss varnish is often more practical for small decorative projects that need a simple shiny finish.
Neither option automatically makes air dry clay food-safe or suitable for prolonged water exposure. The intended use of the complete item must be considered, not just the coating.
Helpful tip: Try resin on a small test piece before using it on a finished project. A sample reveals whether the clay absorbs the coating, whether bubbles develop, and how the final shine looks.
8. Fix Common Problems With Glossy Air Dry Clay
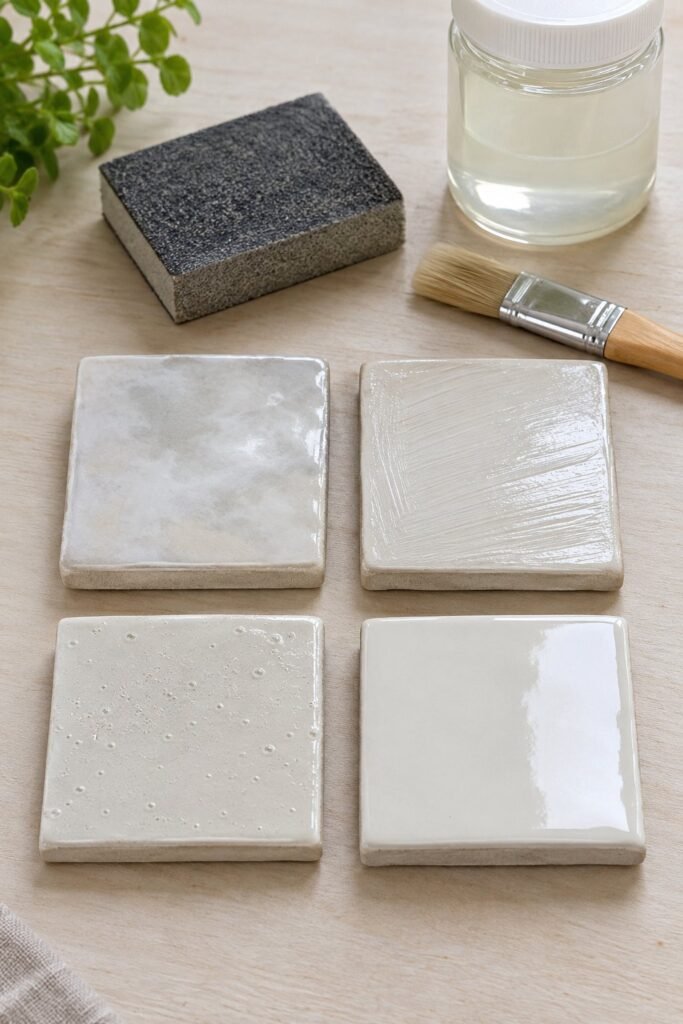
Even when you follow the instructions, a clear finish may not turn out perfectly. The good news is that many minor problems can be addressed once you identify the cause.
The Finish Looks Cloudy
Cloudiness can result from moisture, unsuitable application conditions, an incompatible coating, or a product that has not dried or cured fully.
Let the piece sit for the full recommended drying or curing period before making changes. If the cloudiness remains, consult the manufacturer’s troubleshooting instructions. Adding another layer immediately may make the problem worse.
To prevent this issue, make sure the clay and paint are completely dry and apply the coating under the environmental conditions recommended on the label.
The Surface Has Brush Marks
Brush marks commonly appear when too much product is applied, the brush is unsuitable, or the coating is repeatedly worked as it begins to dry.
Use a suitable soft brush and apply thinner layers. Work methodically across the surface, maintaining consistent strokes. If the coating has already hardened with visible marks, check whether the product permits gentle sanding and recoating.
The Finish Feels Sticky
A sticky surface may mean the coating needs more curing time, the layers are too thick, or the product has not cured correctly. With resin, incorrect mixing ratios can also cause persistent tackiness.
Do not cover a sticky piece with another layer in an attempt to fix it. Check the product instructions and allow the recommended curing time. If it remains tacky, follow the manufacturer’s guidance for correcting or removing the failed coating.
The Gloss Peels or Scratches Easily
Poor adhesion can occur when the clay is dusty, the paint is not dry, the surface is incompatible with the coating, or the product is not suited to the way the object is used.
Prepare the surface carefully and test compatibility before coating the final piece. For frequently handled decorative objects, choose a finish with suitable durability rather than relying on appearance alone.
The Surface Has Bubbles or Tiny Bumps
Bubbles can be caused by vigorous mixing, air trapped in the coating, or applying a product too heavily. Dust can also create bumps in a finish.
Keep the work area clean, follow mixing instructions, and apply thin coats. If the product allows sanding between coats, lightly smooth the cured surface and remove dust before continuing.
Important: Do not use an incompatible solvent or household chemical to remove a failed coating. Check the manufacturer’s instructions for the safest repair method.
9. Seal Air Dry Clay Without Losing the Details
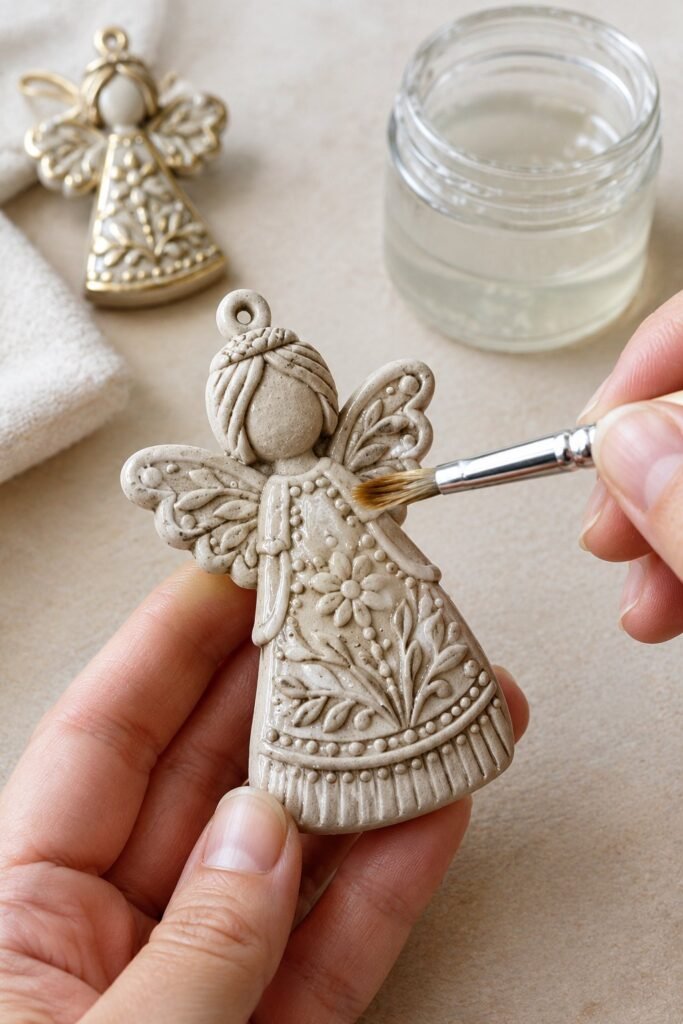
Small sculptures, textured ornaments, jewelry pieces, and decorative miniatures can be tricky to coat. A thick glossy layer may collect between raised details and soften the appearance of fine lines.
For detailed projects, a compatible brush-on varnish or suitable spray coating may be easier to control than a thick resin layer. The right option depends on the product and the shape of the object.
Tips for Textured and Detailed Pieces
Use a smaller soft brush to reach recessed areas without flooding them. Apply a light coat and check the piece from several angles to ensure the coating has not collected around small features.
If you use a spray varnish, follow the label’s distance, ventilation, and application instructions. Protect surrounding surfaces and avoid spraying in an enclosed living area.
Several light passes may be more appropriate than one heavy application, depending on the product.
For small clay earrings or pendants, make sure the coating is compatible with the hardware and any paint used. Keep attachment points clear if excess coating could interfere with assembly.
A matte or satin finish may sometimes preserve the appearance of a highly textured sculpture better than a very glossy finish.
If maximum shine is essential, test how the gloss changes the appearance of the details before committing to the final coat.
Helpful tip: Rotate the piece under a light source after each coat. This makes it easier to spot pooled varnish, missed recesses, and areas where the finish looks uneven.
10. Protect Your Finished Clay While It Cures
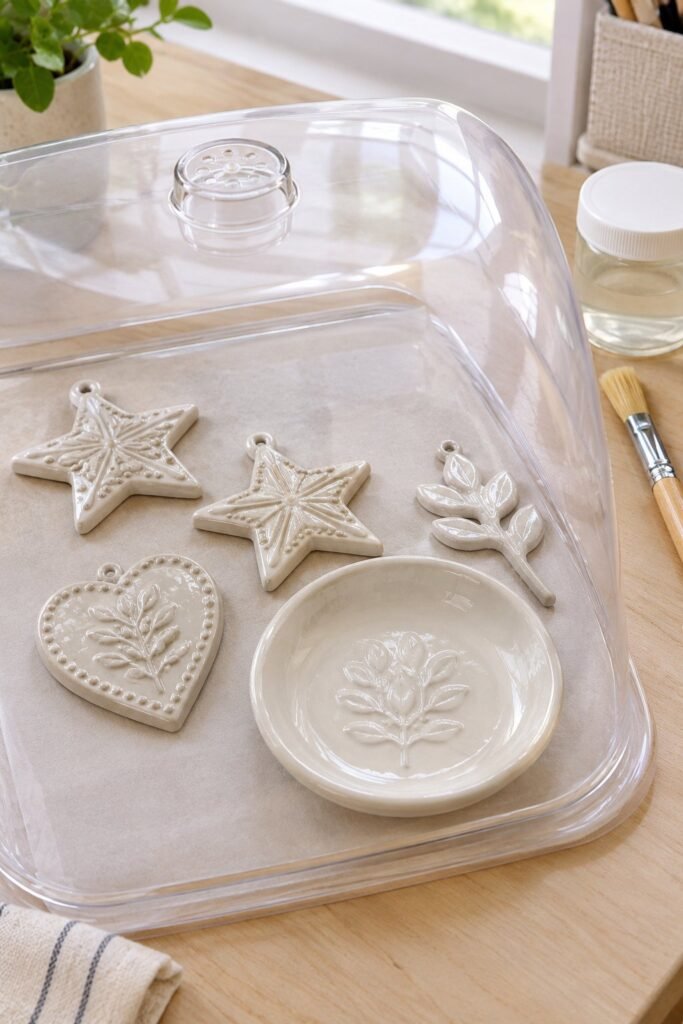
After applying the final coat, resist the temptation to pick up the project repeatedly to check its progress. A finish can feel dry on the surface while remaining vulnerable to fingerprints, dust, and pressure.
Place the item on a level surface in a clean, well-ventilated area that meets the product’s recommended temperature and humidity conditions. Keep it away from pets, children, airborne dust, and accidental splashes.
Follow the manufacturer’s instructions for the full curing time. Some products can be handled gently after a short period but need much longer before reaching their intended durability.
Once the coating has fully cured, handle the object carefully and avoid using it in conditions the product is not designed to withstand. A glossy sealer can help protect a decorative surface, but it does not eliminate the natural limitations of air dry clay.
Can You Make Glazed Air Dry Clay Waterproof?
A clear coating may improve resistance to occasional splashes, depending on the product, but it does not guarantee that the clay itself will remain unaffected by moisture.
Small gaps, scratches, uncoated undersides, and exposed edges can allow water to reach the porous clay.
For this reason, sealed air dry clay is generally best treated as decorative rather than as a material for objects that must hold water.
Avoid using it for drinking vessels, food-serving surfaces, or planters that remain wet unless the complete product system is specifically certified and suitable for that use.
Even a durable resin coating should not be assumed to make an air dry clay object food-safe. Follow the manufacturer’s guidance for the exact coating and application.
Best Practices for a Smooth, Glossy Finish
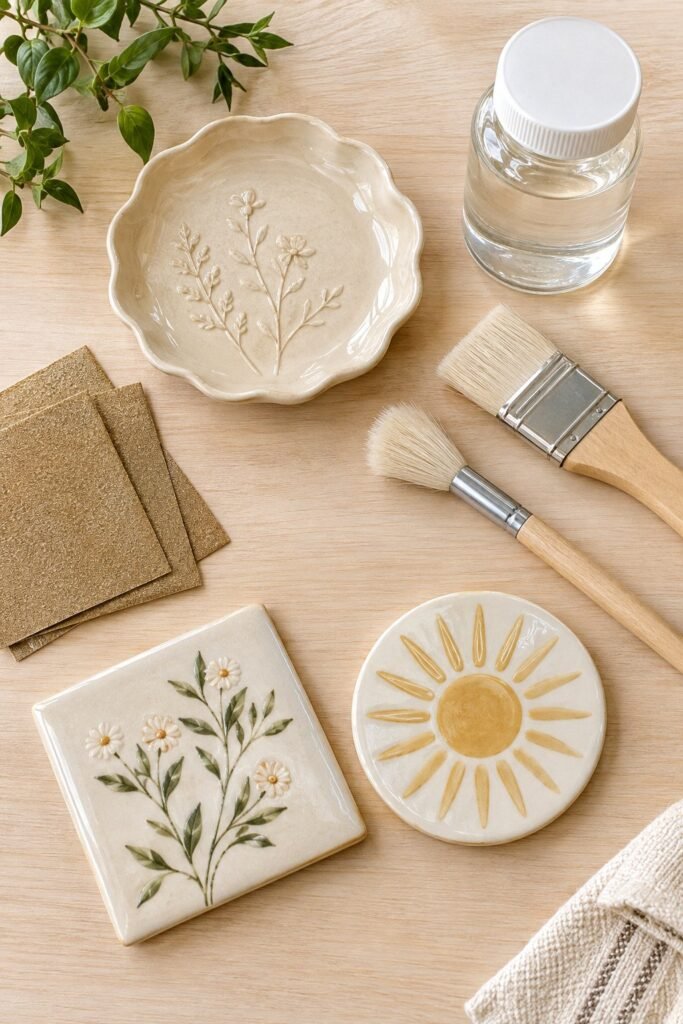
For a polished result, keep these habits in mind throughout the process:
- Let the clay dry completely before sanding, painting, or sealing.
- Smooth rough edges and surface imperfections before applying paint.
- Remove dust thoroughly after sanding.
- Check compatibility between the clay, paint, varnish, and any other coating.
- Apply thin, even coats instead of one heavy layer.
- Allow each coat to dry for the time specified by the manufacturer.
- Keep the project level and protected from dust while it cures.
- Test unfamiliar products on a spare piece before finishing the final project.
- Use appropriate ventilation and protective equipment, particularly with sprays and resin.
- Treat the finished piece according to the coating’s actual capabilities rather than assuming it is waterproof or food-safe.
Frequently Asked Questions
Can you use regular ceramic glaze on air dry clay?
Traditional ceramic glaze is intended for kiln-fired pottery and will not work as intended on ordinary air dry clay without the required firing process. For decorative air dry clay projects, use a compatible acrylic gloss varnish, craft sealer, or another clear coating designed for the materials involved.
How do you make air dry clay shiny?
Allow the clay to dry completely, smooth the surface, remove dust, and apply a compatible gloss varnish in thin, even coats. Let each coat dry properly before adding another. For a deeper, glass-like finish, a compatible clear epoxy resin may be an option.
How many coats of gloss varnish should you apply?
The right number depends on the product, the surface, and the desired appearance. Two thin coats may be enough for many decorative projects, but always follow the manufacturer’s instructions for recoat times and maximum recommended layers.
Can you glaze air dry clay after painting it?
Yes, many compatible clear varnishes can be applied over fully dried acrylic paint. Test the paint and coating together first, because some combinations can react or produce an uneven finish.
Why is my air dry clay glossy finish sticky?
The coating may need more time to cure, may have been applied too thickly, or may be incompatible with the underlying material. Resin can remain sticky if it was not mixed correctly.
Follow the manufacturer’s troubleshooting instructions instead of immediately applying another coat.
Does gloss varnish make air dry clay waterproof?
Not necessarily. A varnish may provide some moisture resistance, but water can still reach the clay through exposed edges, gaps, or damaged areas. Treat most sealed air dry clay projects as decorative and avoid prolonged water exposure.
Can you use Mod Podge Gloss on air dry clay?
Gloss craft sealers such as Mod Podge Gloss are used on many decorative craft projects, including compatible painted clay pieces. Follow the product label, test the finish on a sample, and do not assume the coating makes the item waterproof or food-safe.
Final Thoughts
A smooth, glossy finish can transform the appearance of an air dry clay project, but the most important work happens before the final coat goes on. Proper drying, gentle sanding, careful dust removal, and compatible materials all help create a cleaner result.
For most beginners, a suitable acrylic gloss varnish is a practical place to start. Apply it in thin layers, give each coat enough time to dry, and avoid rushing the curing process. If you want a deeper glass-like appearance, explore resin only after checking the safety requirements and testing it on a sample.
With the right preparation and a little patience, you can give ornaments, jewelry holders, miniature sculptures, and other decorative clay pieces a beautiful glossy finish while understanding the limits of the material.