How to Make Air Dry Clay Waterproof
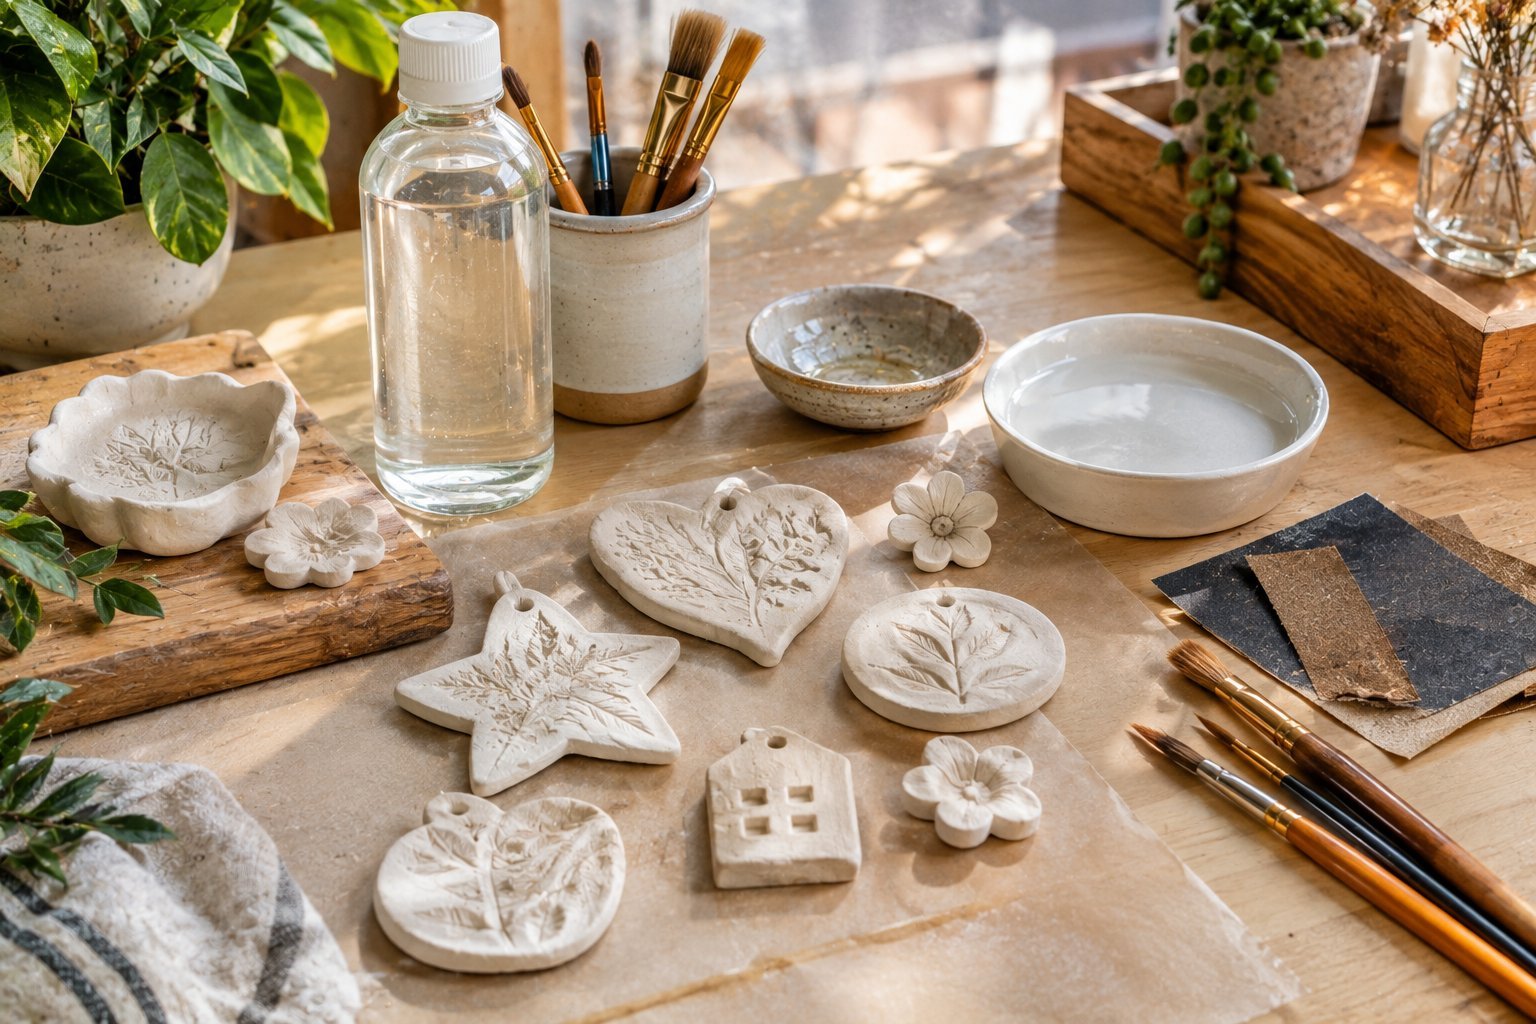
Air dry clay is one of my favorite materials for simple DIY projects because it is inexpensive, easy to shape, and does not require a kiln. The problem starts when a finished piece needs to deal with moisture.
Air dry clay naturally remains porous after it hardens, so leaving it unsealed can cause water to soak into the surface, soften the clay, stain it, or eventually damage the project.
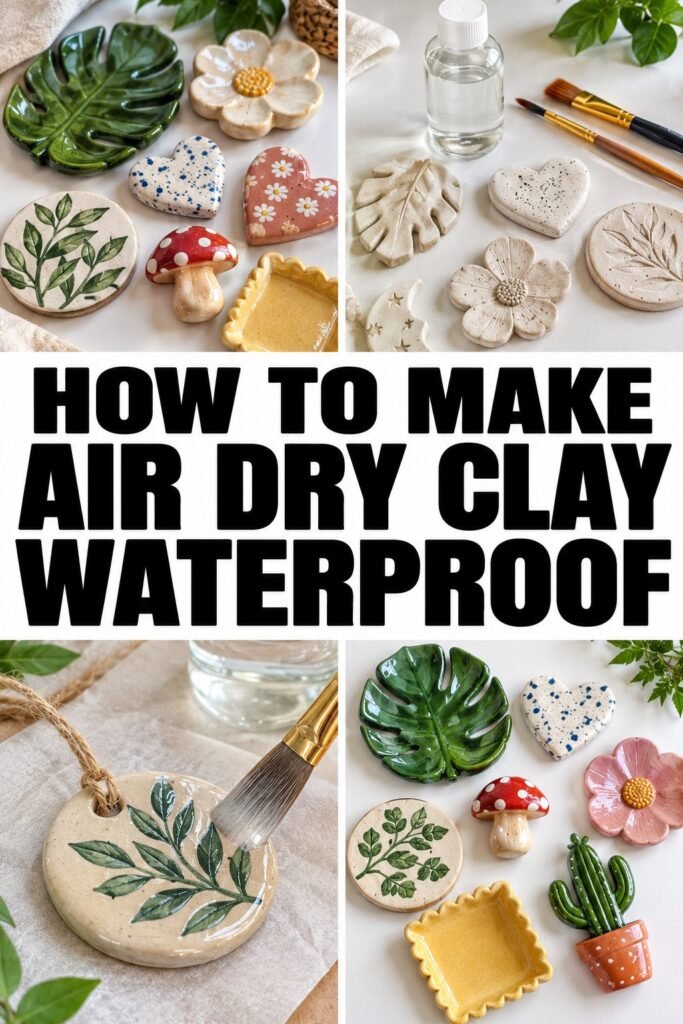
I have learned that getting a durable finish is less about simply covering the clay with something waterproof and more about preparing the piece properly before the sealer ever touches it. The drying time, surface preparation, paint, number of coats, and type of protective finish all matter.
In this guide, I will show you how I waterproof my air dry clay projects, which sealing methods are worth using, what I avoid, and how to get a smooth finish without ruining the details I worked hard to create.
Can You Make Air Dry Clay Waterproof?
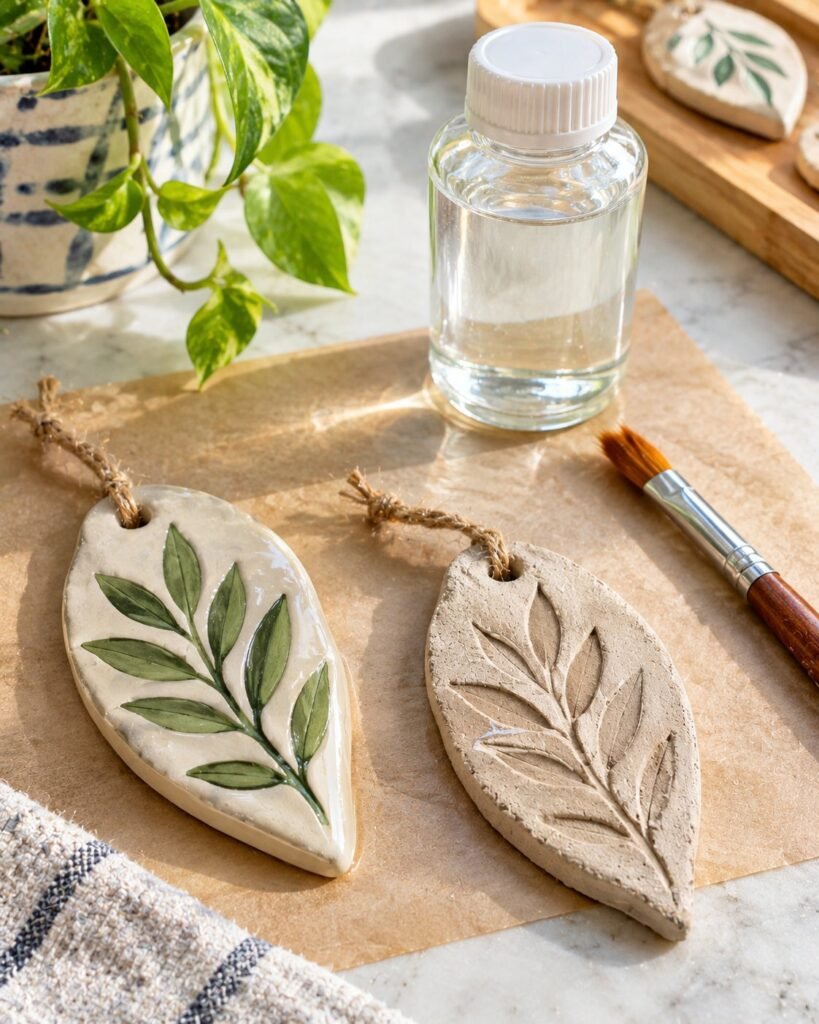
Yes, you can make air dry clay much more resistant to water, but the clay itself does not become naturally waterproof.
This distinction matters.
Air dry clay contains moisture that evaporates as it cures. Unlike ceramic clay that is fired in a kiln and transformed into a much harder, nonporous material, air dry clay remains porous after drying.
That means a finished piece can still absorb moisture unless you add a protective coating.
When I am working on an air dry clay project that needs extra protection, I treat the sealer as the final protective layer rather than expecting the clay itself to handle water.
A good waterproofing process generally involves:
- Allowing the clay to dry completely
- Smoothing and cleaning the surface
- Painting the piece if desired
- Choosing an appropriate protective sealer
- Applying thin, even coats
- Allowing each coat to cure properly
- Testing the finished piece before exposing it to moisture
The last step is easy to overlook, but it is one I find particularly useful.
A surface can feel dry while the protective coating has not fully cured yet.
Why Air Dry Clay Needs to Be Sealed
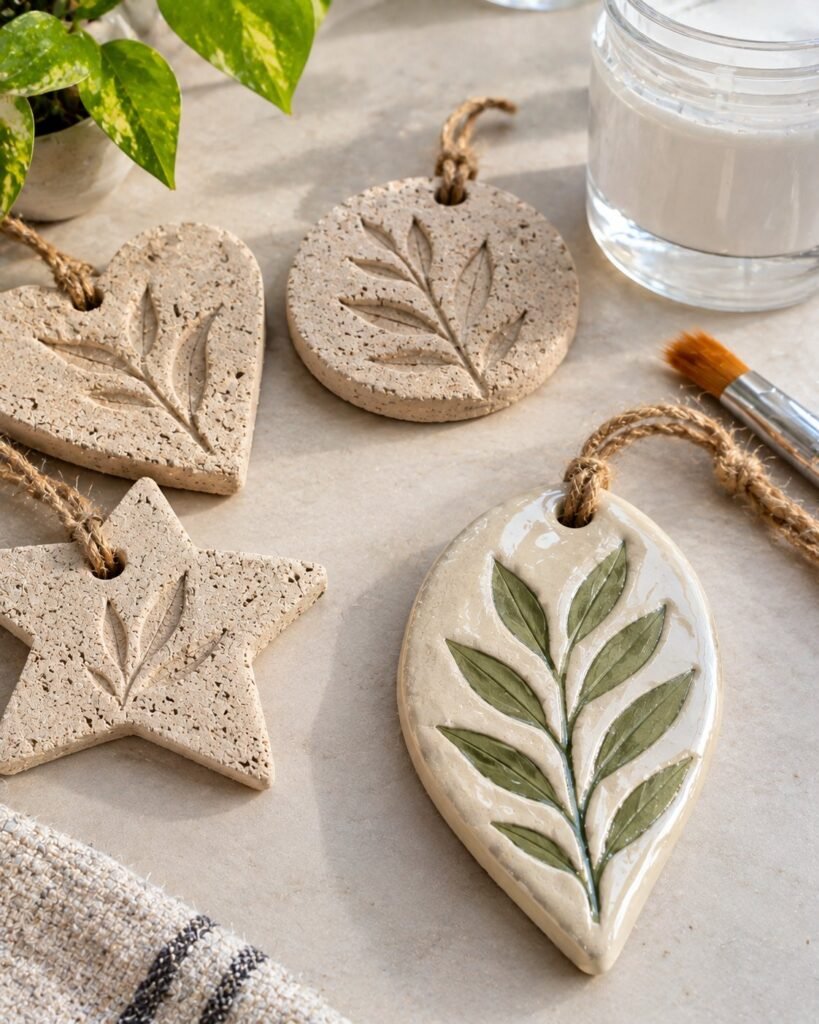
Unsealed air dry clay can react badly to moisture.
Even a small amount of water can gradually work its way into the porous surface. Depending on the project, this can lead to discoloration, swelling, soft spots, cracking, or deterioration.
I noticed this especially with decorative pieces that were handled frequently. A piece might look perfectly finished on the day I completed it, but moisture from damp fingers, condensation, or accidental splashes could eventually affect the surface.
Sealing creates a protective barrier between the clay and the outside environment.
It can also protect paint and help the finished project look better for longer.
There is another reason I like sealing clay projects. A good finish can make the surface easier to clean.
For decorative pieces, that can be a major advantage because dust and fingerprints are much easier to wipe from a properly sealed surface than from unfinished porous clay.
The Most Important Step Is Actually Drying the Clay
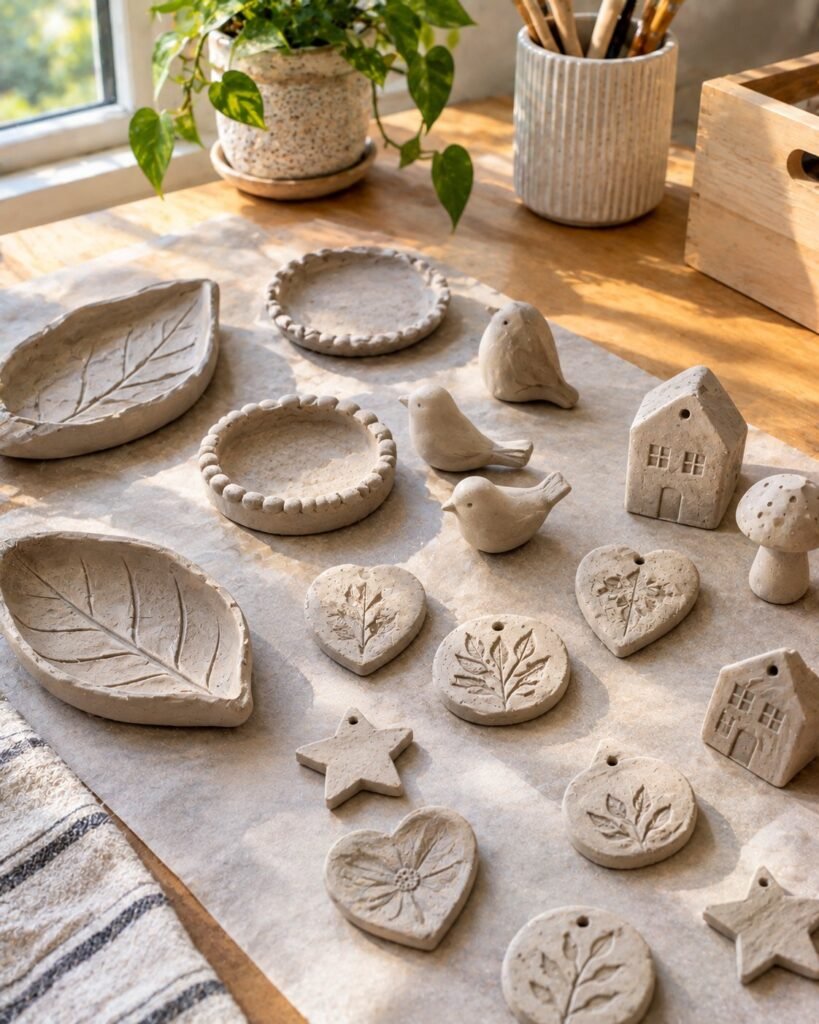
Before thinking about waterproofing, make sure the clay is completely dry.
This is one area where rushing can cause problems later.
The outside of an air dry clay piece can feel hard while moisture is still trapped deeper inside, especially with thicker projects.
If I seal a piece before the inside has dried properly, I can end up trapping moisture beneath the protective coating. That can interfere with drying and potentially contribute to cracking or other problems.
Drying time depends on the thickness and size of the project, the clay brand, humidity, and ventilation.
Thin ornaments may dry relatively quickly, while thick sculptures or chunky shapes can take considerably longer.
I prefer giving thicker pieces extra drying time rather than relying only on how the surface feels.
How I Check Whether Clay Is Fully Dry
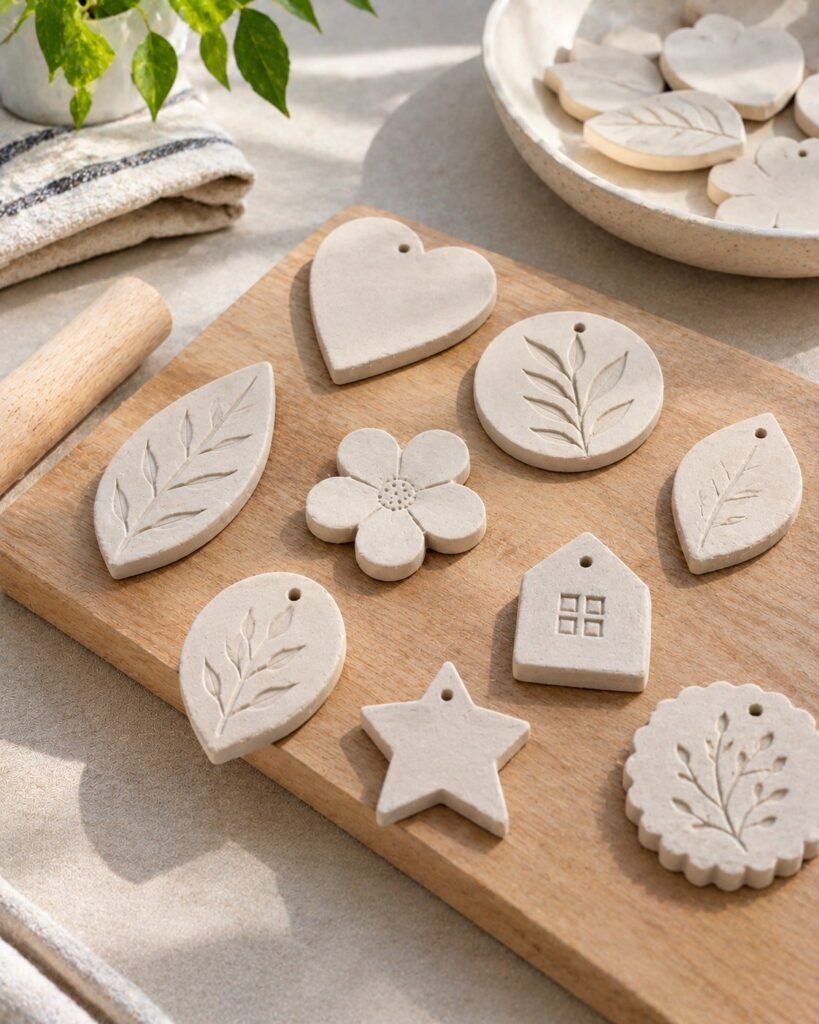
I look at several things rather than relying on one test.
The piece should feel firm throughout.
The color should be consistent rather than noticeably darker in thicker areas.
The surface should not feel cool or damp compared with the surrounding room temperature.
I also pay close attention to the underside of the project because that area can dry more slowly when the piece has been sitting flat.
For thicker projects, turning the piece periodically during drying can help expose different surfaces to air.
Good ventilation is also helpful.
The goal is simple: do not seal moisture into the clay.
Prepare the Surface Before Sealing
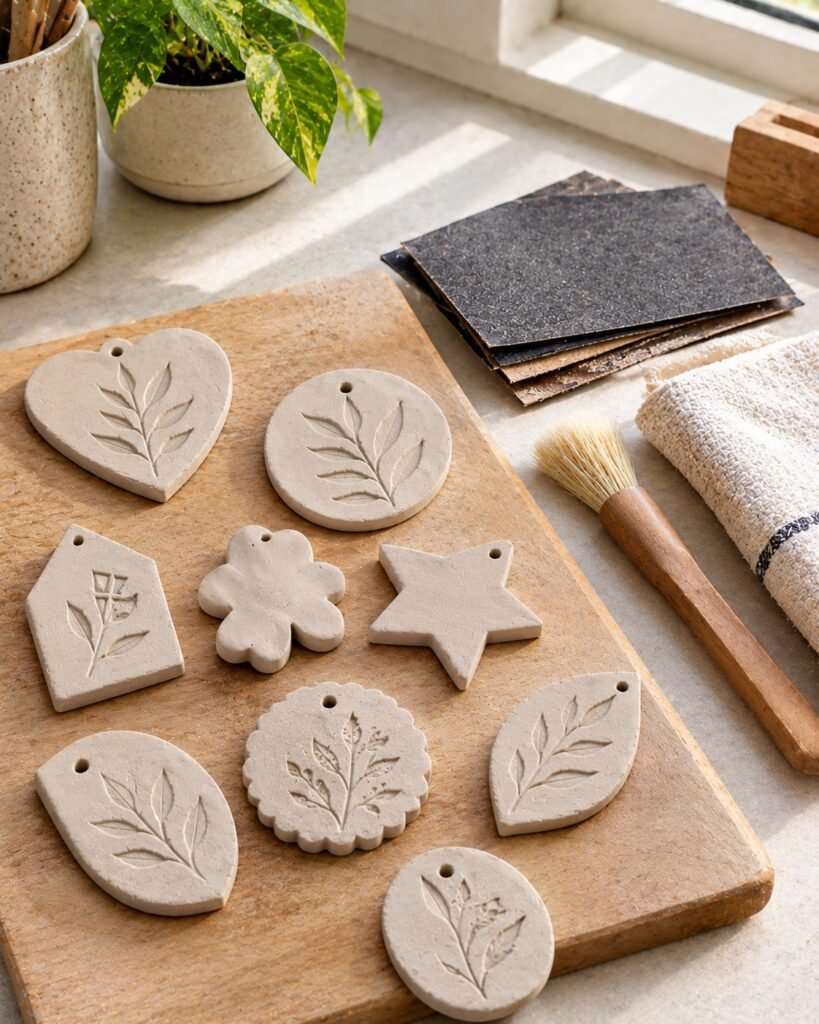
Once the clay is completely dry, I prepare the surface before applying anything.
This is particularly important if the project has fingerprints, loose clay dust, rough edges, or tiny imperfections.
I gently remove loose dust with a soft, dry brush.
If there are rough edges that need attention, I sand them carefully using fine grit sandpaper. I do not aggressively sand delicate details because it is surprisingly easy to remove small features from air dry clay.
If the piece has been painted, I make sure the paint itself is completely dry before applying the protective coating.
This small amount of preparation makes a noticeable difference in the final appearance.
A sealer does not magically hide every surface problem. In many cases, it can actually make imperfections more obvious by adding sheen to the surface.
That is why I prefer to get the clay looking as clean and finished as possible before sealing.
Should You Paint Air Dry Clay Before Waterproofing?
You can paint air dry clay before sealing it, and this is the approach I use for most decorative projects.
Acrylic paint is particularly convenient because it is easy to apply and gives you plenty of control over the final color.
I usually let the paint dry completely before adding the protective finish.
This is important because applying sealer too soon can cause the paint to smear, become cloudy, or develop an uneven appearance depending on the products being used.
For detailed pieces, I also prefer several thin layers of paint rather than one heavy layer.
The same principle applies to the sealer.
Thin, controlled coats usually give me a cleaner result than trying to create one thick waterproof layer in a single application.
What Can You Use to Waterproof Air Dry Clay?
There are several options, and they do not all produce the same result.
The right choice depends on what you made and how much moisture it will encounter.
Acrylic Sealer
Acrylic sealers are a convenient option for many decorative air dry clay projects.
They can provide a protective surface while allowing you to choose between different finishes.
Depending on the product, you may find:
Gloss
Satin
Matte
I usually choose the finish based on the look I want rather than automatically choosing the strongest shine.
Gloss creates a more polished appearance, while matte keeps the original appearance of the clay or paint closer to its natural finish.
Polyurethane
Polyurethane can provide a harder protective coating and is another option for projects that need additional protection.
However, I would always check the manufacturer’s instructions and compatibility with the clay and paint before applying it.
Different products behave differently, and the finish can vary significantly.
Clear Spray Sealer
A spray sealer can be useful when I want an even coating without putting brush marks across a detailed surface.
It can work particularly well on small decorative pieces with textured areas that would be difficult to coat neatly with a brush.
The key is applying light coats instead of soaking the surface.
Heavy spraying can create drips, uneven patches, or a finish that looks much thicker than intended.
What I Would Not Do
One mistake I try to avoid is assuming that any clear coating automatically makes an air dry clay project waterproof.
A product can be described as a finish, varnish, or protective coating without being suitable for prolonged water exposure.
Another mistake is applying the sealer immediately after finishing the clay.
Patience matters here.
I would rather let a project dry properly and spend a little more time applying several controlled coats than rush the final step and end up with a damaged piece.
I also would not treat a sealed air dry clay item as equivalent to a kiln fired ceramic item.
Even with a good protective coating, I consider air dry clay best suited to decorative projects unless the specific materials and finish have been tested for the intended use.
How to Choose the Right Finish
Before sealing, I ask myself what the finished piece will actually be used for.
For a decorative wall hanging, I might prioritize appearance.
For a small planter cover or decorative tray, I would pay more attention to moisture resistance.
For an item that will regularly sit outdoors, I would look for a more durable exterior suitable coating and still avoid assuming that the clay will tolerate constant exposure to rain.
This is one of the biggest lessons I have learned with clay projects.
Water resistant does not necessarily mean completely waterproof in every situation.
The amount of moisture, frequency of exposure, temperature changes, and quality of the protective coating all matter.
And for anything that will hold food, water, or be exposed to regular washing, I would use a material specifically designed and tested for that purpose rather than relying on ordinary air dry clay.
My Basic Waterproofing Process
For most of my air dry clay projects, my process is straightforward.
I let the clay dry completely.
I smooth any rough areas.
I remove dust from the surface.
I apply acrylic paint if the project needs color.
I allow the paint to dry completely.
I apply a suitable clear protective sealer in thin coats.
I allow each coat to dry according to the product instructions.
I inspect the entire piece for missed areas.
Then I let the final coating cure fully before putting the project into use.
That final curing period is worth respecting.
A coating can feel dry to the touch while still being softer underneath.
For something I spent hours shaping and painting, giving it additional time to harden is an easy tradeoff.
How to Make Air Dry Clay Waterproof
Step By Step: How I Seal Air Dry Clay
Once the clay is completely dry and the surface is ready, the actual sealing process is fairly simple. The part that makes the biggest difference is taking your time.
I have found that trying to finish a clay project quickly usually creates more problems than it solves. Thick coats can become uneven, brush marks can show through, and small details can lose their definition.
I prefer several light coats because they give me much more control over the final finish.
Step 1: Make Sure the Clay Is Completely Dry
Before opening the sealer, I check the entire piece again.
Pay particular attention to thick sections, the bottom of the project, and areas where two pieces of clay were joined together.
If I have any doubt about whether the clay is dry, I wait longer.
There is very little benefit to sealing a project early, while there is plenty of potential for problems if moisture becomes trapped underneath the coating.
Step 2: Clean the Surface
Once the clay is dry, I remove any dust or loose particles.
A soft dry brush works well for detailed pieces.
For smoother projects, I gently wipe the surface with a clean, dry cloth.
I avoid adding water at this stage because the whole point is to keep the porous clay as dry as possible before sealing.
This is also the moment when I look closely for imperfections.
If I notice a rough edge, tiny crack, or uneven area that needs attention, I fix it before applying the sealer.
Step 3: Protect Your Workspace
Sealers can make a surprising mess, particularly spray products.
I always work in a well ventilated area and protect the surface underneath the project.
For spray sealers, I follow the product’s safety instructions and use the appropriate protective equipment recommended on the label.
I also make sure there is enough room around the piece so I can apply the product evenly without accidentally touching the wet surface.
Step 4: Apply the First Thin Coat
This is where I try not to overdo it.
The first coat does not need to look perfect or completely glossy.
I apply a thin, even layer over the surface and pay attention to edges, corners, raised details, and the underside where appropriate.
With a brush on sealer, I use gentle strokes and avoid repeatedly brushing the same wet area.
Going back over a section too many times can leave visible marks and may disturb the coating.
With a spray sealer, I keep the can at the distance recommended by the manufacturer and use light, controlled passes.
The goal is to build the protective layer gradually.
How Many Coats of Sealer Should You Use?
There is no universal number because different sealers have different instructions.
For that reason, I follow the manufacturer’s recommended application and drying times rather than assuming that more coats automatically mean better waterproofing.
In general, I prefer building the finish gradually.
After the first coat has dried, I inspect the surface.
If it looks even and protected, I apply another thin coat when the product instructions allow it.
For projects that need more protection, additional coats may be appropriate.
The important thing is that each layer has enough time to dry or cure before another one goes over it.
Applying several coats while the previous layer is still wet can create cloudiness, tackiness, uneven texture, or longer drying times.
Brush On Sealer vs Spray Sealer
Both methods can work well, but I choose between them based on the project.
Brush On Sealer
I like brush on products when I want precise control.
They are particularly convenient for small projects where I need to make sure every area receives coverage.
The downside is that brush marks can become visible, especially on a smooth surface.
I avoid pressing the brush too hard and try not to keep working an area after the sealer has started to set.
Spray Sealer
Spray products can create a smoother looking finish when applied correctly.
They are especially useful for pieces with lots of texture, grooves, or small details.
The downside is that spray application requires more preparation.
Too much product in one area can create drips or an uneven finish.
I would rather make several light passes than try to cover everything with one heavy spray.
How I Seal Detailed Clay Pieces
Detailed projects require a little more patience.
If a piece has tiny flowers, lettering, textured patterns, or raised decorations, I do not rush the sealer into every little corner.
I work carefully so the protective coating does not pool inside the details.
Pooling can make small areas look cloudy or overly shiny after drying.
For delicate designs, I find that thin coats are especially important.
I also rotate the piece as I work so I can see the surface from different angles.
That makes it much easier to notice missed areas.
What About the Bottom of the Clay Piece?
The bottom is easy to forget.
I have made that mistake before, especially with pieces that sit flat on a table.
If moisture is likely to reach the underside, I make sure it receives appropriate protection too.
However, I do not automatically coat every surface if doing so would interfere with how the piece is meant to sit or function.
For decorative objects, I usually inspect the underside carefully and decide whether it needs the same treatment as the visible surface.
How to Waterproof Painted Air Dry Clay
Paint adds another layer to the process.
If I paint an air dry clay project, I let the paint dry completely before applying the protective coating.
This is particularly important when using multiple colors.
A clear coat can sometimes react differently with paint depending on the products involved, so I prefer testing the combination on a small leftover piece whenever I am working with a new combination.
This little test can save an entire project.
My Layering Method
My usual approach is:
Dry clay
The clay needs to be completely cured.
Surface preparation
I smooth rough areas and remove dust.
Paint
I apply the colors and let them dry completely.
First clear coat
I apply a thin protective layer.
Additional coats
I follow the product instructions and add additional thin coats when needed.
Final curing
I leave the finished piece alone for the recommended curing period before exposing it to moisture.
This process takes longer than putting on one heavy coat, but I find the result much more predictable.
How to Avoid Brush Marks
Brush marks are one of the most common problems I see when sealing smooth clay.
The easiest way to reduce them is to avoid repeatedly brushing over a section that is already beginning to dry.
I also avoid putting too much sealer on the brush.
A loaded brush can deposit a thick puddle that takes much longer to dry and may leave an uneven finish.
Using a suitable soft brush and applying thin layers gives me much more control.
If the project has a very smooth surface and appearance matters more than speed, a spray sealer may be worth considering.
How to Avoid Bubbles in the Finish
Bubbles can appear when a coating is applied too aggressively.
I avoid shaking liquid sealers unless the product instructions specifically say to do so.
If the product needs mixing, I follow the instructions rather than creating lots of bubbles through vigorous stirring.
When applying the sealer, I use slow, controlled movements.
For spray products, keeping the application even also helps prevent excessive product from collecting in one spot.
If I notice a bubble while the coating is still wet, I deal with it according to the product instructions rather than immediately adding more sealer on top.
What If the First Coat Looks Cloudy?
Do not panic immediately.
Some clear products can look cloudy or milky while they are wet and become clearer as they dry.
This is one reason I avoid judging the finished appearance too quickly.
I let the coat dry completely before deciding whether something went wrong.
If the coating remains cloudy after the recommended drying period, I check the product instructions and compatibility with the paint and clay.
Using incompatible products can cause problems that additional coats will not necessarily fix.
Can You Use Mod Podge to Waterproof Air Dry Clay?
Mod Podge can provide a protective coating for many craft projects, but I would be careful about calling ordinary Mod Podge completely waterproof.
Different Mod Podge formulas have different properties, so the specific product matters.
For a decorative clay project that only needs protection from occasional moisture, a suitable Mod Podge formula may be useful.
For a project that will experience regular water exposure, I would choose a coating specifically designed for that level of protection.
The label is more important than the brand name alone.
Can You Make Air Dry Clay Waterproof Without Varnish?
Yes, there are other protective coating options.
Depending on the project, you can consider acrylic sealers, polyurethane products, spray sealers, or other coatings designed for the material and intended use.
I would not rely on paint alone to waterproof the clay.
Even several layers of paint do not necessarily provide the same type of protective barrier as a dedicated sealer.
The final coating is what gives the project its additional resistance to moisture.
How I Know the Sealing Job Is Finished
I do not judge the finish only by how shiny the project looks.
I look for consistent coverage across the entire piece.
There should not be obvious dry patches, drips, sticky areas, or unusually thick sections.
The surface should also feel properly cured rather than tacky.
Most importantly, I give the coating enough time to cure according to the manufacturer’s instructions.
Once everything looks consistent, I can move on to testing the finished piece rather than immediately putting it into a situation where it will be exposed to water.
A Simple Water Resistance Test
For a project that is intended to handle occasional moisture, I like doing a small test before relying on the finish.
I choose an inconspicuous area or test a leftover piece made from the same clay.
I apply a small amount of water and observe what happens.
If the water immediately darkens the clay, soaks into the surface, or causes the finish to become soft or tacky, the protective layer needs more attention.
If the water beads on the surface and the coating remains intact, that gives me more confidence that the finish is providing the level of protection I intended.
I still would not treat this as proof that the piece is suitable for prolonged soaking or outdoor exposure.
That distinction is important.
A water resistance test can tell you how the surface responds to a small amount of moisture. It does not guarantee that an air dry clay project can withstand constant water exposure.
The Biggest Mistake I Avoid
The biggest mistake is thinking that waterproofing is simply about finding the strongest sealer.
The preparation underneath matters just as much.
If the clay has not dried properly, the surface is dusty, the paint is still wet, or the coating is applied too heavily, even a good sealer can produce a disappointing result.
For me, the best waterproofing process is really a combination of proper drying, careful preparation, compatible materials, thin coats, and enough curing time.
That approach gives me a much better finish without sacrificing the details of the original clay project.
Common Mistakes That Can Ruin the Finish
Waterproofing air dry clay sounds straightforward, but there are a few mistakes that can make the final result look worse or leave the clay less protected than expected. These are the problems I pay the most attention to when finishing my own projects.
Sealing Clay Before It Is Completely Dry
This is probably the biggest mistake to avoid.
The outside can feel hard while moisture remains inside a thicker piece. Adding a protective coating too early can interfere with the remaining drying process.
I would rather wait an extra day than rush the sealing stage.
Applying One Very Thick Coat
A thick coat might seem like it will provide better protection, but it can actually create an uneven finish.
I prefer several thin layers because they are easier to control and allow the surface to dry properly between applications.
Ignoring the Underside
The visible part of a project naturally gets most of the attention.
The underside can easily be forgotten.
For pieces that may encounter moisture from underneath, I make sure that area receives appropriate protection too.
Using Too Many Different Products
Mixing several types of paint, varnish, glue, and sealers without checking compatibility can create unexpected problems.
The finish might become cloudy, sticky, cracked, or uneven.
When I try a new combination, I prefer testing it on a small leftover piece first.
Expecting the Sealer to Fix Cracks
A protective coating is not a replacement for repairing damaged clay.
If I find a crack before sealing, I fix the clay first and allow the repair to dry properly.
Sealing over a problem does not necessarily make the problem disappear.
How to Make Air Dry Clay Waterproof for Outdoor Use
Outdoor projects require more thought because they have to deal with much more than an occasional splash of water.
Rain, humidity, sunlight, temperature changes, and repeated wet and dry cycles can all affect air dry clay and its protective coating.
For an outdoor project, I use a durable exterior suitable sealer and apply it according to the manufacturer’s instructions.
I also pay close attention to every exposed surface.
Even then, I would not assume that an air dry clay piece can remain outside indefinitely.
For something sentimental or particularly detailed, I would protect it from prolonged rain and direct exposure whenever possible.
A covered outdoor location is very different from leaving a clay project completely exposed to the weather.
Can Waterproofed Air Dry Clay Go Outside?
It can be used for some outdoor decorative projects, but I would treat it as water resistant rather than permanently waterproof unless the complete material system has been specifically tested for outdoor conditions.
A protective coating can eventually wear down.
Small scratches, cracks, UV exposure, and repeated temperature changes can create openings where moisture reaches the clay.
If I place an air dry clay decoration outside, I check it occasionally for changes in the surface.
That allows me to catch small problems before moisture has a chance to cause significant damage.
Can You Make Air Dry Clay Waterproof Enough for a Planter?
This depends on what role the clay is playing.
I would be comfortable using a well sealed air dry clay piece as an exterior decorative cover, provided the actual plant container handles the water.
I would be much more cautious about using ordinary air dry clay as the actual waterproof container holding wet soil.
Constant contact with water is very different from occasional splashes.
For a planter project, I prefer keeping the clay decorative while using a suitable waterproof container inside it.
That gives me the look I want without asking the air dry clay to perform a job it was not designed to handle.
What About Clay Jewelry?
Small clay jewelry pieces can benefit from sealing because the coating can help protect the surface from everyday handling, fingerprints, and occasional moisture.
For earrings, pendants, charms, and similar pieces, I focus on applying a thin and even finish.
I also pay attention to the edges because those areas can receive a lot of handling.
I would not recommend treating sealed air dry clay jewelry as completely waterproof or wearing it in the shower or swimming pool.
Water resistance is useful for everyday protection, but prolonged soaking is another matter.
Can Waterproofed Air Dry Clay Be Washed?
I would avoid treating air dry clay like ceramic.
A sealed piece may tolerate an occasional damp cloth, depending on the specific sealer used, but regular washing or soaking can eventually compromise the coating.
For decorative projects, I prefer gentle cleaning.
A soft dry cloth or a lightly damp cloth is usually a better approach than placing the entire piece under running water.
After cleaning, I allow it to dry naturally rather than trapping moisture against the surface.
How to Protect the Paint
The clay is not the only thing that needs protection.
If I spend time creating detailed painted designs, I want the final clear coat to protect that artwork too.
I make sure the paint is completely dry before sealing.
I also avoid aggressively rubbing the painted surface during cleaning.
For pieces with very detailed artwork, I sometimes test the entire paint and sealer combination on a scrap piece before applying it to the finished project.
That simple test can reveal whether the clear coat changes the paint color, creates unwanted shine, or reacts badly with the paint.
Matte, Satin, or Gloss Sealer?
The finish is mostly a personal preference, but it can dramatically change how the finished clay looks.
Matte
Matte keeps the surface understated and is useful when I want the project to retain a soft, natural appearance.
It works particularly well for minimalist pieces.
Satin
Satin sits between matte and gloss.
It gives the project a subtle amount of sheen without making the surface look highly polished.
This is often a good middle ground when I cannot decide between the two.
Gloss
Gloss creates a noticeably shiny surface.
It can make bright colors look richer and gives some decorative projects a polished appearance.
I like gloss when I want the protective coating to become part of the visual design.
The important thing is choosing the finish before sealing rather than discovering afterward that the project looks completely different from what I imagined.
How Long Does Waterproofed Air Dry Clay Last?
There is no single lifespan because the durability depends on the clay, thickness, sealer, environment, handling, and exposure to moisture.
A decorative piece kept indoors and handled gently can remain in good condition for a long time.
A piece exposed to rain, sunlight, humidity, or frequent handling will experience much more wear.
That is why I think of waterproofing as protection rather than a permanent transformation.
The sealer gives the clay a barrier, but that barrier can eventually become scratched, worn, or damaged.
How to Tell When the Sealer Needs Attention
I look for changes such as:
Cracks appearing in the coating
Areas becoming dull or worn
Peeling or flaking
Sticky sections
Water beginning to darken the clay
Visible scratches that expose the underlying surface
If I notice these signs on an outdoor or frequently handled project, I inspect the entire piece rather than simply adding another coat over the damaged area.
Sometimes the damaged coating needs to be removed or repaired before a new protective layer is applied.
Frequently Asked Questions
What is the best way to waterproof air dry clay?
The most reliable approach is to allow the clay to dry completely, prepare the surface, apply any paint, and then use a suitable protective sealer in thin coats according to the manufacturer’s instructions.
Can Mod Podge make air dry clay waterproof?
Some Mod Podge formulas provide stronger water resistance than others, but ordinary Mod Podge should not automatically be considered completely waterproof. Check the specific formula and its intended use.
Can you use clear varnish on air dry clay?
Yes, a compatible clear varnish can be used to protect air dry clay. Choose one appropriate for the clay, paint, and intended environment.
How many coats should I use?
Follow the specific product instructions. I prefer thin coats rather than one thick layer and allow each coat to dry properly before applying another.
Can air dry clay be waterproof without paint?
Yes. Painting is optional. The protective sealer can be applied directly to properly dried and prepared clay.
Can sealed air dry clay get wet?
A properly sealed piece can generally handle limited moisture better than unsealed clay, but that does not mean it should be soaked or submerged.
Can I use air dry clay for a water holding container?
I would not rely on ordinary air dry clay as the primary material for a container that needs to hold water continuously. A separate waterproof container is a safer approach for projects such as planters.
Why is my sealed clay still soft?
The clay or the coating may not have fully dried or cured. Thick clay can retain moisture internally, while some sealers require considerably longer to cure than they take to become dry to the touch.
Can I waterproof air dry clay after painting it?
Yes. Let the paint dry completely first, then apply a compatible clear protective coating.
Is waterproofed air dry clay safe for food?
I would not assume that ordinary air dry clay and craft sealers are food safe. For anything that will directly contact food, use materials specifically labeled and tested for food contact.
My Final Tips for Waterproofing Air Dry Clay
The best results come from treating waterproofing as part of the entire clay making process rather than something added at the very end.
I always give the clay enough time to dry.
I prepare the surface before sealing.
I make sure paint is completely dry.
I choose the sealer based on how the finished project will actually be used.
I apply thin coats instead of trying to create one extremely thick layer.
I allow the coating to cure fully.
And I test a small piece whenever I am using a new combination of clay, paint, and sealer.
Most importantly, I do not expect a sealed air dry clay project to behave exactly like fired ceramic. A good protective finish can make a huge difference, but it does not change the basic nature of the clay.
For decorative projects, that extra protection can help keep the surface cleaner, preserve the paint, and reduce the effects of occasional moisture.
That is what makes the extra time worthwhile.
Final Thoughts
Making air dry clay more water resistant does not require a complicated process. The biggest difference comes from allowing the clay to dry completely and choosing a compatible protective finish for the way the project will actually be used.
I have found that patience gives me much better results than trying to rush the final stage. Thin coats, proper drying time, careful surface preparation, and a little testing can turn a fragile looking clay project into something much more durable and polished.
And when a project will be exposed to regular water, rain, or outdoor conditions, I always think about the entire environment rather than relying on the word waterproof on a product label.
A good sealer protects the clay, but good preparation is what gives that sealer the best chance to do its job.