
I still remember the first time I poured resin into a silicone mold and watched it turn glassy clear under my desk lamp.
I had no idea that little hobby would turn into a small business that pays my bills every month.
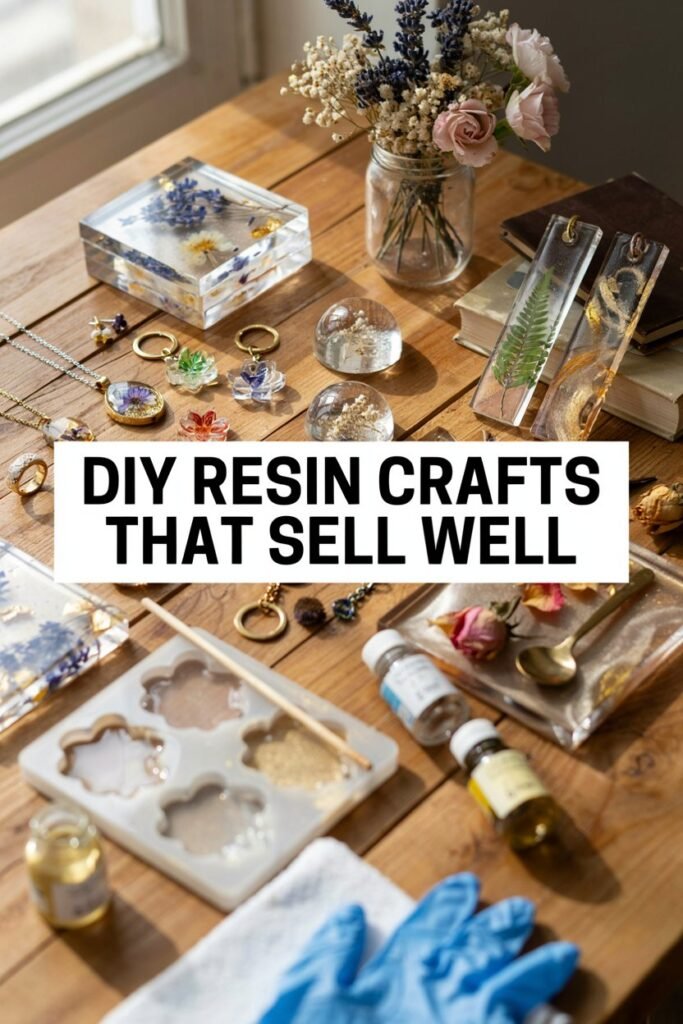
If you are curious about resin crafts, whether you want a relaxing hobby or a real side income, I am going to walk you through everything I learned, the mistakes I made, and the exact projects that keep selling out in my shop.
This post is long because I want it to actually help you, not just skim the surface. Grab a coffee, get comfortable, and let us get into it.
Why Resin Crafts Are Such A Popular Seller
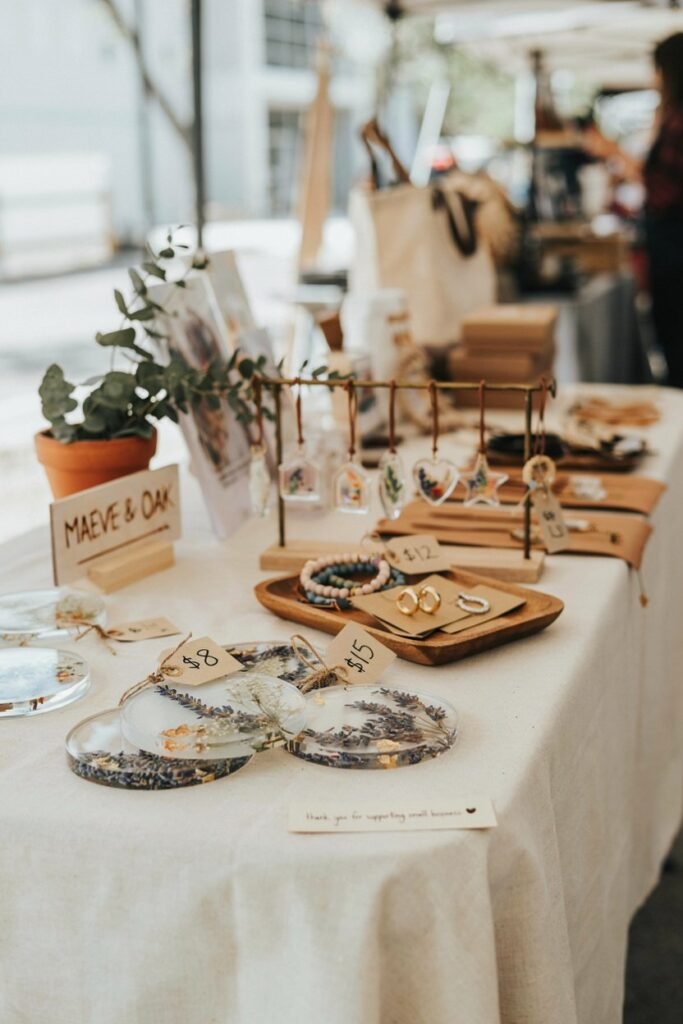
Before I even touch the supplies, I want you to understand why this craft works so well as a business.
Resin crafts sell because they feel luxurious but cost very little to produce.
A coaster set that costs me under three dollars in materials can easily sell for twenty dollars or more, especially when it looks polished and unique.
People also love resin because every single piece is one of a kind.
When a customer buys a resin item with dried flowers or a swirl of color inside, they know nobody else in the world has the exact same piece.
That feeling of owning something rare is a huge part of why handmade resin shops do so well on platforms like Etsy, at craft fairs, and even through Instagram and TikTok shops.
Another reason resin sells well is that it fits so many categories. Home decor lovers want resin trays.
Jewelry lovers want resin earrings and pendants.
Pet owners want resin keychains with paw prints. Book lovers want resin bookmarks.
There is a buyer for almost every resin idea you can dream up, which means your market is never too small.
My Honest Introduction To The Ingredients You Will Need
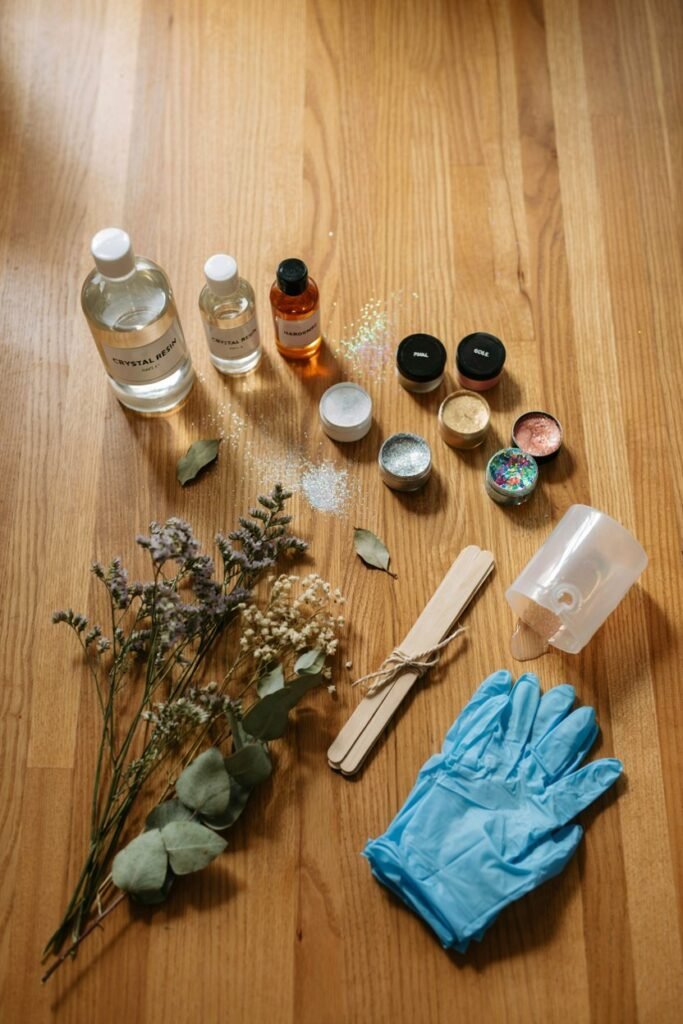
I want to slow down here because so many beginners jump straight into pouring without understanding what each supply actually does.
I learned most of this the hard way, through sticky messes and ruined molds, so let me save you that trouble.
Each ingredient below gets a short, personal introduction so you know exactly why it matters before you buy anything.
Epoxy resin. My favorite base material, it hardens crystal clear and gives every craft its glossy finish.
Hardener. This partner chemical activates the resin, without it your project never fully cures properly.
Silicone molds. These flexible shapes let finished pieces pop out easily once the resin sets completely.
Mica powder. I sprinkle this shimmering pigment in for pearly, metallic colors that photograph beautifully online.
Liquid pigment dye. A few drops create bold, saturated colors that make small shops stand out instantly.
Fine glitter. Adding sparkle here turns a plain project into something customers cannot resist purchasing immediately.
Heat gun or torch. I use this quick tool to pop stubborn bubbles trapped inside curing resin.
Measuring cups. Accurate measuring keeps my resin to hardener ratio correct, preventing sticky or cloudy results.
Wooden stir sticks. Simple but essential, these help me mix resin thoroughly without leaving pockets of hardener.
Nitrile gloves. Protecting my skin matters, since uncured resin can irritate hands after repeated daily contact.
Dried flowers or botanicals. Pressed petals suspended inside resin create dreamy, nature inspired pieces buyers love deeply.
Gold leaf flakes. A tiny pinch of this adds an elegant, expensive looking detail to simple pieces.
Sandpaper. After curing, this smooths rough edges so every finished piece feels professional in someone’s hands.
Isopropyl alcohol. I spray this lightly on wet resin surfaces to pop tiny bubbles before they harden.
UV resin. This faster curing option hardens under UV light, perfect for small jewelry pieces and quick batches.
Level tool. Keeping my workspace perfectly flat prevents resin from pooling unevenly while it slowly cures overnight.
Once you have these basics gathered, you are genuinely ready to start creating pieces that people will want to buy.
Setting Up Your Workspace The Right Way
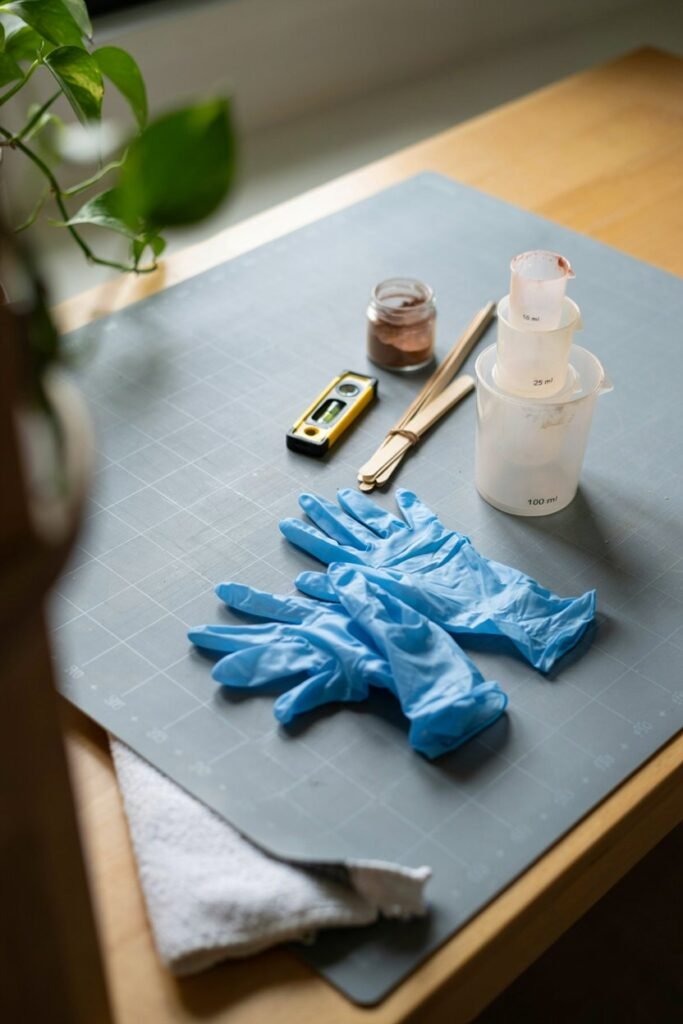
I cannot stress this enough, your workspace makes or breaks your resin experience.
Resin is unforgiving once it touches carpet, wood furniture, or clothing, so preparation saves you real frustration.
First, cover your table completely with a silicone mat or a layer of parchment paper.
Cardboard works too in a pinch, but silicone mats are reusable and much easier to clean.
Second, make sure your room has good airflow since resin fumes can be strong, especially with certain brands.
Third, keep your workspace level using a small bubble level tool, because even a slightly tilted table will cause your resin to cure thicker on one side.
I also recommend working in a warm room, somewhere around seventy five degrees Fahrenheit, since resin cures more evenly and bubbles release more easily in warmth.
Cold rooms slow curing and trap more bubbles, which frustrated me endlessly when I first started.
Step By Step Guide To Your First Sellable Resin Piece
Now let us walk through an actual project together, step by step, so you can see exactly how this comes together from start to finish.
Project One: Resin Coasters With Gold Veining
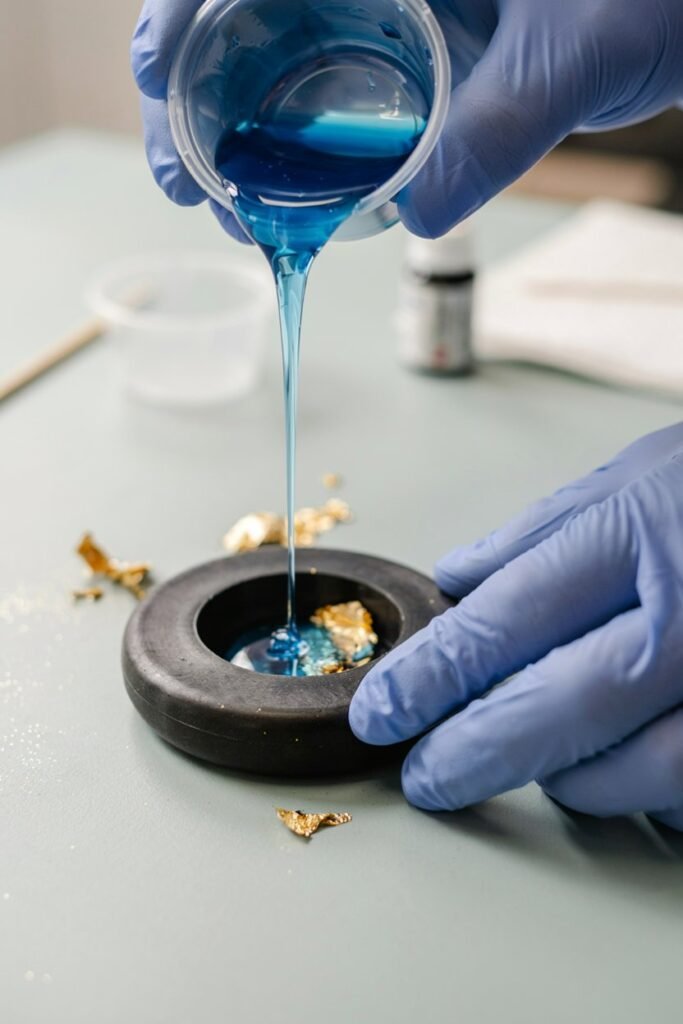
Coasters are one of the very first things I made, and they remain one of my best sellers today because they are practical, affordable, and look gorgeous on any table.
Step 1: Gather your supplies. Set out your resin, hardener, mixing cups, stir sticks, gloves, mica powder, gold leaf, and coaster shaped silicone molds.
Step 2: Measure your resin and hardener. Follow the exact ratio listed on your product, usually one part hardener to one part resin, though some brands vary slightly.
Step 3: Mix thoroughly. Stir slowly for about three full minutes, scraping the sides and bottom of the cup so no unmixed resin hides in the corners.
Step 4: Divide and color. Pour small amounts into separate cups, then add mica powder or pigment to each one, creating a few different shades like white, gray, and a deep blue.
Step 5: Pour your base layer. Pour your lightest color into the mold first, filling it about halfway.
Step 6: Add your second color. Pour a second shade in swirling motions across the surface, letting the colors blend naturally rather than mixing them fully.
Step 7: Create the veining. Use a toothpick to drag through the colors in thin lines, mimicking the look of natural marble veining.
Step 8: Add gold leaf. Sprinkle small flakes of gold leaf along your veins while the resin is still wet so they sink in slightly and catch the light.
Step 9: Torch the surface. Quickly pass your heat gun or torch over the top for one or two seconds to pop any surface bubbles.
Step 10: Let it cure. Cover the piece loosely with a box or dust cover and let it sit undisturbed for twenty four to seventy two hours depending on your resin brand.
Step 11: Demold and sand. Once fully cured, gently pop the coaster out and sand the edges lightly for a smooth, professional finish.
Step 12: Add protective backing. Glue small cork or rubber pads to the bottom so the coaster does not scratch furniture.
That is genuinely it. Once you master this basic swirl and pour technique, you can apply it to trays, wall art, and countless other products.
Project Two: Resin Jewelry With Pressed Flowers
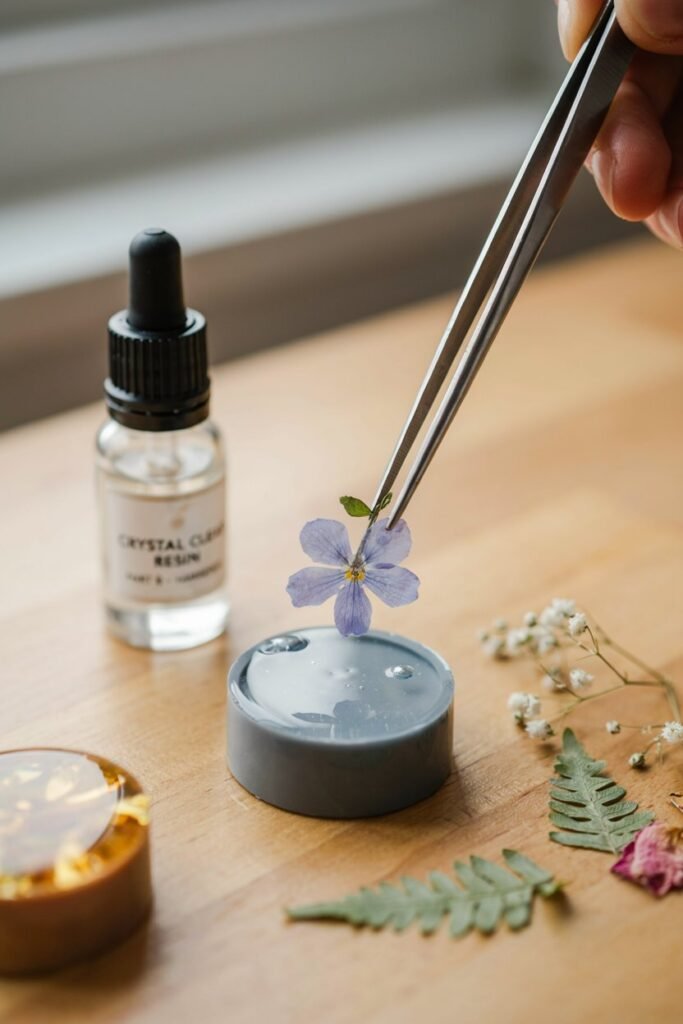
Jewelry is another huge seller because the materials are cheap and the finished product feels personal and delicate.
Step 1: Prepare your flowers. Press small flowers or leaves between heavy books for about a week until they are completely flat and dry.
Step 2: Choose your mold. Small circle, teardrop, or oval silicone molds work best for pendants and earrings.
Step 3: Mix a small batch. Since jewelry molds are tiny, mix only a small amount of resin at a time to avoid waste.
Step 4: Pour a thin base layer. Fill the mold about one third full and let it sit for around thirty minutes until slightly tacky.
Step 5: Place your flower. Gently press your dried flower into the tacky layer so it stays suspended rather than floating to the top.
Step 6: Pour the top layer. Once the flower is placed, pour the remaining resin over it to fully encase the piece.
Step 7: Bubble check. Use your torch briefly and check again after ten minutes since bubbles can rise slowly.
Step 8: Cure fully. Allow the full curing time listed on your resin, usually between twenty four and forty eight hours.
Step 9: Attach hardware. Drill a small hole if needed, then add jump rings, chains, or earring hooks to finish the piece.
These pieces sell incredibly well because customers feel like they are wearing a tiny piece of nature preserved forever.
Pricing Your Resin Crafts For Real Profit
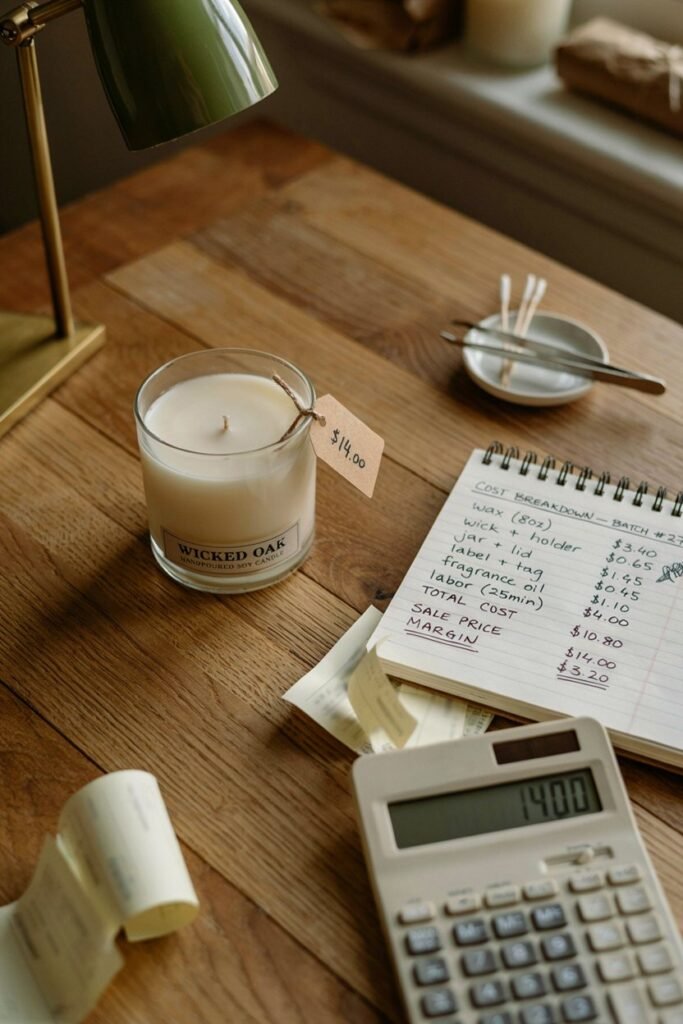
I struggled with pricing for months when I started, so let me spare you that guessing game.
A good rule I follow is to add up your material cost, then multiply it by at least four to six times to account for your time, electricity, packaging, and platform fees.
For example, if a coaster set costs me two dollars in materials, I price it between eighteen and twenty five dollars depending on complexity.
Jewelry pieces that cost under fifty cents in materials often sell for twelve to twenty dollars each because of the detailed handwork involved.
Do not undervalue your time.
Resin work involves waiting, mixing, sanding, and finishing, and customers are genuinely willing to pay for that craftsmanship when your photos and descriptions show the effort behind each piece.
Tips That Actually Improved My Sales

Photography matters more than almost anything else.
I take photos near a window with soft natural light, never under yellow indoor bulbs, since resin needs to show its true shine and color.
Descriptions should tell a small story.
Instead of simply saying coaster set, I describe the inspiration, like a set inspired by ocean waves at sunset, which helps buyers connect emotionally to the piece.
Packaging also boosts perceived value tremendously.
A simple kraft box with tissue paper and a small thank you card makes a customer feel like they received something special rather than just a product.
Consistency builds trust with returning customers.
I try to keep a signature style, whether that is a certain color palette or a recurring theme, so my shop becomes recognizable rather than blending into a sea of similar sellers.
Common Mistakes I Made So You Do Not Have To
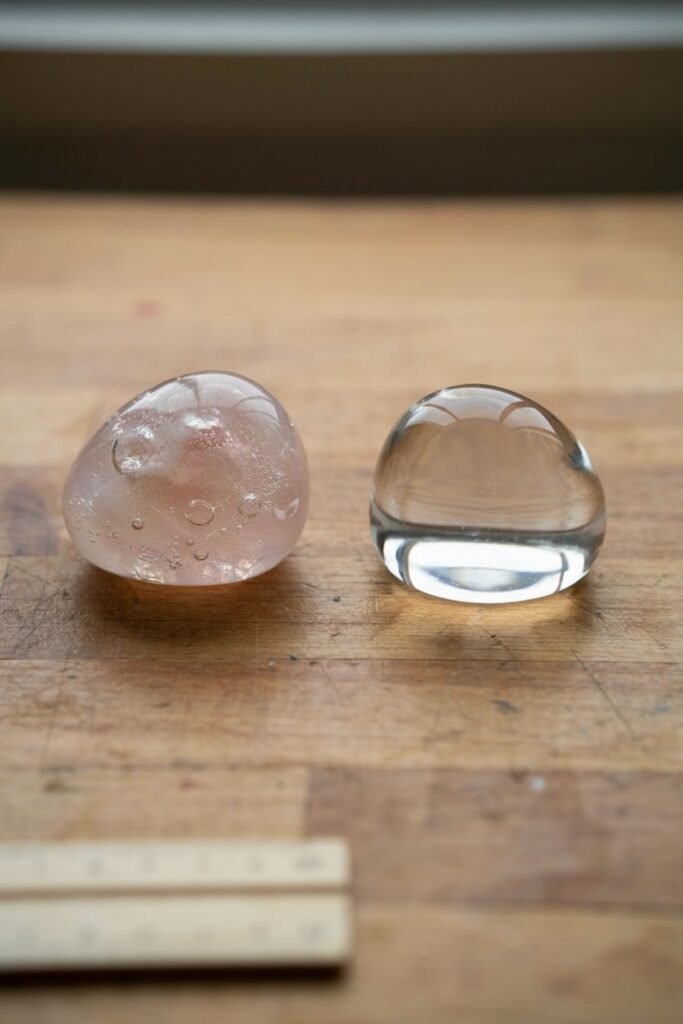
Measuring resin incorrectly was my biggest early mistake, resulting in sticky pieces that never fully hardened.
Always use a proper measuring cup rather than guessing amounts by eye.
Working in a cold or humid room caused cloudy, foggy looking pieces more than once.
If your resin ever looks hazy after curing, check your room temperature and humidity levels first.
Rushing the curing time was another costly lesson.
Pulling pieces out too early left fingerprints and dents that ruined otherwise beautiful work, so patience truly pays off here.
Skipping sanding made my early pieces feel rough and unfinished.
A quick pass with fine grit sandpaper transforms a mediocre piece into something that feels genuinely professional.
Frequently Asked Questions
Do I need a special license to sell resin crafts?
In most places you do not need a special craft license, but you may need a general business license depending on your city or state, plus a seller’s permit if you plan to sell through platforms like Etsy.
It is worth checking your local regulations before you start selling at scale.
How long does resin actually take to cure?
Most epoxy resin takes twenty four to seventy two hours to fully cure, though it may feel tacky free after just a few hours.
UV resin cures much faster, often within minutes under a UV lamp, which makes it great for small jewelry pieces.
Why does my resin stay sticky after curing?
This usually happens because of an incorrect mixing ratio or not stirring long enough.
Always measure resin and hardener precisely and mix for a full three minutes, scraping the sides and bottom of your cup so nothing is left unmixed.
Can I use regular craft supplies instead of resin specific tools?
Some supplies overlap, but resin specific tools like silicone molds and proper measuring cups matter a lot.
Using the wrong containers or molds can lead to sticking, warping, or ruined pieces, so it is worth investing in the right basics.
Is resin crafting safe to do at home?
Yes, as long as you work in a well ventilated room, wear gloves, and avoid direct skin contact with uncured resin.
Some people are sensitive to the fumes, so a mask and open window or fan are good extra precautions.
What is the most beginner friendly resin project to start with?
Coasters are the easiest starting point since they use simple flat molds and forgiving techniques like color swirling.
Jewelry comes next once you feel comfortable with smaller, more delicate pours.
How do I stop bubbles from ruining my resin pieces?
A quick pass with a heat gun or torch right after pouring pops most surface bubbles.
Working in a warm room and pouring slowly also reduces the number of bubbles that form in the first place.
Where can I sell my finished resin crafts?
Etsy, craft fairs, local markets, and Instagram or TikTok shops are all popular options.
Many sellers start with local markets to test pricing and designs before expanding into online platforms.
Final Thoughts Before You Start Pouring
Resin crafting rewards patience, practice, and a willingness to learn from imperfect batches.
My very first coasters were cloudy, bubbly, and honestly a little embarrassing, but each attempt taught me something new about timing, temperature, and technique.
If you are serious about turning this into an income stream, start small, master one or two techniques fully, and photograph everything so future customers can see the quality behind your work.
Resin crafts sell well because they combine beauty, uniqueness, and affordability in a way few other crafts can match, and with the steps above, you now have everything you need to start creating pieces people genuinely want to buy.
I hope this guide saves you the trial and error I went through, and I truly hope your first pour turns out even better than mine did.