
If you are looking for a natural way to keep your skin soft, hydrated, and healthy, learning how to make lotion bars is one of the best DIY beauty projects you can try.
Lotion bars are solid moisturizers made with nourishing ingredients that melt gently when they come into contact with body heat.
Unlike traditional lotions that contain water and preservatives, lotion bars are concentrated skincare products packed with moisturizing oils, rich butters, and protective waxes.
Homemade lotion bars have become increasingly popular among people who want natural skincare products without unnecessary chemicals, artificial fragrances, or harsh preservatives.
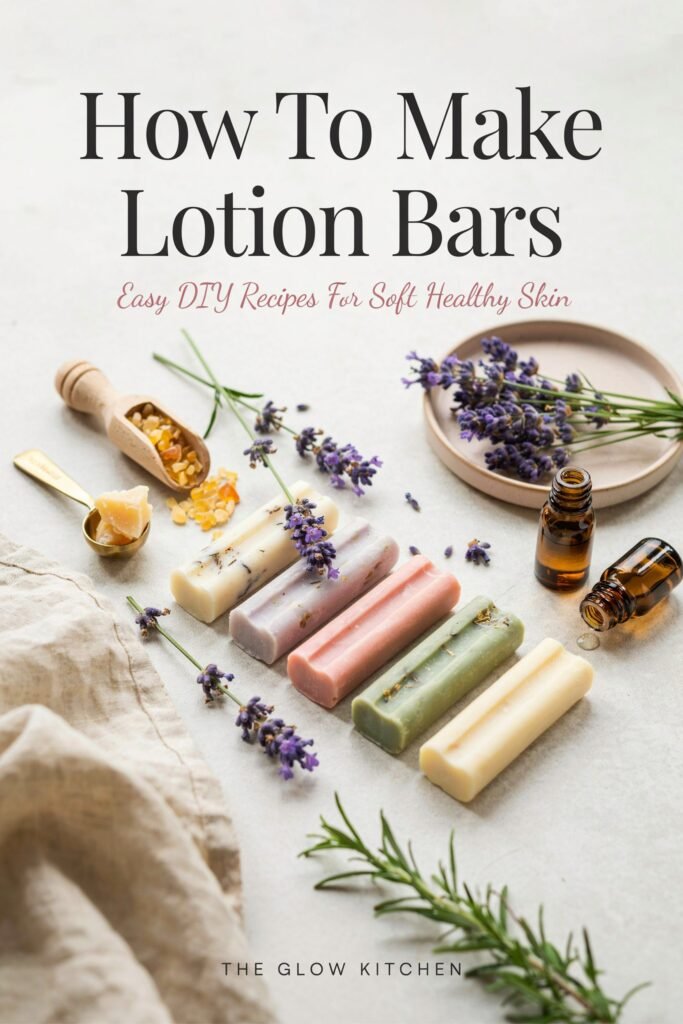
They are simple to make, highly customizable, cost effective, and environmentally friendly because they reduce the need for plastic packaging.
Whether you have dry skin, sensitive skin, cracked heels, rough elbows, or simply want a natural moisturizer that travels well, lotion bars can become an essential part of your skincare routine.
In this comprehensive guide, you will learn everything about making lotion bars at home, including ingredients, tools, step by step instructions, customization ideas, storage tips, benefits, and several lotion bar recipes suitable for different skin types.
What Are Lotion Bars?
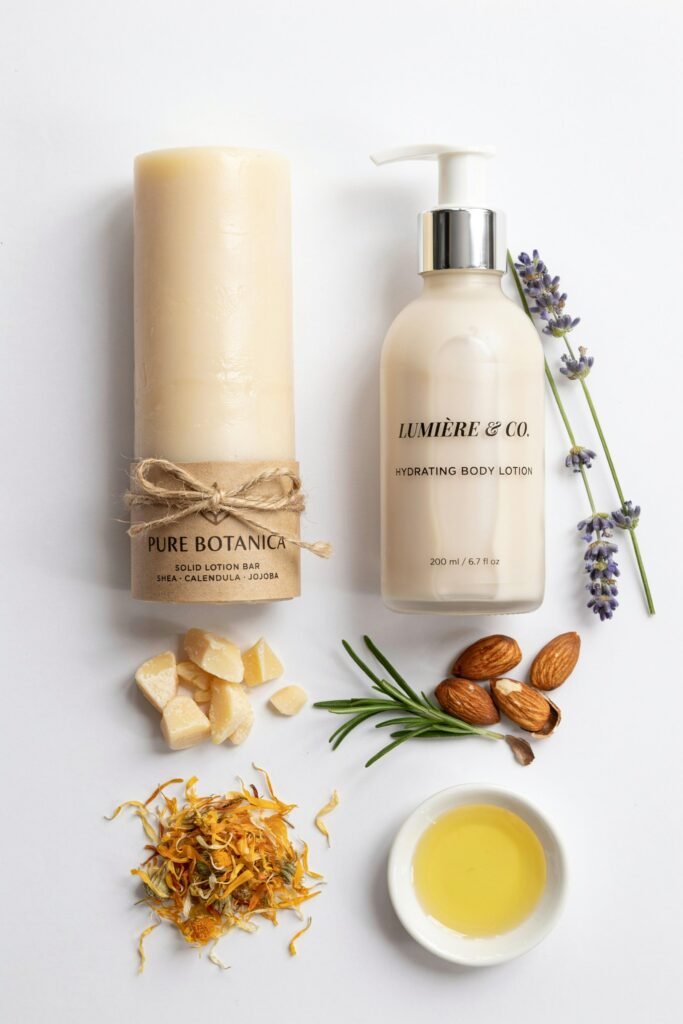
Lotion bars are solid bars made primarily from three key ingredients:
- Beeswax or a plant based wax
- Carrier oils
- Natural body butters
The bars remain solid at room temperature but soften when rubbed against warm skin.
This allows the moisturizing ingredients to transfer directly onto the skin without leaving excessive residue.
Unlike bottled lotions, lotion bars contain little to no water, making them highly concentrated and long lasting.
Benefits of Homemade Lotion Bars
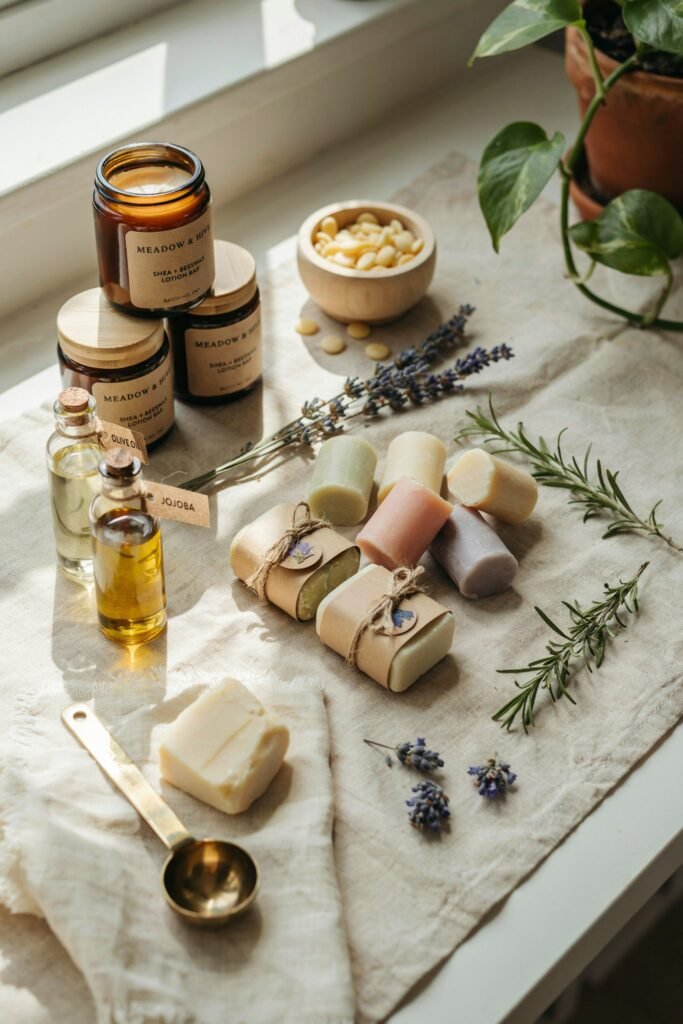
There are many reasons why people choose homemade lotion bars over store bought products.
Natural Ingredients
You have complete control over every ingredient used in your lotion bars.
This helps avoid synthetic fragrances, parabens, sulfates, and other additives.
Deep Moisturization
Because lotion bars contain concentrated oils and butters, they provide intense hydration for dry skin.
Long Lasting
A single lotion bar can often last longer than a bottle of lotion because a small amount goes a long way.
Eco Friendly
Most lotion bars require little or no packaging, helping reduce plastic waste.
Travel Friendly
Since lotion bars are solid, they are easy to pack and travel with.
Customizable
You can create unique combinations using different oils, butters, scents, and skin nourishing additives.
Cost Effective
Making lotion bars at home is often less expensive than purchasing premium natural skincare products.
Essential Ingredients for Lotion Bars
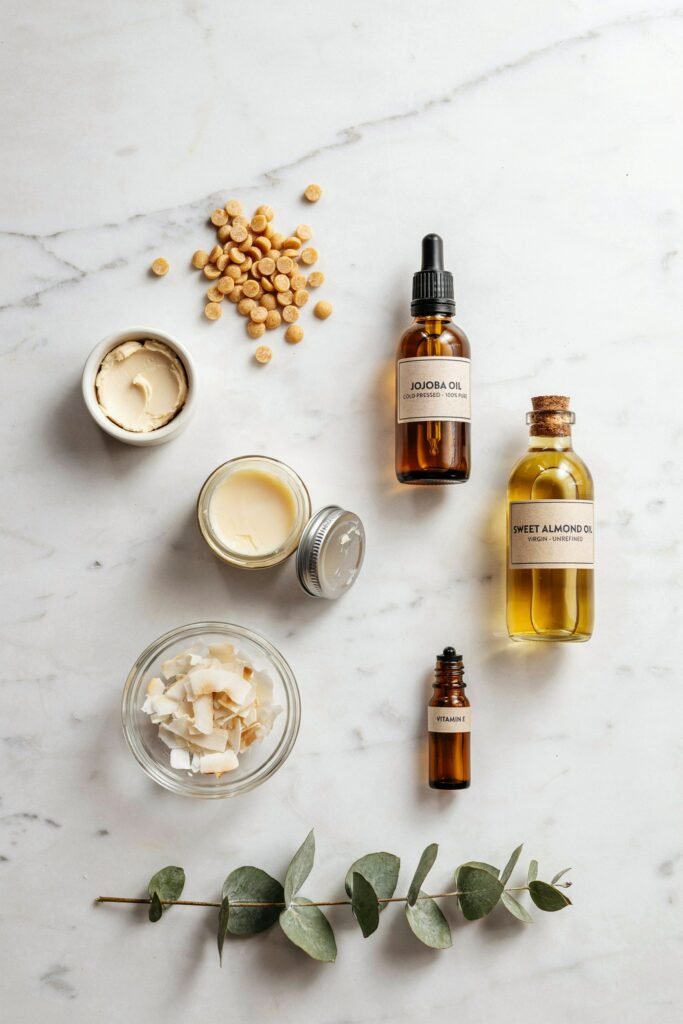
Understanding the role of each ingredient helps you create the perfect lotion bar.
Beeswax
Beeswax provides structure and helps solidify the lotion bar.
Benefits include:
- Protecting the skin barrier
- Locking in moisture
- Providing a smooth texture
- Helping bars maintain their shape
Shea Butter
Shea butter is one of the most popular skincare ingredients.
Benefits include:
- Deep hydration
- Rich vitamins A and E
- Soothing irritated skin
- Supporting skin elasticity
Cocoa Butter
Cocoa butter gives lotion bars a luxurious feel and pleasant natural scent.
Benefits include:
- Intense moisturization
- Improved skin softness
- Protection against dryness
- Long shelf life
Mango Butter
Mango butter creates a lighter lotion bar.
Benefits include:
- Quick absorption
- Non greasy texture
- Skin soothing properties
- Natural nourishment
Coconut Oil
Coconut oil is commonly used in DIY skincare.
Benefits include:
- Natural moisturizing properties
- Smooth texture
- Skin softening effects
- Pleasant consistency
Sweet Almond Oil
Sweet almond oil is lightweight and nourishing.
Benefits include:
- Rich fatty acids
- Fast absorption
- Soft smooth skin
- Gentle for most skin types
Jojoba Oil
Jojoba oil closely resembles the skin’s natural oils.
Benefits include:
- Balancing moisture
- Supporting healthy skin
- Suitable for sensitive skin
- Non greasy finish
Vitamin E Oil
Vitamin E acts as both a skin nourishing ingredient and a natural antioxidant.
Benefits include:
- Extending shelf life
- Supporting skin health
- Helping prevent oxidation
Equipment Needed
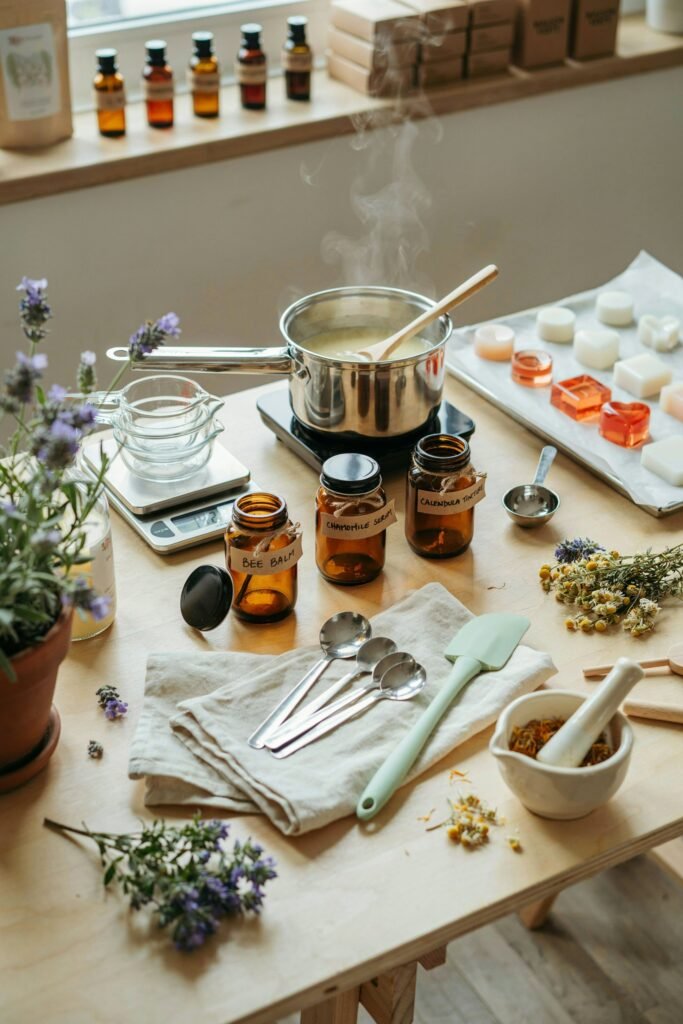
Making lotion bars requires only a few simple tools.
- Heat safe glass measuring cup
- Double boiler or saucepan
- Silicone molds
- Measuring spoons
- Kitchen scale
- Mixing spoon
- Dropper for essential oils
- Storage containers
Basic Lotion Bar Recipe
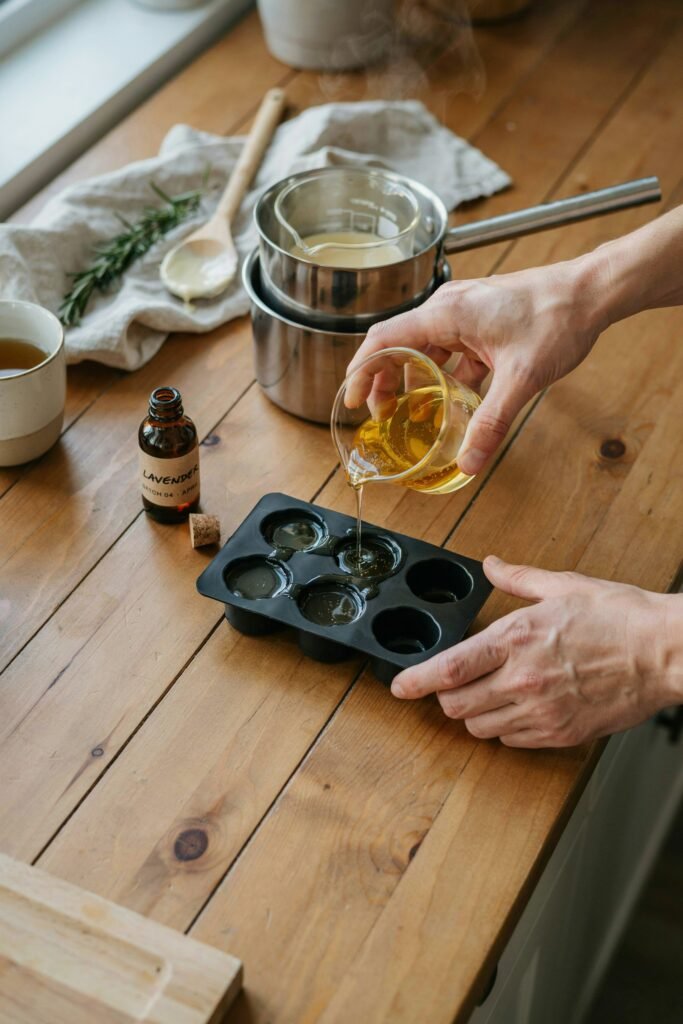
This beginner friendly recipe creates a moisturizing lotion bar suitable for most skin types.
Ingredients
- 1 cup beeswax pellets
- 1 cup shea butter
- 1 cup coconut oil
- 1 teaspoon vitamin E oil
- 20 drops lavender essential oil
Instructions
- Step 1
- Prepare your silicone molds and place them on a flat surface.
- Step 2
- Fill a saucepan with a few inches of water and bring it to a gentle simmer.
- Step 3
- Place beeswax, shea butter, and coconut oil into a heat safe measuring cup.
- Step 4
- Set the cup inside the saucepan to create a double boiler.
- Step 5
- Allow all ingredients to melt completely while stirring occasionally.
- Step 6
- Remove from heat once fully melted.
- Step 7
- Add vitamin E oil and lavender essential oil.
- Step 8
- Stir thoroughly until evenly combined.
- Step 9
- Carefully pour the mixture into silicone molds.
- Step 10
- Allow the bars to cool completely for several hours.
- Step 11
- Remove from molds once fully hardened.
- Step 12
- Store in an airtight container.
How to Use Lotion Bars
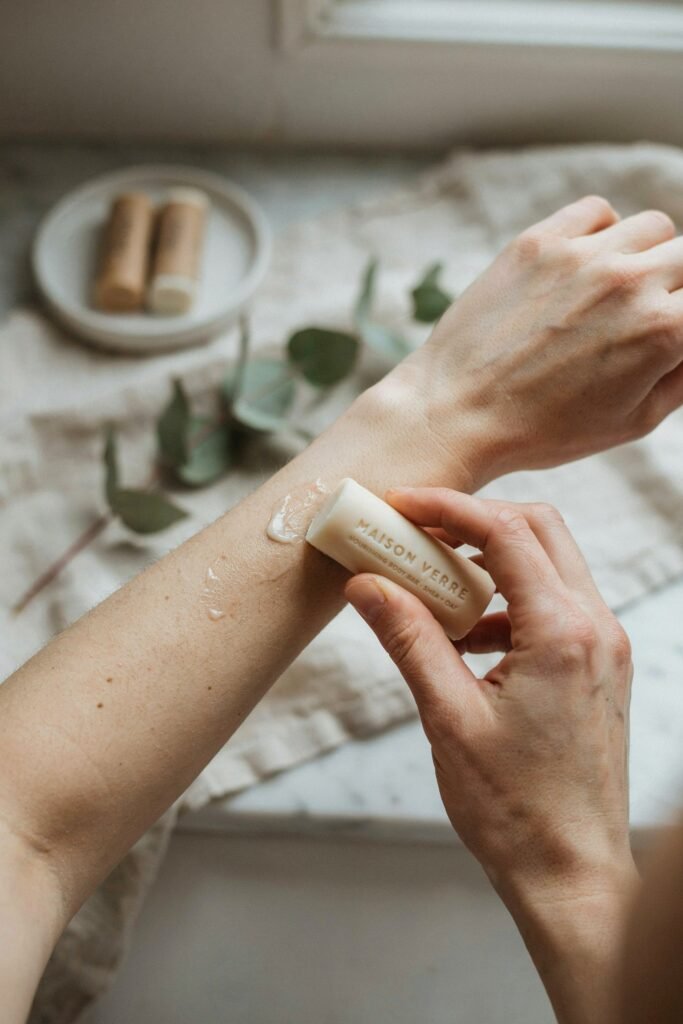
Using lotion bars correctly helps maximize their benefits.
Hold the lotion bar against warm skin for several seconds.
Allow body heat to soften the surface.
Rub gently over dry areas.
Massage the oils into the skin.
Use after showering for best results.
Apply before bedtime for overnight hydration.
Lavender Relaxation Lotion Bars
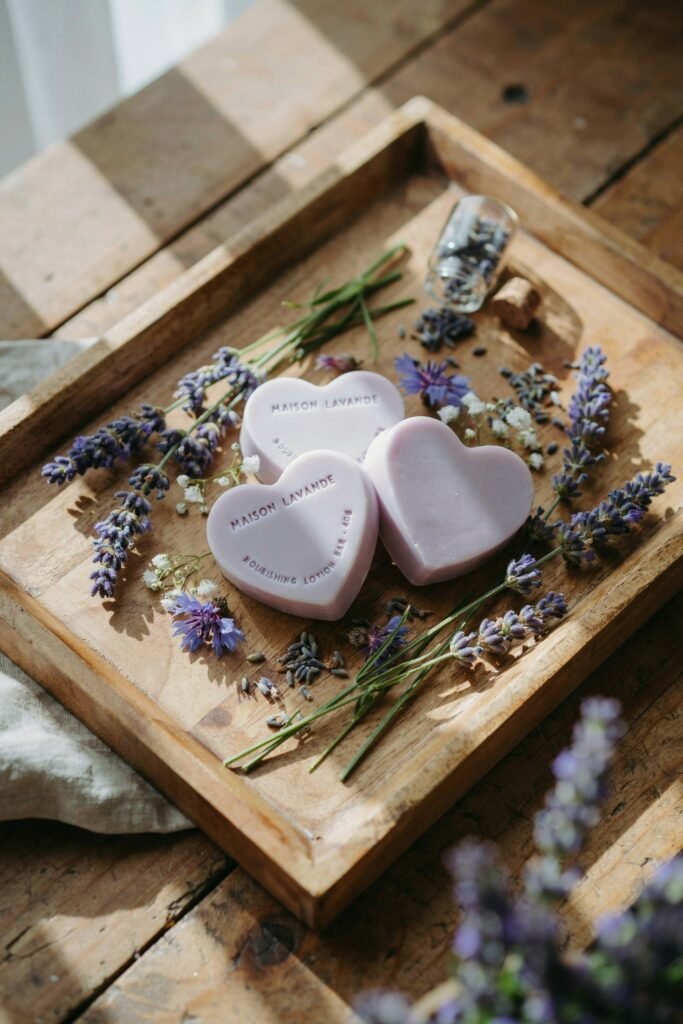
These lotion bars are ideal for evening skincare routines.
Ingredients
- 1 cup beeswax
- 1 cup shea butter
- 1 cup sweet almond oil
- 25 drops lavender essential oil
- 1 teaspoon vitamin E oil
Instructions
Melt the beeswax, shea butter, and almond oil together using a double boiler.
- Remove from heat and add vitamin E oil.
- Add lavender essential oil and stir thoroughly.
- Pour into molds.
- Allow to cool completely.
- Store in a cool dry location.
Benefits
- Promotes relaxation
- Provides deep hydration
- Supports smoother skin
- Creates a calming bedtime ritual
Cocoa Butter Luxury Lotion Bars
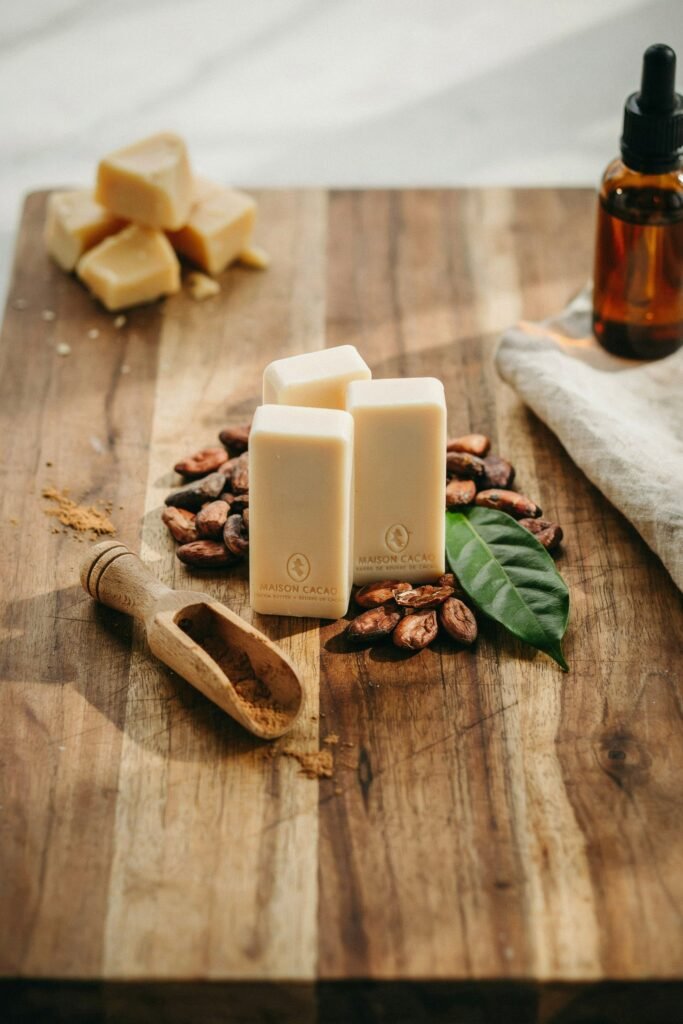
These bars are excellent for very dry skin.
Ingredients
- 1 cup beeswax
- 1 cup cocoa butter
- 1 cup coconut oil
- 1 teaspoon vitamin E oil
- 15 drops vanilla essential oil
Instructions
- Melt beeswax, cocoa butter, and coconut oil together.
- Stir until completely smooth.
- Remove from heat.
- Add vitamin E oil and vanilla essential oil.
- Mix thoroughly.
- Pour into molds.
- Allow to harden completely.
- Store in airtight containers.
Benefits
- Rich moisturization
- Smooth silky texture
- Wonderful natural aroma
- Excellent for winter skincare
Sensitive Skin Lotion Bars
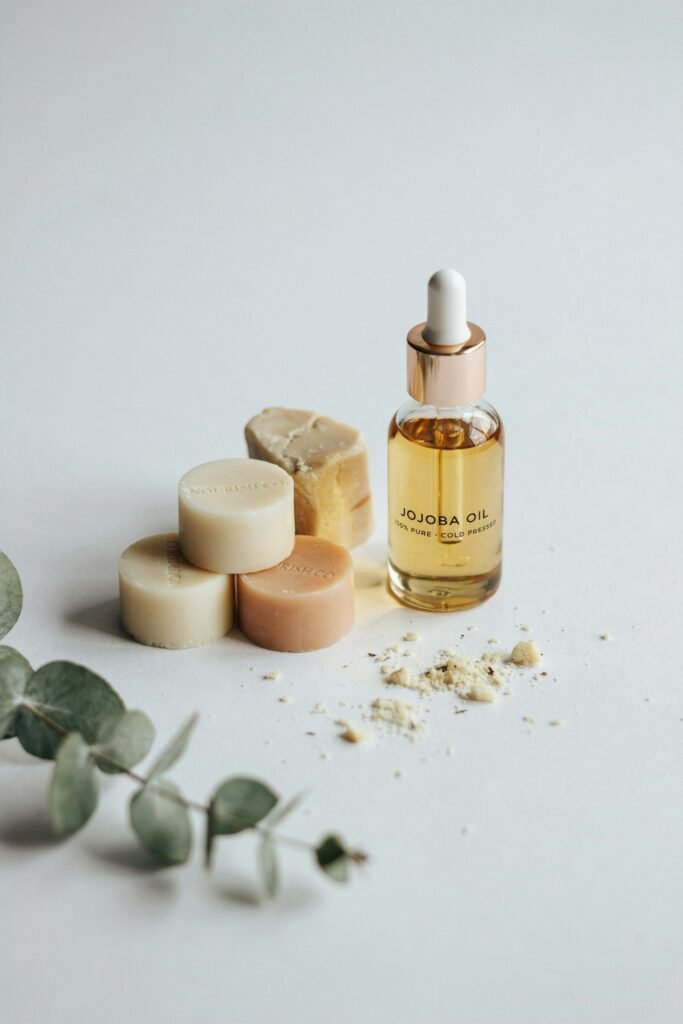
This fragrance free recipe works well for delicate skin.
Ingredients
- 1 cup beeswax
- 1 cup shea butter
- 1 cup jojoba oil
- 1 teaspoon vitamin E oil
Instructions
- Melt beeswax, shea butter, and jojoba oil together.
- Stir until smooth.
- Remove from heat.
- Add vitamin E oil.
- Mix thoroughly.
- Pour into molds.
- Allow bars to cool and harden naturally.
- Store in clean containers.
Benefits
- Gentle hydration
- Minimal irritation risk
- Suitable for daily use
- Supports healthy skin moisture balance
Herbal Infused Lotion Bars
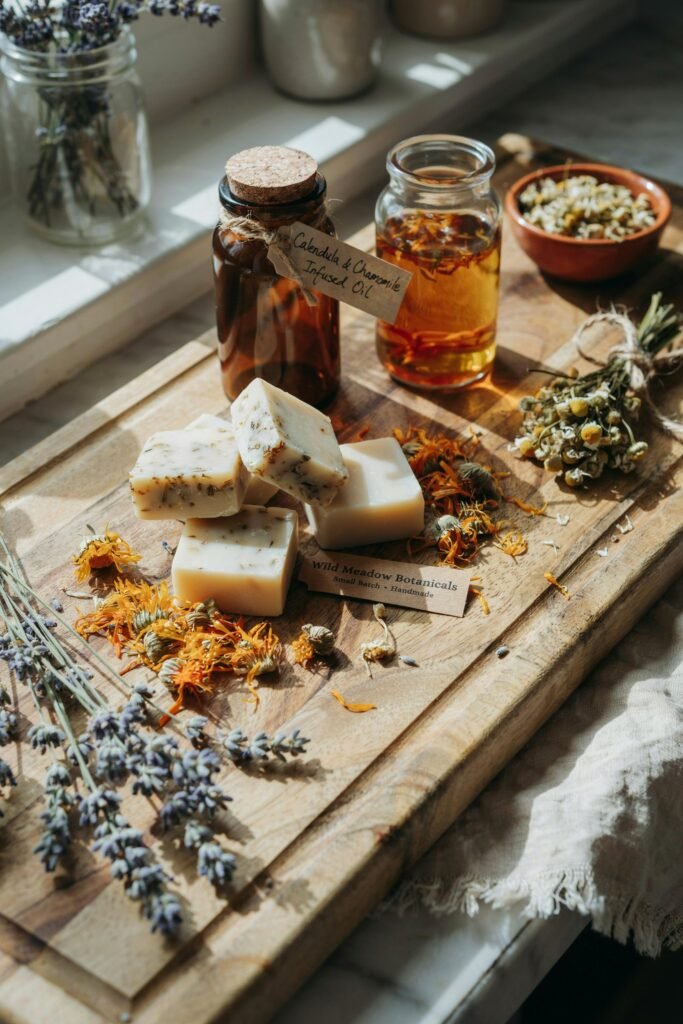
Herbal infused lotion bars combine the moisturizing power of natural oils and butters with the benefits of skin loving herbs.
These bars are excellent for anyone who enjoys natural skincare and botanical ingredients.
Herbs Commonly Used
Calendula
Chamomile
Lavender
Rose petals
Plantain leaf
Comfrey
How to Make Herbal Infused Oil
- Ingredients
- 1 cup olive oil
- 2 tablespoons dried herbs
Instructions
- Place dried herbs into a clean glass jar.
- Pour olive oil over the herbs.
- Seal the jar tightly.
- Allow the mixture to infuse for two to four weeks.
- Strain through cheesecloth.
- Use the infused oil in your lotion bar recipes.
Herbal Lotion Bar Recipe
- Ingredients
- 1 cup beeswax
- 1 cup shea butter
- 1 cup herbal infused oil
- 1 teaspoon vitamin E oil
Instructions
- Melt beeswax, shea butter, and herbal infused oil together.
- Stir until completely combined.
- Remove from heat.
- Add vitamin E oil.
- Pour into molds.
- Allow to harden completely.
- Store in airtight containers.
Benefits
- Provides botanical skincare support
- Adds natural skin soothing properties
- Creates luxurious handmade skincare products
- Perfect for gifting
Honey and Oatmeal Lotion Bars
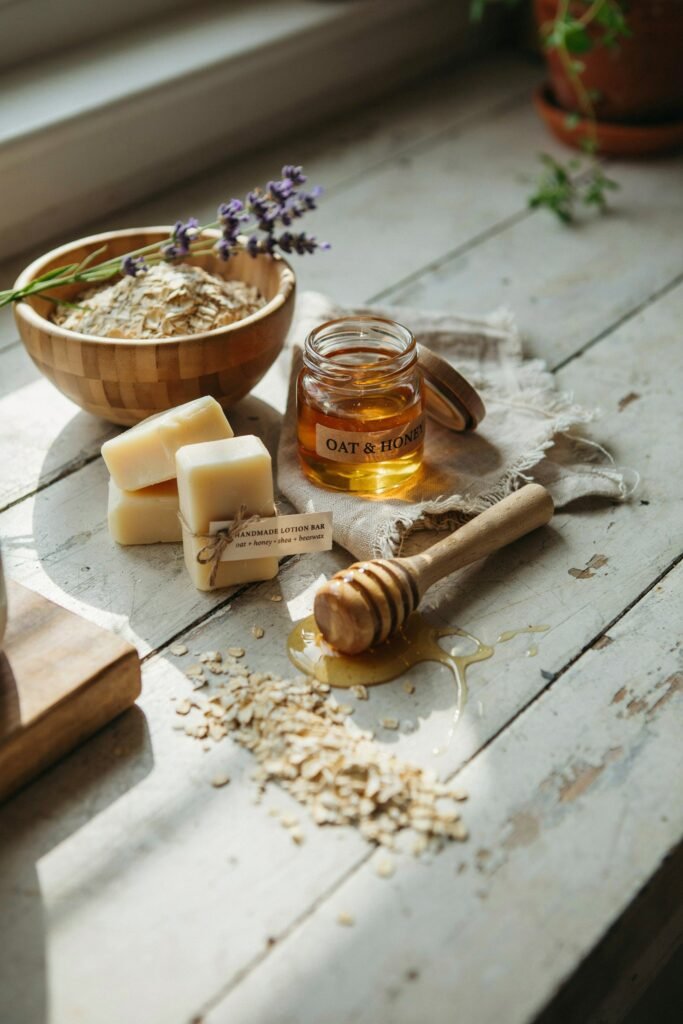
Honey and oatmeal are known for their skin softening properties.
Ingredients
- 1 cup beeswax
- 1 cup shea butter
- 1 cup sweet almond oil
- 1 tablespoon colloidal oatmeal
- 1 teaspoon honey powder
- 1 teaspoon vitamin E oil
Instructions
- Melt beeswax, shea butter, and almond oil.
- Mix thoroughly.
- Add colloidal oatmeal and honey powder.
- Stir continuously until evenly distributed.
- Add vitamin E oil.
- Pour into molds.
- Allow bars to cool and harden.
Benefits
- Helps soothe dry skin
- Provides gentle nourishment
- Creates a creamy luxurious feel
- Suitable for many skin types
Peppermint Foot Lotion Bars
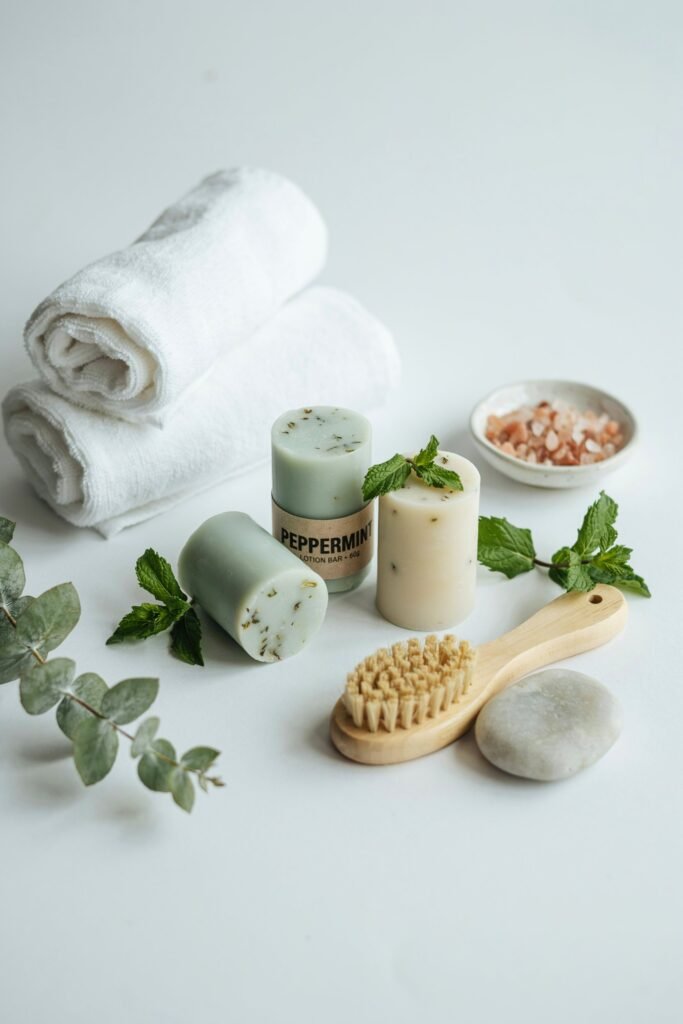
These lotion bars are designed specifically for tired feet and cracked heels.
Ingredients
- 1 cup beeswax
- 1 cup cocoa butter
- 1 cup coconut oil
- 20 drops peppermint essential oil
- 1 teaspoon vitamin E oil
Instructions
- Melt beeswax, cocoa butter, and coconut oil.
- Remove from heat.
- Add peppermint essential oil and vitamin E oil.
- Stir thoroughly.
- Pour into molds.
- Allow to harden completely.
- Apply to feet before bedtime.
- Wear cotton socks overnight for intensive hydration.
Benefits
- Softens rough heels
- Provides a cooling sensation
- Excellent for dry feet
- Ideal for year round foot care
Rose Lotion Bars for Mature Skin
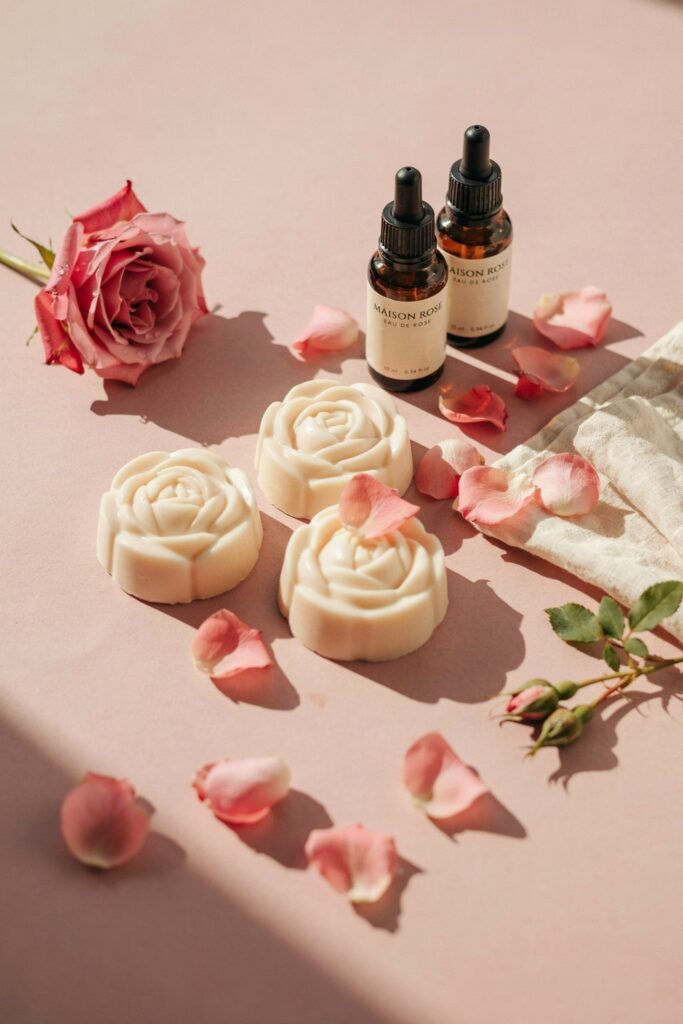
Rose infused lotion bars offer a luxurious skincare experience.
Ingredients
- 1 cup beeswax
- 1 cup mango butter
- 1 cup jojoba oil
- 20 drops rose essential oil
- 1 teaspoon vitamin E oil
Instructions
- Melt beeswax, mango butter, and jojoba oil.
- Stir until smooth.
- Remove from heat.
- Add rose essential oil and vitamin E oil.
- Mix thoroughly.
- Pour into molds.
- Allow to cool completely.
Benefits
- Lightweight moisturization
- Elegant floral aroma
- Supports soft healthy skin
- Perfect for gift giving
Lemon Vanilla Lotion Bars
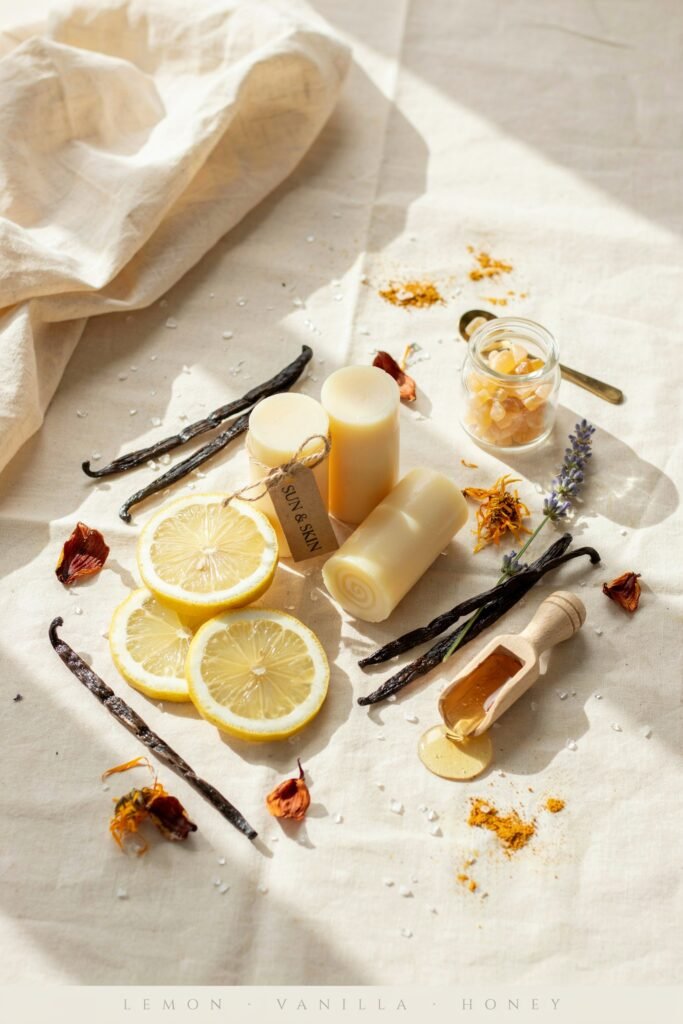
These refreshing lotion bars are popular during warmer months.
Ingredients
- 1 cup beeswax
- 1 cup cocoa butter
- 1 cup sweet almond oil
- 10 drops lemon essential oil
- 10 drops vanilla essential oil
- 1 teaspoon vitamin E oil
Instructions
- Melt beeswax, cocoa butter, and almond oil.
- Remove from heat.
- Add essential oils and vitamin E oil.
- Stir thoroughly.
- Pour into molds.
- Allow to harden before use.
Benefits
- Fresh uplifting scent
- Smooth moisturizing texture
- Excellent for daily skincare
- Wonderful handmade gift option
Lotion Bars for Extremely Dry Skin
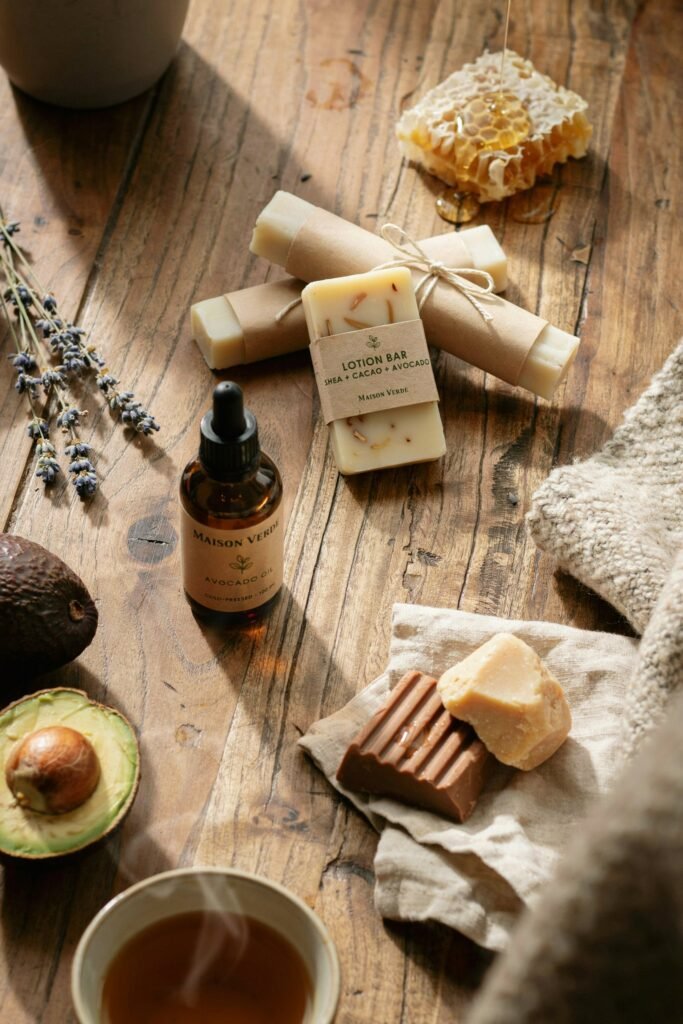
People with very dry skin often need extra rich ingredients.
Ingredients
- 1 cup beeswax
- 1 cup shea butter
- 1 cup cocoa butter
- 1 cup avocado oil
- 1 teaspoon vitamin E oil
Instructions
- Melt all ingredients except vitamin E oil.
- Stir until completely smooth.
- Remove from heat.
- Add vitamin E oil.
- Mix thoroughly.
- Pour into molds.
- Allow bars to harden overnight.
Benefits
- Intense hydration
- Long lasting moisture protection
- Excellent for winter skincare
- Helps soften rough skin
Decorative Lotion Bar Ideas
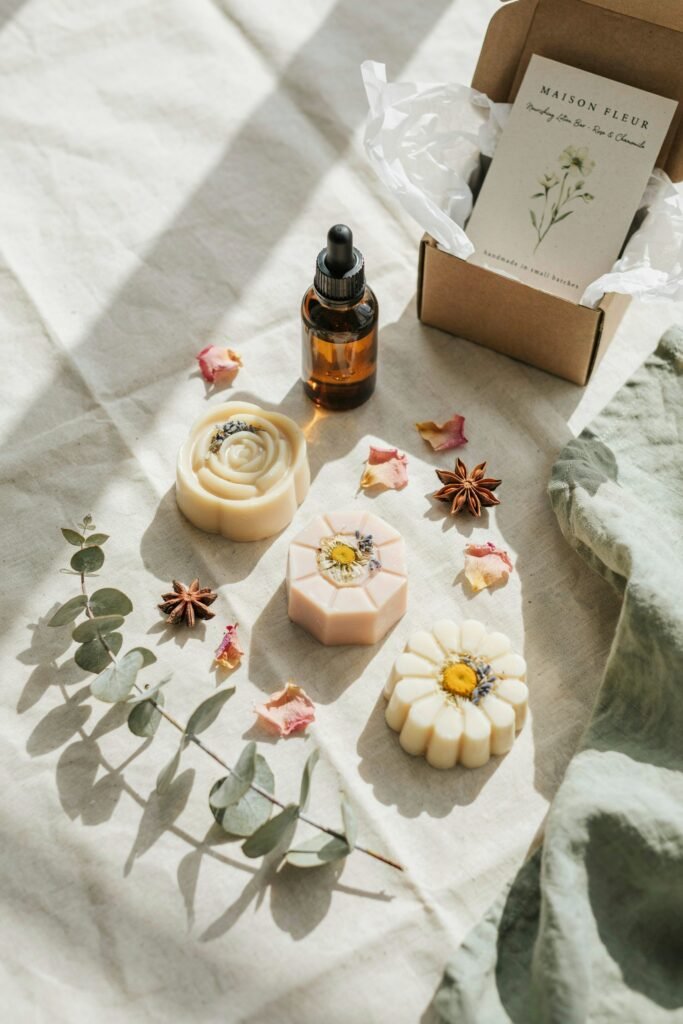
Homemade lotion bars can be beautiful as well as practical.
Consider adding:
- Dried flower petals
- Silicone molds with decorative shapes
- Natural colorants
- Botanical embeds
- Custom gift packaging
Creative designs make lotion bars perfect for holidays, birthdays, weddings, and special occasions.
How to Store Homemade Lotion Bars
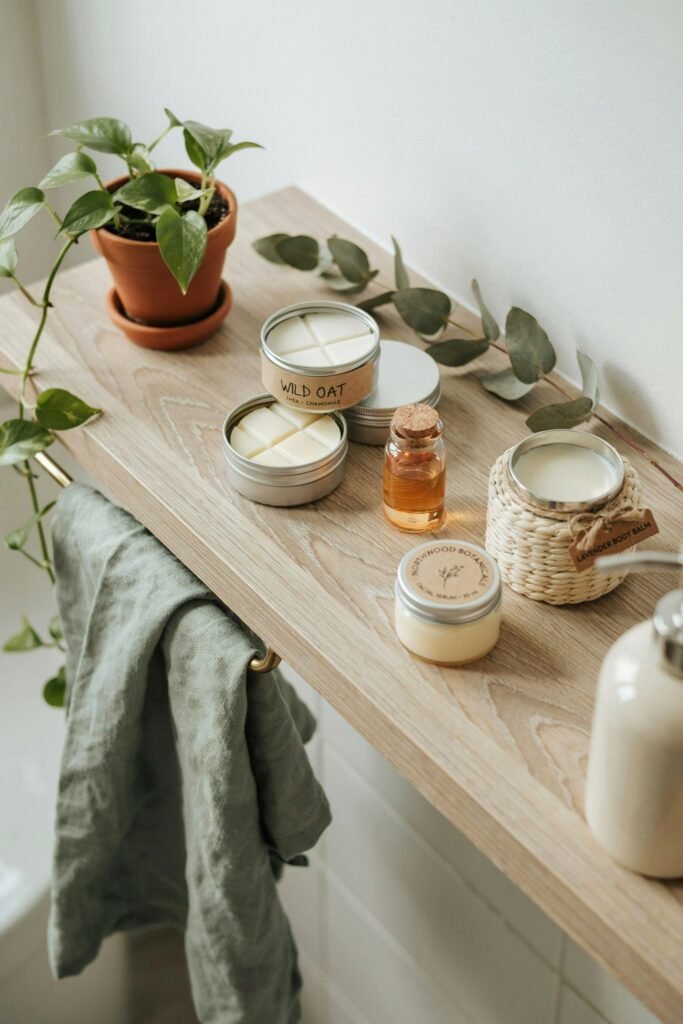
Proper storage helps maintain freshness and quality.
Store bars in airtight containers.
Keep away from direct sunlight.
Avoid excessive heat.
Store in a cool dry location.
Use clean hands when handling.
Label containers with production dates.
Properly stored lotion bars often remain fresh for six to twelve months.
Signs Your Lotion Bars Have Expired
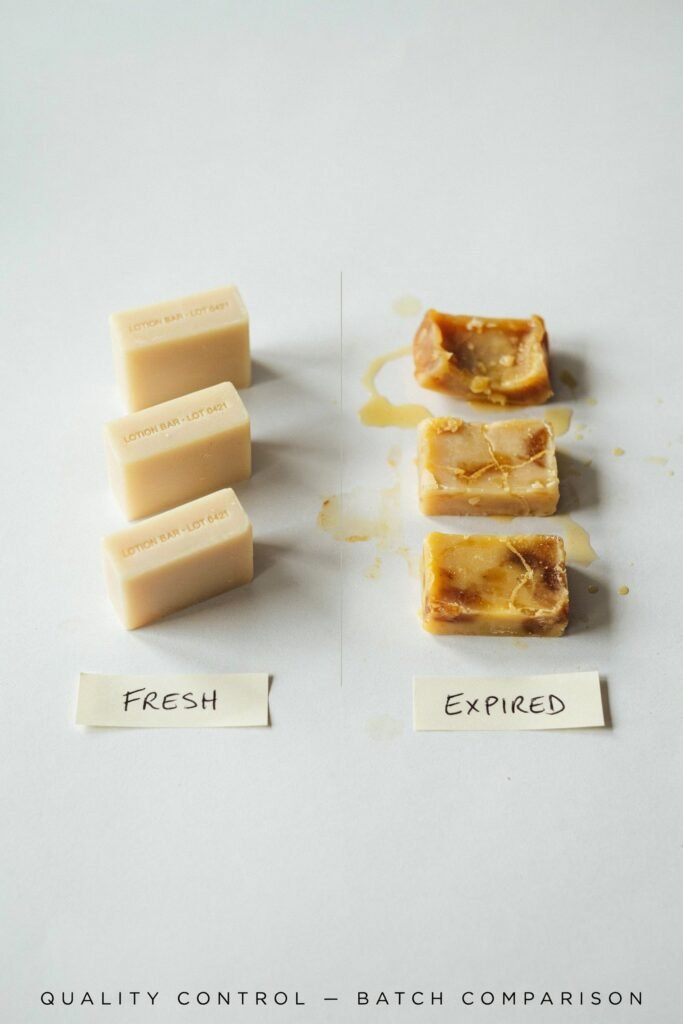
Although lotion bars generally have a long shelf life, they should be discarded if you notice:
- Unusual odor
- Mold growth
- Texture changes
- Discoloration
- Rancid smell
- Separation of ingredients
Always make small batches if you are experimenting with new recipes.
How to Package Lotion Bars for Gifts
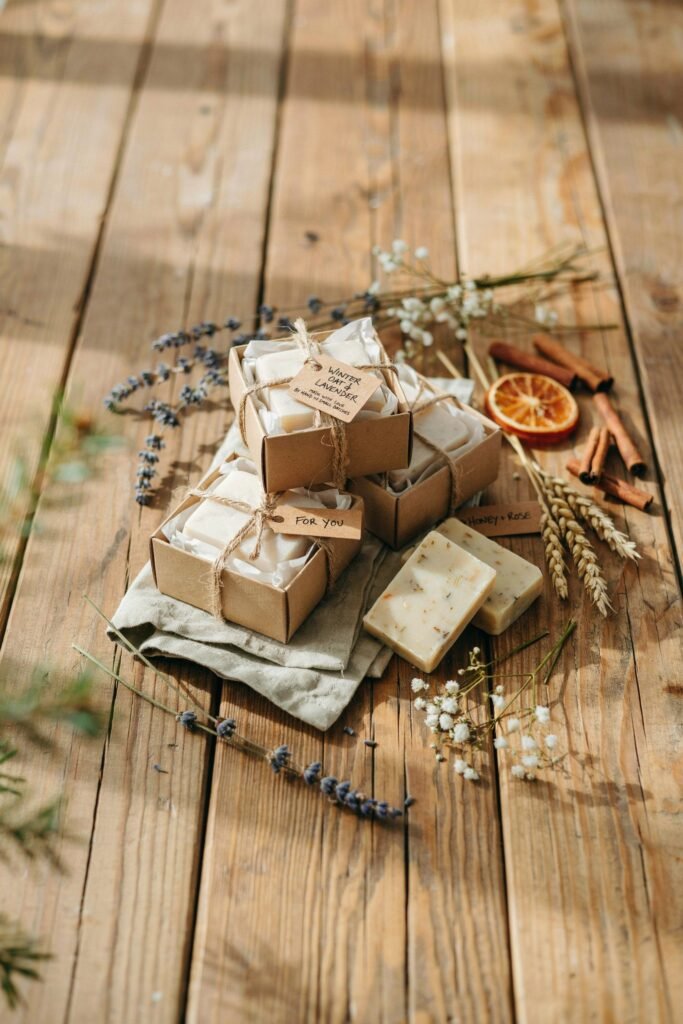
Handmade lotion bars make thoughtful gifts throughout the year.
Popular packaging ideas include:
- Metal tins
- Reusable glass jars
- Fabric gift bags
- Kraft paper boxes
- Wooden gift boxes
- Reusable storage containers
Adding personalized labels can make gifts even more special.
Troubleshooting Lotion Bar Problems
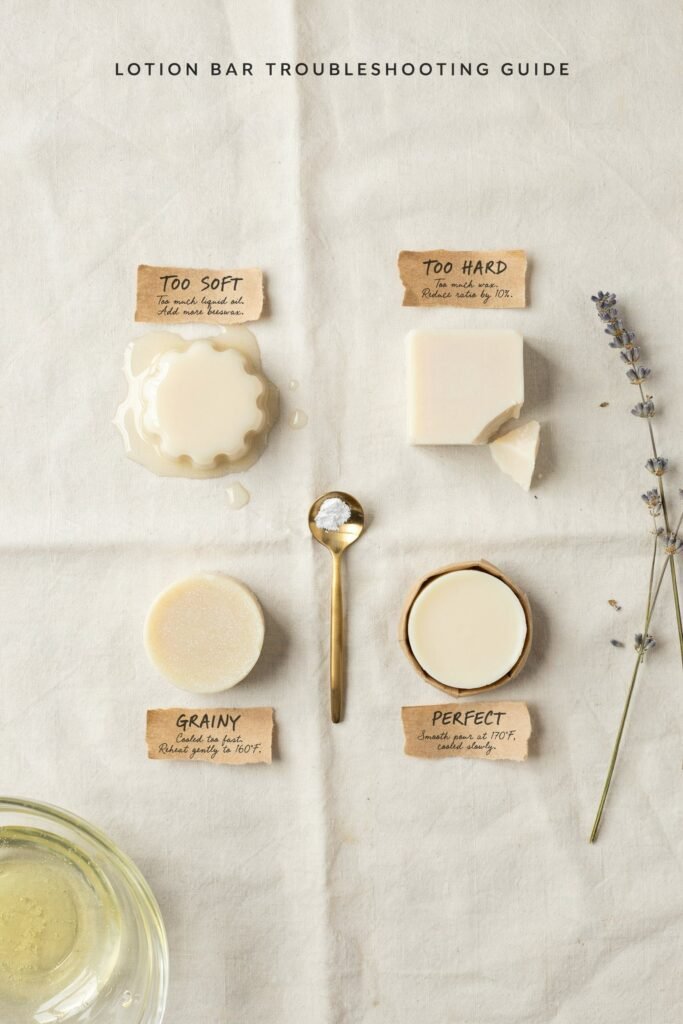
Lotion Bar Too Hard
Reduce the amount of beeswax.
Increase oils or butters slightly.
Lotion Bar Too Soft
Increase beeswax content.
Reduce liquid oils.
Allow additional cooling time.
Grainy Texture
Heat and cool ingredients slowly.
Avoid temperature fluctuations during storage.
Weak Fragrance
Add essential oils after removing ingredients from heat.
Store bars in sealed containers.
Uneven Surface
Tap molds gently after pouring.
Allow bars to cool on a level surface.
Common Lotion Bar Mistakes to Avoid
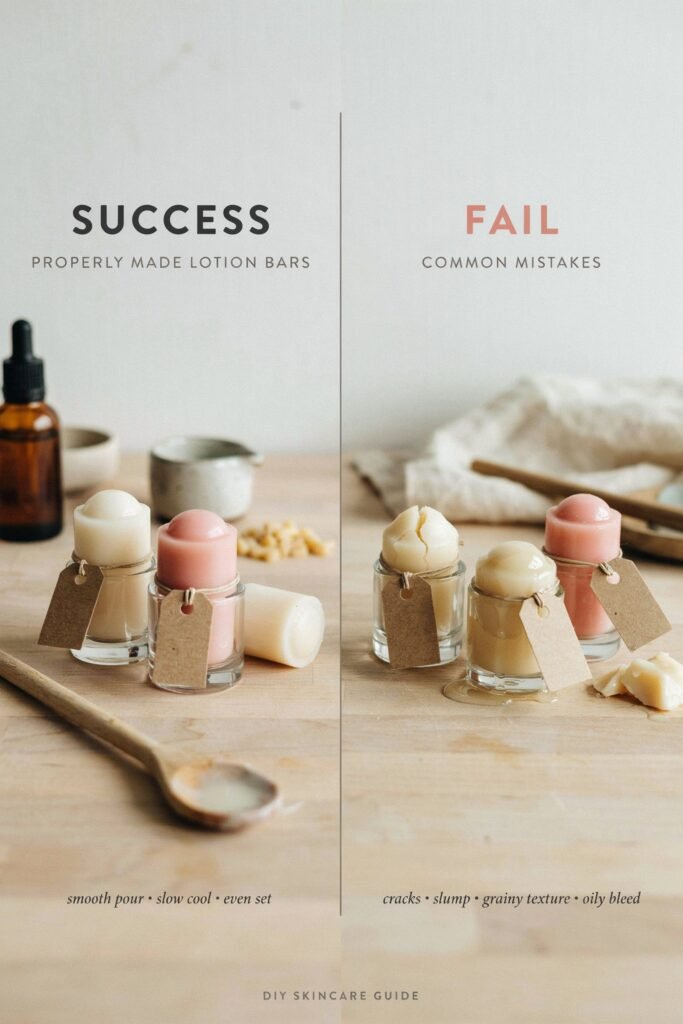
Many beginners encounter issues when making lotion bars. Avoiding these mistakes will improve your results.
Using excessive beeswax can make bars too hard.
Using too much oil can make bars too soft.
Overheating ingredients may reduce beneficial properties.
Adding essential oils while ingredients are too hot can weaken their scent.
Improper storage can shorten shelf life.
Using wet equipment may introduce moisture and affect product quality.
Best Essential Oils for Lotion Bars
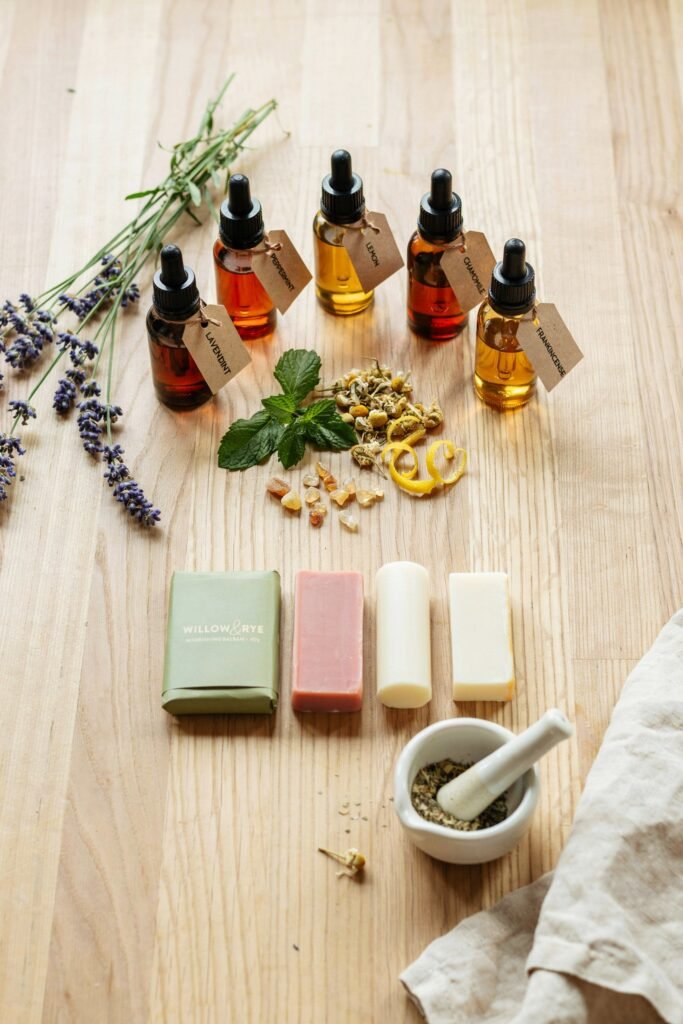
Choosing the right essential oils can enhance both fragrance and skincare benefits.
Lavender for relaxation
Peppermint for a cooling sensation
Sweet orange for an uplifting scent
Lemon for freshness
Frankincense for mature skin
Tea tree for problem prone skin
Rose geranium for balanced skin
Chamomile for soothing benefits
Why Homemade Lotion Bars Are Better Than Many Store Bought Products
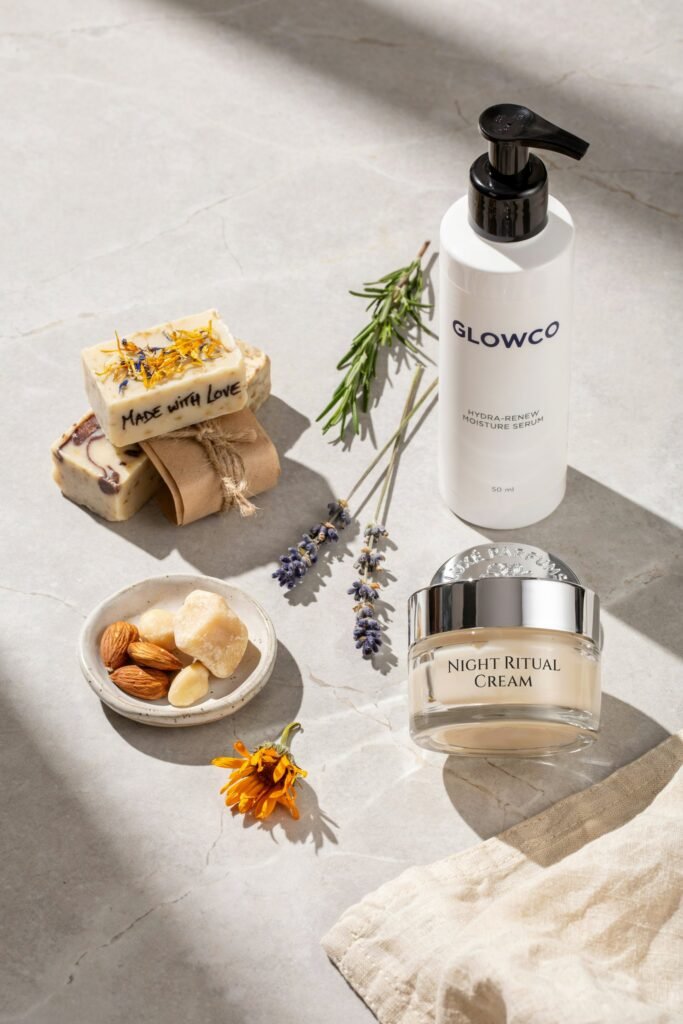
Many commercial moisturizers contain water, preservatives, synthetic fragrances, and fillers.
Homemade lotion bars focus on concentrated moisturizing ingredients.
Advantages include:
- Fewer ingredients
- Greater customization
- Reduced packaging waste
- Cost savings
- Natural skincare benefits
- Travel friendly convenience
- Control over fragrance choices
- Ability to tailor recipes to specific skin needs
Frequently Asked Questions
How long do homemade lotion bars last?
Most lotion bars remain fresh for six to twelve months when stored properly.
Can lotion bars be used on the face?
Some gentle formulas can be used on the face, but it is important to choose ingredients suitable for facial skin.
Are lotion bars greasy?
When formulated correctly, lotion bars absorb well into the skin and leave a protective moisturizing layer.
Can vegans make lotion bars?
Yes. Replace beeswax with candelilla wax or carnauba wax.
Can I sell homemade lotion bars?
Regulations vary by location. Always research local cosmetic labeling and manufacturing requirements before selling skincare products.
What molds work best?
Silicone molds are the easiest to use because they allow bars to release cleanly once hardened.
Can children use lotion bars?
Simple fragrance free formulas are often suitable for children, but parents should review ingredients carefully and perform a patch test first.
Final Thoughts
Learning how to make lotion bars is one of the most rewarding natural skincare projects for beginners and experienced DIY enthusiasts alike.
These solid moisturizers provide rich hydration, require only a handful of ingredients, and can be customized endlessly to suit different skin types and preferences.
Whether you choose calming lavender lotion bars, luxurious cocoa butter bars, soothing herbal infused bars, or rich formulas for extremely dry skin, homemade lotion bars offer a practical and natural alternative to many commercial moisturizers.
With quality ingredients, proper storage, and a little creativity, you can create beautiful skincare products that nourish the skin while reducing waste and saving money.
Once you master the basic formula, you can experiment with countless combinations of butters, oils, herbs, and essential oils to create your own signature lotion bars that friends and family will love.