
A few months ago, I stood in the middle of my living room and realized something frustrating: the house looked messy even though I had cleaned it the day before.
Toys were scattered under the coffee table, mail had piled up on the kitchen counter, and somehow every drawer in the house seemed full but still disorganized.
If you’ve ever felt like your home is constantly slipping back into chaos no matter how often you tidy up, you’re not alone.
The truth is that cleaning and organizing are two completely different things. Cleaning removes dirt and dust, but organizing creates systems that make daily life easier.
Instead of trying to organize everything in one exhausting weekend, I discovered that spreading the process over two weeks makes it far more manageable.
By focusing on one area each day, you can transform your entire home without feeling overwhelmed.
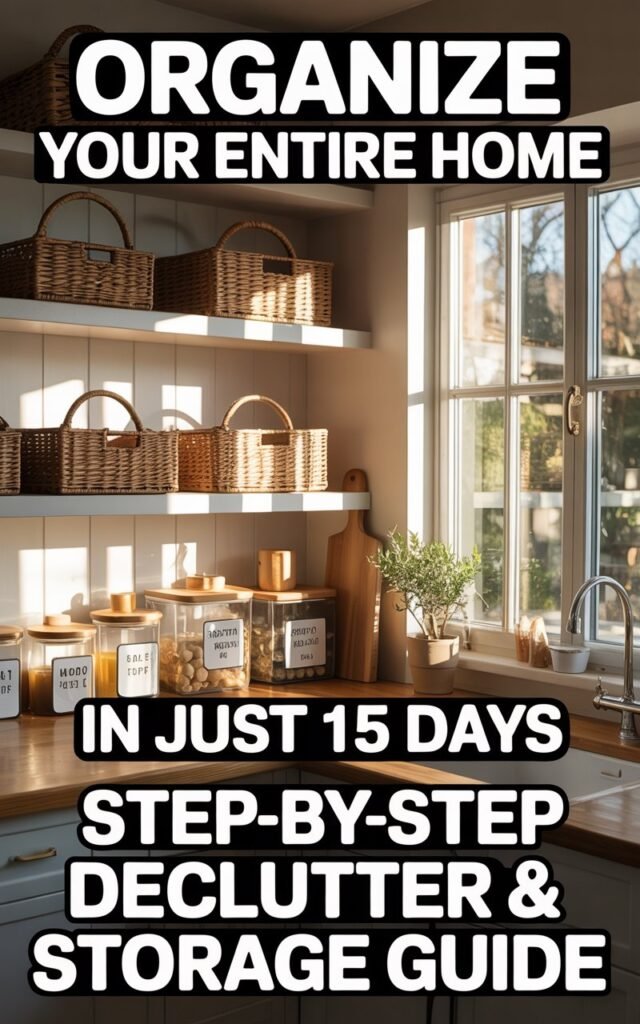
This 15-day home organization plan breaks the process into small, realistic tasks so you can create a home that feels calm, functional, and easy to maintain.
Disclaimer: This post may contain affiliate links, which means I may earn a small commission at no extra cost to you. Always choose storage solutions that fit your available space and household needs.
Amazon Shopping List: How to Easily Organize Your Entire House
- Clear Stackable Storage Bins with Lids
- Woven Storage Basket Set
- Label Maker Machine
- Drawer Organizer Divider Set
- Over-the-Door Hanging Organizer
- Foldable Fabric Storage Cubes
- Rolling Utility Storage Cart
1. Start With a Simple Plan Before You Begin
Before you start organizing anything in your home, it’s important to create a simple plan.
Many people feel overwhelmed when they try to tackle every room at once, which often leads to unfinished projects and frustration.
The first time I tried to organize my house, I made the mistake of jumping from room to room without a clear strategy.
I would start decluttering the kitchen, then suddenly move to the bedroom closet, and by the end of the day I had several half-finished spaces and even more clutter than before.
What made the biggest difference was slowing down and focusing on one area at a time.
Take a few minutes to walk through your home and identify the areas that tend to collect the most clutter.
These are usually places like kitchen counters, entry tables, closets, and bathroom cabinets.
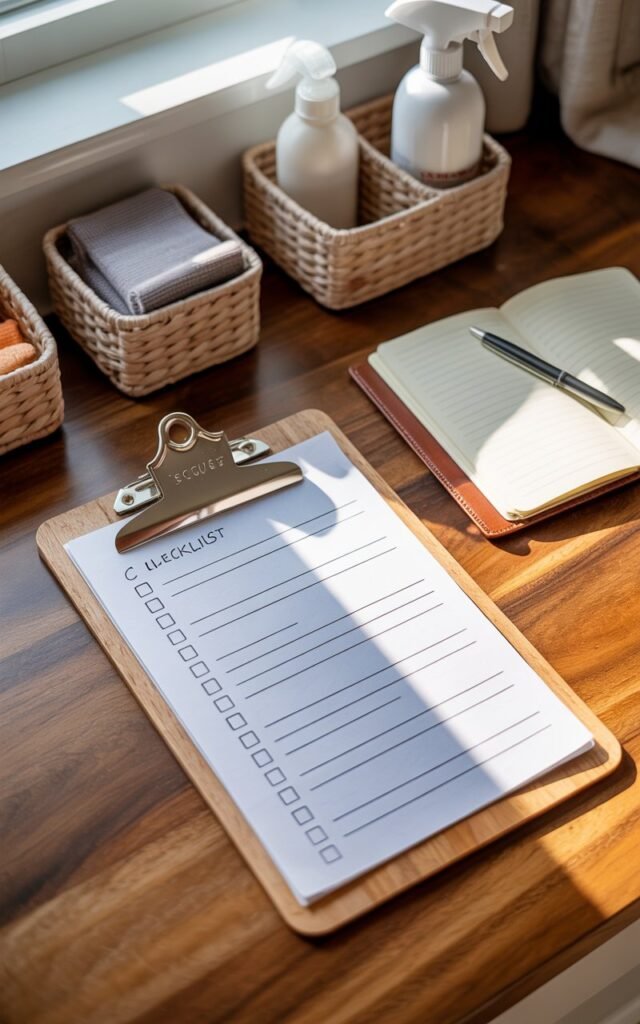
Before starting the 15-day plan, gather a few basic supplies to make the process easier:
- boxes or bins labeled keep, donate, and discard
- cleaning cloths for wiping surfaces
- storage baskets or containers
- a small notebook or checklist to track progress
Try to set aside 30 to 60 minutes each day. This keeps the process manageable and prevents you from feeling exhausted or discouraged.
The goal isn’t to achieve perfection overnight. Instead, the goal is to create simple systems that make your home easier to maintain in the long run.
2. Days 1–3: Declutter and Reset the Kitchen
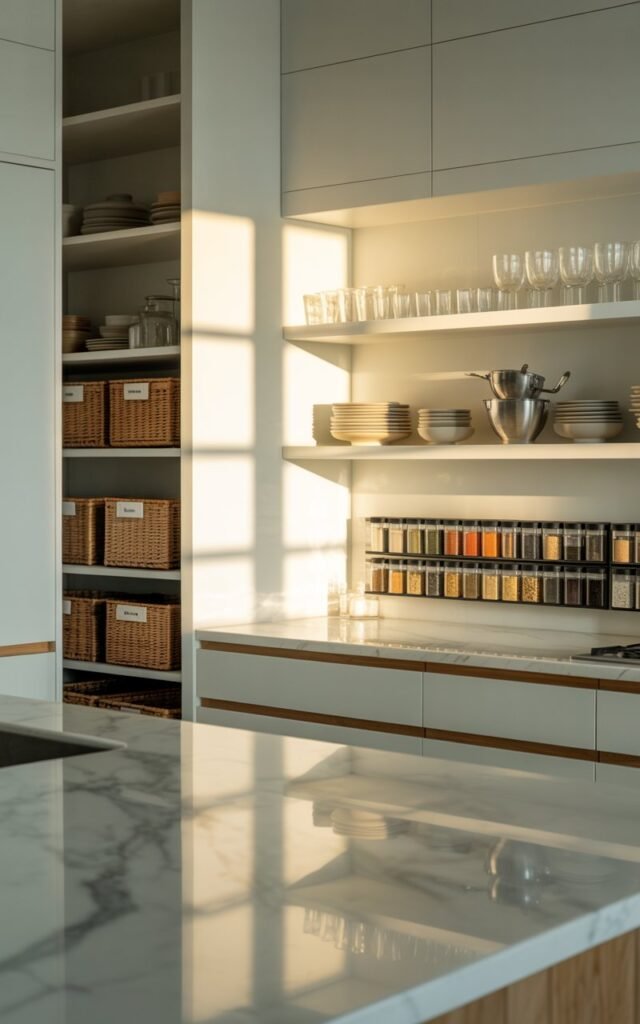
For many households, the kitchen is the busiest room in the house.
Meals are prepared there, groceries are stored there, and it often becomes a place where mail, bags, and random items accumulate throughout the day.
Because of this, the kitchen is one of the best places to begin your home organization project.
When I started organizing my kitchen, I realized how many things were taking up space without actually being used.
Duplicate utensils, mismatched food containers, and expired pantry items were filling cabinets that should have been easy to navigate.
Breaking the kitchen into smaller sections makes the task much more manageable.
Day 1 – Clear and Reset Kitchen Counters
Begin by removing everything from your countertops.
Wipe the surfaces clean and only return the items you truly use every day, such as:
- coffee makers or kettles
- cutting boards
- frequently used cooking tools
Appliances that are rarely used can be stored inside cabinets to free up counter space.
A clear countertop instantly makes the entire kitchen feel more organized.
Day 2 – Organize Cabinets and Cooking Tools
Next, focus on your cabinets.
Take everything out and group similar items together. This helps you see exactly what you have and identify duplicates.
Helpful organization tips include:
- storing pots and pans together
- keeping baking supplies in one section
- stacking containers with matching lids
If you discover items you haven’t used in years, consider donating them.
Day 3 – Refresh and Organize the Pantry
Pantries often hold forgotten food items that have expired or are rarely used.
Remove everything from the shelves and check expiration dates. Dispose of anything that is no longer safe to eat.
Then organize the remaining items into simple categories such as:
- snacks
- canned goods
- grains and pasta
- baking ingredients
Placing frequently used foods at eye level makes cooking and meal preparation much easier.
Once the kitchen is decluttered and organized, everyday tasks like cooking and cleaning become far more efficient.
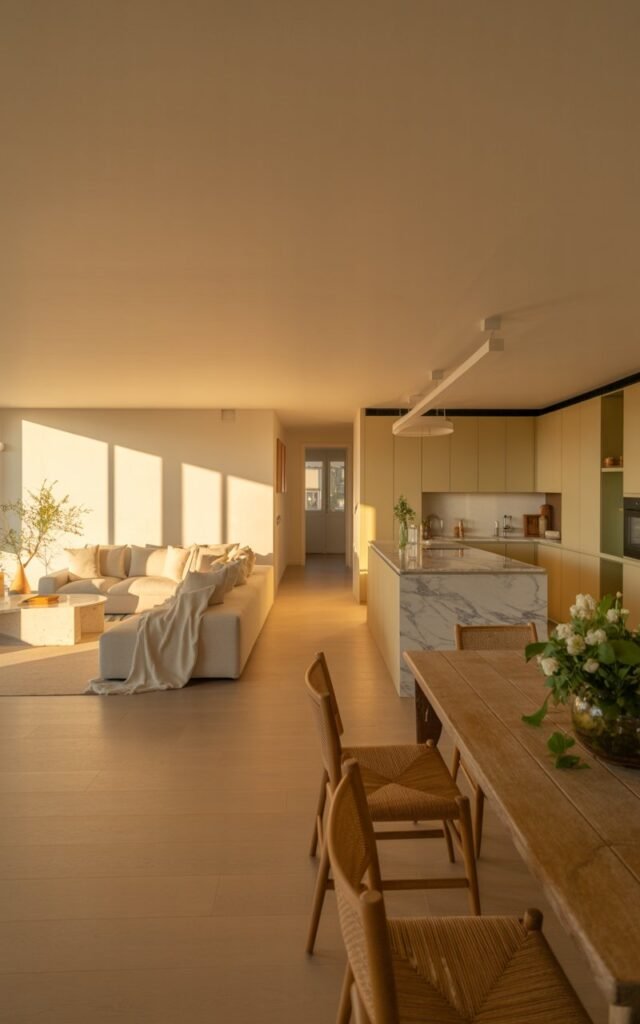
3. Days 4–5: Organize the Living Room

The living room is where most of daily life happens. It’s where family members relax, watch television, chat, and sometimes even work or study.
Because it’s such a central space, it also tends to collect clutter very quickly.
When I finally took the time to organize my living room, I noticed something interesting: most of the mess came from items that didn’t have a proper place.
Remote controls, chargers, magazines, and random items would end up on the coffee table simply because there wasn’t a system for them.
The goal here is not to remove everything from the room, but to create simple storage solutions that keep everyday items organized and easy to find.
Day 4 – Clear Surfaces
Start by decluttering the visible areas in the room.
Focus on:
- coffee tables
- side tables
- shelves
- entertainment centers
Remove items that don’t belong in the living room. Old magazines, paperwork, or unused decorations can quickly make the room feel crowded.
Keep only a few decorative items so the space feels open and relaxing.
Day 5 – Create Simple Storage Zones
Next, give frequently used items a designated place.
Practical ideas include:
- using baskets to store blankets
- placing toys in a storage bin or ottoman
- keeping remote controls in one small container
- storing chargers in a drawer or small box
Once everything has a place, the room becomes much easier to tidy at the end of the day.
4. Days 6–7: Simplify the Bedroom
Your bedroom should feel like a calm and restful space, but clutter can easily turn it into one of the most stressful rooms in the house.
Clothes pile up, nightstands collect random items, and closets become crowded with things we rarely wear.
When I reorganized my bedroom, I realized that simplifying the space made a bigger difference than simply cleaning it.
Start with the most visible areas, then move into your clothing storage.
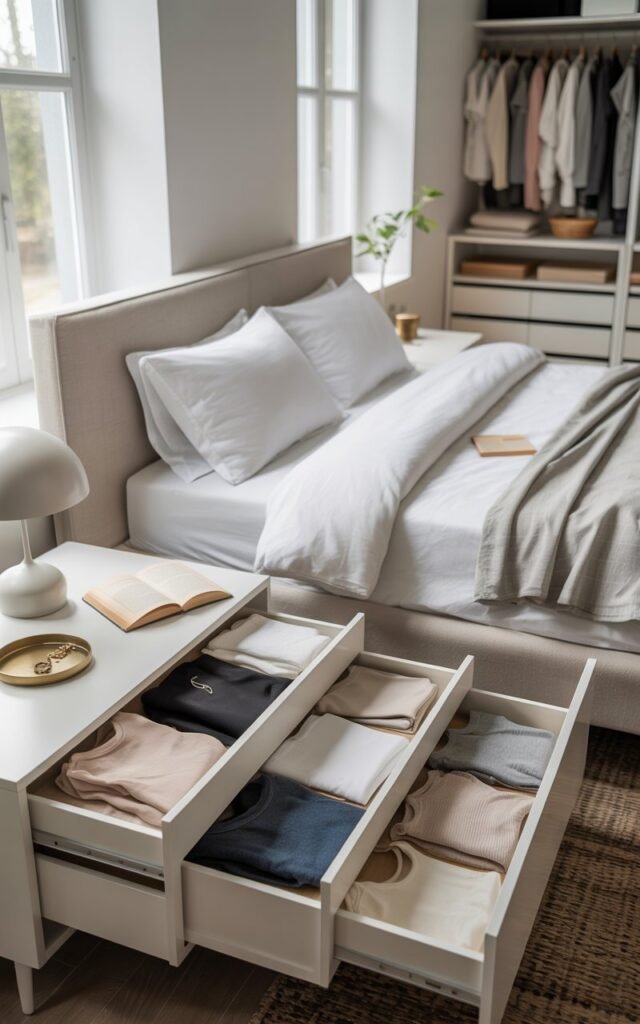
Day 6 – Organize Dressers and Nightstands
Begin by clearing everything off your nightstand and dresser.
Ask yourself a simple question: Do I actually use this every day?
Keep only the essentials nearby, such as:
- a lamp
- a book
- a phone charger
- a small tray for jewelry or glasses
Inside the drawers, group similar clothing items together. This makes it much easier to find what you need without digging through piles of clothes.
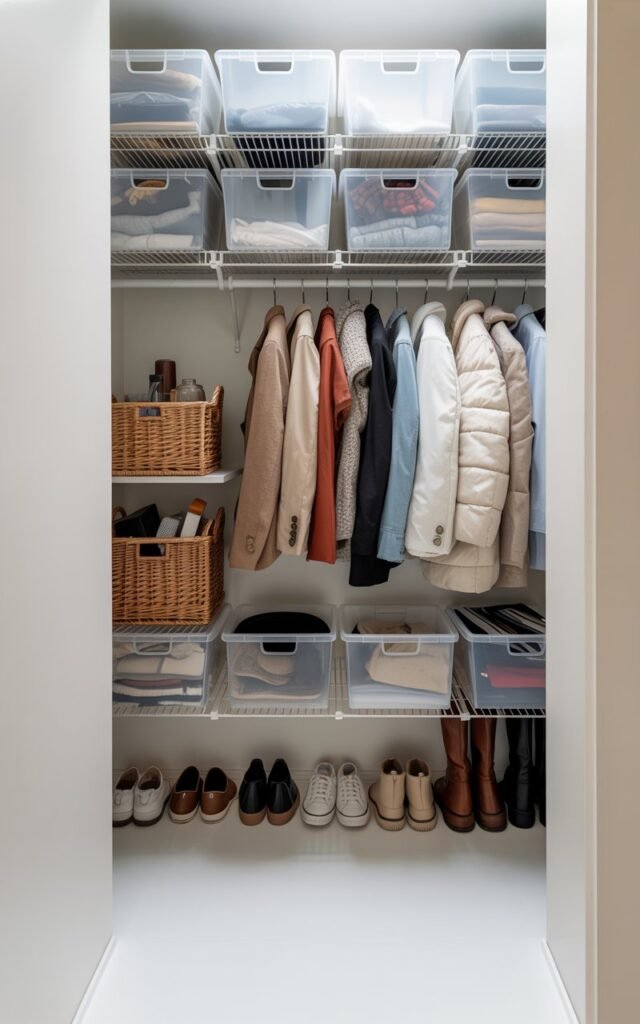
Day 7 – Declutter the Closet
Closets often hold many items we no longer wear.
Take time to go through your clothes and remove pieces that:
- no longer fit
- haven’t been worn in a year
- feel uncomfortable or outdated
Donate items that are still in good condition.
Then organize what remains by category—shirts, pants, dresses, and jackets. When everything is grouped together, your closet instantly becomes easier to maintain.
A simplified closet also makes your morning routine faster and less stressful.
5. Days 8–9: Reset and Organize the Bathroom
Bathrooms may be smaller than other rooms in the house, but they can easily become cluttered with products.
Over time, drawers and cabinets fill up with half-used bottles, expired skincare, and items we rarely reach for.
When I organized my bathroom for the first time in a while, I was surprised by how many products had accumulated.
Clearing them out not only created more space but also made my daily routine much simpler.
Breaking the process into two small steps makes it easier to manage.
Day 8 – Declutter Bathroom Cabinets
Start by removing everything from your cabinets.
Check expiration dates on products such as skincare, sunscreen, and medications.
Many items lose their effectiveness over time, so it’s best to discard anything that is expired or rarely used.
Once you’ve removed unnecessary items, return only the essentials. Try grouping products into categories such as:
- daily skincare
- hair care products
- dental items
- backup toiletries
Keeping similar items together makes them easier to find when you need them.
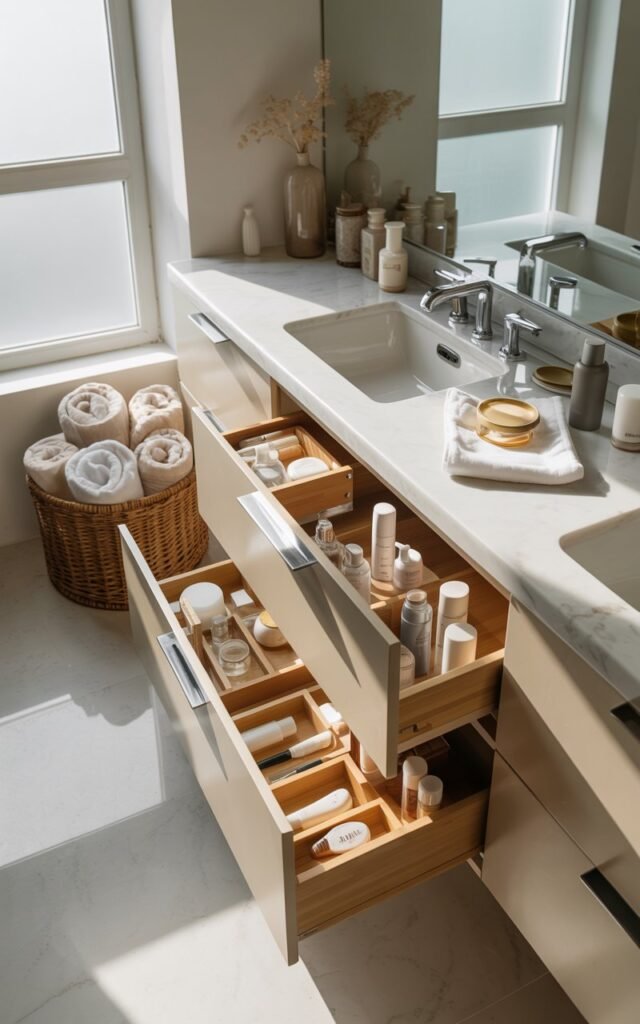
Day 9 – Organize Drawers and Countertops
Bathroom counters can quickly become crowded with everyday items.
Start by clearing the counter completely and wiping the surface clean.
Then return only a few essentials such as soap, a toothbrush holder, or a small tray for frequently used products.
Inside drawers, use small containers or organizers to separate items like makeup, grooming tools, and skincare.
Even simple dividers can make a big difference in keeping everything neat.
When bathroom storage is organized, your morning and evening routines become faster and much less stressful.
6. Days 10–12: Tackle Storage Areas and Closets
Storage spaces often become the places where we put things “for later.”
Over time, these areas can fill up with items we no longer need or remember owning.
Organizing these spaces helps prevent clutter from spreading into the rest of the house.
Day 10 – Organize the Hallway or Entry Closet
Entry closets are used frequently but rarely organized. Coats, bags, and shoes can pile up quickly.
Start by removing everything from the closet and sorting items into categories.
Consider donating:
- coats you haven’t worn in years
- extra scarves or bags
- shoes that no longer fit
Then return only the items you regularly use. Hooks and baskets can help keep frequently used items easy to grab when leaving the house.
Day 11 – Organize the Laundry Area
Laundry spaces often store cleaning supplies, detergents, and miscellaneous household items.
Remove empty containers, old cleaning products, or items that don’t belong in the laundry area. Group similar products together so everything is easy to access.
Using baskets or shelves can help keep laundry products neatly arranged.
Day 12 – Declutter General Storage Spaces
Finally, focus on larger storage areas such as utility closets, cabinets, or storage bins.
Take time to sort through seasonal items, decorations, and household supplies. If something hasn’t been used in several years, it may be time to donate or discard it.
Labeling storage bins can make it much easier to find items later without digging through multiple boxes.
By organizing these storage spaces, you create a system that prevents clutter from building up again in the main areas of your home.
Conclusion
Organizing your entire home doesn’t have to feel impossible.
By tackling one area at a time over 15 days, you can declutter, create simple systems, and turn chaos into calm.
The key is consistency: give everything a home, tidy a little each day, and adjust your systems as needed.
In just two weeks, your house can feel cleaner, more functional, and easier to maintain—without overwhelming yourself.