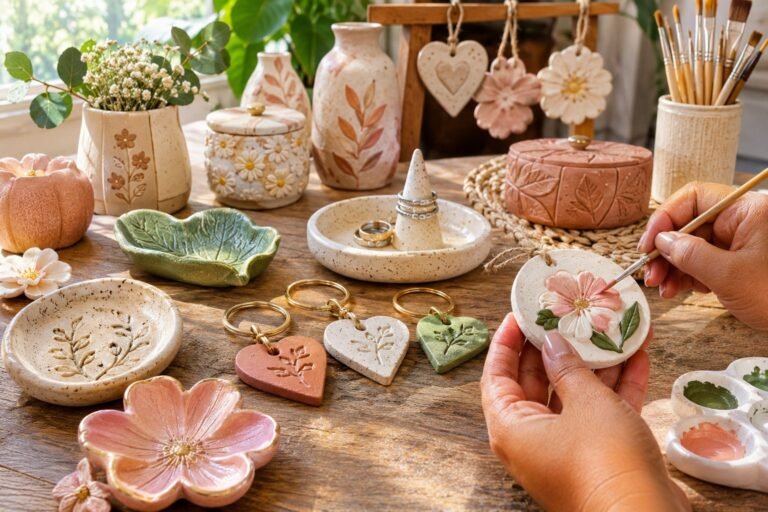
How to Paint Air Dry Clay: A Simple Guide (No Kiln Required)
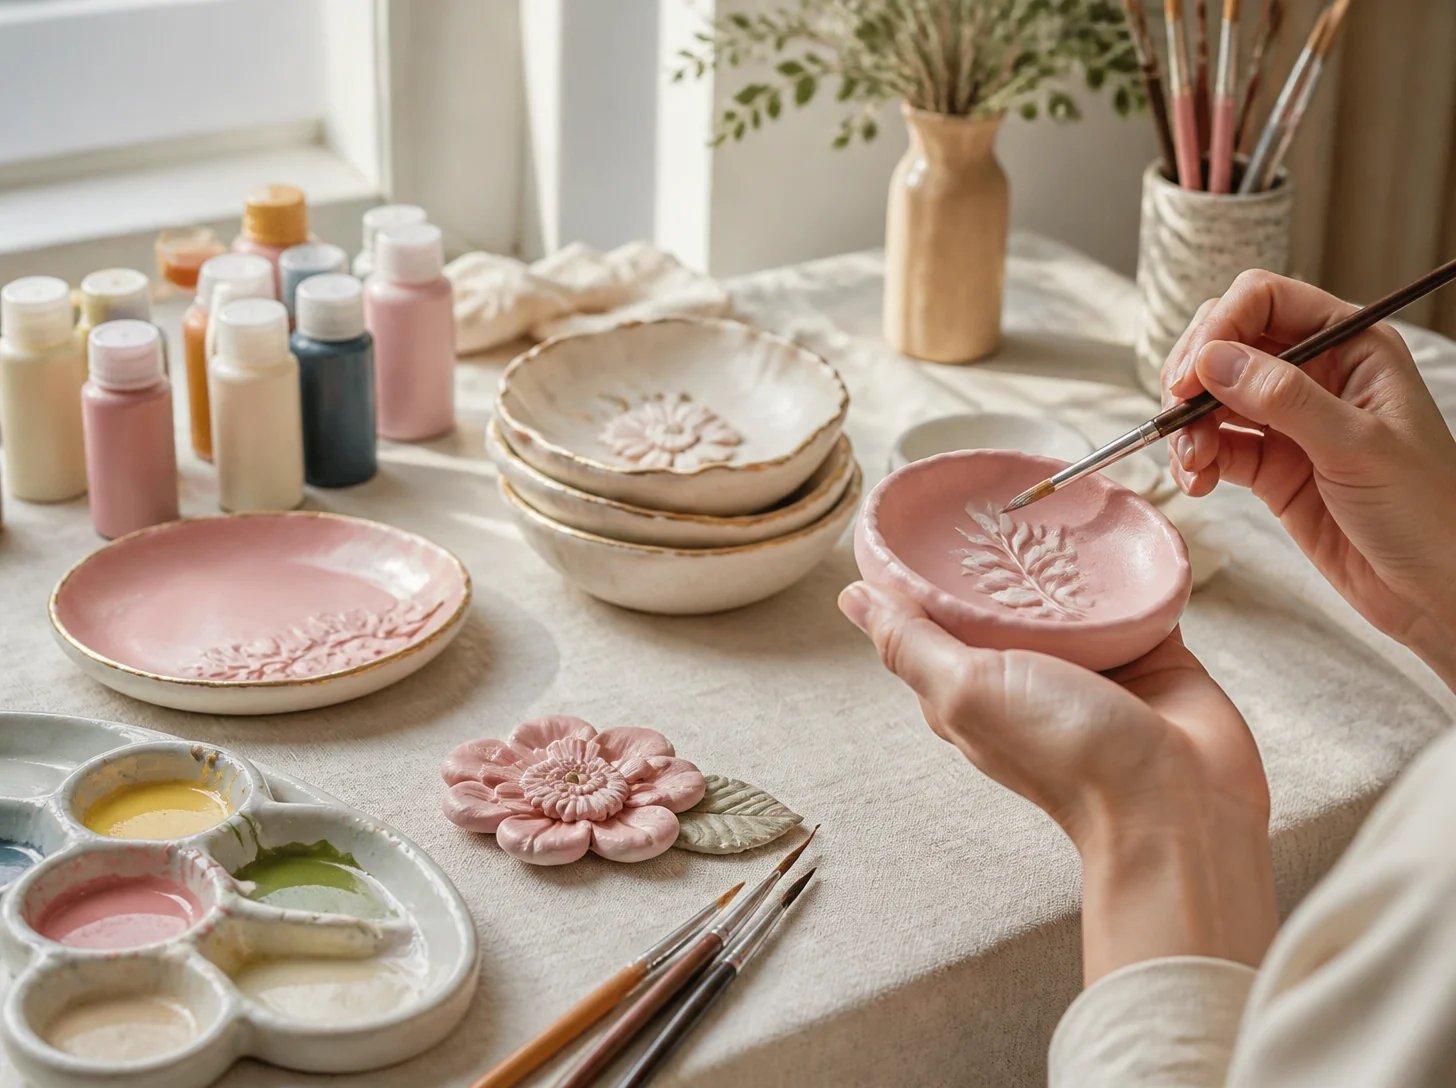
Painting air dry clay is one of the easiest ways to transform a simple handmade craft into something beautiful, colorful, and personal.
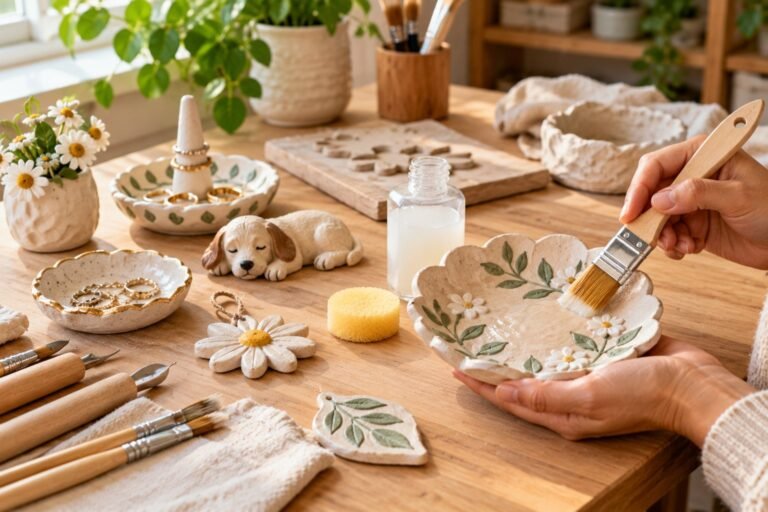
Whether you have made a decorative bowl, jewelry dish, miniature house, clay ornament, or small sculpture, adding paint can completely change the appearance of your finished project.
One thing I love about working with air dry clay is that you do not need expensive pottery equipment or a kiln to create something attractive.
Once the clay has dried completely, you can use ordinary acrylic paints, a few paintbrushes, and some basic finishing supplies to bring your ideas to life.
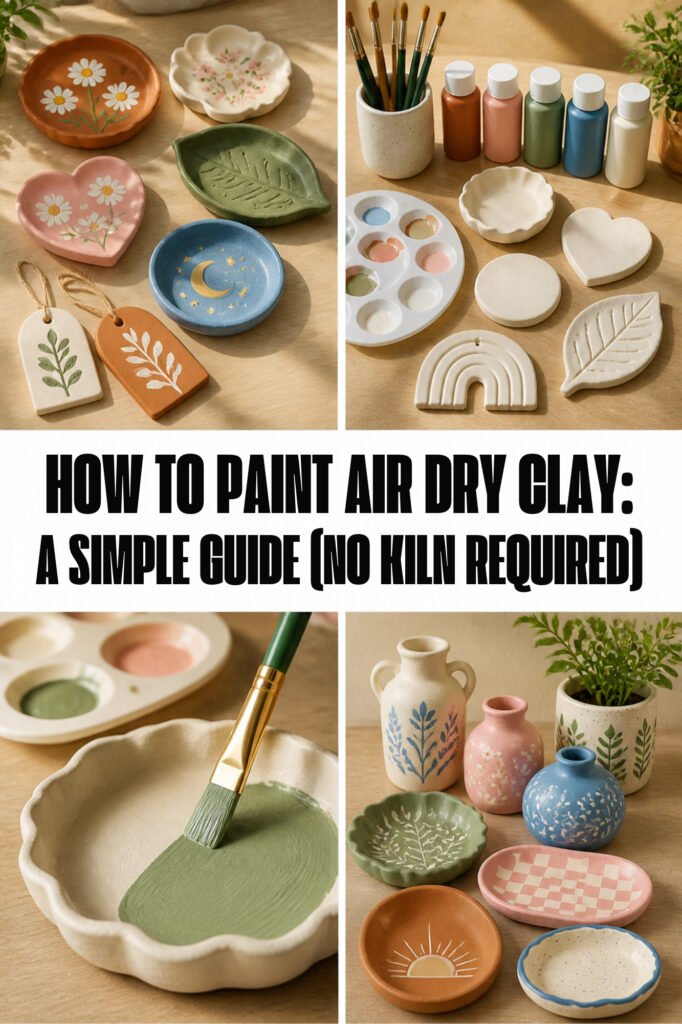
However, getting a beautiful finish involves more than simply picking up a paintbrush and applying color. Preparing the clay properly, choosing the right paint, applying thin coats, and protecting the finished surface all make a difference.
If you have ever painted a clay project only to end up with uneven coverage, visible brush marks, or paint that starts peeling, this guide will help you avoid those common problems.
I will walk you through everything you need to know about painting air dry clay, from preparing the surface and choosing suitable paints to adding decorative details and sealing your finished project.
Can You Paint Air Dry Clay?
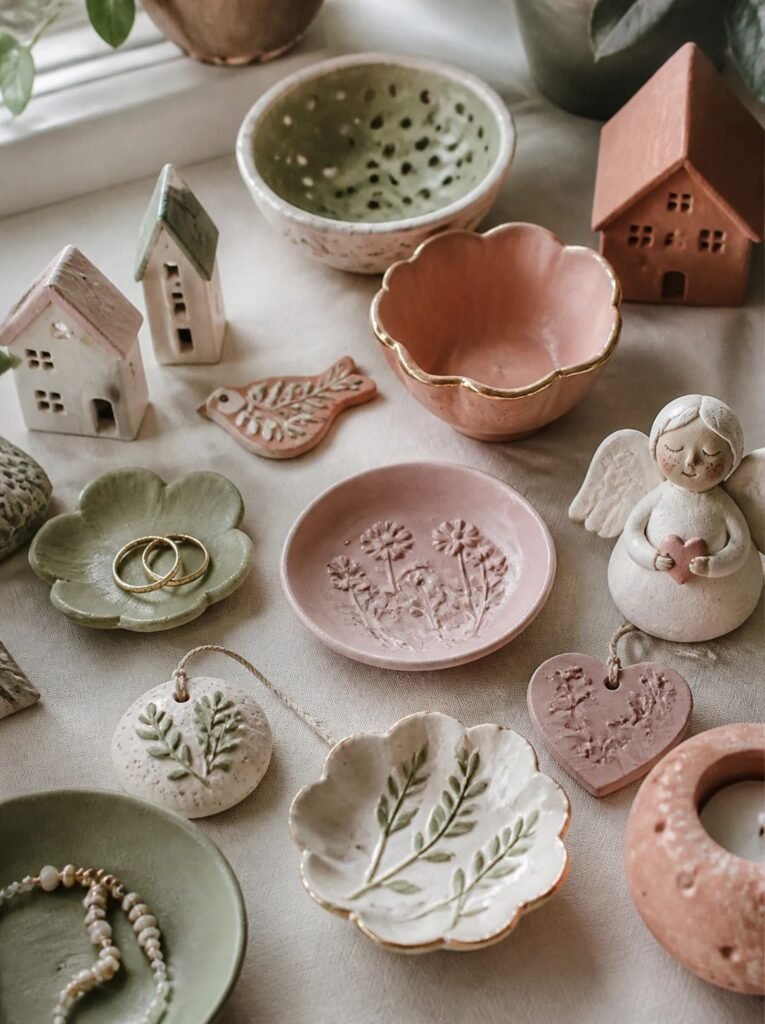
Yes! You can paint air dry clay once it has dried completely. Unlike traditional pottery clay, which usually requires firing in a kiln, air dry clay hardens naturally as moisture evaporates from the material.
This makes it an excellent option for beginners, DIY enthusiasts, and anyone who enjoys making handmade decorations at home.
Once completely dry, air dry clay can be painted using different types of craft paint. Acrylic paint is generally the easiest option because it is affordable, widely available, and comes in many colors.
Depending on the appearance you want, you can create a smooth solid finish, colorful patterns, delicate floral designs, or even a metallic effect.
Some projects that look particularly beautiful when painted include:
- Decorative clay bowls and trays.
- Handmade jewelry dishes.
- Clay ornaments and wall decorations.
- Miniature houses and decorative sculptures.
- Personalized clay magnets.
- Small decorative vases.
- Handmade gifts and keepsakes.
You can also combine different painting techniques to create something unique. For example, a simple white clay jewelry dish can become much more attractive with a pastel pink interior, delicate gold detailing, or a hand-painted floral pattern.
One important thing to remember is that ordinary air dry clay is not naturally waterproof. Painting and sealing can improve its appearance and provide additional surface protection, but they do not automatically make it suitable for holding water or serving food.
What Kind of Paint Works Best on Air Dry Clay?
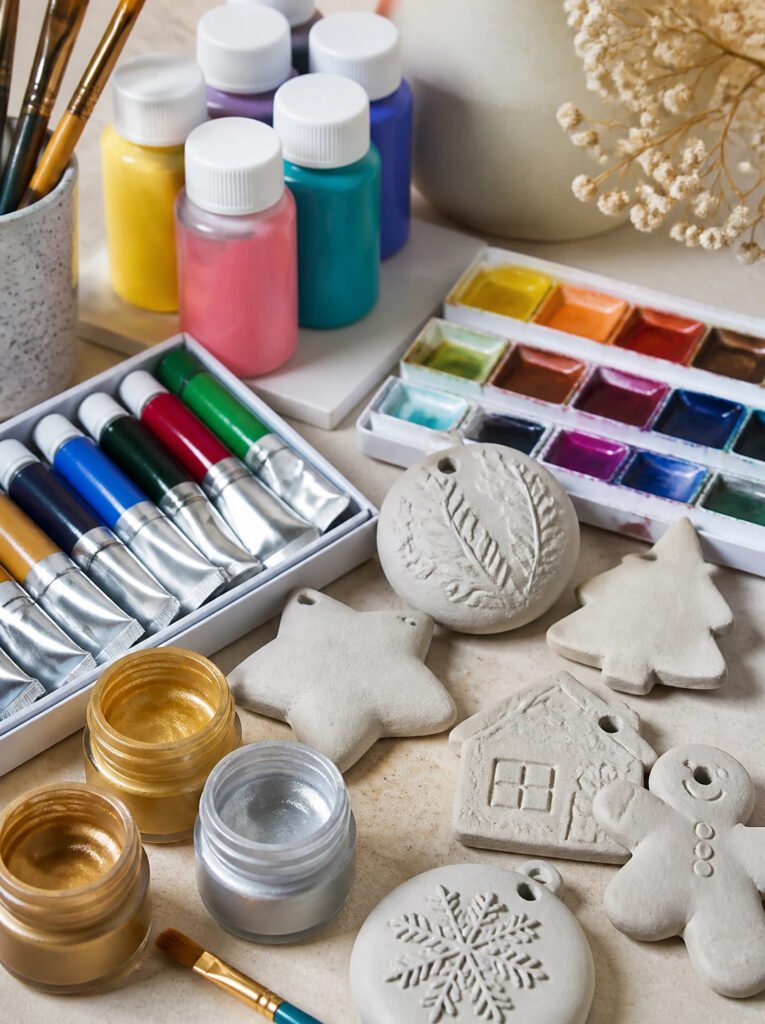
Choosing the right paint is one of the most important parts of achieving a beautiful finish. Different paints produce different results, so the best option depends on the appearance you want and the type of project you are working on.
Here are some of the most useful options.
1. Acrylic Paint
Acrylic paint is my first recommendation for most air dry clay projects, particularly if you are a beginner.
It is easy to find, relatively inexpensive, and available in almost every color imaginable. It also provides good coverage and dries relatively quickly.
Acrylic paint works particularly well for:
- Painting decorative clay bowls.
- Creating colorful ornaments.
- Adding details to miniature sculptures.
- Decorating handmade jewelry dishes.
- Painting personalized gifts.
Another advantage is that acrylic paint is versatile. You can mix different shades, create patterns, or combine colors to achieve the exact appearance you want.
For the best results, apply thin, even coats rather than trying to cover the entire project with one thick layer.
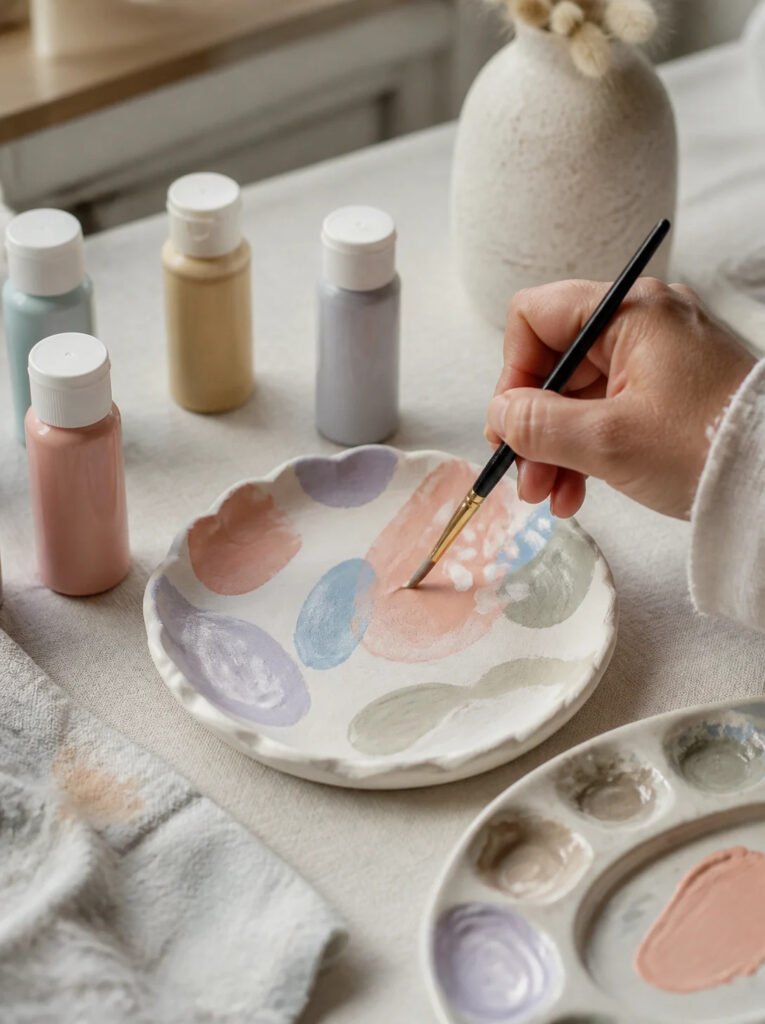
2. Watercolor Paint
Watercolor is another option if you prefer a softer, more delicate appearance.
Unlike acrylic paint, which usually creates a more opaque finish, watercolor allows you to produce subtle color variations and gentle washes.
It can work beautifully for decorative ornaments, small artistic pieces, and projects where you want a slightly transparent finish.
However, watercolor can be more difficult to control on air dry clay because the surface may absorb moisture unevenly.
If you decide to use it, make sure the clay is completely dry and experiment on a small piece first. Avoid applying excessive water because air dry clay can absorb moisture and become soft.
3. Gouache Paint
Gouache is worth considering if you want rich colors with a matte appearance.
It offers more opacity than traditional watercolor, making it useful for decorative designs, colorful clay ornaments, and handmade sculptures.
You can use gouache to create layered patterns, illustrations, and soft color combinations.
However, traditional gouache can reactivate when exposed to water. If you want to protect your finished project, choose a compatible clear protective finish and test it on a spare piece first.
4. Metallic Acrylic Paint
If you want your clay project to look more elegant, metallic acrylic paint is an excellent choice.
Gold, silver, bronze, and rose gold can add beautiful details without requiring complicated painting techniques.
Metallic finishes are particularly attractive on jewelry dishes, decorative trays, ornaments, and small sculptures.
You do not have to paint the entire project metallic. Sometimes a thin gold border, a few decorative dots, or metallic details around the edges are enough to make a simple handmade piece stand out.
Supplies You Need to Paint Air Dry Clay
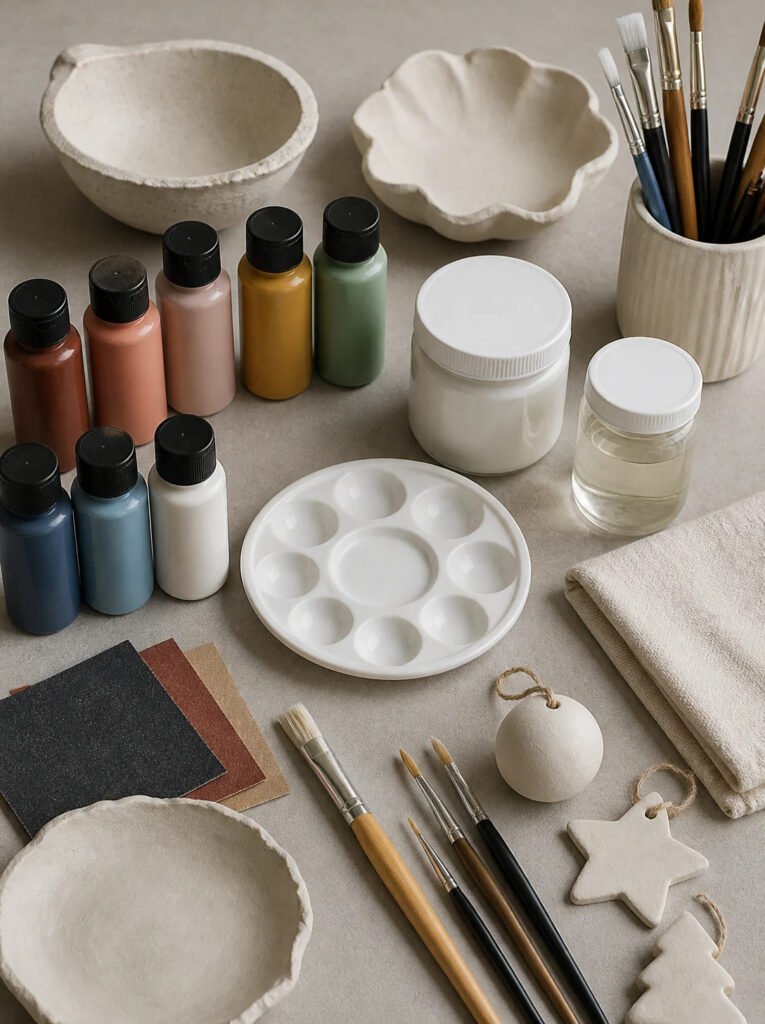
You do not need an expensive collection of art supplies to get started. Most air dry clay painting projects require only a few basic items.
Before beginning, gather everything you need so you can work comfortably without constantly stopping to look for supplies.
Here is what I recommend:
- A fully dried air dry clay project: Make sure the clay has hardened completely before painting.
- Acrylic craft paints: Choose colors that complement your project.
- Paintbrushes: Have small brushes for details and medium-sized brushes for larger surfaces.
- Fine-grit sandpaper: Useful for smoothing rough edges and imperfections.
- Paint palette: A small palette or disposable surface for mixing colors.
- Clean water: Use it for rinsing paintbrushes.
- Soft cloth: Helps remove sanding dust before painting.
- Primer or acrylic gesso: Optional, but useful when you want a more consistent base.
- Clear protective sealer: Choose a suitable varnish or craft sealer for your preferred finish.
You may also want a pencil for lightly marking decorative patterns before painting.
For beginners, I recommend starting with a small selection of acrylic colors instead of purchasing a large paint collection. You can mix several different shades from a few basic colors and gradually expand your supplies as you experiment.
Step 1: Make Sure Your Air Dry Clay Is Completely Dry
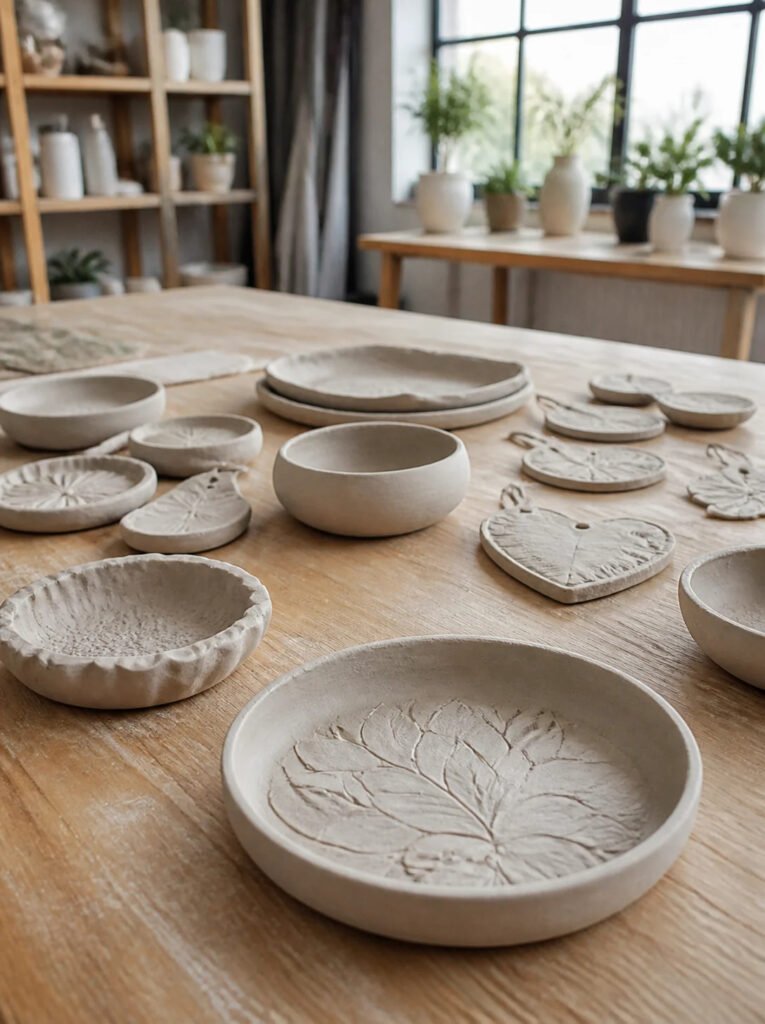
Before reaching for your paintbrush, make sure your clay project has dried completely.
This is probably the most important step because painting clay that still contains moisture can cause problems later.
The outside of a project may feel dry while the inside remains damp, especially if you have made a thick bowl, large sculpture, or chunky decorative piece.
Painting too early can affect how the paint adheres and may contribute to uneven drying, cracking, or a poor final finish.
How to check whether your clay is dry
Start by examining the entire project. It should feel firm rather than noticeably damp or cool.
Look for darker patches that could indicate remaining moisture. Pay particular attention to the bottom, thicker sections, and areas where several pieces of clay have been joined.
You should also follow the drying instructions provided by your clay manufacturer.
Smaller and thinner projects may dry relatively quickly, while thicker pieces can take several days or longer.
My practical tip
Do not rush this stage just because the outside looks ready. Give thicker projects additional drying time and allow air to circulate around the entire piece.
If possible, carefully turn the project during drying so the underside does not remain damp.
Step 2: Smooth the Surface With Fine-Grit Sandpaper
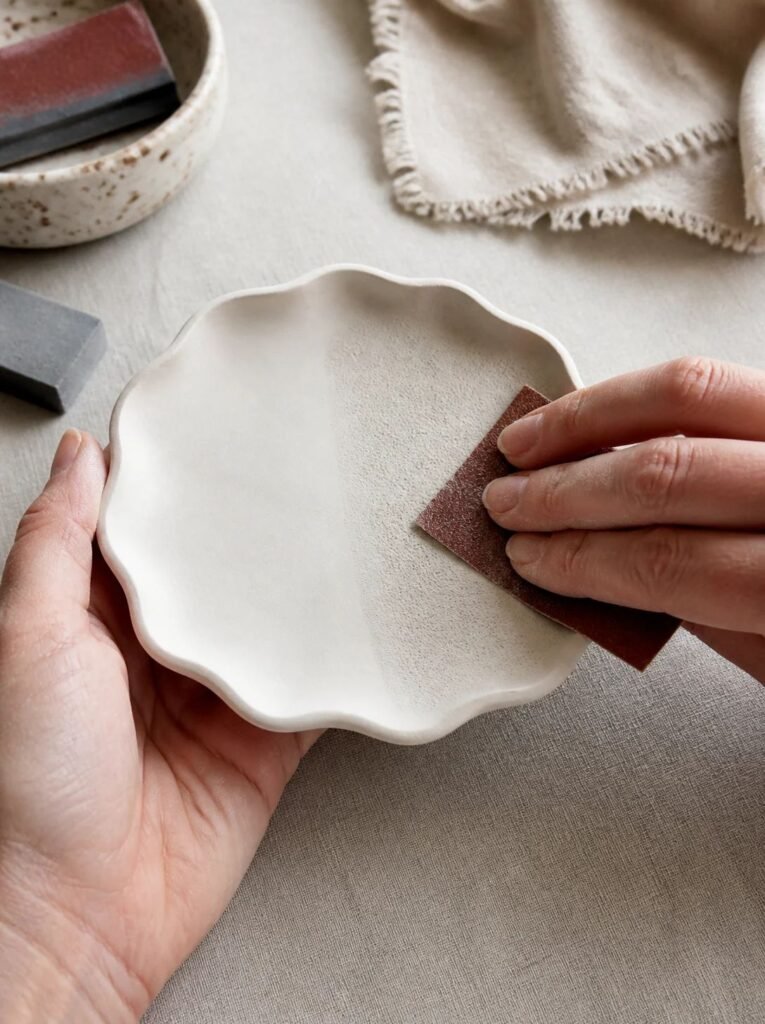
Once the clay is completely dry, take a moment to inspect the surface.
Air dry clay sometimes develops small bumps, rough edges, fingerprints, or uneven areas during shaping. These imperfections can become more noticeable after painting, particularly when using darker or glossy colors.
Light sanding helps create a smoother surface and gives your finished project a more polished appearance.
How to do it
Use fine-grit sandpaper and gently work over the rough areas.
You do not need to sand the entire project aggressively. Focus on:
- Rough edges around the rim.
- Small bumps on the surface.
- Uneven areas left by your fingers.
- Visible imperfections around joined sections.
- Rough spots on the bottom of the project.
After sanding, remove the dust using a soft, dry cloth.
Avoid soaking the clay or using excessive water to clean it because air dry clay can absorb moisture.
My practical tip
If you are painting a decorative bowl or jewelry dish, pay particular attention to the inside and outer rim. These are the areas people are most likely to notice.
Step 3: Apply a Primer if Needed
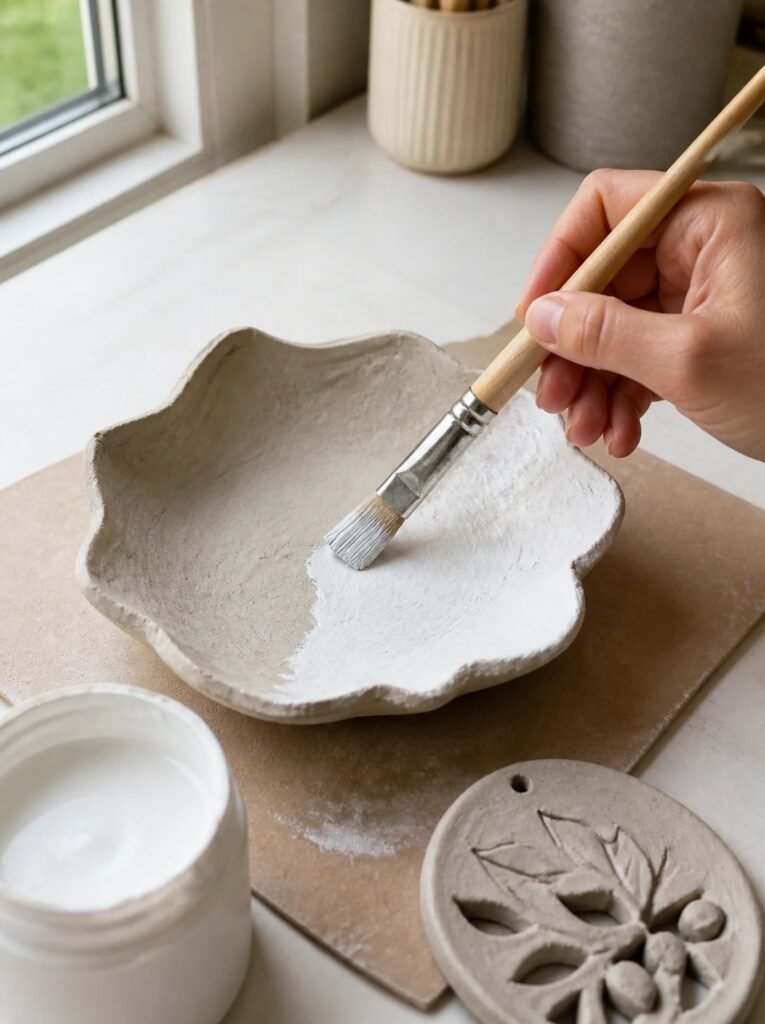
Primer is not always necessary when painting air dry clay, but it can make a difference depending on the clay and the finish you want.
Some types of air dry clay have slightly porous surfaces that absorb paint unevenly. A suitable primer or acrylic gesso can help create a more consistent base.
This is particularly useful when you want bright colors or a smooth, opaque finish.
How to apply primer
Choose a primer suitable for your chosen paint and craft material.
Apply a thin, even layer using a clean brush. Avoid allowing the primer to collect in corners or decorative details.
Let it dry completely according to the manufacturer’s instructions before applying paint.
If the surface still looks uneven, you can apply another thin coat.
When can you skip primer?
If your clay already has a smooth, consistent surface and you are using good-quality acrylic paint, you may be able to paint directly onto it.
For smaller decorative projects, this can save time and supplies.
Step 4: Choose Your Colors and Prepare Your Paint
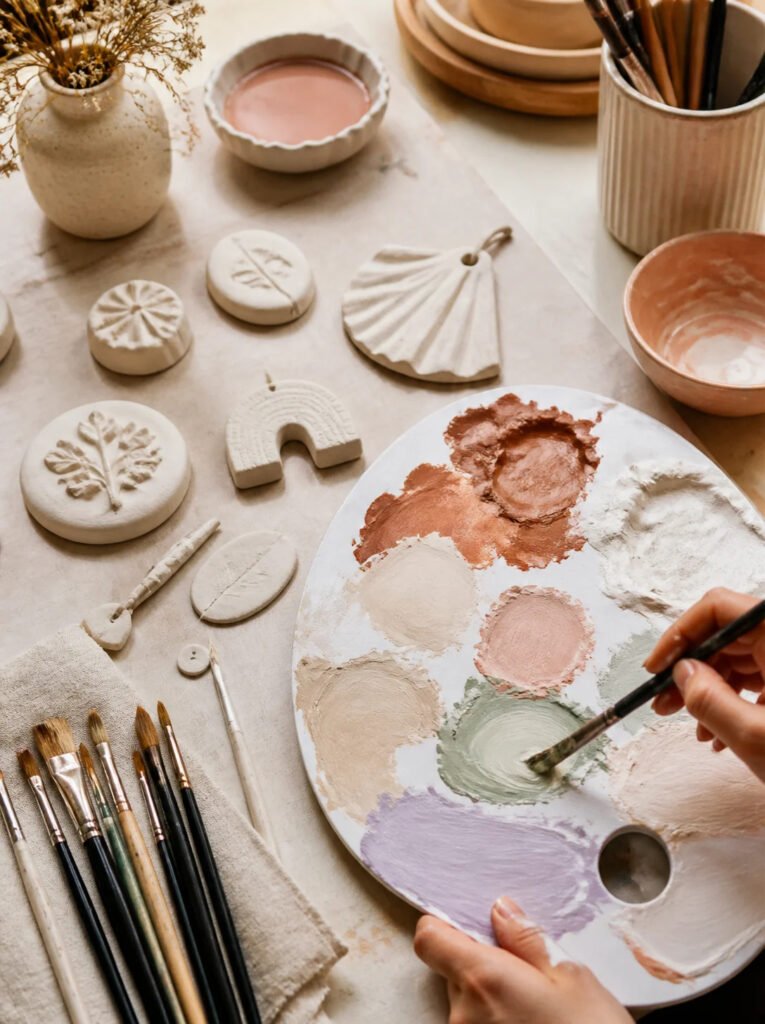
Now comes the enjoyable part: choosing the colors for your project.
Before applying paint directly to the clay, I recommend planning your color combination.
You do not need to use many colors to create something beautiful. In fact, two or three complementary shades can often produce a cleaner and more professional-looking result.
Here are some combinations worth trying:
- Cream, beige, and warm brown: Perfect for a natural, minimalist appearance.
- Sage green, white, and soft pink: Beautiful for delicate decorative pieces.
- Terracotta, mustard, and cream: Great for earthy and rustic designs.
- White, black, and gold: Ideal for modern decorative accessories.
- Lavender, pastel blue, and blush pink: Lovely for soft, colorful crafts.
How to prepare your paint
Place a small amount of each color onto a palette.
If you want to create a lighter shade, mix your paint with a little white acrylic paint. For darker shades, add small amounts of a darker color until you achieve the tone you want.
Keep your paintbrushes clean when switching between colors.
It is also helpful to test your color combination on a small piece of dried clay before painting the finished project.
Step 5: Apply the First Coat of Paint
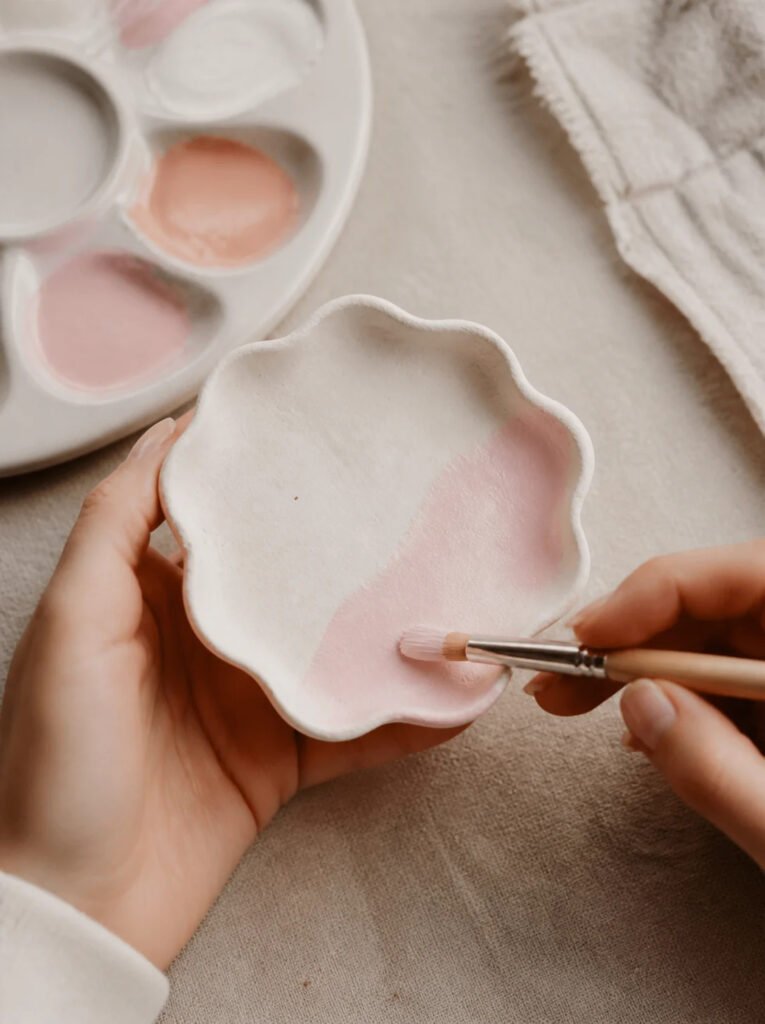
Once your colors are ready, you can begin painting.
For most projects, a small or medium-sized soft-bristle brush works well. Smaller brushes are useful for detailed areas, while wider brushes make it easier to cover larger surfaces.
How to apply the paint
Start with a thin coat and work gradually across the surface.
Use smooth, consistent brushstrokes and avoid repeatedly brushing over areas that are already beginning to dry.
If you are painting a bowl or tray, work from the inside outward and pay attention to the rim and edges.
Do not worry if the first coat looks slightly transparent. This is normal, particularly when using lighter colors over a darker surface.
Allow the first coat to dry according to the paint manufacturer’s instructions before applying another.
My practical tip
Resist the temptation to apply a thick layer just to achieve full coverage immediately. Thick paint can create visible brush marks, uneven textures, and longer drying times.
Two or three thin coats usually give a cleaner result than one heavy coat.
Step 6: Add a Second Coat for Better Coverage
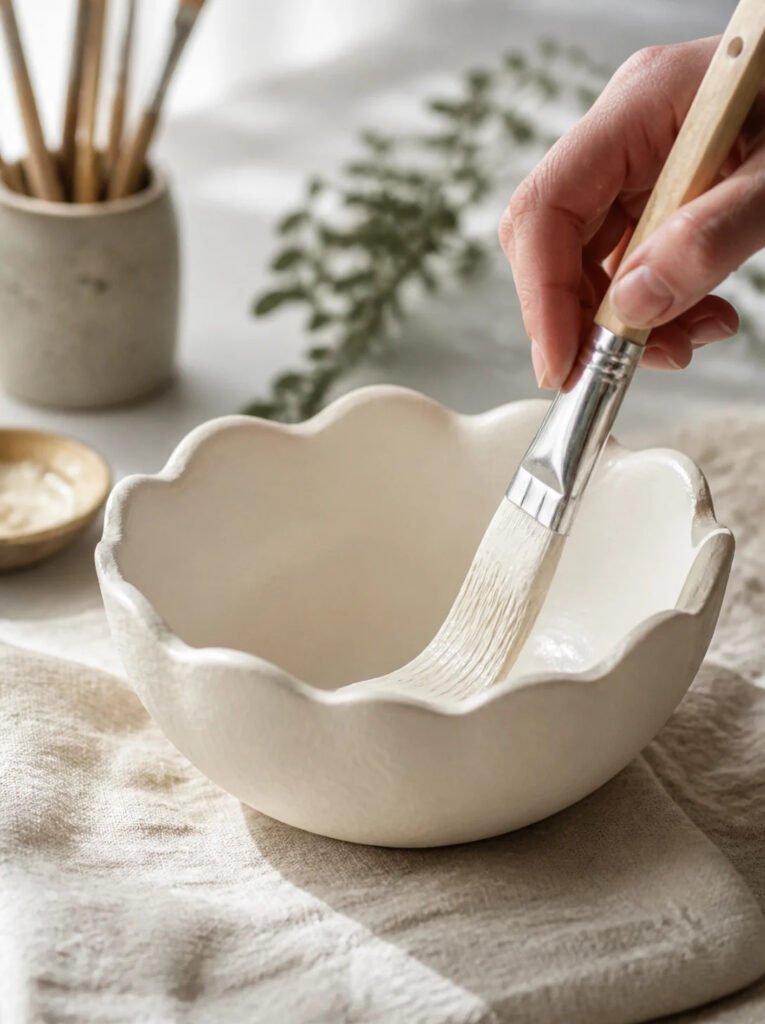
After the first coat has dried, inspect your project under good lighting.
You may notice small areas where the original clay color is still visible. This is particularly common when using white, cream, yellow, or pastel acrylic paints.
A second coat helps improve coverage and gives the project a more consistent appearance.
How to do it
Apply another thin layer of paint using the same technique as before.
Work carefully around the edges and avoid allowing excess paint to build up in small corners or decorative details.
If the project still looks patchy after the second coat, allow it to dry before deciding whether another layer is necessary.
The number of coats you need depends on the paint quality, the color, and the original clay surface.
Step 7: Add Decorative Patterns and Details

Once the base color is completely dry, you can start adding decorative details.
This is where a simple clay project can become something that looks much more personal and distinctive.
You do not need advanced artistic skills to create attractive designs. A few simple patterns can make a noticeable difference.
Easy decorative ideas to try
- Small white dots around the rim of a clay dish.
- Delicate flowers painted in pastel colors.
- Thin gold lines along the edges.
- Simple geometric patterns.
- Tiny painted leaves and branches.
- Abstract shapes in complementary colors.
- Small stars or hearts on decorative ornaments.
Use a fine detail brush for delicate designs. You can also use a clean cotton swab or the rounded end of a brush handle to create evenly spaced dots.
If you want symmetrical patterns, lightly sketch your design with a pencil before painting.
My practical tip
Keep the design simple if you are a beginner. A few carefully placed details often look better than covering the entire project with complicated patterns.
Step 8: Allow the Paint to Dry Completely
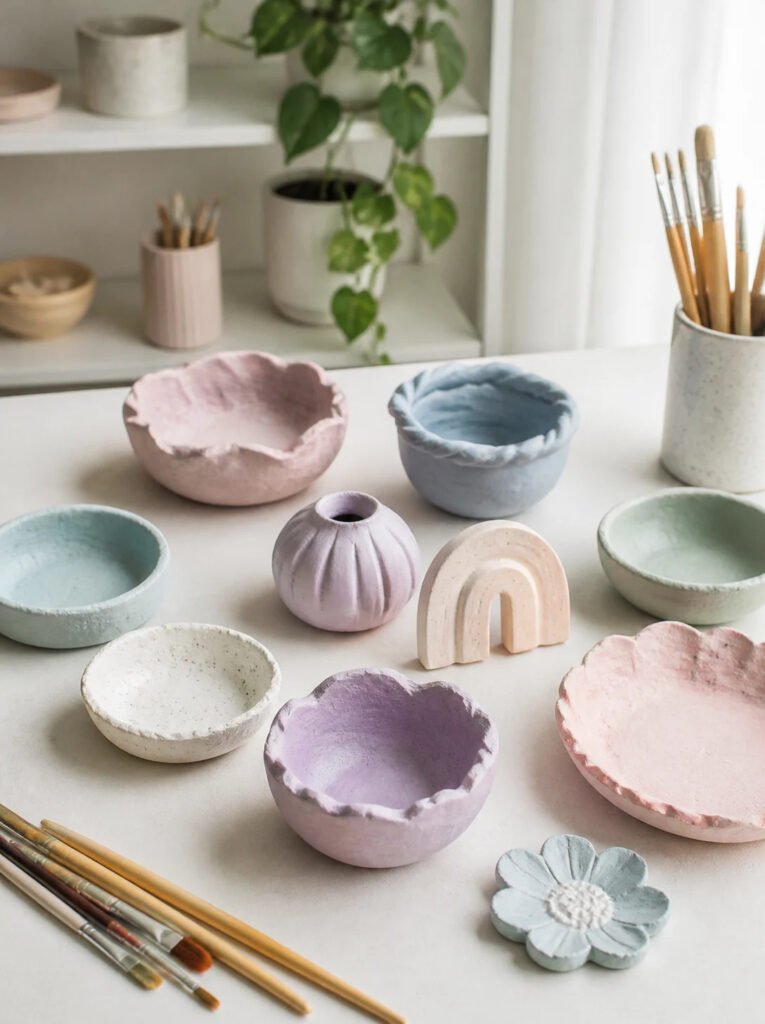
After painting, give your project enough time to dry before handling it or applying a protective finish.
Although acrylic paint may feel dry relatively quickly, that does not always mean the entire painted surface is ready for another layer.
Follow the drying instructions on the paint container, and allow additional time when you have applied several coats or painted detailed areas.
Place the project somewhere clean, dry, and well ventilated.
Avoid stacking painted pieces on top of each other because their surfaces may stick together before they have fully cured.
My practical tip
Be patient with this stage. Touching or moving the project too early can leave fingerprints, smudges, and unwanted marks that are difficult to correct.
Step 9: Seal Your Painted Air Dry Clay
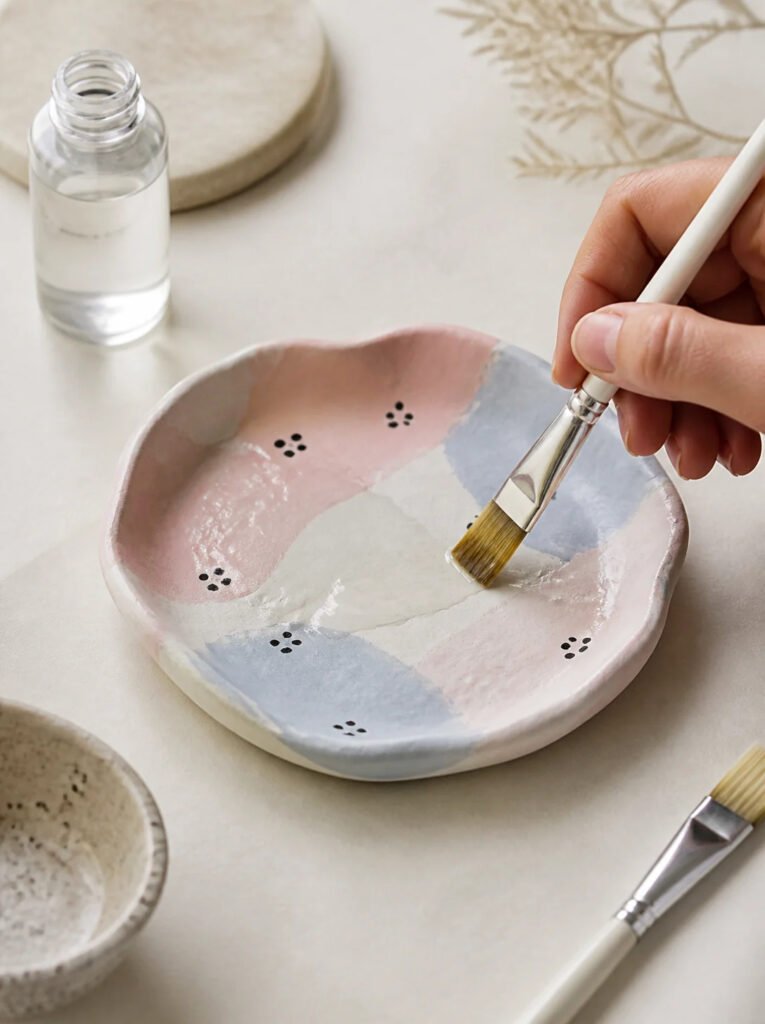
Sealing is the final step if you want to give your painted clay project an additional layer of protection.
A suitable clear acrylic varnish or water-based craft sealer can help protect the painted surface from ordinary handling, dust, and minor scratches.
It can also change the final appearance depending on whether you choose a matte, satin, or glossy finish.
Which finish should you choose?
- Matte sealer: Creates a soft, understated finish without much shine.
- Satin sealer: Provides a gentle sheen that sits between matte and glossy.
- Gloss sealer: Creates a shiny finish that can make colors appear more vibrant.
How to seal your project
First, make sure the paint is completely dry.
Choose a sealer that is compatible with your paint and suitable for air dry clay.
Apply a thin, even coat using a clean brush or the application method recommended by the manufacturer.
Avoid applying too much product at once because thick layers can dry unevenly or leave visible marks.
Allow the first coat to dry before adding another if the product instructions recommend multiple coats.
Important safety note
Sealing does not make ordinary air dry clay food-safe or waterproof. Do not use painted air dry clay bowls, plates, or trays for direct food contact or to hold water.
Use them for decorative purposes unless the complete material and finishing system is specifically certified for the intended use.
Common Mistakes to Avoid When Painting Air Dry Clay

Even a simple craft project can become frustrating when the preparation is rushed. Here are some mistakes worth avoiding.
Painting Before the Clay Is Completely Dry
This can lead to uneven paint adhesion and moisture-related problems. Always allow the clay to dry thoroughly before painting.
Applying Too Much Paint at Once
Thick paint layers can leave brush marks and take longer to dry. Use thin coats and build up the color gradually.
Skipping Surface Preparation
Rough edges, dust, and fingerprints can become more noticeable after painting. Lightly sand and clean the surface before starting.
Using Too Much Water
Excessive water can soften air dry clay and affect the painted surface. Use paint as directed and avoid soaking the project.
Forgetting to Seal the Finished Piece
For decorative items that will be handled regularly, an appropriate sealer can provide additional surface protection. Choose one that is compatible with your paint.
Assuming Painted Clay Is Waterproof
A coat of acrylic varnish does not turn ordinary air dry clay into waterproof pottery. Keep finished projects away from prolonged water exposure.
Creative Air Dry Clay Painting Ideas to Try
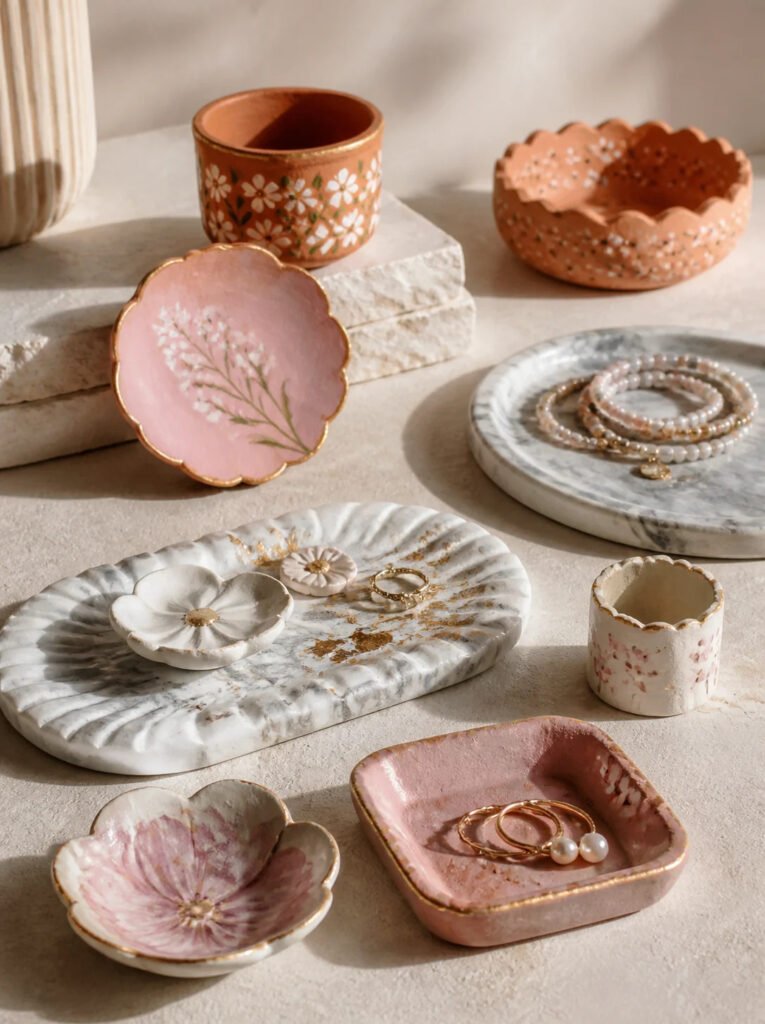
Once you understand the basics of painting air dry clay, you can start experimenting with different styles and decorative techniques. You do not have to be an experienced artist to create something beautiful.
Sometimes, a simple color combination or a small decorative detail is all you need to transform an ordinary clay project.
If you are unsure what to paint first, here are some ideas worth trying.
1. Paint Minimalist Clay Jewelry Dishes
Jewelry dishes are among my favorite projects for experimenting with different paint colors. They are small, relatively easy to decorate, and make lovely handmade gifts.
You can paint the entire dish in a soft neutral shade, such as cream, beige, white, or pale pink. For something more decorative, add small gold details around the rim or create a simple pattern inside the dish.
Another beautiful idea is to paint the outside one color and the inside another. A cream exterior with a soft sage green interior, for example, creates a lovely contrast without making the design look too busy.
Remember to keep these dishes decorative. Ordinary air dry clay jewelry dishes should not be used for food contact or prolonged exposure to water.
2. Create Floral Clay Decorations
Floral patterns are a beautiful way to decorate air dry clay, especially if you enjoy delicate handmade crafts.
You can paint tiny flowers, leaves, branches, or simple botanical designs onto clay ornaments, decorative plaques, and small trays.
Start with a neutral base color and use a fine brush to add the flowers. Soft pink, lavender, sage green, and white work particularly well together.
If you are not confident painting detailed flowers, begin with small dots arranged in a circular pattern. Add a few green strokes underneath to create simple leaves.
The result can look surprisingly attractive without requiring complicated techniques.
3. Make Terracotta-Inspired Clay Pieces
If you prefer natural-looking decorations, earthy color combinations are worth experimenting with.
Terracotta, warm brown, cream, muted orange, and beige can give handmade clay projects a rustic appearance.
This style works particularly well for miniature houses, decorative bowls, small sculptures, and clay ornaments.
You can also use a dry-brushing technique to add subtle highlights. Apply a small amount of lighter paint to a relatively dry brush and gently sweep it across raised areas of the project.
This creates a slightly textured appearance that works beautifully with rustic designs.
4. Try a Marble Effect on Air Dry Clay
A marble effect can make a simple clay project look elegant without requiring complicated painting skills.
The technique works particularly well on decorative trays, jewelry dishes, and small ornaments.
Start with a white or cream base coat and allow it to dry completely.
Next, use a fine brush to add a few thin, irregular gray lines across the surface. Avoid making every line perfectly straight because natural marble patterns are uneven.
You can gently soften some of the lines using a clean brush, but avoid adding too much water.
For a more luxurious appearance, add a few subtle gold accents between the gray lines.
5. Use Metallic Details for an Elegant Finish
Metallic paint is an easy way to make handmade clay decorations look more polished.
Gold, bronze, copper, and silver can all work beautifully, particularly when combined with neutral base colors.
Try painting a thin metallic border around a jewelry dish, adding small gold dots to an ornament, or highlighting the raised details on a miniature sculpture.
You can also use metallic paint on the edges of decorative clay trays.
The trick is not to overdo it. A few carefully placed metallic details can create a more sophisticated appearance than covering the entire project in shiny paint.
How to Fix Common Problems When Painting Air Dry Clay
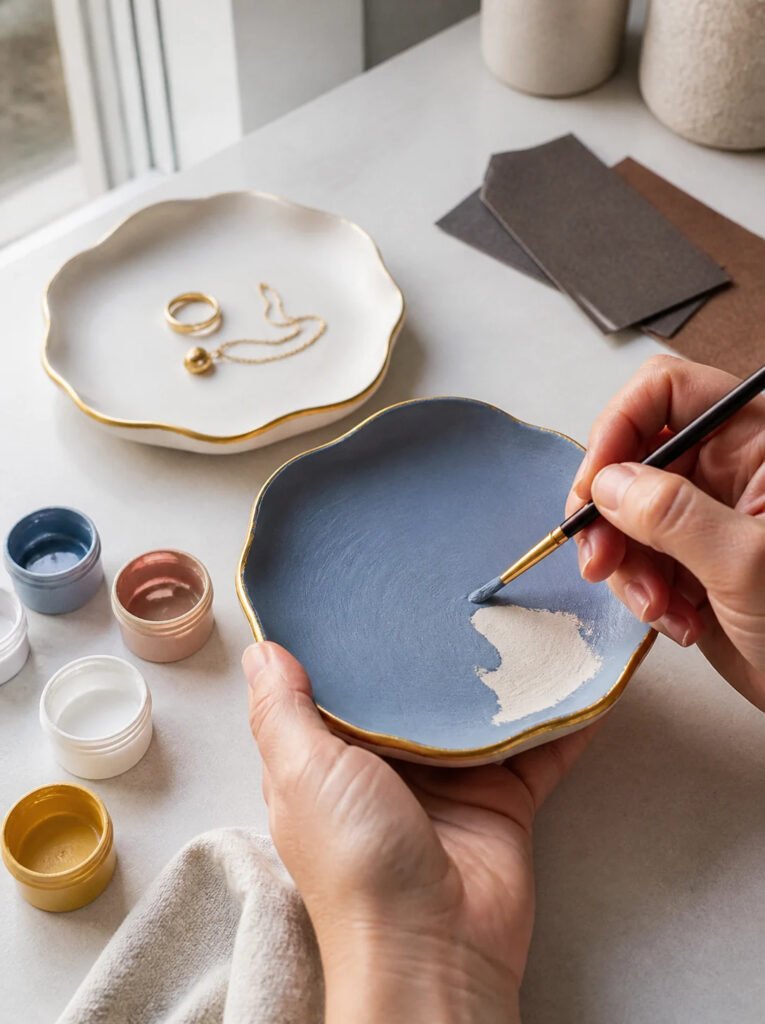
Even when you follow the correct steps, you may occasionally encounter problems. Fortunately, most minor painting issues can be corrected without starting your project again.
Why Is My Paint Peeling Off Air Dry Clay?
Paint may peel if the clay was not completely dry, the surface contained dust, or the paint was not compatible with the material.
It can also happen when paint is applied over a surface that has not been properly prepared.
How to fix it:
Allow the project to dry completely. Gently remove loose or peeling paint, smooth the affected area if necessary, and clean away the dust.
You can then reapply a suitable primer if needed before repainting with thin coats.
Why Does My Painted Clay Look Patchy?
Patchy paint usually happens when the first coat is too thin, the surface absorbs paint unevenly, or the brushstrokes are inconsistent.
This is particularly noticeable when using light colors.
How to fix it:
Allow the existing paint to dry before applying another thin coat. If the surface is particularly porous, consider using a compatible primer before repainting.
Why Are There Brush Marks on My Clay?
Visible brush marks can result from using too much paint, applying uneven pressure, or repeatedly brushing over paint that has already started drying.
How to fix it:
Allow the paint to dry completely. If appropriate for the project, lightly smooth the affected area and remove the dust.
Apply another thin coat using a suitable soft brush. Try to maintain consistent brushstrokes rather than repeatedly going over the same section.
Why Is My Clay Cracking After Painting?
Cracking can happen when the clay was not completely dry before painting or when the underlying project developed cracks during drying.
Thick clay pieces are particularly vulnerable to uneven drying.
How to fix it:
Inspect the crack before attempting any repairs. Small surface imperfections may be repairable using a compatible clay filler, but deeper cracks can affect the structure of the project.
Allow repairs to dry completely before sanding and repainting.
For future projects, avoid making unnecessarily thick sections and allow the clay to dry gradually.
Why Does My Sealer Look Cloudy?
Some sealers can develop a cloudy appearance when applied too thickly, before the paint has dried, or under unsuitable environmental conditions.
How to fix it:
Check the manufacturer’s instructions before attempting another coat. Allow the finish to dry or cure fully, and test any corrective approach on a spare piece first.
Avoid adding more sealer immediately because another layer may make the problem worse.
How to Make Painted Air Dry Clay Last Longer

After spending time shaping and painting your clay project, you naturally want it to maintain its appearance.
Although air dry clay is not as durable as fired ceramic, there are several ways to care for decorative pieces and reduce unnecessary damage.
Keep Finished Projects Away From Water
This is one of the most important things to remember.
Ordinary air dry clay can absorb moisture, even when it has been painted and sealed. Avoid leaving finished projects in damp areas or exposing them to prolonged water contact.
Handle Delicate Pieces Carefully
Thin clay ornaments, small decorative figures, and delicate trays can break if dropped or handled roughly.
Store them somewhere they will not easily fall or get knocked over.
Avoid Direct Heat
Keep painted clay decorations away from direct heat sources, fireplaces, and hot surfaces.
Excessive heat can affect the clay, paint, or protective finish.
Clean With a Soft, Dry Cloth
For ordinary dust, gently wipe the surface using a soft, dry cloth.
Avoid abrasive cleaning materials, soaking, and household cleaning products that may damage the paint or sealer.
Store Seasonal Decorations Properly
If you make clay ornaments for holidays or special occasions, wrap them individually before storing them.
Use tissue paper or suitable protective packaging and keep them in a dry container.
This helps prevent scratches, chips, and accidental breakage.
Frequently Asked Questions About Painting Air Dry Clay
Can I paint air dry clay with acrylic paint without primer?
Yes. You can apply acrylic paint directly to completely dried air dry clay. Primer is optional, although it may help create a smoother and more consistent surface.
Can I paint air dry clay with spray paint?
Some spray paints can work on fully dried air dry clay, provided they are compatible with the material. Always follow the manufacturer’s instructions, work in a well-ventilated area, and test on a spare piece before applying it to your finished project.
Can I use permanent markers on air dry clay?
Yes, permanent markers can be useful for adding small details, outlines, lettering, and decorative patterns to completely dried clay.
Test them first because some markers may bleed or behave differently depending on the surface and any existing paint.
Do I need to seal acrylic paint on air dry clay?
Sealing is not always necessary, but it is useful for decorative projects that will be handled regularly.
A compatible clear acrylic varnish can provide additional protection against minor scratches and everyday handling.
Can I paint air dry clay with nail polish?
Nail polish may work for small decorative details, but it is not the best general-purpose paint for air dry clay.
Its solvents may react with certain clay or paint surfaces, so test it on a spare piece first.
Can I make air dry clay waterproof with paint and varnish?
Ordinary paint and craft varnish do not guarantee waterproofing. They may improve resistance to minor moisture, but the clay can still absorb water.
If you want a project that will hold water or come into contact with food, ordinary air dry clay is not the appropriate material.
How long should I wait before sealing painted air dry clay?
Wait until the paint has dried completely and follow the sealer manufacturer’s instructions. Some products require additional curing time before the finished project can be handled regularly.
Final Thoughts
Painting air dry clay is a wonderful way to add personality and creativity to handmade decorations without investing in expensive pottery equipment.
The most important thing is not to rush the process. Allow the clay to dry completely, prepare the surface properly, choose a suitable paint, and build up the color using thin coats.
Once you become comfortable with these basic techniques, you can experiment with floral patterns, metallic accents, marble effects, earthy finishes, and plenty of other creative designs.
I particularly recommend starting with a small jewelry dish or decorative ornament. These projects give you enough space to experiment with colors and patterns without making the process overwhelming.
You do not need a kiln or professional painting equipment to create something beautiful. With a little patience and a few basic supplies, you can turn simple air dry clay into handmade decorations that look thoughtful, polished, and completely your own.