15 Useful Air Dry Clay Projects for Everyday Life (Easy DIY Ideas)
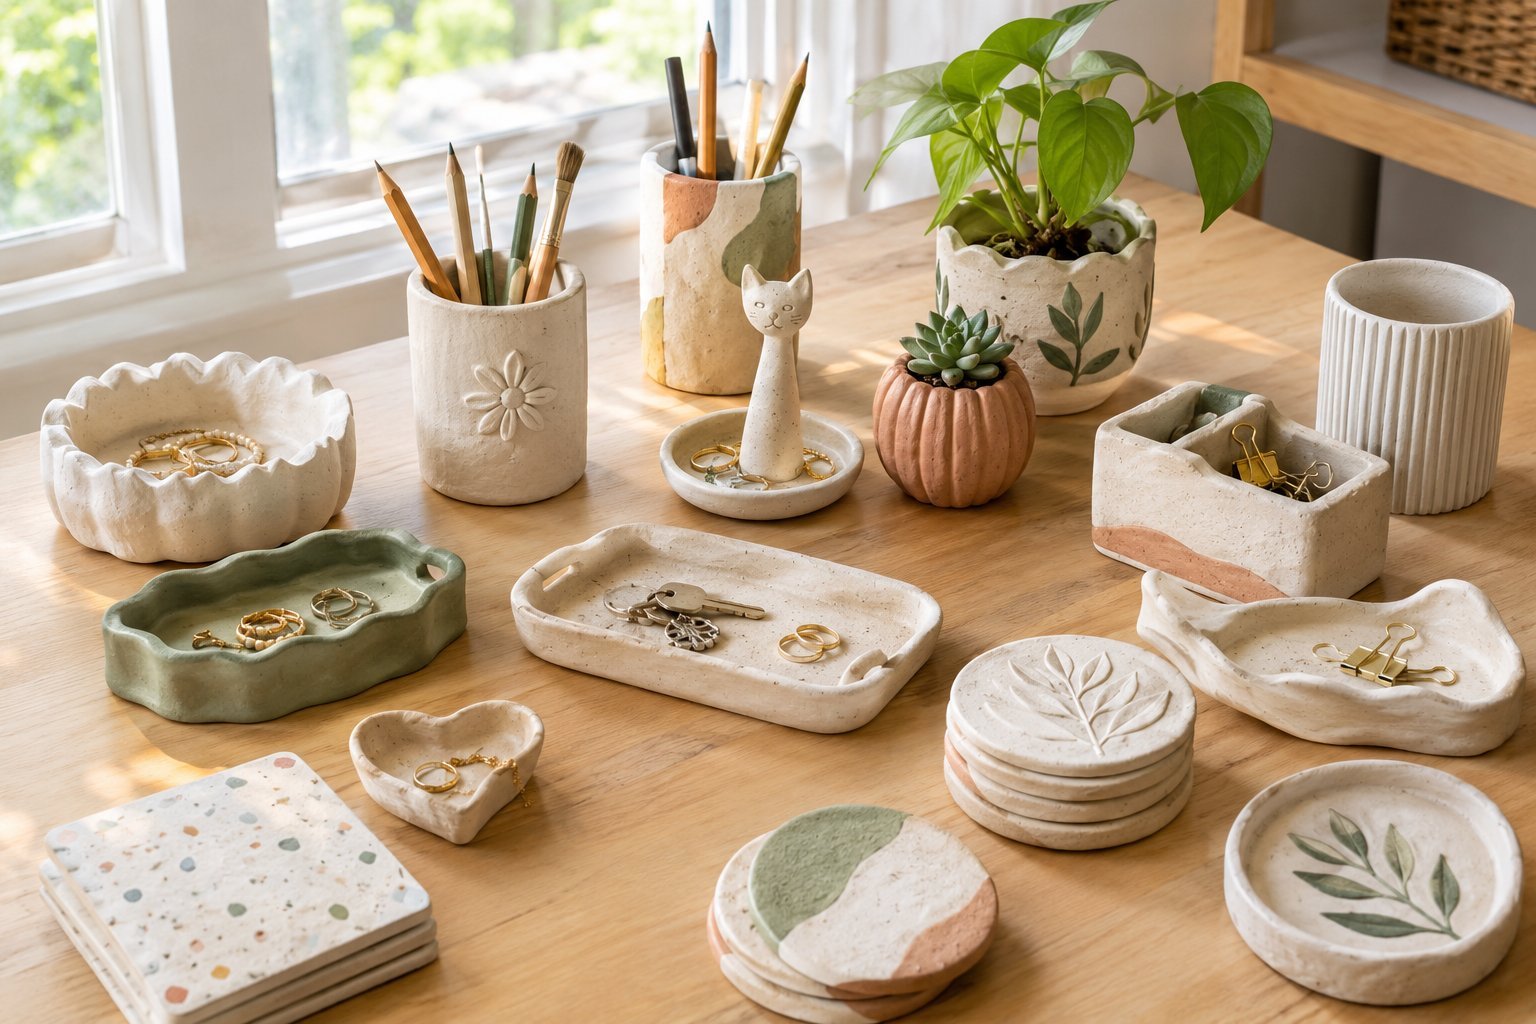
Air dry clay is one of those materials I keep coming back to because it can turn a simple afternoon DIY project into something I can actually use around the house.
I like that it does not require a kiln or a complicated setup, and I can shape it into small organizers, trays, holders, decorations, and practical pieces that fit exactly where I need them.
After working with it on different little projects, I have found that the best ideas are not always the most complicated ones. Simple shapes can become surprisingly useful once they are dried, smoothed, and finished properly.
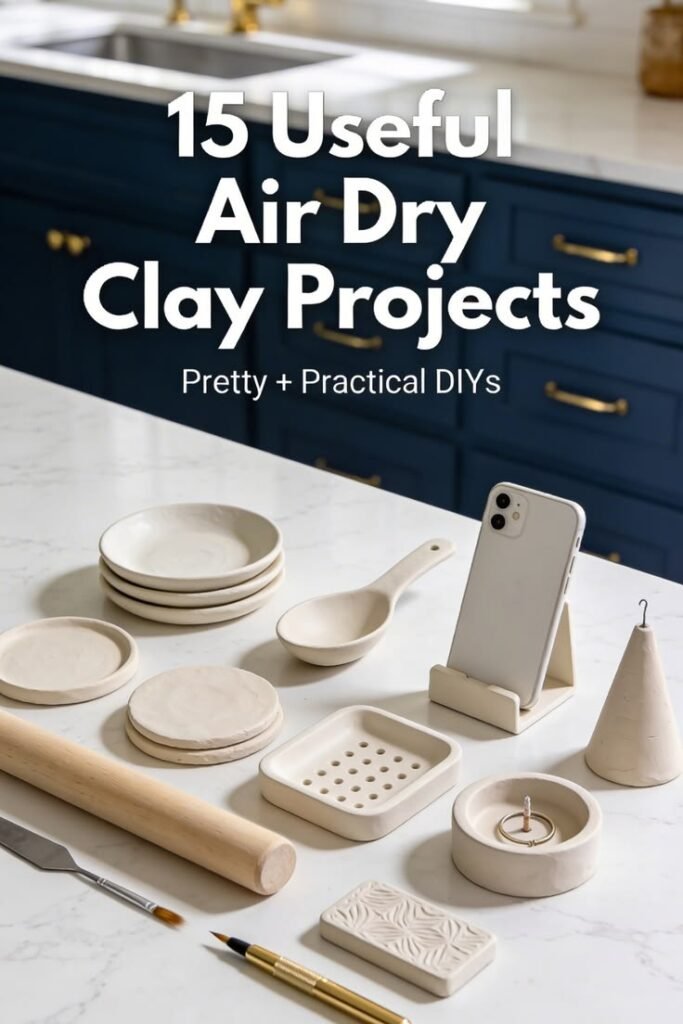
These air dry clay projects are a mix of decorative and practical ideas that work well for beginners and anyone who enjoys making useful things by hand.
I have also included the little details that can make a difference, such as keeping pieces even, allowing enough drying time, and sealing finished projects when needed. If you have a block of air dry clay sitting around and are wondering what to make with it, these ideas give you plenty of ways to put it to good use.
1. Air Dry Clay Trinket Dish
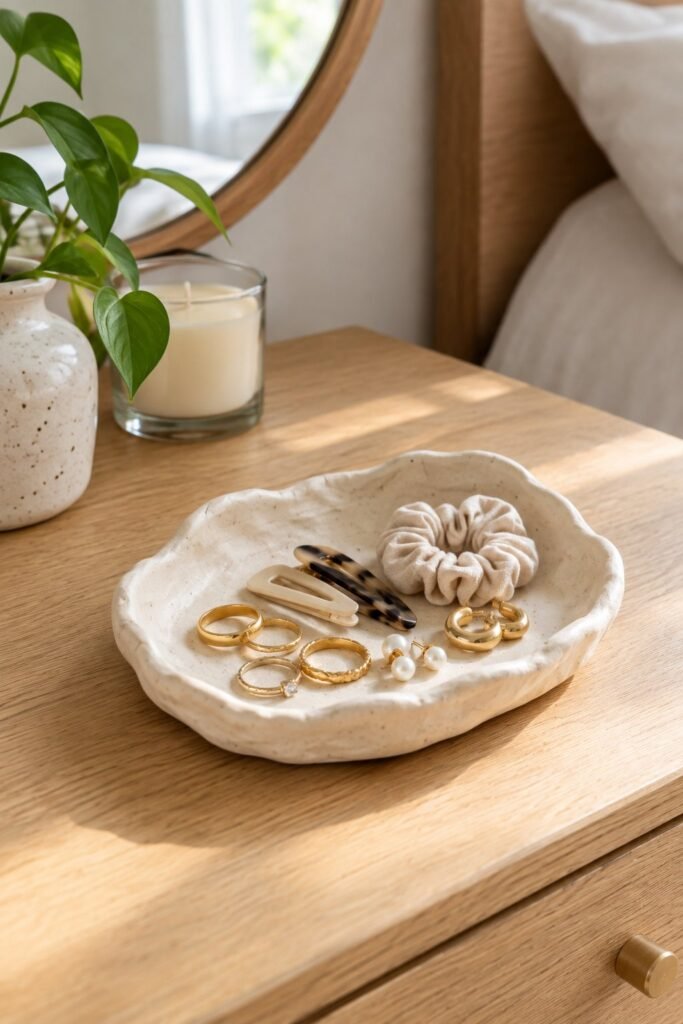
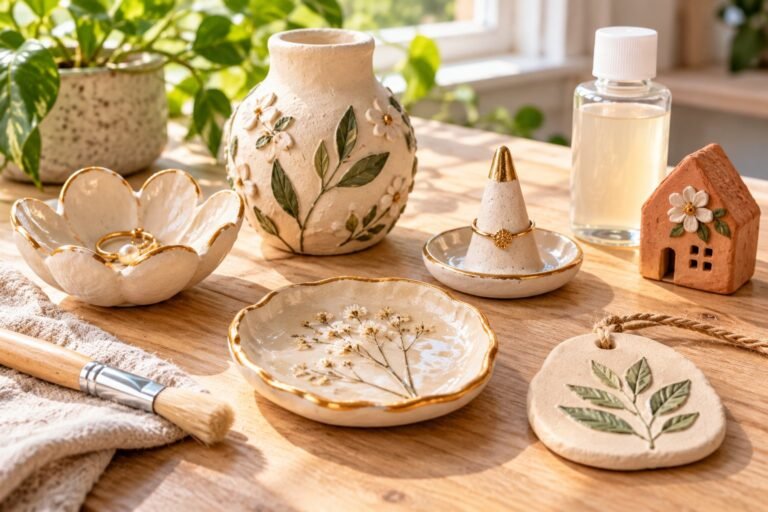
A small trinket dish is one of the easiest projects I like making with air dry clay, and it is also one of the pieces I find myself using the most.
I usually make mine fairly shallow with a slightly raised edge. That gives me enough room to drop small everyday items inside without making the dish bulky. It works well on a bedside table, dresser, desk, or entryway table.
I like using this type of dish for rings, earrings, hair clips, keys, coins, and other small things that tend to disappear around the house.
How I Make It
Start with a piece of clay and roll it into an even slab. You can use a rolling pin or another smooth cylindrical object to get the thickness as even as possible.
Cut out a simple circle, then gently lift the edges upward to create a shallow bowl. I prefer keeping the shape slightly imperfect because the handmade look works well with this type of project.
Smooth the edges with a damp fingertip and leave the dish on a flat surface to dry completely.
Once it is dry, I like adding a simple painted detail around the edge or leaving the natural clay finish for a softer look.
My Tip
Do not make the base extremely thin. A little extra thickness makes the dish feel sturdier and helps reduce the chance of it becoming fragile while you are shaping it.
2. Clay Jewelry Holder
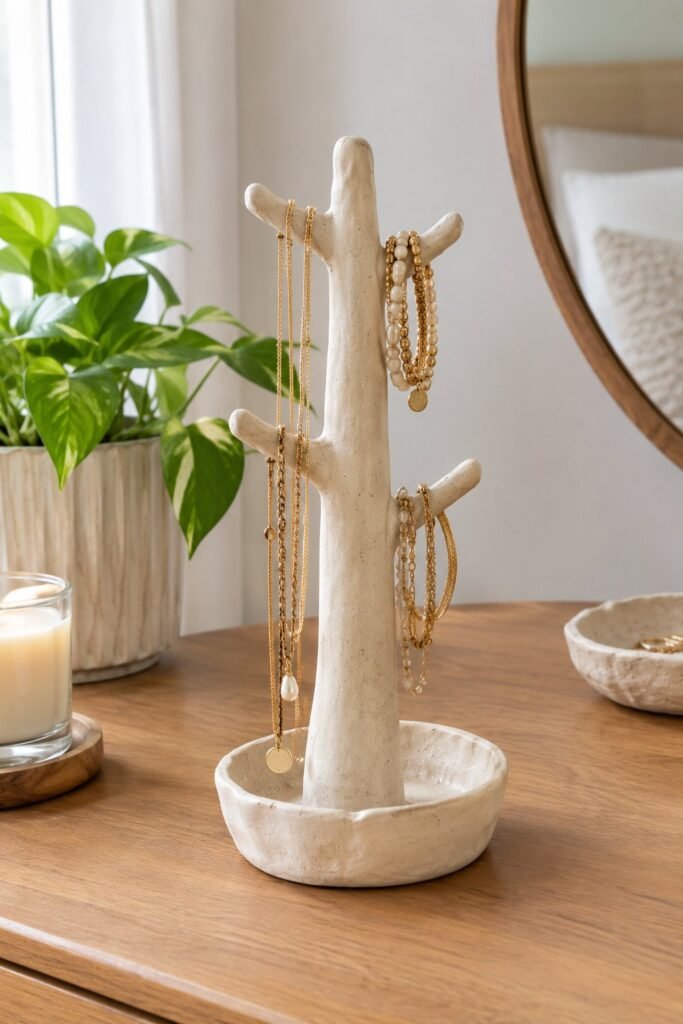
If you have several pieces of everyday jewelry that end up sitting on a dresser or getting tangled together, a small air dry clay jewelry holder can be a useful solution.
For this project, I like making a simple standing holder with small raised sections where necklaces, bracelets, or rings can rest.
The shape does not need to be complicated. You can make a small vertical slab, add a rounded base, and create several little hooks or pegs along the front.
I find it easier to work on the base and the upright section separately before joining them together. Score both surfaces lightly, add a small amount of clay slip or water, and press the pieces together carefully.
Why I Like This Project
The biggest advantage is that you can customize the size. A store bought jewelry holder may take up more space than you need, while a clay version can be made specifically for a small corner of your dresser.
You can also personalize the finish with paint, simple patterns, or a neutral color that matches your room.
My Tip
Make the base wide enough to support the upright section. A narrow base can make the finished holder unstable, especially when several pieces of jewelry are hanging from it.
3. Air Dry Clay Spoon Rest
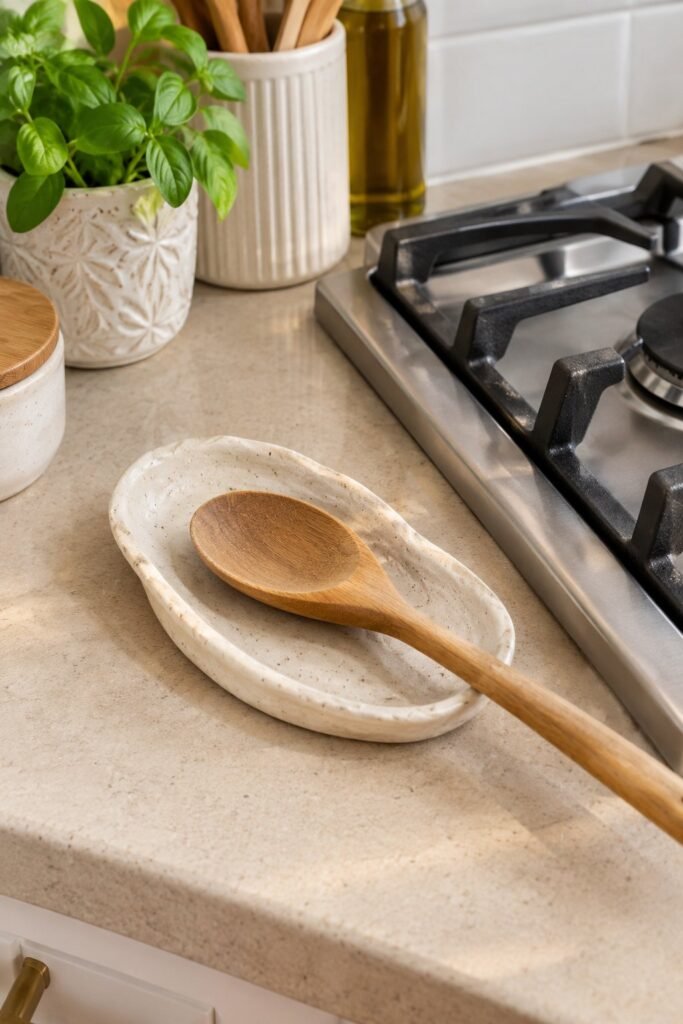
A handmade spoon rest is another project that looks decorative but has a very practical purpose in the kitchen.
I like keeping one near the stove because it gives me somewhere to place a cooking spoon while I am preparing food instead of putting it directly on the counter.
The simplest version is a small oval or rounded shape with the center pressed down slightly. You can also create a raised edge around the outside to keep the spoon from rolling off.
How I Make It
Roll out a slab of clay and cut it into the shape you want. Smooth the edges carefully, then press the center down using your fingers or the back of a spoon.
I usually keep the design simple because the spoon rest needs to be easy to wipe clean.
Let it dry completely on a flat surface before painting or sealing it.
Important Consideration
Air dry clay is not naturally waterproof, and it is not the same as a kiln fired ceramic piece. For something used around food or moisture, choose a finish according to the manufacturer’s instructions and avoid treating the finished piece as food safe unless the specific clay and sealer are certified for that purpose.
For a decorative kitchen spoon rest, I would keep the project focused on light everyday use and avoid soaking it or putting it in the dishwasher.
4. Air Dry Clay Ring Cone

A ring cone is one of those tiny projects that takes very little clay but can make a dresser or bedside table look much more organized.
The idea is simple. You shape the clay into a small cone with a stable base, then place rings over the top.
I like this project because the finished piece does not need to be large. It can fit into a small space while still giving rings a dedicated place.
How I Make It
Start with a small amount of clay and shape it into a cone. Flatten the bottom so that it can stand securely.
Smooth the surface with your fingertips and make sure the base is not rounded.
Once the clay has dried, you can leave it plain or add a painted pattern. A simple neutral finish works especially well if you want the jewelry holder to blend into your room.
My Tip
Keep the cone slightly thicker near the bottom. That gives it more stability and makes it less likely to tip over when you are placing or removing rings.
5. Air Dry Clay Pencil Holder
A pencil holder is another useful project when you want to turn air dry clay into something that gets used every day.
I like making these for a desk because the size can be adjusted depending on what I need to store. A small version works for pencils and pens, while a wider version can hold paintbrushes, scissors, makeup brushes, or other lightweight tools.
You can make the outside completely smooth or add simple texture while the clay is still soft.
How I Make It
Roll a piece of clay into a thick rectangle and gently curve it into a cylinder. Join the edges carefully and smooth the seam from the inside and outside.
Create a separate circular piece for the bottom and attach it securely to the cylinder.
I always check the bottom before leaving it to dry because an uneven base can make the finished holder wobble.
My Tip
Do not make the walls too thin. A little extra thickness gives the holder more strength and makes it easier to handle while you are shaping it.
For a more personalized look, you can press small patterns into the surface before the clay dries. Simple lines, dots, leaves, or geometric shapes can make a basic pencil holder look much more finished without requiring advanced clay skills.
6. Air Dry Clay Catchall Tray
A small catchall tray is one of the most useful things I like making with air dry clay because it gives all those little everyday items a proper place.
I usually keep a tray like this near an entryway or on a desk. It can hold keys, coins, earbuds, hair accessories, or other small items that tend to collect on flat surfaces.
The nice thing about making it yourself is that you can choose the exact size and shape you need. A long narrow tray works well on a small shelf, while a wider square tray gives you more room.
How I Make It
Roll the clay into an even slab and cut out your preferred shape. Gently lift the edges to create a shallow tray, then smooth the corners and sides with your fingertips.
I like keeping the walls fairly low because the tray is easier to use when you can quickly reach inside without having to lift anything out.
Leave it on a flat surface until it has completely hardened.
Once dry, you can paint it, add a simple pattern, or leave it with a natural clay finish.
My Tip
Pay attention to the bottom while shaping the tray. I always check that it sits flat before leaving it to dry because even a small curve underneath can make the finished piece rock from side to side.
7. Air Dry Clay Plant Pot Cover
If you have a small plant pot that looks a little plain, air dry clay can be used to create a decorative cover around it.
I like this idea because you do not necessarily have to make a complicated planter from scratch. You can create a simple outer piece that gives an ordinary plant pot a more handmade appearance.
This works especially well for small indoor plants, faux plants, or decorative pots that are kept away from direct water.
How I Make It
Measure the pot you want to cover before working with the clay. The clay cover needs to be slightly wider than the pot so that the original container can slide inside comfortably.
Shape the clay around a suitable container or mold, then carefully remove it before allowing the piece to dry.
I prefer making the cover slightly shorter than the original plant pot so the edge of the actual pot is still accessible.
Important Tip
Keep water away from unfinished air dry clay. I would not rely on an air dry clay container as a waterproof plant pot unless the specific clay and finishing products are designed and rated for that purpose.
A separate waterproof plant container placed inside the clay cover is a much more practical approach.
8. Air Dry Clay Wall Hooks
Small clay wall hooks can add storage without taking up much room, especially in areas where you only need somewhere to hang lightweight items.
I like this idea for things such as lightweight accessories, keys, small bags, or decorative items.
The important part is making the hook strong enough for its intended use and attaching it properly to the wall.
How I Make It
Create a flat clay backing piece and allow it to firm up slightly. Shape a small curved hook from another piece of clay and attach it securely to the backing.
Score both surfaces before joining them and reinforce the connection with additional clay.
Once the piece has dried completely, smooth any rough edges and apply your chosen finish.
For mounting, use hardware appropriate for the wall surface and the weight of the item you plan to hang.
My Tip
Keep these hooks for lightweight items unless you have tested the finished piece and mounting method carefully. Air dry clay is decorative and useful, but it does not have the same strength as metal or heavy duty hardware.
9. Air Dry Clay Incense Holder
An incense holder is a small project that gives you plenty of room to experiment with shapes and textures.
I like simple designs for this because the purpose is mostly about having a stable place for an incense stick while keeping the surrounding area easier to clean.
A small flat base with a hole in the center is enough to create a basic version.
How I Make It
Roll out a small piece of clay and cut it into a circle, oval, or another shape you like.
Smooth the edges and create a small hole through the clay using a skewer or similar tool.
Make sure the base sits completely flat before leaving it to dry.
After it has hardened, you can paint the surface or leave it plain.
Safety Note
Use the holder only on a stable, heat resistant surface and never leave burning incense unattended. Keep it away from curtains, paper, furniture, pets, children, and anything else that could catch fire.
I also prefer making the base wider than the incense stick itself so that ash has somewhere to fall instead of landing directly on the surrounding surface.
10. Air Dry Clay Soap Dish
A handmade soap dish can be a simple way to add a little character to a bathroom or sink area.
I like designs that have a slightly raised surface or drainage holes because they help keep the soap from sitting completely flat against the dish.
For this project, the shape can stay very simple. A small oval or rectangle with rounded corners works well.
How I Make It
Roll the clay into a slab and cut it to the size you need.
Create several small holes through the center to allow moisture to escape. Then gently raise the edges so the soap stays within the dish.
I smooth the edges carefully because rough clay around a sink can become annoying to use.
Allow the entire piece to dry thoroughly before applying a suitable sealer.
What I Have Learned
The drainage holes make a bigger difference than decorative details. A soap dish that allows water to move away from the soap is much more practical than a completely flat design.
I also recommend placing the finished dish somewhere where excess water can drain away rather than allowing it to sit in a puddle.
Because air dry clay is porous unless properly sealed, choose a sealer specifically suited to the clay and intended conditions, and follow the manufacturer’s instructions.
11. Air Dry Clay Cord Organizer
Loose charging cables can quickly make a desk, nightstand, or workspace look messy, so a small clay cord organizer is one of the more practical projects I like making.
The idea is simple. You create a small weighted piece with one or more openings that help keep a cable in place.
I find this especially useful beside a bed or desk where I regularly charge my phone. Instead of the charging cable sliding behind the furniture, the organizer keeps the end within easy reach.
How I Make It
Start with a small block of clay and shape it into a rounded rectangle or another compact form.
While the clay is still soft, create a narrow opening near the top that is large enough for your charging cable to pass through.
I make the base fairly thick because a lightweight organizer can move around every time you pull on the cable.
Smooth the edges carefully and allow the piece to dry completely.
Once it is dry, you can paint it to match your desk or leave the clay exposed for a simple handmade look.
My Tip
Test the size of the opening with the actual cable before the clay dries. It is much easier to make the opening slightly wider while the clay is soft than to try to enlarge it later.
12. Air Dry Clay Photo Holder
A small photo holder is another easy project that can be both decorative and useful.
I like making these when I want to display a favorite photo, small note, postcard, or inspirational card without using a traditional frame.
The holder itself can be very simple. The main feature is a narrow slot that holds the paper upright.
How I Make It
Shape the clay into a small rectangular or rounded base.
While the clay is still workable, make a narrow horizontal groove across the top. The groove should be deep enough to hold a photo securely without making the base too fragile.
Smooth the surface and corners, then allow it to dry completely.
You can leave the finished holder plain or add a small painted design around the front.
Why I Like It
The size makes it easy to move around. I can use a holder like this on a desk, bookshelf, bedside table, or small shelf.
You can also make several different shapes so that each one has its own look while still serving the same purpose.
13. Air Dry Clay Coaster Set
Coasters are a classic clay project because they are simple to shape and easy to personalize.
I like making a small set rather than one individual coaster because matching pieces look more intentional when they are placed together.
Round, square, oval, and irregular shapes all work well.
How I Make Them
Roll out the clay to an even thickness and cut several pieces using the same template.
Smooth the edges carefully so they do not feel rough once the clay dries.
Before the pieces harden, you can press patterns into the surface using a textured object, stamp, or simple tool.
Let them dry completely before adding paint or a suitable protective finish.
Important Consideration
Air dry clay can absorb moisture, so sealing becomes particularly important for anything regularly exposed to condensation.
I would also avoid treating homemade clay coasters like ceramic coasters that can be soaked or washed aggressively. Wipe them clean rather than leaving them sitting in water.
My Tip
Make every coaster the same thickness. Using the same template and checking the thickness as you work will help the finished set look much more polished.
14. Air Dry Clay Key Holder
A small key holder can be a useful project for an entryway, especially if you are tired of placing keys on random surfaces around the house.
There are several ways to make one, but I like a simple wall mounted design with a small clay base and lightweight hooks.
You can also create a standing key dish if you do not want to attach anything to the wall.
How I Make It
For a wall version, shape a flat rectangular or oval clay base.
You can add decorative details while the clay is still soft, such as simple lines, dots, initials, or a geometric pattern.
Once the base has dried completely, attach suitable lightweight hooks using a method appropriate for the material and the weight you plan to hang.
For a simpler option, make a shallow dish and keep it on a small table or shelf near the entrance.
My Tip
Think about where you will actually use the finished piece before choosing the design.
If you regularly carry several keys, a tiny decorative holder may not be practical. Making the base slightly larger and using properly rated hardware will give you a much more useful result.
15. Air Dry Clay Desk Organizer
The final project is one of my favorites because you can combine several useful storage ideas into one piece.
A clay desk organizer can have separate sections for pens, pencils, clips, small scissors, makeup brushes, craft tools, or other lightweight items.
Instead of making one large container, I prefer dividing the organizer into sections. That makes it easier to see what is inside and keeps small items from becoming mixed together.
How I Make It
Start by deciding what you want the organizer to hold.
Measure the available space on your desk and make a simple sketch of the compartments before touching the clay.
You can build the organizer from several clay sections and join them together carefully, or create individual small containers that sit next to each other.
I like keeping the shapes fairly simple because complicated structures can be harder to keep even while the clay is drying.
Smooth the outside edges and make sure the bottom sits flat.
Allow the entire organizer to dry thoroughly before painting or sealing.
My Tip
Do not make every compartment the same size just for the sake of symmetry.
If you know that one section will hold pens and another will hold small clips, make each section fit what you actually use. The best homemade organizers are the ones designed around your everyday habits.
Tips for Making Air Dry Clay Projects Turn Out Better
Working with air dry clay is fairly forgiving, but a few small habits can make a noticeable difference.
Keep the Thickness Even
Uneven clay can dry at different rates, which can contribute to cracking or warping.
I try to keep slabs as even as possible, especially when making trays, coasters, dishes, and flat decorative pieces.
Smooth the Edges Before Drying
It is much easier to smooth an edge while the clay is soft.
I use my fingertips to gently remove rough areas and small cracks before leaving the project to dry.
Taking a few extra minutes at this stage usually saves me from having to do as much sanding later.
Let Projects Dry Completely
This is one step I never try to rush.
The outside of a project can feel hard while the inside is still drying. Larger pieces need even more patience.
I keep finished pieces in a dry area with good airflow and allow them to dry according to the instructions for the particular clay I am using.
Be Careful With Water
Air dry clay is not automatically waterproof.
That matters when you are making soap dishes, planters, coasters, trays, or anything else that may regularly encounter moisture.
A suitable sealer can add protection, but it is important to choose one that is compatible with the clay and intended use.
Sand Carefully
Once the clay is completely dry, fine sandpaper can help smooth rough edges and small imperfections.
I prefer gentle sanding rather than trying to reshape the entire project after it has hardened.
Always avoid creating unnecessary dust and follow the safety guidance for the specific clay you are using.
How to Make These Projects Look More Expensive
The easiest way to make a simple clay project look polished is to keep the design intentional.
I usually prefer a limited color palette rather than covering every surface with different colors.
A neutral base with one small painted detail can look much more finished than an overly complicated pattern.
Texture can also make a big difference. Simple lines, small dots, pressed leaves, geometric patterns, or subtle ridges can give a basic project more character without requiring advanced clay skills.
I also like making several pieces that work together. A matching trinket dish, ring cone, and jewelry holder can look like a small collection rather than three unrelated crafts.
Common Air Dry Clay Mistakes to Avoid
One mistake is making pieces too thin because they look delicate and attractive while the clay is still soft. Thin pieces can become much more fragile once completely dry.
Another is moving projects too much during the drying process. Flat pieces especially can warp if they are handled before they have hardened.
I also avoid adding too much water. A little moisture can help smooth the surface, but excessive water can make the clay difficult to control and can affect the finished texture.
Another important mistake is assuming that a sealer automatically makes every clay project waterproof or food safe. Always check the clay and sealer manufacturer’s instructions and make sure the finished piece is appropriate for its intended use.
Final Thoughts
These projects are a good reminder that air dry clay does not have to be reserved for decorative crafts. With a little planning, you can turn it into small organizers, holders, trays, and useful pieces that fit naturally into your everyday routine.
What I like most about working with clay is being able to adjust the size and shape around what I actually need. A small desk organizer can fit a particular corner, a catchall tray can be made to match a narrow shelf, and a ring holder can be shaped around the amount of jewelry you actually wear.
You do not need advanced sculpting skills to make useful clay projects. Start with simple shapes, take your time while the clay is workable, allow each piece to dry properly, and focus on making things that you will genuinely use.
That is what makes these projects worth making. They are not just something to look at after the DIY is finished. They can become part of your everyday space.