How to Avoid Cracks in Air Dry Clay
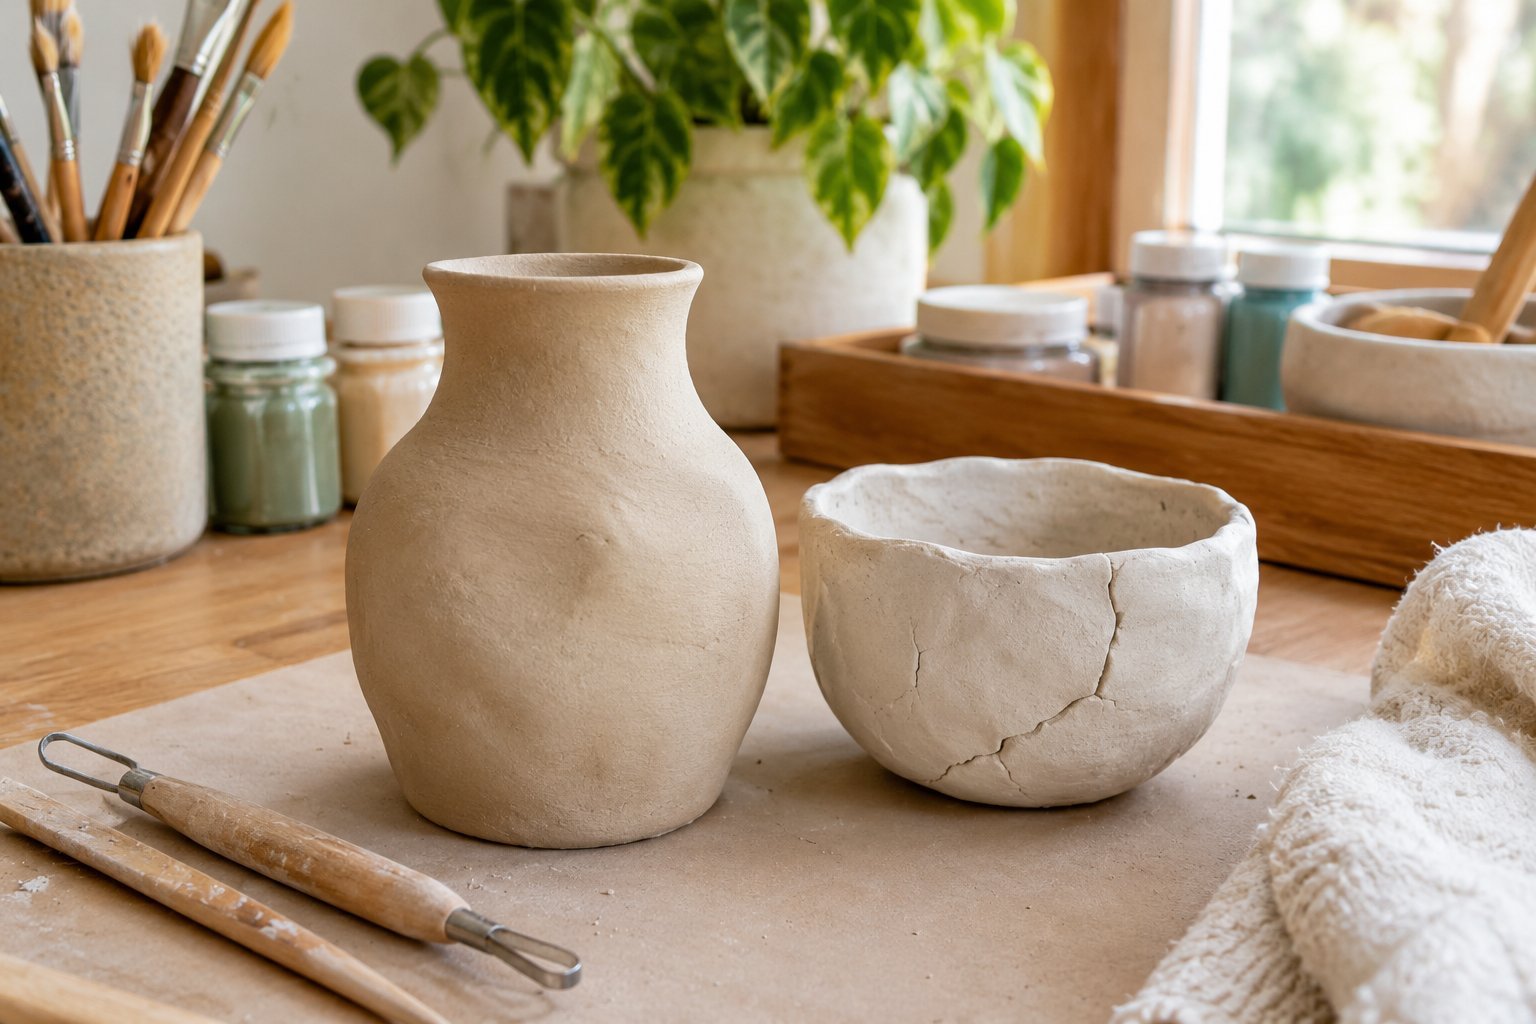
Air dry clay is one of those craft materials that can look incredibly simple to work with until a project starts drying and tiny cracks begin appearing across the surface.
I have had this happen on pieces that looked completely smooth while I was shaping them, only to notice small splits around the edges or deeper cracks the next day. It can be frustrating, especially after spending time getting the shape and details just right.
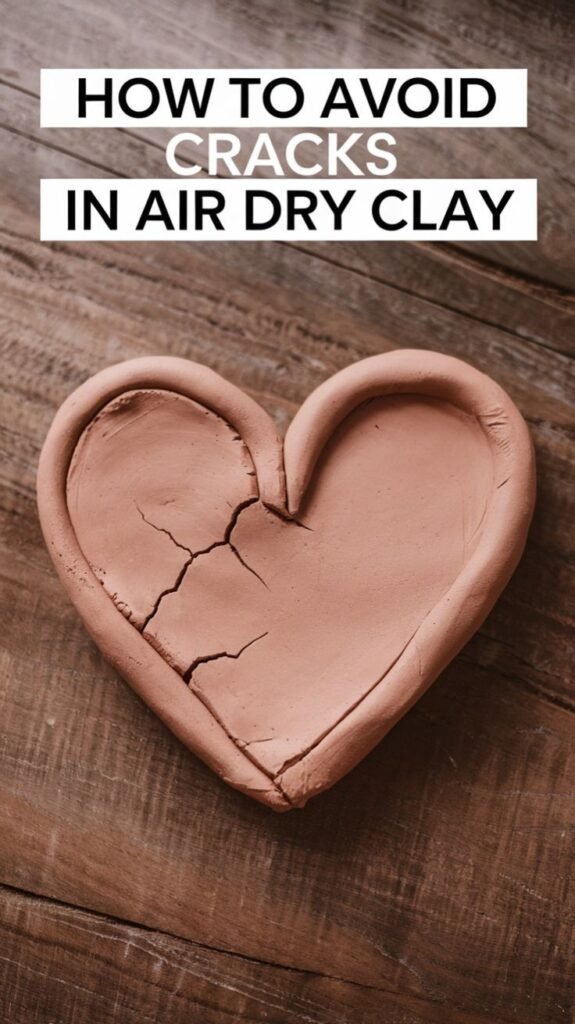
The good news is that most cracks are preventable once you understand what causes them. The way you condition the clay, how thick you make each section, how much water you add, and even how quickly the piece dries can make a noticeable difference.
I have learned that successful air dry clay projects are less about rushing through the shaping process and more about controlling moisture and thickness from beginning to end.
In this guide, I will share the practical techniques I use to reduce cracking and help my finished clay pieces dry more evenly and cleanly.
Why Does Air Dry Clay Crack?
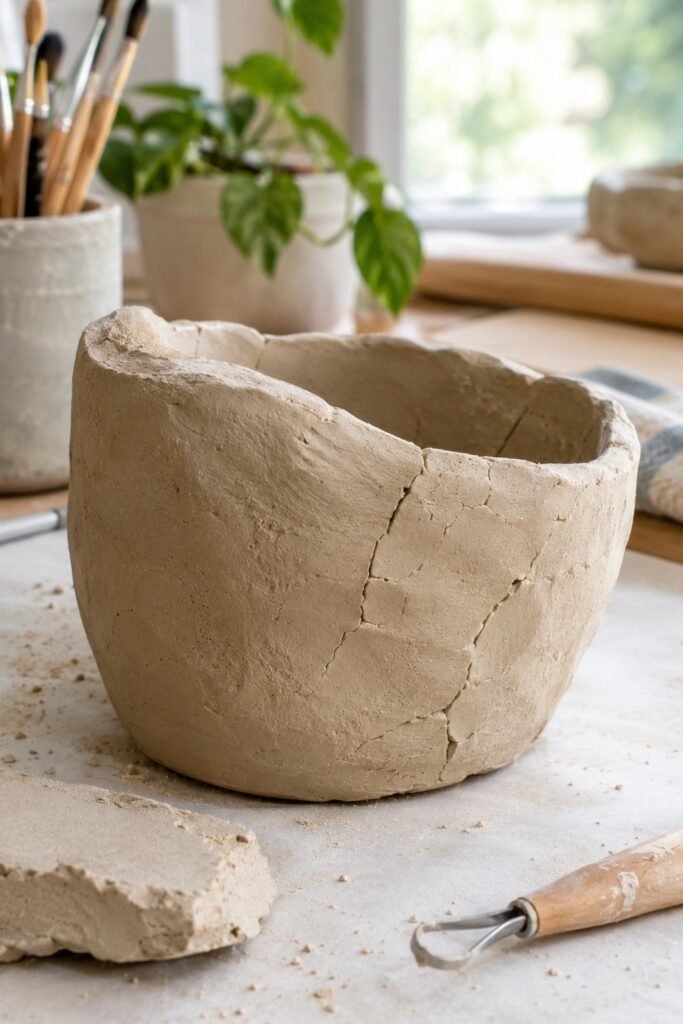
Before trying to prevent cracks, it helps to understand what is actually happening inside the clay.
Air dry clay contains moisture that gradually evaporates as the clay dries. As that moisture leaves, the clay shrinks. When different areas of a project dry at different rates, the material can become stressed and small cracks may develop.
I pay particular attention to this when working on thicker pieces. A thin outer layer can dry while the inside is still holding a lot of moisture. As the interior continues drying and shrinking, it can pull against the already hardened surface.
Cracks can also appear when clay is too dry before you begin, when too much water is added during shaping, or when two pieces are joined without being properly connected.
The main causes I watch for are:
Uneven Thickness
Uneven thickness is one of the easiest problems to overlook.
A project may look balanced from the front while one section is considerably thicker than another. The thinner area can dry much faster, creating uneven shrinkage throughout the piece.
When I make clay ornaments, trays, small sculptures, or decorative pieces, I try to keep the thickness as consistent as possible. If I need a thicker form, I would rather build it carefully than create one large solid mass of clay.
Drying Too Quickly
Air dry clay needs time to lose its moisture gradually.
Placing a fresh project directly beside a fan, heater, air conditioner, or in strong sunlight can cause the outside to dry much faster than the inside. That difference can create tension in the clay.
I prefer a slower drying process. After finishing a project, I usually place it somewhere with normal room airflow and leave it alone rather than trying to speed things up.
This is especially important for thicker projects.
Adding Too Much Water
Water can make air dry clay easier to manipulate, but too much can create problems later.
When clay starts feeling dry while I am working, I use only a small amount of moisture to bring the surface back to a workable condition. Saturating the clay can make it soft and sticky and may increase drying and shrinking problems.
A little moisture can help. Too much can work against you.
Starting With Dry or Poorly Conditioned Clay
Clay that has already started drying can be much harder to work with.
If the clay feels crumbly, stiff, or develops tiny splits when you bend or flatten it, I do not immediately start building a project with it. I work the clay thoroughly first and check whether it can become smooth and flexible again.
Trying to force dry clay into a shape often creates weak areas that later become cracks.
How I Prepare Air Dry Clay Before Shaping
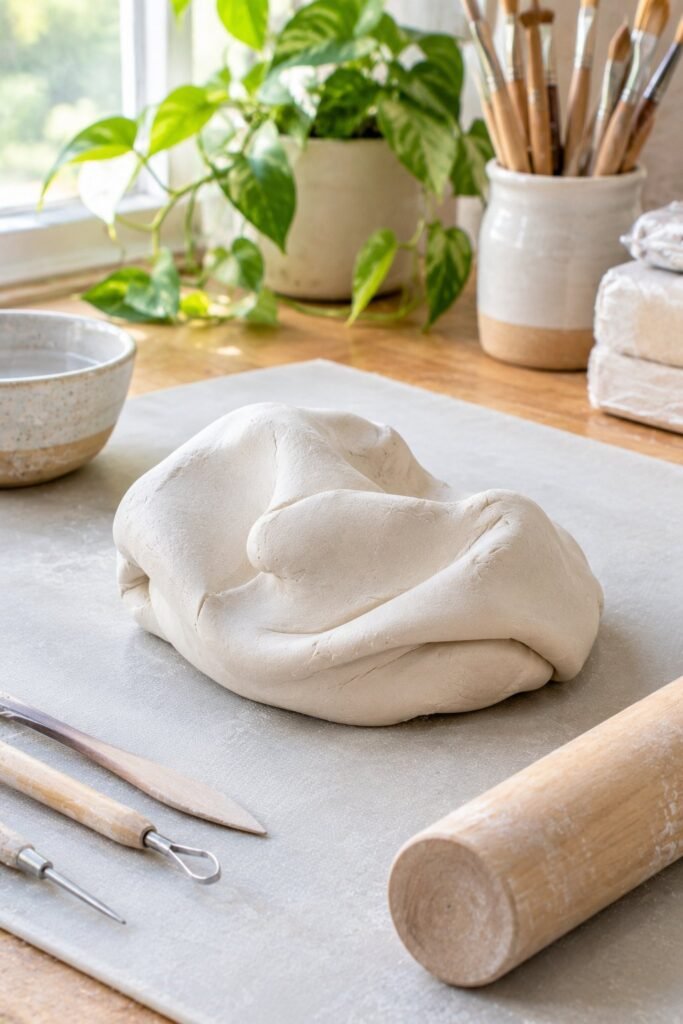
Preparation makes a bigger difference than many beginners expect.
I like to spend a little extra time conditioning the clay before making anything. The goal is to create a smooth, consistent piece of clay without obvious dry spots or hard sections.
I start by cutting off the amount I need and kneading it thoroughly. I press, fold, and roll the clay until the texture feels consistent.
If the clay has become slightly dry, I work with small amounts of moisture rather than adding a large amount at once. I would rather gradually soften the clay than make it overly wet.
The finished clay should feel workable and smooth without sticking heavily to my hands or work surface.
Check the Clay Before You Start
Before shaping the actual project, I like to perform a quick texture check.
I roll a small piece between my fingers and flatten it gently. If the edges immediately split apart, the clay needs more conditioning.
If it feels extremely sticky and leaves a heavy residue on the surface, I know I have added too much moisture.
The ideal texture is smooth enough to shape without tearing but firm enough to hold its form.
This small check can save a lot of frustration later because it is much easier to correct the clay before the project has been built.
Keep the Clay Thickness Consistent
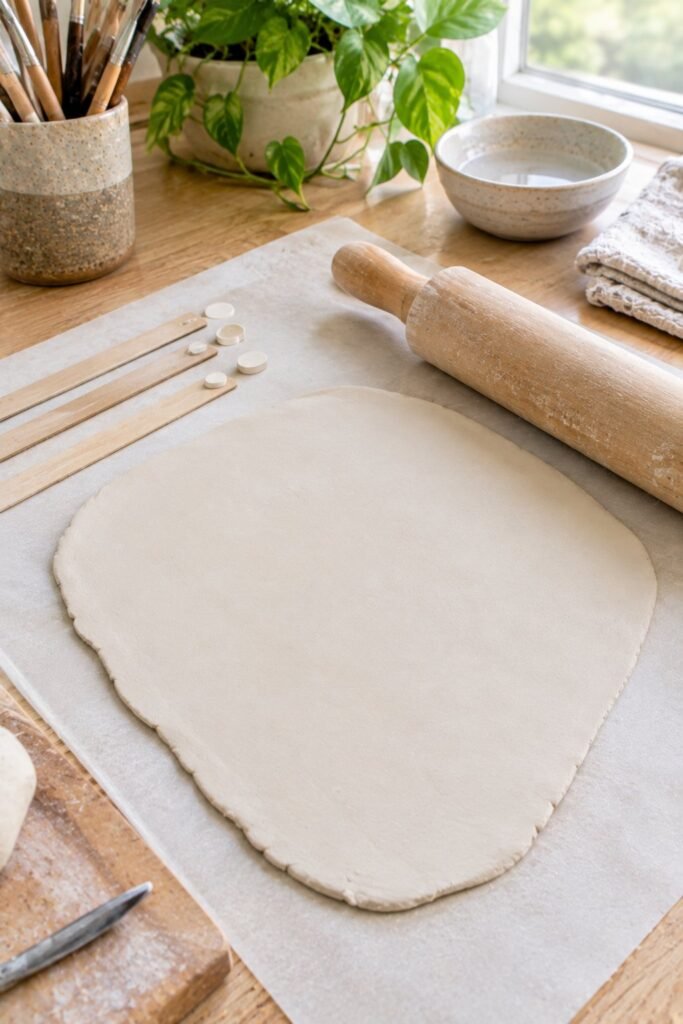
One of the most useful habits I have developed is paying attention to thickness throughout the entire project.
When rolling clay for flat pieces, I try to maintain an even thickness rather than pressing harder in certain areas. If one part becomes noticeably thinner, it can dry differently from the rest of the piece.
For larger projects, I also avoid making huge solid blocks of clay whenever possible.
A thick solid piece contains much more moisture than a thin one, which means the outside and inside can dry at very different rates. That creates more opportunity for cracking.
For larger forms, building around a lightweight support or creating a hollow structure can make the drying process much more manageable.
Avoid Sharp Changes in Thickness
Sudden changes in thickness are another area I watch carefully.
Imagine a clay shape that has a very thin wall but suddenly becomes thick around the center. That transition creates an area where the clay can dry differently.
Instead of making an abrupt change, I try to create a gradual transition.
This is particularly useful when making handles, decorative edges, small sculptures, bowls, and raised details.
The smoother the transition between thick and thin areas, the easier it is for the piece to dry evenly.
Be Careful When Joining Pieces Together
Adding separate pieces of clay is common when making detailed projects, but simply pressing two pieces together is not always enough.
A weak connection can dry and separate later, leaving a crack or visible seam.
When I attach one piece of clay to another, I make sure both surfaces are properly prepared. I gently roughen the joining areas, add a small amount of moisture or suitable clay slip when appropriate, and press the pieces together firmly.
I also smooth the surrounding area so there is not a sharp seam between the two pieces.
The connection needs to feel like part of the structure rather than an extra piece sitting on top.
Do Not Overwork the Surface
There is a point where smoothing improves a clay project and a point where continuing to manipulate it starts causing problems.
I like to smooth the surface while the clay is still workable, but once the piece looks clean, I stop repeatedly touching the same area.
Constantly rubbing, pressing, and adding moisture can disturb the surface and make some sections wetter than others.
A clean finish comes from controlled smoothing rather than endless handling.
Give Thick Projects Extra Attention
Not every air dry clay project needs the same drying approach.
A small flat ornament can dry relatively evenly, while a thick sculpture may require much more patience.
For thicker projects, I pay attention to how the piece is positioned while drying. I want air to reach the exposed surfaces without creating a situation where one side dries dramatically faster than another.
If a project has a particularly thick section, I avoid assuming that the outside being hard means the entire piece is dry.
The center may still contain moisture.
That is why I give larger pieces considerably more drying time before sanding, painting, or applying a finish.
Let Air Dry Clay Dry Slowly
The drying stage is where many perfectly shaped clay projects can develop problems.
I have learned not to rush this part. It can be tempting to place a project somewhere warm so it dries faster, especially when I want to move on to painting and decorating. However, rapid drying can cause the surface to harden before the inside has had enough time to dry.
That uneven drying can lead to stress and cracking.
I usually place finished pieces on a clean, flat surface in a room with normal airflow. I keep them away from direct sunlight, heaters, strong fans, and other sources of concentrated heat.
For thicker pieces, I give them even more time.
The exact drying time depends on the thickness, size, brand of clay, humidity, and surrounding temperature, so I prefer checking the actual piece rather than relying on a specific number of hours.
Turn the Piece Carefully While It Dries
Flat clay projects can sometimes dry unevenly when one side remains against the work surface.
I pay attention to this when making clay trays, ornaments, wall decorations, and other flat pieces.
Once the clay has become firm enough to handle without losing its shape, I carefully reposition it so air can reach different surfaces. I do not flip a very soft project because that can distort the shape or create pressure points.
For delicate pieces, I handle them as little as possible.
The goal is not constant movement. It is simply making sure one side does not remain trapped against a surface for the entire drying process.
Use a Suitable Drying Surface
The surface underneath your clay can also make a difference.
I like using a smooth, level surface that does not cause the clay to bend or sag while drying. If a project is sitting on an uneven surface, the clay can settle into that shape as it becomes firmer.
For flat pieces, I also check the project occasionally to make sure the edges are not curling dramatically.
If the edges start lifting while the center remains flat, that uneven movement can put stress on the clay.
Keeping the project supported and level helps reduce unnecessary tension.
Do Not Keep Adding Water to Fix Every Small Problem
Water is useful, but it is not a solution for every clay problem.
When I notice a rough area, I first ask whether the clay actually needs moisture. Sometimes the better solution is simply smoothing the surface gently with a tool or fingertip.
Adding water repeatedly can make the outer layer much wetter than the rest of the project.
That creates another drying imbalance.
For small surface adjustments, I use the least amount of moisture needed. I also allow the clay to settle before continuing to work on the same area.
What To Do When Small Cracks Appear
Even with careful preparation, small cracks can occasionally appear.
I do not immediately assume the entire project is ruined.
If the clay is still workable, I gently smooth the affected area and blend the surrounding clay together. For a shallow crack, this can be enough to close the opening before the piece dries completely.
For a deeper crack, I avoid simply rubbing the surface and hoping it disappears.
Instead, I gently open the area enough to remove loose or weak clay. I then work a small amount of fresh clay into the crack and blend the edges carefully.
The repair should become part of the surrounding clay rather than sitting like a patch on top.
Repairing Cracks After the Clay Has Dried
Dried air dry clay can still be repaired.
For a small crack, I usually clean away any loose pieces before filling it. A small amount of fresh air dry clay or an appropriate filler can then be pressed into the opening.
After it dries, the repaired area can be lightly sanded to create a smoother surface.
I always work gently during sanding because dried air dry clay can be surprisingly easy to remove. Applying too much pressure can create a dip around the repair and make the area more noticeable.
If I plan to paint the piece afterward, I make sure the repaired section is completely dry before applying paint.
Do Not Paint Too Soon
Painting a clay project before it has completely dried can create another set of problems.
The outside may feel dry while moisture is still trapped inside the piece.
I prefer giving the project enough time to dry all the way through before painting, sealing, or adding decorative layers.
This is particularly important with thick sculptures and projects containing several joined pieces.
A little extra patience at this stage is much easier than dealing with bubbling paint, soft areas, or cracks later.
Sanding Can Help With Small Surface Imperfections
Once the clay has completely dried, light sanding can improve the surface.
I use fine sandpaper and work gently over rough areas. Sanding is particularly helpful when I have repaired small cracks or smoothed seams between joined pieces.
I avoid aggressive sanding because air dry clay can become uneven quickly if too much material is removed from one area.
The goal is simply to refine the surface.
After sanding, I remove the dust before painting or sealing the project.
Pay Attention to the Edges
Edges tend to be more vulnerable than large flat surfaces.
Thin edges can dry quickly and become brittle, while sharp corners can develop small cracks if they are handled roughly.
When I make pieces with thin borders or decorative edges, I try to give those areas enough support while shaping and drying.
I also soften extremely sharp transitions when the design allows it.
A slightly rounded edge often holds up better than an extremely thin, sharp edge.
Avoid Making Thin Parts Too Delicate
Decorative details can make an air dry clay project look much more interesting, but extremely thin pieces can become fragile.
Things like tiny handles, narrow stems, thin leaves, miniature hooks, and very fine raised decorations need extra care.
When I want a delicate appearance, I try to create the visual effect without making the actual clay structure unnecessarily fragile.
Sometimes making a detail slightly thicker makes a major difference in how well the finished project survives handling.
Store Unused Clay Properly
Preventing cracks starts before the project even begins.
Once air dry clay is exposed to air, it gradually loses moisture. Leaving an opened package uncovered while working can cause the unused portion to become dry and difficult to work with.
I keep the remaining clay sealed as well as possible while I work.
I also avoid mixing fresh clay with pieces that have already become extremely dry and crumbly unless I can properly recondition them.
Fresh, workable clay is much easier to shape smoothly than clay that has been repeatedly exposed to air.
My Simple Crack Prevention Routine
When I want to reduce the chances of cracking, I keep my process fairly simple.
I start with clay that feels smooth and workable. I condition it before shaping and avoid adding unnecessary water.
I keep the thickness as consistent as possible and avoid creating extremely thick solid sections.
When joining pieces, I make sure the connection is strong instead of simply pressing the pieces together.
Once the project is finished, I leave it somewhere with normal room airflow and let it dry gradually.
I avoid direct heat and do not rush the drying stage.
After the piece is completely dry, I inspect it carefully before sanding, painting, or sealing.
That routine has helped me catch small problems early instead of discovering major cracks after the project is already finished.
Common Mistakes That Cause Air Dry Clay to Crack
A few small mistakes can make a noticeable difference in how an air dry clay project turns out. These are the problems I pay the most attention to now because they are easy to overlook while I am focused on the shape and details.
Making One Part Much Thicker Than Another
A thick section can take much longer to dry than a thin section beside it. That difference can create stress as the moisture leaves the clay.
I try to keep the structure reasonably consistent and use a lightweight internal support when a project needs to be larger or thicker.
Drying Clay in Direct Sunlight
Direct sunlight may seem like an easy way to speed things up, but I avoid it.
The surface can become dry very quickly while the inside remains damp. That uneven drying can contribute to cracking and warping.
A shaded area with normal room airflow gives me much more predictable results.
Using Too Much Water
Adding water can temporarily make stiff clay easier to manipulate, but excessive moisture can create an uneven texture and increase drying problems.
I use very small amounts when moisture is actually needed and work the clay thoroughly afterward.
Ignoring Small Cracks
A tiny crack does not always become a major problem, but I prefer dealing with it while the clay is still workable.
If I notice a small split, I smooth or repair it rather than continuing to build around it and hoping it disappears.
Rushing the Drying Process
This is probably the mistake I have had to become most patient about.
The project may look ready on the outside, but the inside can still contain moisture. Moving too quickly to sanding, painting, or sealing can cause problems later.
I would rather let a project sit longer than risk damaging it by rushing.
What If Your Air Dry Clay Keeps Cracking?
If you are consistently getting cracks even after changing your technique, look at the entire process rather than focusing on just one step.
Start by checking the condition of the clay.
Does it feel smooth and flexible, or does it crumble when you bend it?
Next, look at the thickness of your project.
Are certain areas significantly thicker than others?
Then consider how the piece is drying.
Is it sitting in direct sunlight? Is one side exposed to much more airflow than another? Are you placing it near a heater or fan?
Also think about how much water you are using during shaping.
Making one change at a time can help you figure out what is actually causing the problem.
How to Make Air Dry Clay Stronger
Preventing cracks is only part of creating a durable finished piece.
I also try to design projects with strength in mind.
Very thin sections are more vulnerable to snapping, while large solid sections can have difficulty drying evenly. Finding a balance between the two makes the finished piece easier to handle.
For larger projects, I prefer building around a suitable lightweight structure rather than creating one enormous solid piece.
For smaller projects, keeping the shape compact and avoiding unnecessarily thin details can make the finished item more durable.
The design itself can have just as much impact as the drying process.
Should You Cover Air Dry Clay While It Dries?
Covering a clay project can sometimes slow the drying process, which may be useful for certain projects.
However, I do not tightly seal every project under plastic.
The goal is controlled drying, not trapping moisture indefinitely.
For a project that needs slower drying, a loose covering can help reduce how quickly moisture escapes from the surface. I make sure there is still a way for the project to gradually dry.
As the clay becomes firmer, I allow more airflow.
This approach can be particularly useful when working on larger or thicker pieces that need more time to dry evenly.
Can You Prevent Every Crack?
Not necessarily.
Air dry clay naturally shrinks as it loses moisture, and different brands and formulations behave differently. Humidity, temperature, thickness, structure, and the amount of moisture in the clay can all affect the finished result.
The goal is to reduce unnecessary cracking rather than expect every project to come out perfectly without any imperfections.
I have found that careful preparation, consistent thickness, proper joining, and slow drying make the biggest difference.
My Best Tips for Crack Free Air Dry Clay
If I had to narrow everything down to the techniques that matter most, these are the habits I would keep.
Use clay that is smooth and properly conditioned.
Keep the thickness as even as possible.
Avoid creating unnecessarily thick solid sections.
Do not add large amounts of water.
Join separate pieces securely.
Smooth cracks while they are still small.
Allow the project to dry gradually.
Keep fresh clay covered while you work.
Keep unfinished pieces away from direct heat and sunlight.
Give thick projects plenty of drying time.
Do not paint or seal the project until it is completely dry.
Inspect the finished piece carefully before moving on to decoration.
These steps are simple, but together they can make the drying process much more predictable.
Frequently Asked Questions
Why does my air dry clay crack while drying?
Cracking usually happens because the clay is shrinking as moisture leaves it. Uneven thickness, rapid drying, excessive moisture, and weak joins can make cracking more likely.
How do I stop air dry clay from cracking?
Start with properly conditioned clay, maintain an even thickness, avoid excessive water, strengthen joins, and allow the project to dry slowly at room temperature.
Can I fix cracked air dry clay?
Yes. Small cracks can often be filled and smoothed with fresh clay or an appropriate filler. Once completely dry, the repaired area can be lightly sanded before painting.
Does adding water prevent cracks?
Not by itself. A small amount of moisture can make clay easier to work with, but too much water can create additional drying and shrinking problems.
How long should air dry clay dry?
Drying time depends on the clay brand, thickness, size of the project, humidity, and temperature. Thin pieces may dry relatively quickly, while thick pieces can require considerably longer.
Can air dry clay dry in the sun?
It can dry in sunlight, but I avoid direct sunlight because rapid surface drying can increase the chance of uneven drying, warping, and cracks.
Why does my clay crack around the edges?
Edges are often thinner and can dry faster than the center. Sharp corners and very thin sections can also become stressed during drying.
Can I paint air dry clay before it is completely dry?
I recommend waiting until the piece is completely dry. Painting too early can trap moisture and may lead to problems with the finish or the clay underneath.
Final Thoughts
Getting smooth, crack free air dry clay pieces is mostly about controlling the process rather than relying on one special trick.
The biggest difference for me has come from slowing down and paying attention to the condition of the clay before I start, the thickness while I am shaping, and the environment where the project dries.
When I prepare the clay properly, avoid excessive moisture, build with consistent thickness, and give the finished piece enough time to dry naturally, I have far fewer problems with cracks.
Small imperfections can still happen, but they do not automatically mean the project is ruined. Catching them early and knowing how to repair them can save a piece that might otherwise end up in the trash.
Air dry clay is forgiving when you give it the right conditions. A little patience during preparation and drying can make the finished project smoother, stronger, and much more enjoyable to work with.