
I still remember the first time I sold something I made with my own hands.
It was a small batch of scented candles poured in my kitchen on a slow Sunday afternoon, and within a week a friend of a friend had bought all six.
That tiny sale changed how I saw my free time.
What used to feel like “just a hobby” became a real source of income, and it opened my eyes to how many everyday crafts can be turned into a small business with very little startup money.
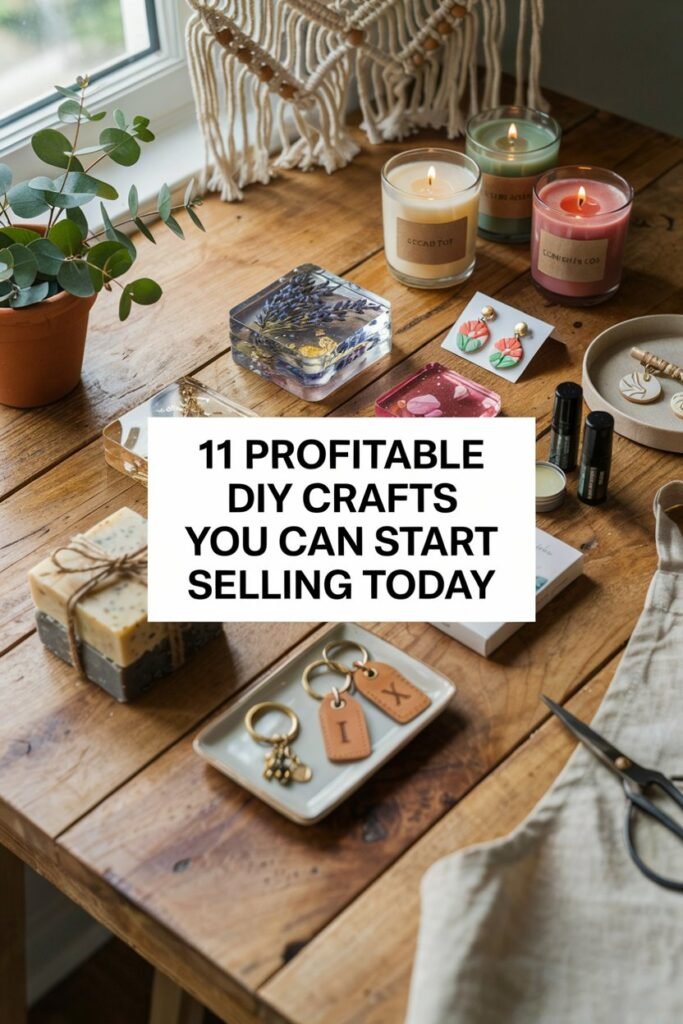
If you have been searching for a way to earn extra cash using your hands and your creativity, this guide is for you.
Below I have broken down some of the most profitable DIY crafts people are selling right now, along with the materials you need, a full walkthrough on how to make them, and tips on how to actually sell them once they are ready.
Everything here is written from real experience, so you can skip the guesswork and get straight to making and earning.
Why DIY Crafts Are a Smart Way to Earn
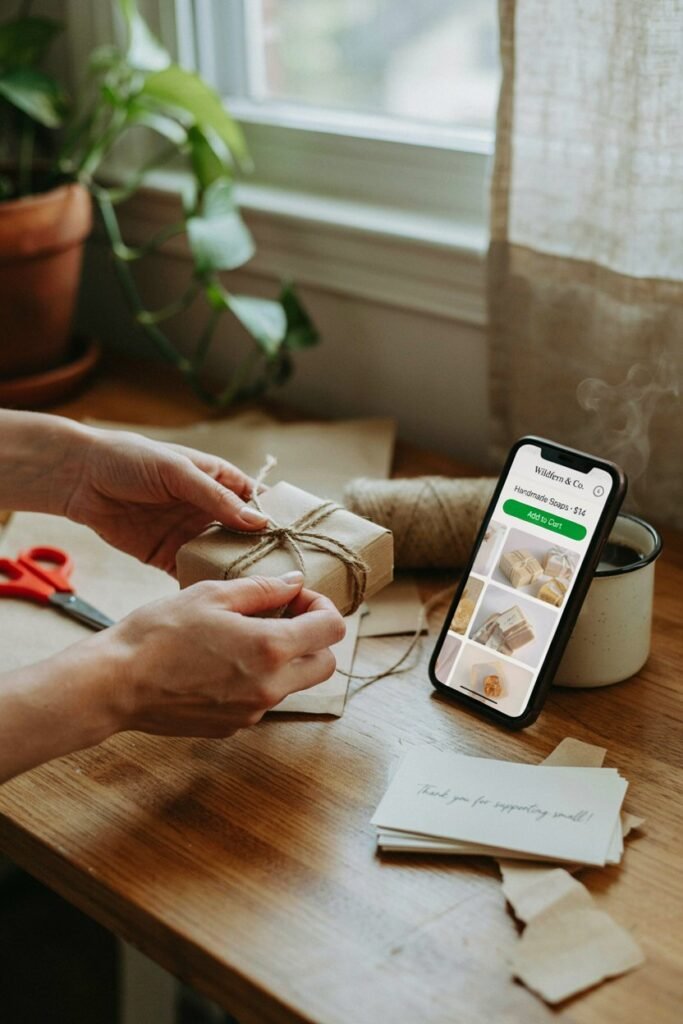
Before we get into the crafts themselves, it helps to understand why this space is so rewarding.
Craft supplies are cheap, the internet has made selling incredibly easy through platforms like Etsy, Instagram, and local marketplaces, and people are always looking for handmade, unique items that feel more personal than anything mass produced.
You do not need a warehouse or a huge team. Many successful small craft businesses started on a kitchen table, exactly like mine did.
Now let us get into the crafts.
1. Scented Soy Candles
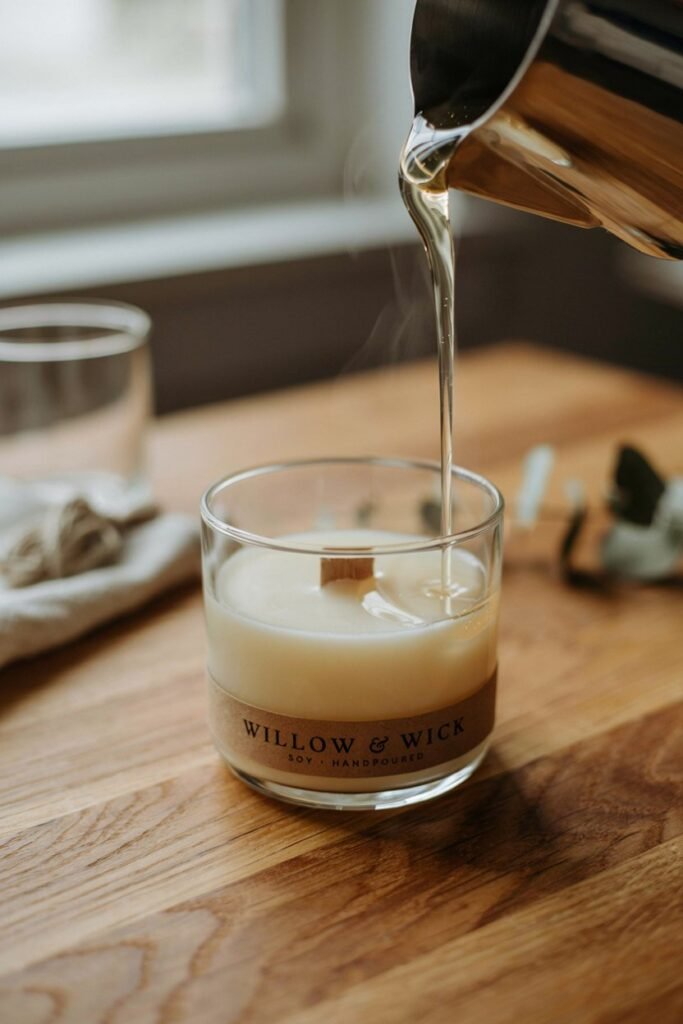
Candles remain one of the easiest and most profitable crafts to start because the materials are affordable and the demand never really slows down.
People buy candles for their homes, as gifts, and for special occasions all year round.
Materials You Will Need
Soy Wax Flakes: This gentle, clean burning wax became my go to base for every candle.
Cotton Wick with Sustainer Tab: I trust this wick to give steady, safe burning flames every single time.
Fragrance Oil: A few drops of this transformed plain wax into something people fell in love with.
Glass Jars or Tins: These became my favorite containers because they showcase the candle beautifully.
Double Boiler or Melting Pot: This tool made melting wax safely something I never had to worry about.
Thermometer: I relied on this to keep my wax at the exact right pouring temperature.
Wick Stickers: These tiny adhesives helped me keep every wick centered and perfectly straight.
Popsicle Sticks or Wick Holders: I used these to hold wicks upright while the wax cooled down.
Step by Step Guide
- Measure your soy wax flakes based on the size of your jar, usually about one ounce of wax per one ounce of jar volume.
- Melt the wax slowly in your double boiler, stirring occasionally until it reaches about 185 degrees Fahrenheit.
- While the wax melts, stick the wick sticker to the bottom of the wick and press it firmly into the center of your jar.
- Once the wax hits the right temperature, remove it from heat and add your fragrance oil, stirring gently for about two minutes.
- Let the wax cool slightly to around 130 degrees before pouring, then pour slowly into your jar, keeping the wick centered.
- Use a popsicle stick or wick holder to keep the wick straight as the candle cools for several hours.
- Once fully set, trim the wick to about a quarter inch and let the candle cure for at least 48 hours before lighting or selling.
Candles typically cost between two and four dollars to make and can sell anywhere from twelve to twenty five dollars depending on packaging and branding.
2. Handmade Cold Process Soap
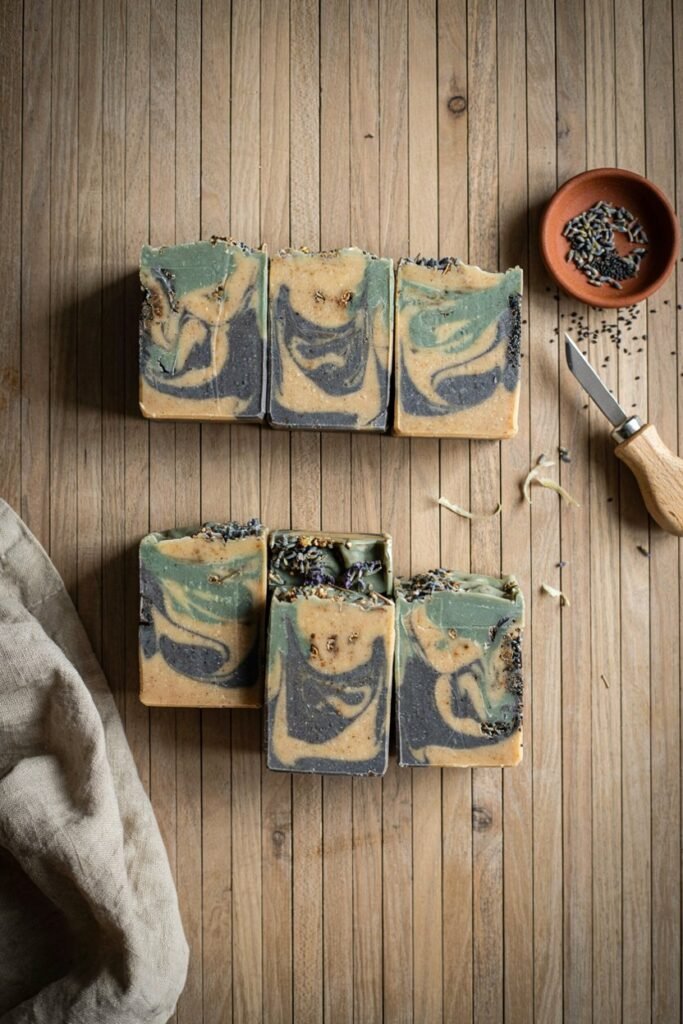
Soap making has grown massively in popularity because buyers love the idea of natural, skin friendly bars that feel more luxurious than anything from a supermarket shelf.
Materials You Will Need
Coconut Oil: This oil gave my soap the fluffy, generous lather customers always asked about.
Olive Oil: I loved how this ingredient made every bar feel gentle and moisturizing.
Lye (Sodium Hydroxide): This is the essential ingredient that actually turns oils into real soap.
Distilled Water: I always used this to safely dissolve the lye before mixing.
Essential Oils: These gave each bar a signature scent people remembered and requested again.
Soap Mold: This shaped my mixture into clean, professional looking bars every time.
Digital Scale: Precision mattered so much, and this tool kept my measurements accurate.
Stick Blender: This sped up the mixing process and helped me reach trace much faster.
Step by Step Guide
- Put on gloves and goggles, then carefully add lye to your distilled water, never the reverse, and stir until dissolved.
- Set the lye water aside to cool while you melt your coconut oil and combine it with olive oil.
- Once both the lye water and oils reach a similar temperature, usually around 100 degrees Fahrenheit, combine them slowly.
- Use your stick blender in short bursts until the mixture thickens to a pudding like consistency known as trace.
- Add your essential oils at this stage and blend briefly to distribute the scent evenly throughout the mixture.
- Pour the soap into your mold and cover it with a towel to insulate it as it goes through gel phase.
- Let the soap sit in the mold for 24 to 48 hours before removing it and slicing it into bars.
- Allow the bars to cure on a rack for four to six weeks so they harden and become long lasting.
Handmade soap bars often cost under a dollar each to produce and sell for six to ten dollars per bar.
3. Resin Jewelry
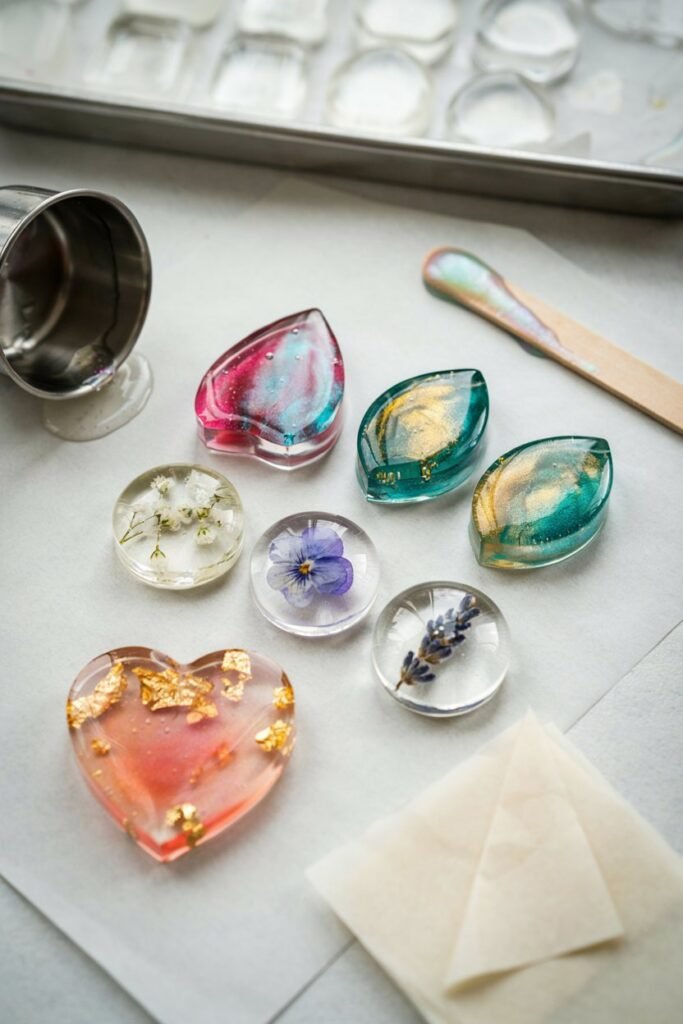
Resin jewelry has become one of the most eye catching crafts on the market because of how customizable and colorful the pieces can be.
Materials You Will Need
Epoxy Resin and Hardener: This duo is what actually creates the clear, glossy finish everyone loves.
Silicone Molds: These flexible molds let me create endless shapes without any resin ever sticking.
Mixing Cups: I used these to measure and combine resin without wasting a single drop.
Stir Sticks: These simple tools helped me blend resin thoroughly without introducing extra air.
Mica Powder or Pigments: A pinch of this turned plain resin into vibrant, eye catching colors.
Dried Flowers or Glitter: These added extra personality and made each piece feel truly one of a kind.
Heat Gun or Torch: I used this quickly to pop stubborn bubbles trapped inside the resin.
Jewelry Findings: Earring hooks, jump rings, and chains that turned my resin shapes into wearable pieces.
Step by Step Guide
- Measure equal or specified ratios of resin and hardener according to the product instructions, usually a one to one ratio.
- Mix slowly and thoroughly for at least three minutes, scraping the sides and bottom of your cup as you go.
- Divide the mixture into smaller cups if you want multiple colors, then add your mica powder or pigment.
- Pour the colored resin into your silicone molds, layering colors or adding flowers and glitter as desired.
- Use your heat gun briefly over the surface to eliminate any bubbles that rose during pouring.
- Let the resin cure undisturbed for 24 to 72 hours depending on the thickness of your pieces.
- Once fully cured, pop the pieces out of the molds and attach your jewelry findings to complete each item.
Resin earrings and pendants typically cost under two dollars to make and sell for fifteen to thirty dollars per piece.
4. Macrame Wall Hangings
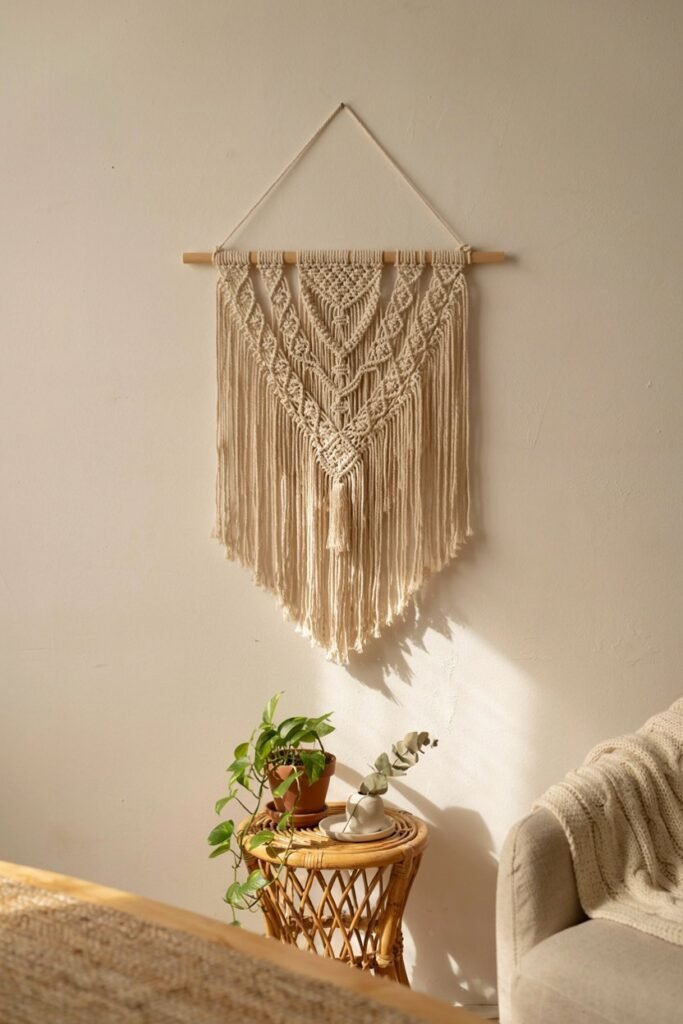
Macrame has made a huge comeback, and wall hangings in particular are popular with people decorating in a boho or minimalist style.
Materials You Will Need
Macrame Cord: This soft, thick cord became the foundation of every single design I created.
Wooden Dowel or Driftwood: This piece gave my hangings a natural, rustic base to hang from.
Scissors: A sharp pair made trimming clean, even fringe so much easier for me.
Comb: I used this to brush out the cord fibers into soft, feathery fringe.
Measuring Tape: This helped me keep every knot and section consistent throughout the piece.
Tape or Clipboard: I used this to hold my dowel steady while I worked on knots.
Step by Step Guide
- Cut your macrame cord into equal lengths based on the size and pattern you plan to create.
- Attach each cord to your dowel using a simple larks head knot to secure it firmly.
- Begin working through your chosen knot pattern, such as square knots or spiral knots, row by row.
- Keep checking that your tension and spacing stay even so the final piece hangs symmetrically.
- Once your pattern reaches the desired length, trim the bottom cords into an even fringe.
- Use your comb to brush out the fringe for a soft, textured finish that looks polished.
- Hang the finished piece to check balance and make final trims before packaging it for sale.
Macrame wall hangings cost a few dollars in materials and typically sell between twenty and sixty dollars depending on size.
5. Hand Poured Bath Bombs
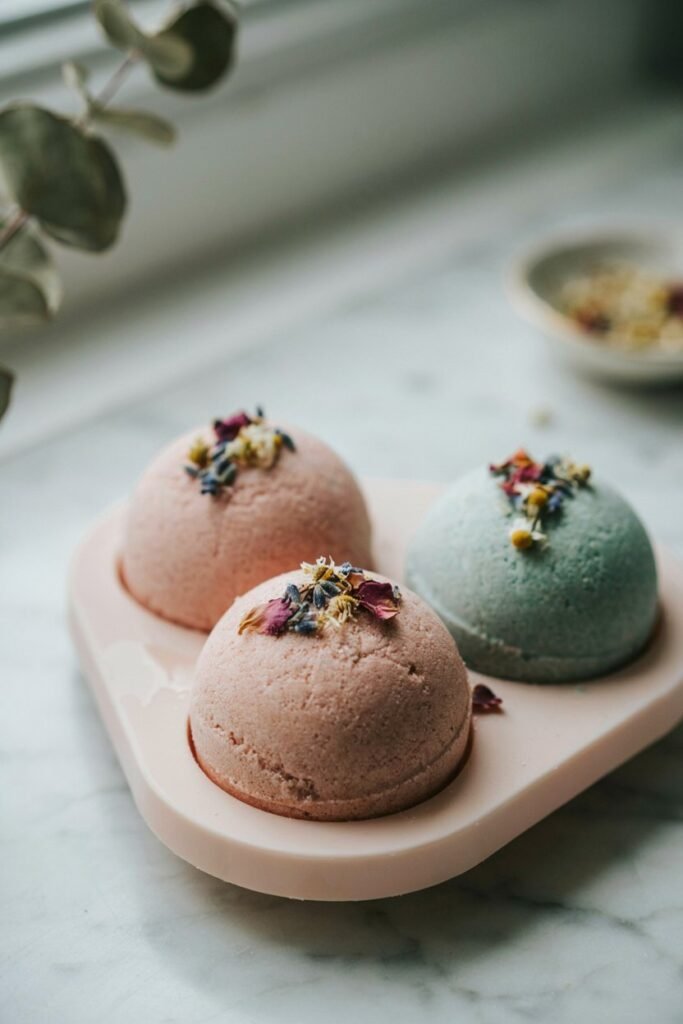
Bath bombs are a fun, affordable craft that appeals to gift buyers, self care lovers, and anyone wanting a little luxury in their bath routine.
Materials You Will Need
Baking Soda: This forms the bulk of every bath bomb and creates that satisfying fizz.
Citric Acid: This reacts with baking soda to produce the bubbling effect people love.
Cornstarch: I added this to slow the fizzing reaction and make bombs last longer.
Epsom Salt: This ingredient added a soothing, spa like quality to every single bath bomb.
Essential Oils: A few drops gave each bath bomb a calming or energizing scent.
Witch Hazel in a Spray Bottle: I used this to bind the mixture without triggering an early fizz.
Bath Bomb Molds: These gave my creations that clean, professional, rounded shape customers expect.
Step by Step Guide
- In a large bowl, combine your baking soda, citric acid, cornstarch, and epsom salt, mixing thoroughly with your hands.
- Break up any clumps so the dry mixture is completely smooth and evenly combined.
- Add your essential oils directly into the dry mixture and stir well to distribute the scent.
- Lightly spritz the mixture with witch hazel while stirring continuously, just enough to make it hold together.
- Test the texture by squeezing a small amount in your hand, it should hold shape like wet sand.
- Firmly pack the mixture into both sides of your mold, pressing tightly, then join the halves together.
- Let the bath bomb sit in the mold for a few minutes before gently releasing it.
- Allow the finished bath bombs to dry and harden for 24 hours before wrapping or selling them.
Bath bombs cost around fifty cents each to produce and typically sell for four to eight dollars apiece.
Tips for Actually Selling Your Crafts
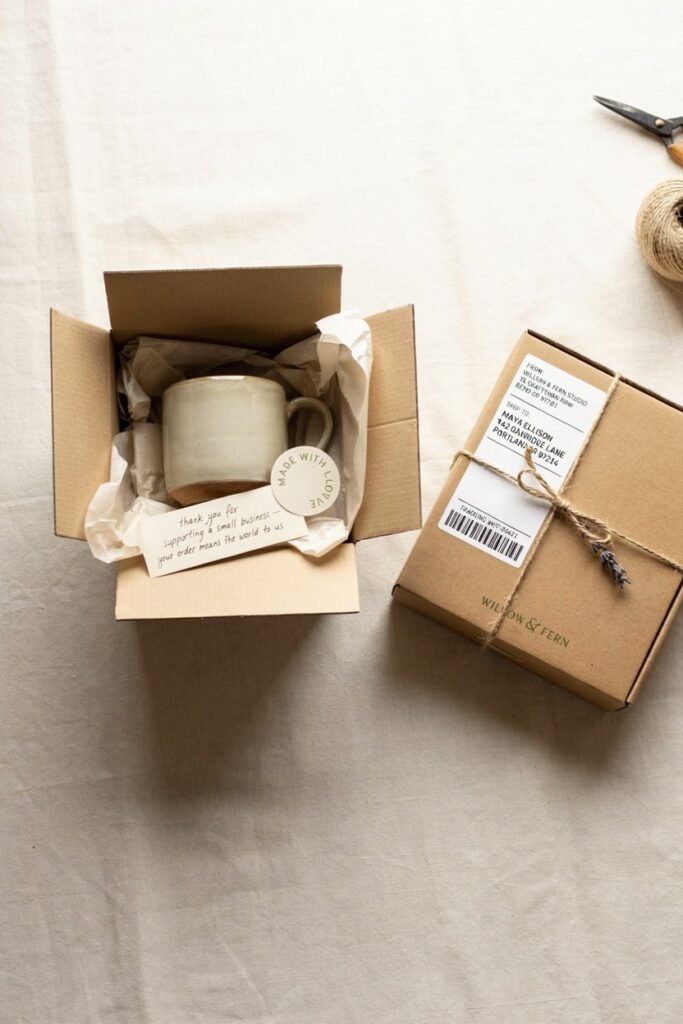
Making beautiful items is only half the journey, the other half is getting them in front of people ready to buy.
Here are a few things that helped me the most when I started selling.
Take Clear, Bright Photos: Natural lighting makes a massive difference in how professional your products look online.
Price for Profit, Not Just Cost: Always factor in your time, packaging, and platform fees, not just raw materials.
Start on Free Platforms: Instagram, Facebook Marketplace, and local community groups are great places to build an audience before paying for ads.
Package Thoughtfully: A little tissue paper, a branded sticker, or a handwritten note goes a long way in customer satisfaction.
Collect Feedback Early: Ask your first buyers what they loved and what could be improved, then use that to refine your process.
FAQ
What DIY craft is the most profitable to sell?
Resin jewelry tends to offer the highest profit margin since materials cost very little but finished pieces sell for fifteen to thirty dollars each.
Do I need a business license to sell handmade crafts?
It depends on your location and how much you plan to sell, so it is best to check your local regulations before selling at scale.
How much money do I need to start a craft business?
Most of these crafts can be started with under fifty dollars in materials, making them one of the most affordable small business ideas available.
Where can I sell my handmade crafts online?
Etsy, Instagram, Facebook Marketplace, and local craft fairs are all great starting points for reaching your first customers without paying for ads.
How do I price my handmade products fairly?
Add up your material cost, the time it took to make the item, and platform fees, then add a profit margin on top of that total.
Can I make soap or candles without special equipment?
Yes, most of these crafts only require basic kitchen tools like a double boiler, a scale, and simple molds to get started right away.
How long does it take for candles and soap to be ready to sell?
Candles usually need about 48 hours to cure, while cold process soap needs four to six weeks of curing before it is ready for sale.
Is it legal to sell homemade bath and body products?
Many regions allow this under cosmetic regulations, but it is important to research labeling and safety requirements specific to your area before selling.
What packaging works best for handmade crafts?
Simple, thoughtful packaging like tissue paper, kraft boxes, and a personal note tends to leave the best impression without adding much extra cost.
Can I turn this into a full time income?
Many sellers start part time and grow into full time income as they build an audience, refine their process, and expand their product range.
Final Thoughts
Every craft on this list started as something small for me, a single candle, one bar of soap, a tiny resin charm.
What surprised me most was how quickly these little projects turned into something people were genuinely willing to pay for.
You do not need fancy equipment or a huge budget to get started, you just need patience, a willingness to practice, and the courage to put your work out there.
If you are ready to start, pick just one craft from this list, gather your materials, and make your very first piece today.
Momentum builds fast once you see that first sale come through, and before you know it, your kitchen table hobby might just become your next real source of income.