
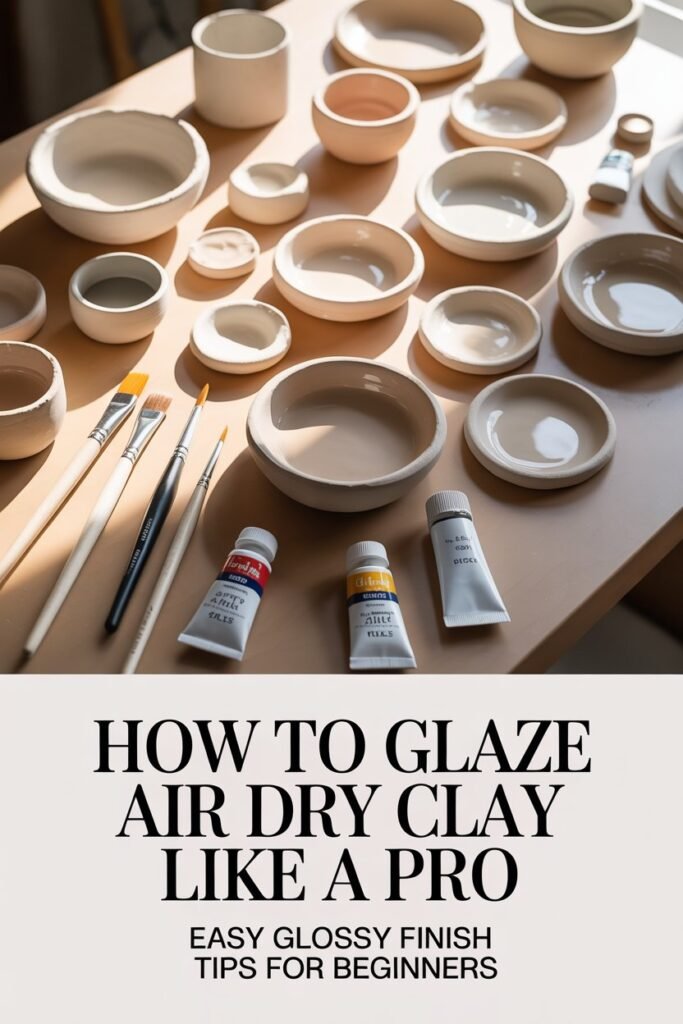
Air dry clay is one of the easiest and most satisfying materials to work with.
Whether you’re making jewelry dishes, figurines, vases, ornaments, trinket trays, plant pots, or aesthetic home décor, glazing your finished piece is what truly brings it to life.
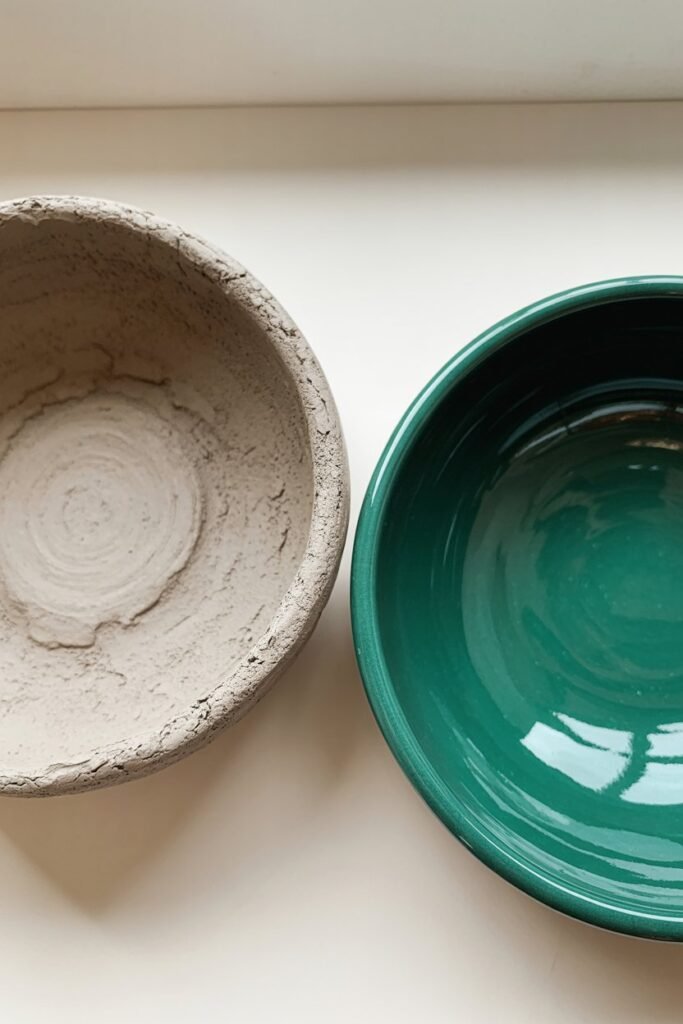
A good glaze can transform a dull clay project into something that looks polished, professional, glossy, waterproof-looking, and beautifully handmade.
If you’ve ever finished an air dry clay project and thought it looked chalky, rough, faded, or unfinished, glazing is the missing step.
The tricky part is that air dry clay is different from ceramic clay. Traditional ceramic glaze requires kiln firing, but air dry clay does not go into a kiln.
That means you need alternative glazing methods that protect and beautify the surface without heat firing.
In this complete guide, you’ll learn exactly how to glaze air dry clay properly, the best products to use, beginner mistakes to avoid, how to get glossy or matte finishes, waterproofing tips, painting techniques, sealing methods, and professional tricks that make your projects look store-bought.
Whether you’re completely new to crafting or already making clay projects for your home, Etsy shop, or Pinterest content, this guide will help you get smoother, stronger, and more beautiful results.
Disclaimer: This post may contain affiliate links, which means I may earn a small commission at no extra cost to you. Always allow clay to fully dry before glazing and follow product instructions for safe and long-lasting results.
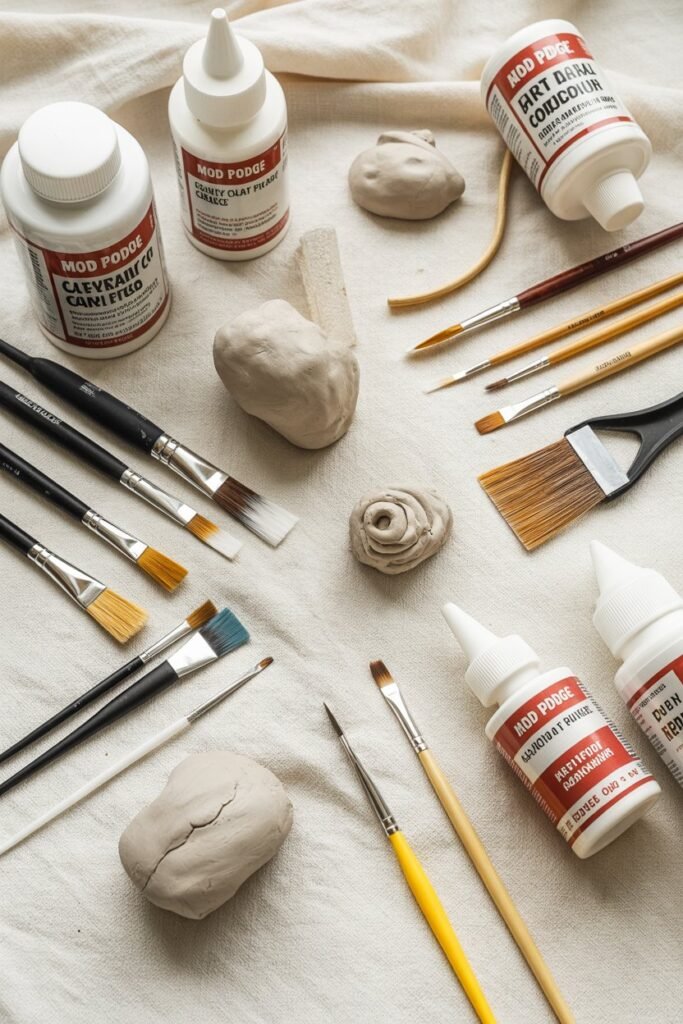
Amazon Shopping List: How to Glaze Air Dry Clay
- Clear Acrylic Gloss Sealer Spray
- Water-Based Acrylic Varnish (Gloss or Matte Finish)
- Based Acrylic Varnish (Gloss or Matte Finish)
- Soft Paint Brush Set (For Even Application)
- Fine Grit Sandpaper Set (Smoothing Edges)
- Silicone Craft Mat for Clean Workspace
- Air Dry Clay Pack (Finished Project Base)
- Protective Gloves for Crafting
What Is Air Dry Clay?
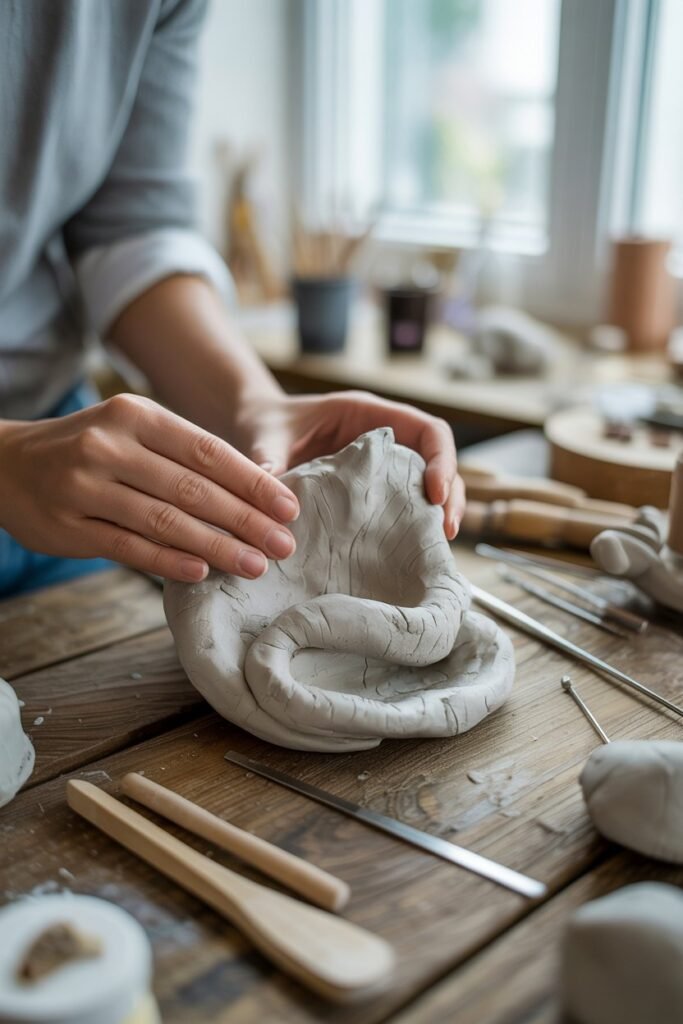
Air dry clay is a soft modeling clay that hardens naturally when exposed to air. Unlike pottery clay, it doesn’t require kiln firing or special equipment.
It’s popular because it’s:
- Beginner-friendly
- Affordable
- Easy to shape
- Great for DIY crafts
- Perfect for home projects
- Ideal for kids and adults
- Widely available online and in craft stores
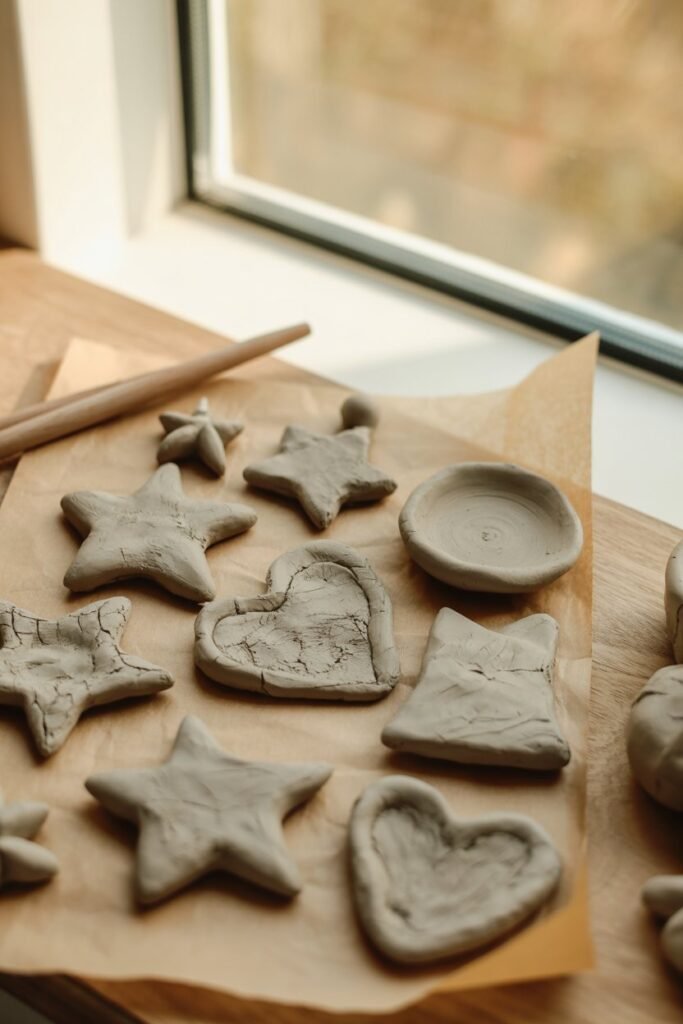
People use air dry clay for:
- Decorative bowls
- Coasters
- Jewelry trays
- Mini sculptures
- Candle holders
- Earrings
- Wall art
- Ornaments
- DIY gifts
- Home décor
However, once dry, air dry clay can look powdery and fragile. That’s why glazing or sealing it is extremely important.
Can You Use Real Ceramic Glaze on Air Dry Clay?
This is one of the biggest beginner questions.
The answer is no — traditional ceramic glaze will not work properly on air dry clay because ceramic glaze needs extremely high kiln temperatures to melt and cure.
Air dry clay is not designed for kiln firing and may crack, burn, or break under those temperatures.
Instead, people use:
- Acrylic sealers
- Mod Podge
- Resin
- Polyurethane
- Varnish
- Clear acrylic spray
- Gloss medium
These products create a “glazed look” without firing.
Why Glazing Air Dry Clay Is Important
Many beginners skip sealing or glazing their clay projects, but this often leads to problems later.
Glazing helps:
1. Protect the Clay
Air dry clay is porous and can absorb moisture from the air. Glazing helps protect it from humidity and small water exposure.
2. Improve Appearance
A glaze enhances colors and gives the surface a finished, polished appearance.
3. Add Shine or Matte Texture
You can choose:
- High gloss
- Satin
- Matte
- Semi-gloss finishes
4. Prevent Dust and Dirt
Unglazed clay attracts dust and stains easily.
5. Increase Durability
A sealed surface is more resistant to scratches and wear.
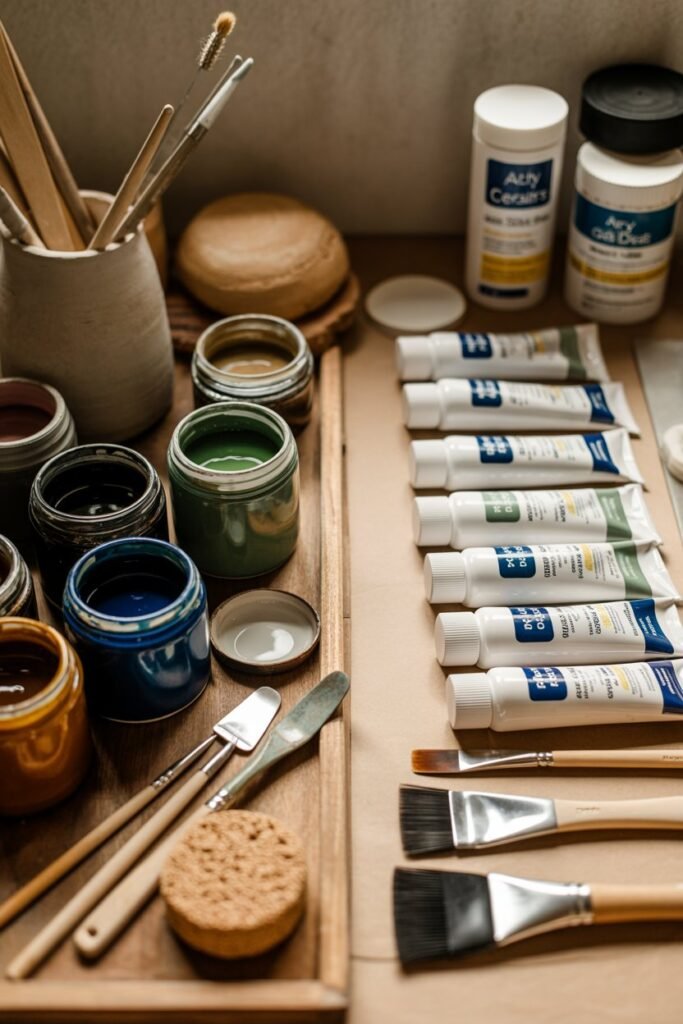
What You Need Before Glazing Air Dry Clay
Before starting, gather your materials.
Basic Supplies
Air Dry Clay Piece
Your clay project must be fully dry.
Sandpaper
Use fine-grit sandpaper to smooth rough areas.
Paint Brushes
Soft brushes help avoid streaks.
Acrylic Paint (Optional)
If you want to paint before glazing.
Glaze or Sealer
Choose based on your desired finish.
Soft Cloth
For cleaning dust before sealing.
Foam Brush (Optional)
Great for smooth glaze application.
Step 1: Let the Clay Dry Completely
This is the most important step.
If the clay is still damp inside, sealing it too early can trap moisture and cause:
- Cracks
- Mold
- Soft spots
- Peeling glaze
Drying time depends on:
- Thickness
- Humidity
- Clay brand
- Room temperature
Most projects need:
- 24–72 hours minimum
- Thick pieces may need up to a week
How to Tell If Air Dry Clay Is Fully Dry
The piece should:
- Feel room temperature (not cold)
- Look lighter in color
- Feel hard throughout
- Have no soft areas
Never rush this step.
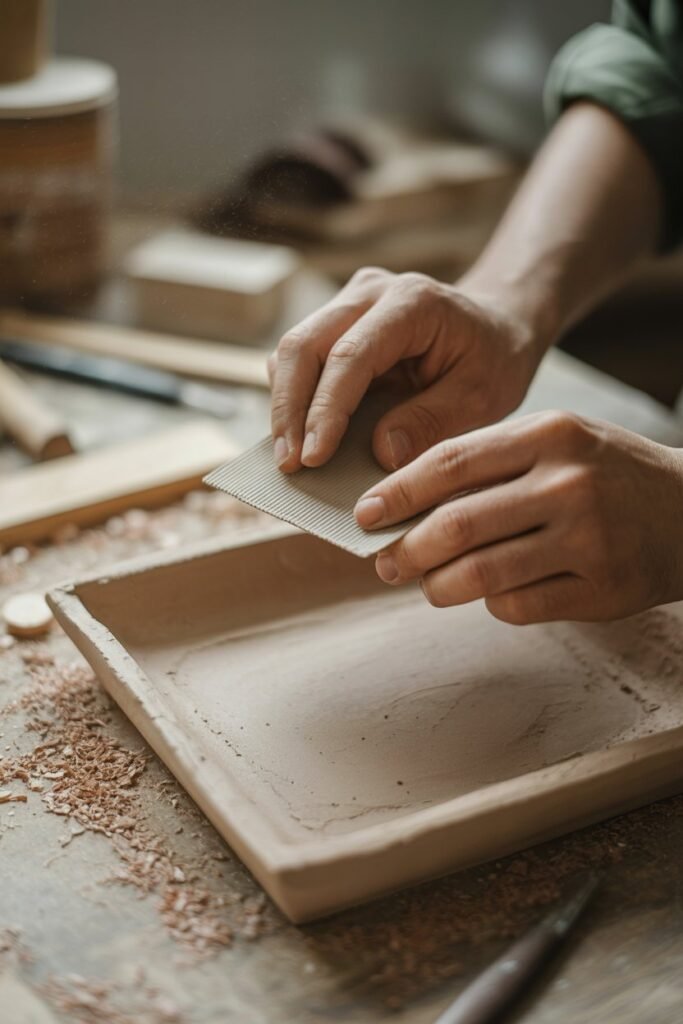
Step 2: Sand the Surface Smooth
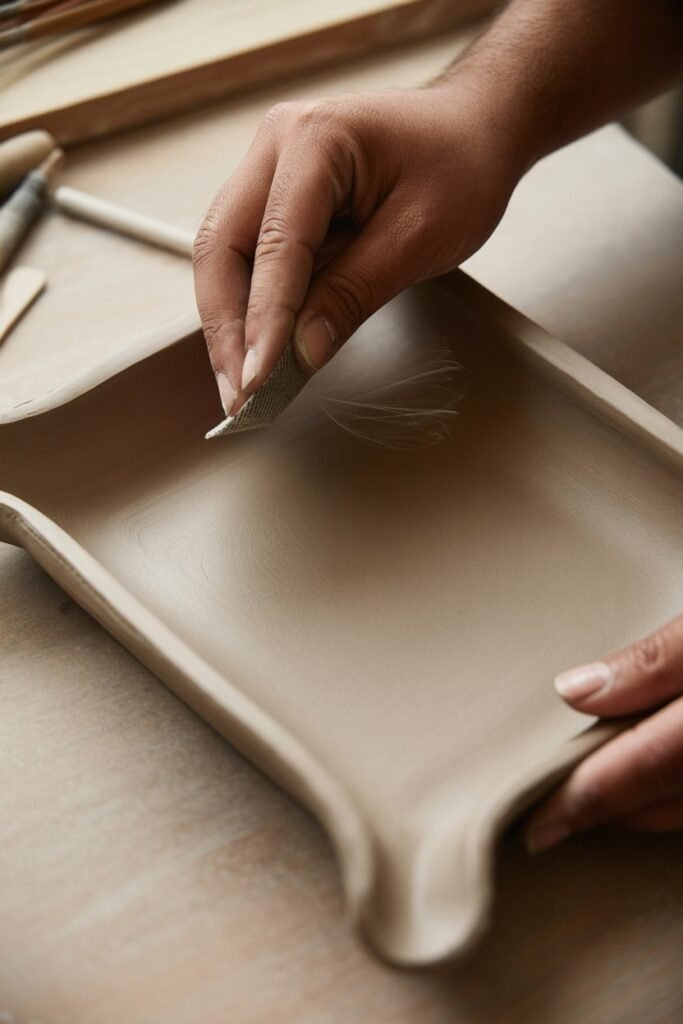
Professional-looking clay projects are almost always sanded before glazing.
Sanding removes:
- Fingerprints
- Uneven texture
- Bumps
- Cracks
- Rough edges
Best Sandpaper Grits
- 120 grit → rough shaping
- 220 grit → smoothing
- 400 grit → ultra-smooth finish
Sanding Tips
- Sand gently
- Use circular motions
- Wear a dust mask if sanding heavily
- Wipe dust away afterward
The smoother the clay surface, the better the final glaze looks.
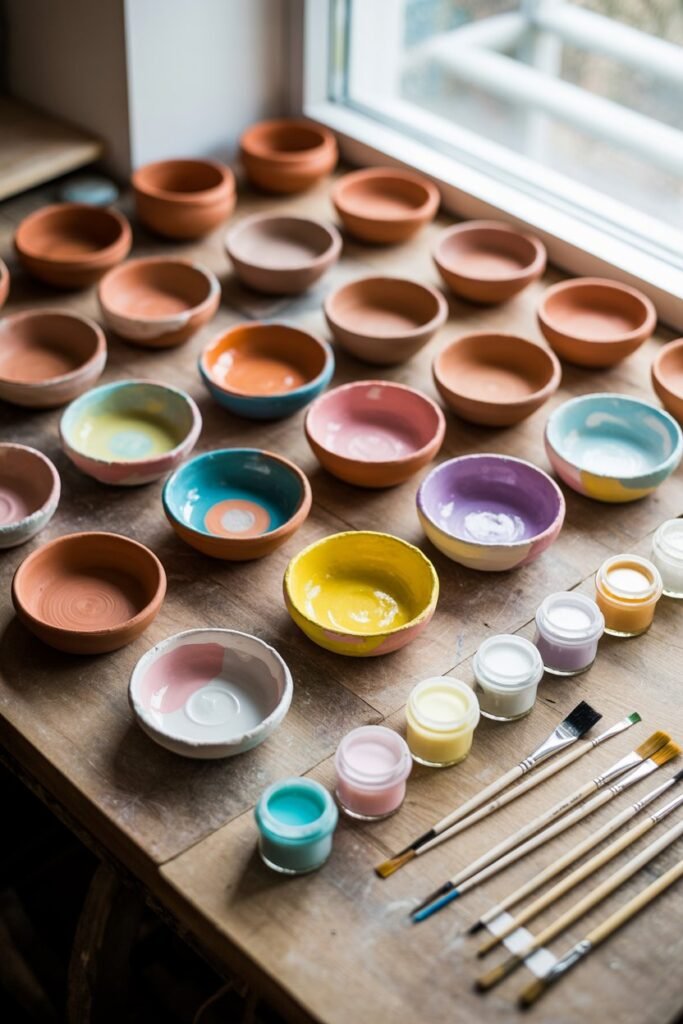
Step 3: Paint the Clay (Optional)
Many people paint air dry clay before glazing.
Acrylic paint works best because it:
- Dries quickly
- Bonds well
- Comes in many colors
- Is beginner-friendly
Painting Tips
Use Thin Layers
Thick paint can crack.
Let Each Coat Dry
Avoid muddy or streaky colors.
Use Small Brushes for Details
Especially for patterns or fine artwork.
Prime First (Optional)
White gesso can create a smoother painting surface.
Best Types of Glaze for Air Dry Clay
There are several ways to create a glazed finish.
Each gives a different look.
1. Mod Podge
One of the easiest beginner options.
Best For:
- Crafts
- Kids’ projects
- Matte or glossy finish
- Budget-friendly sealing
Pros
- Easy to use
- Affordable
- Widely available
Cons
- Not fully waterproof
- Can stay tacky in humidity
How to Apply
- Use thin coats
- Let dry between layers
- Apply 2–4 coats
2. Acrylic Varnish
Acrylic varnish gives a cleaner and more professional finish.
Available Finishes
- Gloss
- Matte
- Satin
Benefits
- Stronger protection
- Less tacky
- Better clarity
This is one of the best overall choices for beginners.
3. Polyurethane Sealer
Polyurethane is more durable and water-resistant.
Best For
- Coasters
- Trays
- Decorative bowls
- Frequently handled items
Important
Choose water-based polyurethane for easier cleanup and less yellowing.
4. Resin
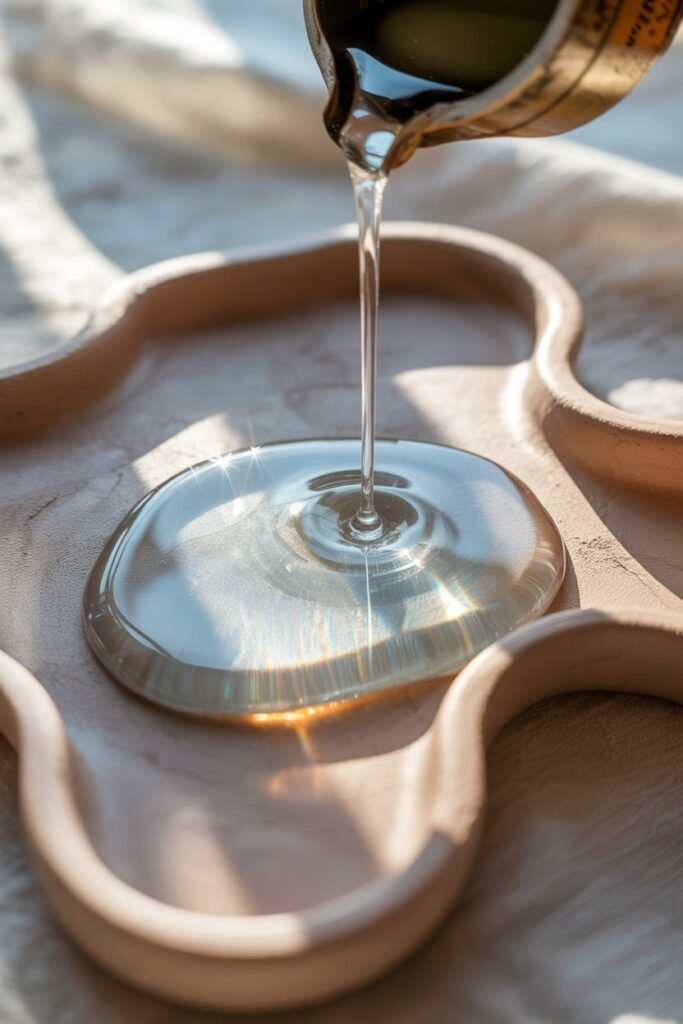
Resin creates the most dramatic glossy finish.
It gives projects a:
- Glass-like shine
- Luxury appearance
- Thick glossy coating
Best For
- Jewelry
- Trinket dishes
- Decorative art
- High-end crafts
Downsides
- More expensive
- Requires careful mixing
- Needs ventilation
Still, resin gives the most professional finish.
5. Clear Acrylic Spray
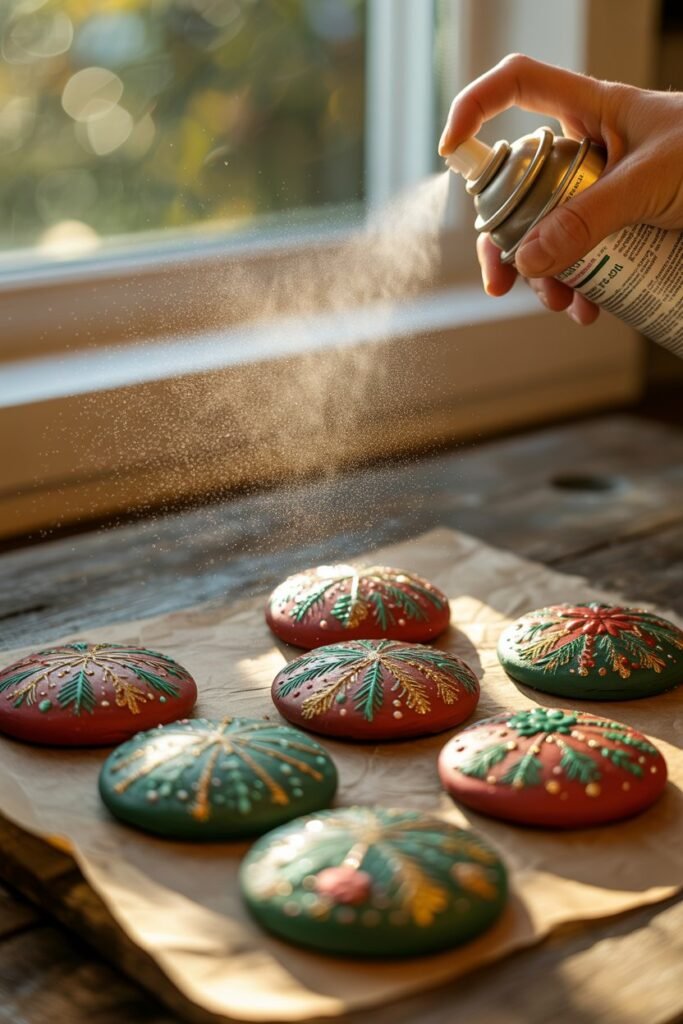
Spray sealers are fast and convenient.
Benefits
- Smooth application
- No brush strokes
- Quick drying
Best For
- Large pieces
- Delicate details
- Even coating
Always spray outdoors or in a ventilated area.
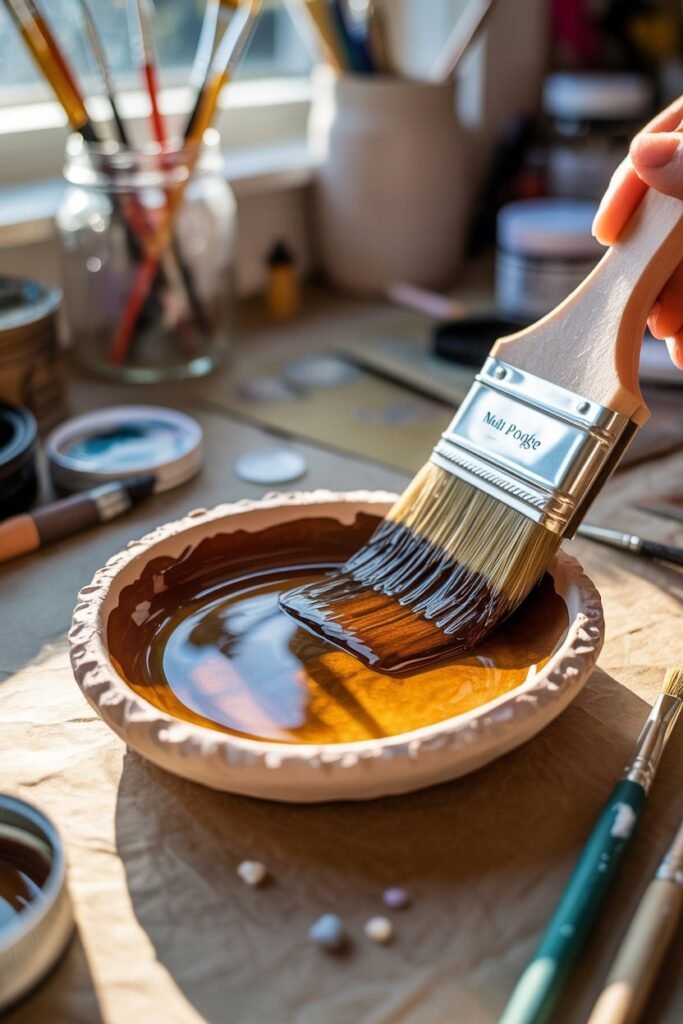
How to Glaze Air Dry Clay Step by Step
Now let’s go through the complete glazing process.
Step 1: Clean the Piece
Wipe away:
- Dust
- Finger oils
- Sanding residue
Use a dry microfiber cloth.
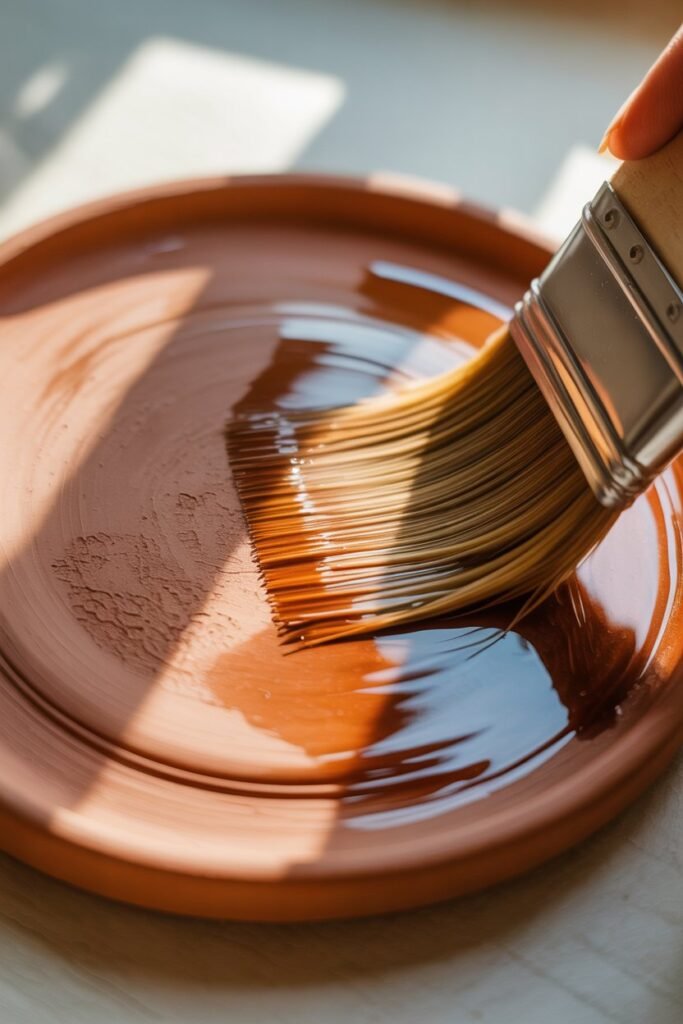
Step 2: Apply Thin Coats
Never apply thick glaze layers.
Thin coats:
- Dry better
- Look smoother
- Prevent drips
- Reduce cloudiness
Step 3: Let Each Layer Dry
Drying times vary.
Usually:
- 20 minutes to several hours between coats
Read product instructions carefully.
Step 4: Add More Coats
Most pieces need:
- 2–5 coats
More coats generally mean:
- Better protection
- More shine
- Smoother finish
Step 5: Cure Fully
Even if the surface feels dry, curing may take:
- 24–72 hours
Avoid heavy handling during this time.
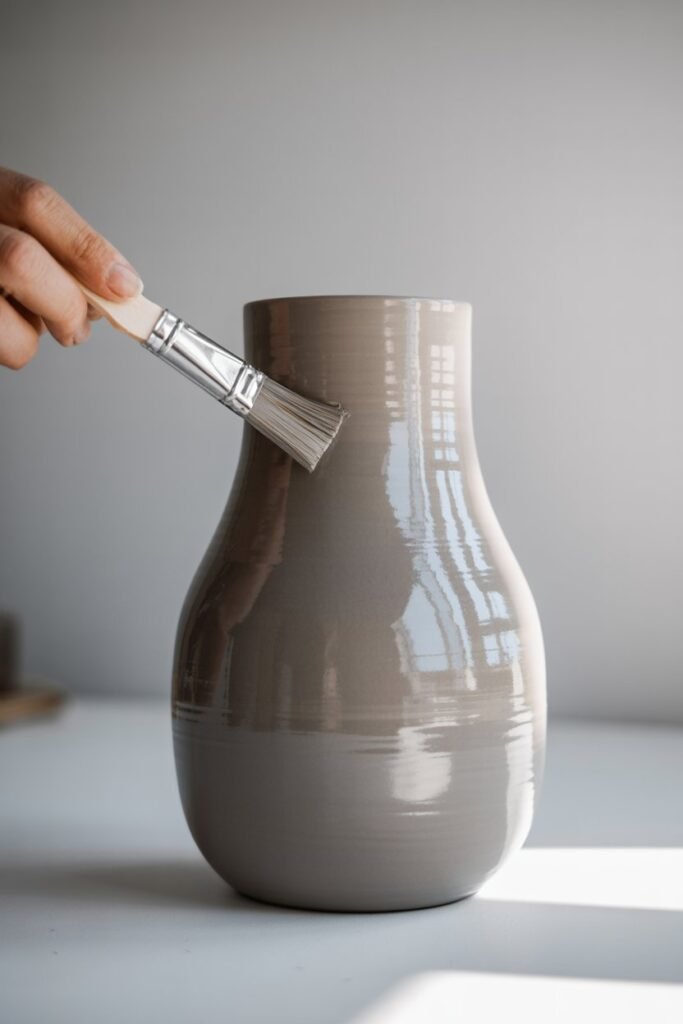
How to Get a Glossy Finish on Air Dry Clay

If you want your projects to look shiny and polished, these tips help tremendously.
Use Gloss Varnish
Choose products specifically labeled gloss.
Sand Between Layers
Very lightly sanding between coats creates an ultra-smooth surface.
Use Resin for Maximum Shine
Nothing beats resin for a glass-like effect.
Apply Multiple Thin Layers
This creates depth and smoothness.
Avoid Dust While Drying
Cover pieces loosely while curing.
How to Get a Matte Finish
Not everyone wants glossy clay.
Matte finishes give a modern, minimalist look.
Use Matte Varnish
Perfect for:
- Scandinavian décor
- Neutral aesthetics
- Modern crafts
Avoid Thick Layers
Too much product can accidentally add shine.
How to Waterproof Air Dry Clay
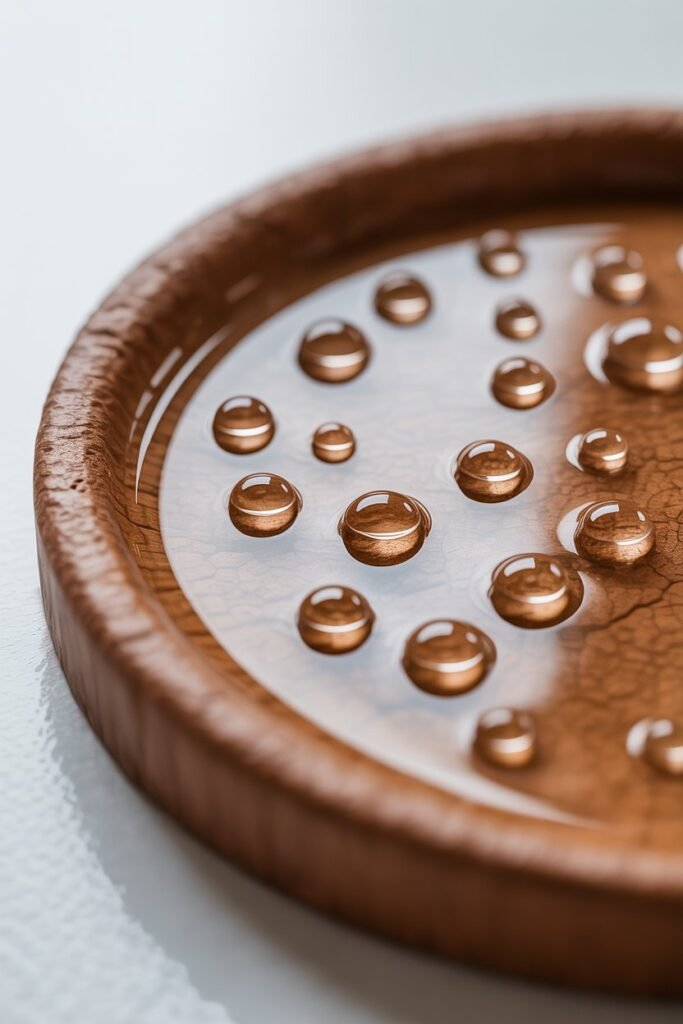
This is another huge beginner question.
Technically, air dry clay is never fully waterproof like kiln-fired ceramics.
But you can make it highly water-resistant.
Best Waterproofing Methods
Resin
Best protection overall.
Polyurethane
Strong moisture resistance.
Multiple Sealer Layers
Several coats help block moisture.
Important Warning
Even sealed air dry clay should NOT:
- Sit in water
- Go in dishwashers
- Be used for food
- Be left outdoors long-term
Use it mainly for decorative purposes.
Common Mistakes When Glazing Air Dry Clay
Avoiding these mistakes will instantly improve your results.
1. Sealing Damp Clay
This causes cracking and peeling later.
2. Applying Thick Coats
Thick glaze layers can:
- Drip
- Bubble
- Stay sticky
3. Using the Wrong Brush
Cheap stiff brushes leave streaks.
Soft synthetic brushes work best.
4. Skipping Sanding
Even beautiful paint jobs look amateur on rough clay.
5. Rushing Dry Time
Patience matters.
Let layers dry completely.
6. Using Ceramic Glaze
Traditional pottery glaze will not work on air dry clay without kiln firing.
Best Air Dry Clay Brands for Smooth Finishes
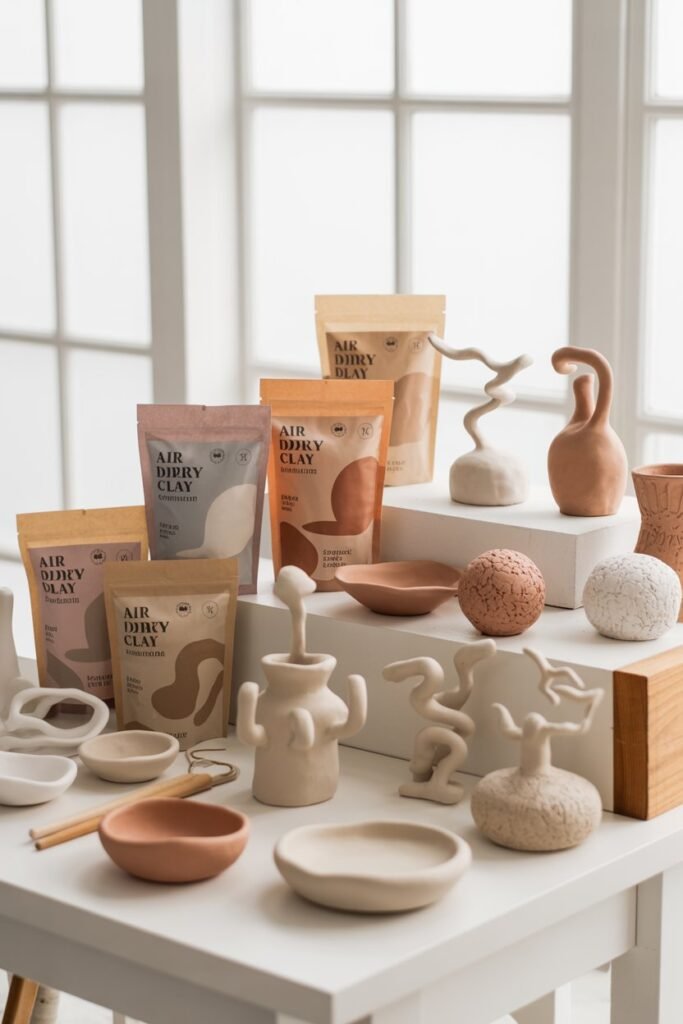
Some clays glaze better than others.
Popular Choices
DAS Air Dry Clay
Strong and widely available.
Crayola Air Dry Clay
Great for beginners and kids.
La Doll Premier
Very smooth and professional.
Hearty Clay
Lightweight and soft.
Jovi Air Dry Clay
Easy to shape and affordable.
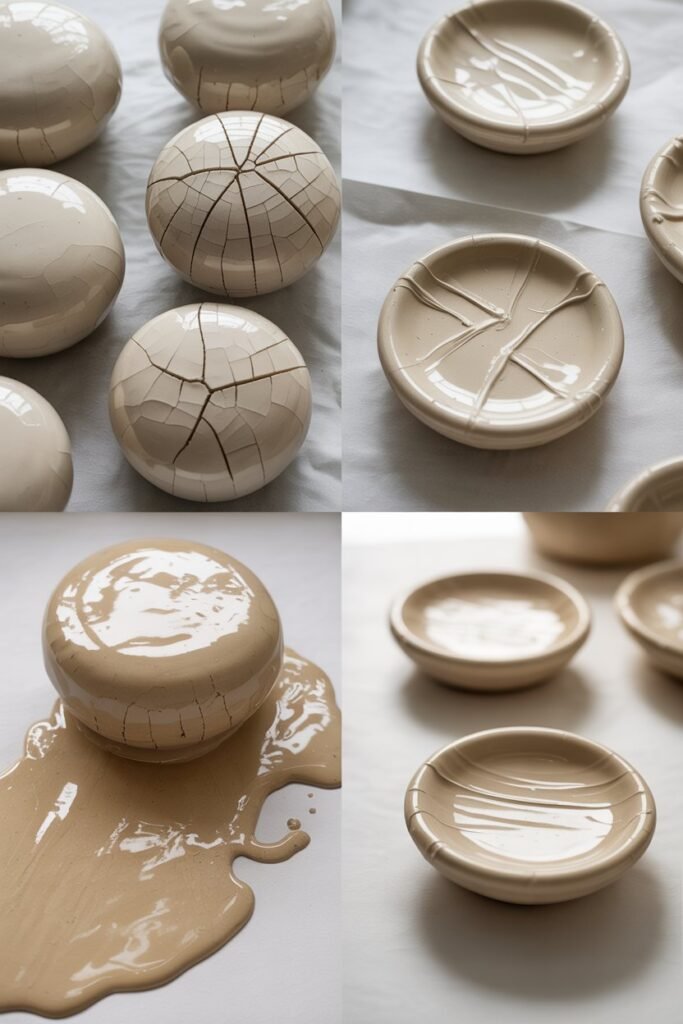
How to Fix Cracks Before Glazing
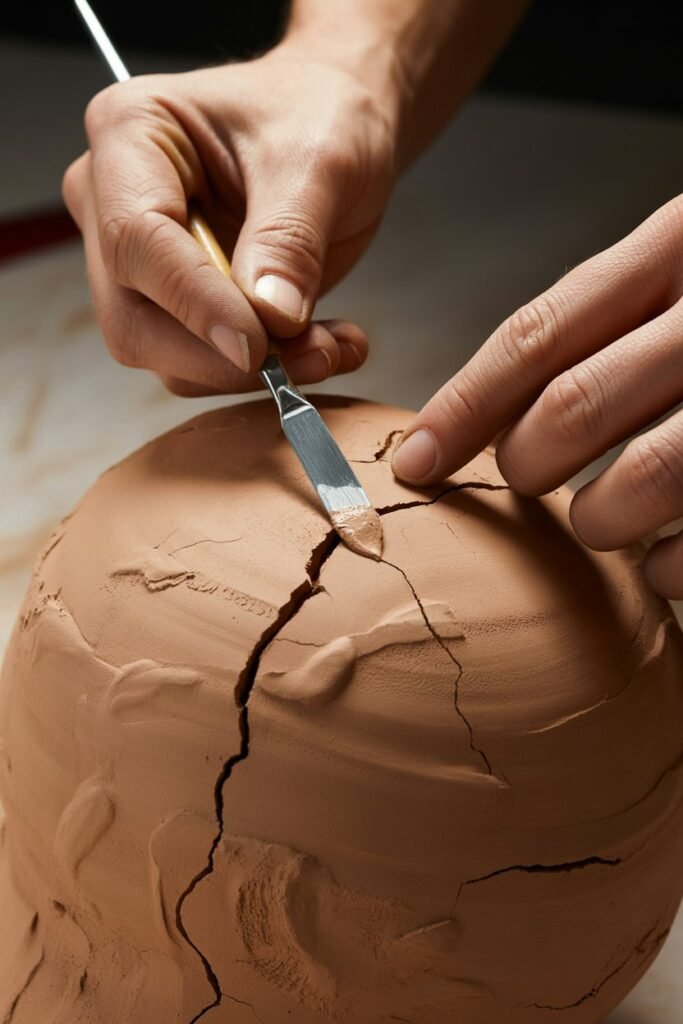
Small cracks are common.
Easy Crack Repair Method
Mix:
- Clay
- Small amount of water
Create a paste and fill cracks.
Let dry completely before sanding.
Can You Bake Air Dry Clay?
Usually no.
Most air dry clay is designed to dry naturally.
Some brands may tolerate low heat, but excessive baking can cause:
- Burning
- Cracking
- Weakening
Always read brand instructions.
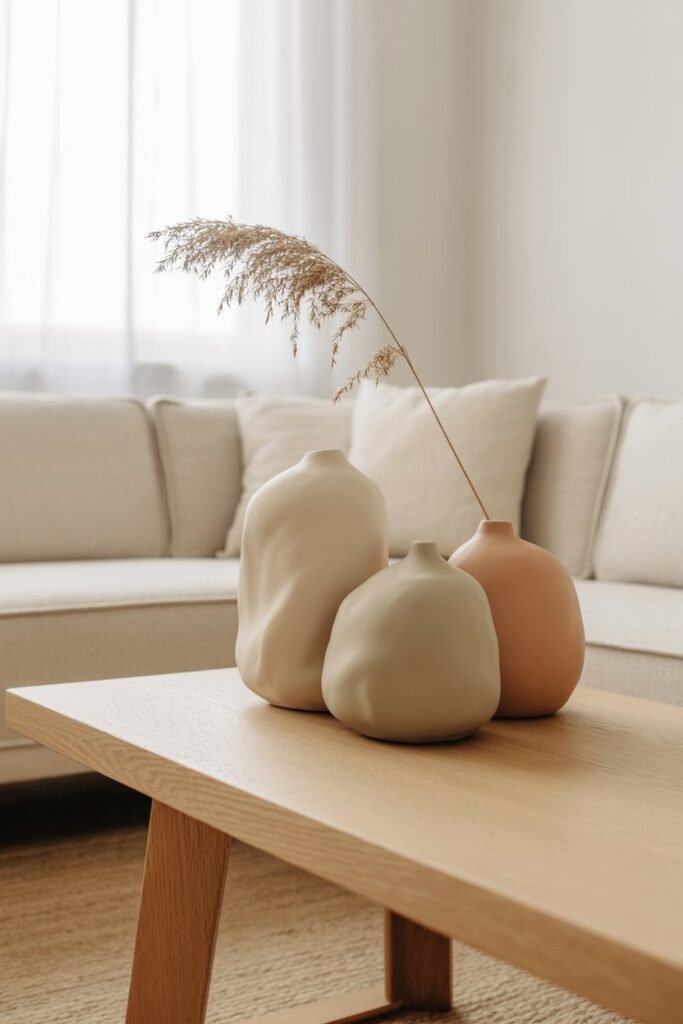
Best Projects for Glazed Air Dry Clay
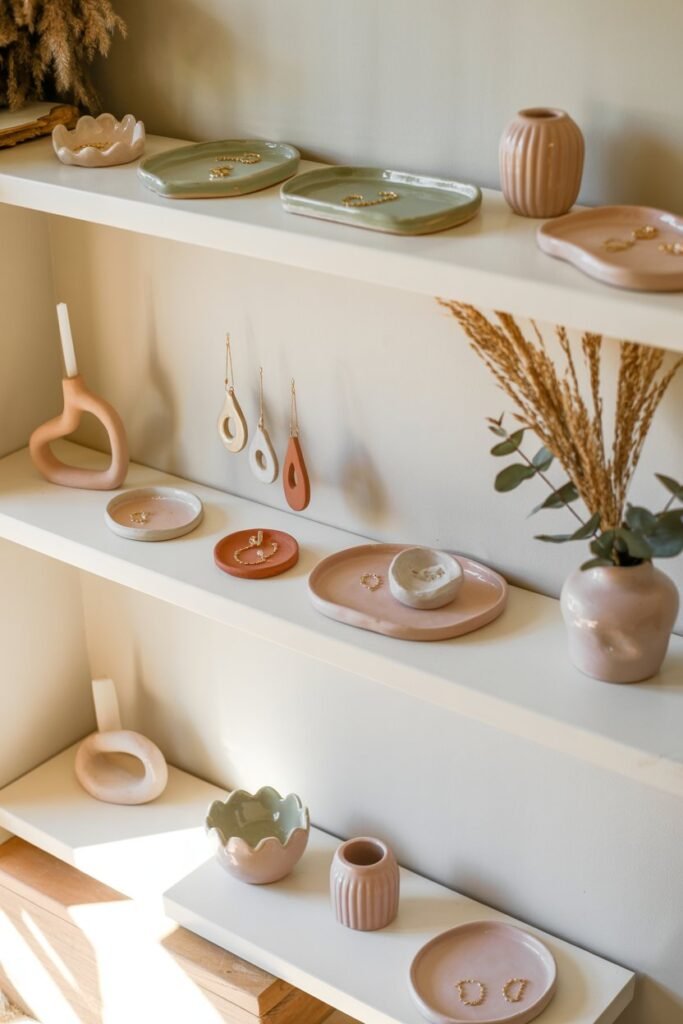
Once you learn glazing, you can make beautiful handmade pieces.
Popular ideas include:
Home Décor
- Decorative bowls
- Candle holders
- Wall hangings
Jewelry
- Earrings
- Pendants
- Rings
Gifts
- Personalized ornaments
- Name plaques
- Trinket dishes
Desk Accessories
- Pen holders
- Phone stands
Seasonal Crafts
- Christmas ornaments
- Halloween décor
- Easter decorations
Professional Tips for Beautiful Results
These small tricks make a huge difference.
Use Distilled Water
For smoother clay blending.
Work on Wax Paper
Prevents sticking.
Use Soft Makeup Brushes
Excellent for detail glazing.
Rotate While Drying
Helps avoid drips pooling.
Seal the Bottom Too
Moisture can enter from unsealed areas.
Use a Turntable
Makes even coating easier.
How Long Does Glazed Air Dry Clay Last?
With proper care, glazed air dry clay can last for years.
Keep projects:
- Indoors
- Away from standing water
- Away from excessive humidity
Decorative pieces often remain beautiful long-term when sealed correctly.
Is Resin Better Than Varnish?
It depends on your goals.
Choose Resin If You Want:
- Ultra-gloss
- Luxury finish
- Jewelry-grade shine
- Thick coating
Choose Varnish If You Want:
- Easier application
- Faster process
- Lower cost
- Simple beginner method
Both work well.
Frequently Asked Questions
Do You Need to Seal Air Dry Clay?
Yes. Sealing helps protect the surface and improves durability.
Can I Use Nail Polish as Glaze?
Some people do, but it may yellow or become sticky over time.
Proper sealers work better.
Why Is My Glaze Cloudy?
Possible reasons:
- Thick coats
- Humidity
- Trapped moisture
- Poor-quality sealer
Can I Eat From Air Dry Clay Bowls?
No.
Even sealed air dry clay is not food-safe.
Use it only decoratively.
Why Is My Sealer Sticky?
This can happen because of:
- Humid weather
- Thick application
- Low-quality products
Try thinner coats and longer curing time.
Final Thoughts
Learning how to glaze air dry clay properly can completely change the look and longevity of your projects.
What starts as a soft, chalky piece of clay can become a polished, elegant, professional-looking creation with the right finishing techniques.
The key is patience:
- Let the clay dry fully
- Sand carefully
- Apply thin layers
- Allow proper curing time
Whether you prefer a soft matte aesthetic or a glossy resin shine, glazing is what gives air dry clay its final personality and charm.
Once you master sealing and glazing, your DIY projects will instantly look cleaner, smoother, more durable, and far more professional.
Air dry clay is one of the most creative and accessible crafts anyone can try — and glazing is the step that truly makes your handmade work stand out.